manuals.online logo
Brands
  1. Home
  2. •
  3. Brands
  4. •
  5. H-KING
  6. •
  7. Toy
  8. •
  9. H-KING F-16 User manual

H-KING F-16 User manual

Other H-KING Toy manuals

H-KING j-20 User manual

H-KING

H-KING j-20 User manual

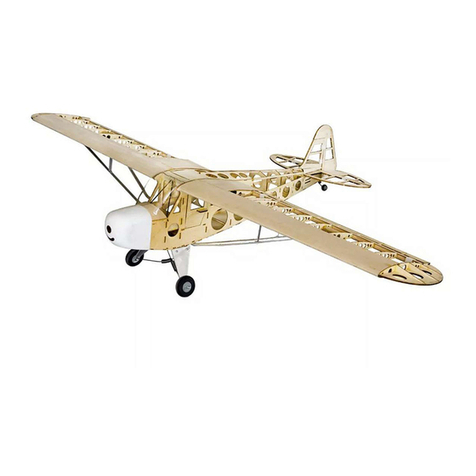
H-KING Piper J-3 Cub V2.0 User manual

H-KING

H-KING Piper J-3 Cub V2.0 User manual

H-KING Savage Bobber 1000 mm 5ch ARF Version User manual

H-KING

H-KING Savage Bobber 1000 mm 5ch ARF Version User manual

H-KING BIXLER V2 User manual

H-KING

H-KING BIXLER V2 User manual

H-KING Radjet 800 User manual

H-KING

H-KING Radjet 800 User manual

H-KING Seagull Instruction Manual

H-KING

H-KING Seagull Instruction Manual

H-KING PILATUS PORTER PC-6 Instruction Manual

H-KING

H-KING PILATUS PORTER PC-6 Instruction Manual

H-KING Hummer User manual

H-KING

H-KING Hummer User manual

H-KING Nino User manual

H-KING

H-KING Nino User manual

H-KING SU-27 User manual

H-KING

H-KING SU-27 User manual

H-KING FW190 User manual

H-KING

H-KING FW190 User manual

H-KING Glue-N-Go A380 PP Kit User manual

H-KING

H-KING Glue-N-Go A380 PP Kit User manual

H-KING TIGER MOTH DH-82 User manual

H-KING

H-KING TIGER MOTH DH-82 User manual

H-KING P-51 Mustang User manual

H-KING

H-KING P-51 Mustang User manual

H-KING Sopwith Camel British WW1 Fighter User manual

H-KING

H-KING Sopwith Camel British WW1 Fighter User manual

H-KING Cloud Clipper Instruction Manual

H-KING

H-KING Cloud Clipper Instruction Manual

H-KING A-1 SKY RAIDER User manual

H-KING

H-KING A-1 SKY RAIDER User manual

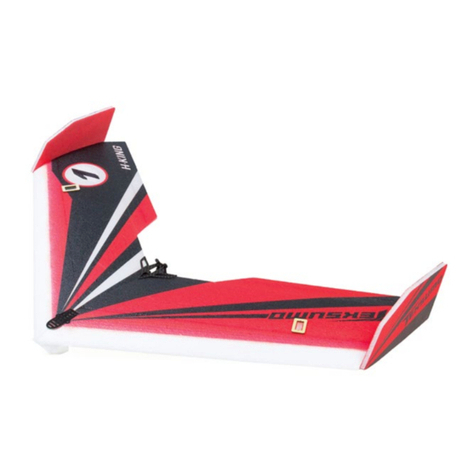
H-KING Teksumo User manual

H-KING

H-KING Teksumo User manual

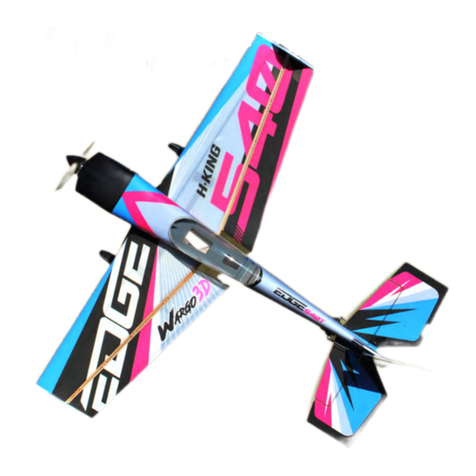
H-KING Wargo MX2 3D User manual

H-KING

H-KING Wargo MX2 3D User manual

H-KING P 15B Mustang Berlin Express User manual

H-KING

H-KING P 15B Mustang Berlin Express User manual

H-KING Nori User manual

H-KING

H-KING Nori User manual

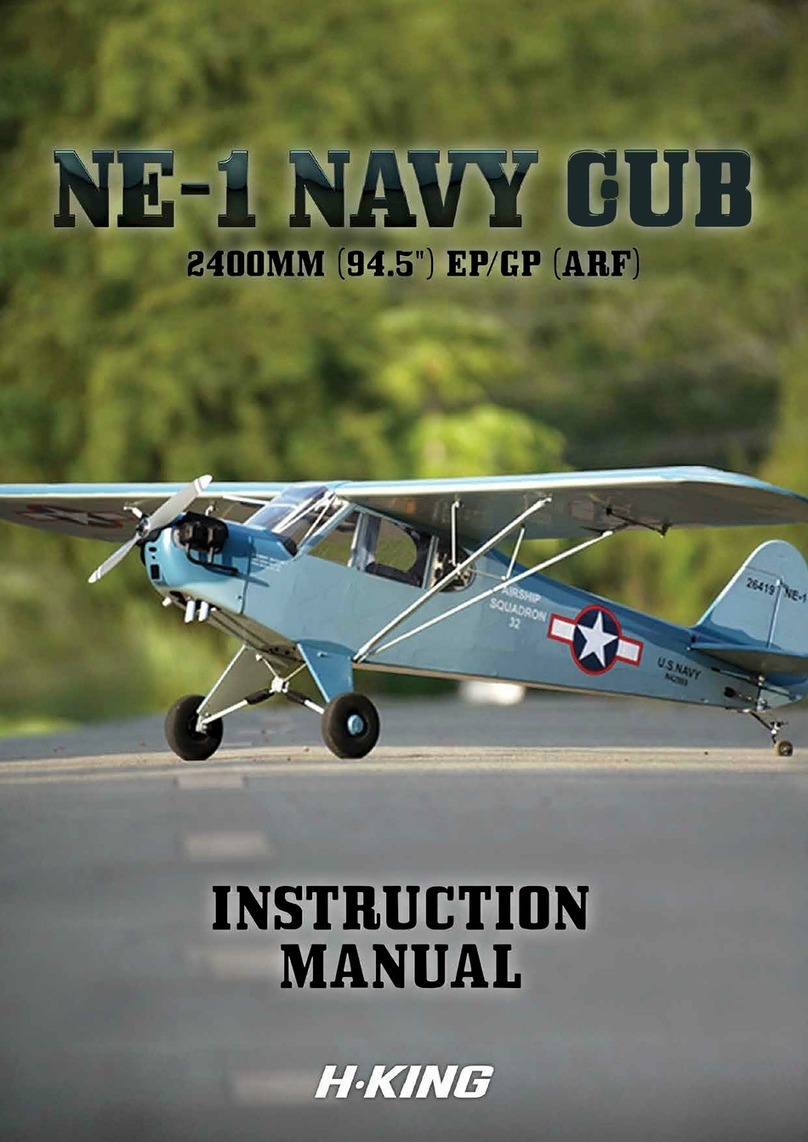
H-KING NE-1 NAVY GUB User manual

H-KING

H-KING NE-1 NAVY GUB User manual

H-KING Vought f4U Corsair User manual

H-KING

H-KING Vought f4U Corsair User manual

H-KING F-35 User manual

H-KING

H-KING F-35 User manual

Popular Toy manuals by other brands

FUTABA GY470 instruction manual

FUTABA

FUTABA GY470 instruction manual

LEGO 41116 manual

LEGO

LEGO 41116 manual

Fisher-Price ColorMe Flowerz Bouquet Maker P9692 instruction sheet

Fisher-Price

Fisher-Price ColorMe Flowerz Bouquet Maker P9692 instruction sheet

Little Tikes LITTLE HANDIWORKER 0920 Assembly instructions

Little Tikes

Little Tikes LITTLE HANDIWORKER 0920 Assembly instructions

Eduard EF-2000 Two-seater exterior Assembly instructions

Eduard

Eduard EF-2000 Two-seater exterior Assembly instructions

USA Trains EXTENDED VISION CABOOSE instructions

USA Trains

USA Trains EXTENDED VISION CABOOSE instructions

Modellbau Laffont Z1601 Assembly instructions

Modellbau Laffont

Modellbau Laffont Z1601 Assembly instructions

NOCH 12905 instruction manual

NOCH

NOCH 12905 instruction manual

Eduard Ki-61-Id quick start guide

Eduard

Eduard Ki-61-Id quick start guide

Viessmann Vollmer 45616 Mounting instruction

Viessmann

Viessmann Vollmer 45616 Mounting instruction

Vollmer 42004 Mounting instruction

Vollmer

Vollmer 42004 Mounting instruction

Phoenix Model CLASSIC-EP instruction manual

Phoenix Model

Phoenix Model CLASSIC-EP instruction manual

MODSTER Predator 4x4 Crawler user manual

MODSTER

MODSTER Predator 4x4 Crawler user manual

DHK Hobby 8136 User instruction manual

DHK Hobby

DHK Hobby 8136 User instruction manual

THUNDER TIGER Raptor 50 V2 kit manual

THUNDER TIGER

THUNDER TIGER Raptor 50 V2 kit manual

Timberkits Skateboarder instructions

Timberkits

Timberkits Skateboarder instructions

Hangar 9 Funtana 125 Assembly manual

Hangar 9

Hangar 9 Funtana 125 Assembly manual

QModeling XP Series instruction manual

QModeling

QModeling XP Series instruction manual

manuals.online logo
manuals.online logoBrands
  • About & Mission
  • Contact us
  • Privacy Policy
  • Terms and Conditions

Copyright 2025 Manuals.Online. All Rights Reserved.

INSTRUCTION MANUAL
Please read this m anualcarefully before operating this plane.
H-KING F-16 50MM EDF 4S
WITH ORX FLIGHT STABILIZER
WARNING
SAFETY PRECAU T I ON S
Read this instruction manual fully so as to become completely familiar with the features of the product before
operating. Failure to operate this product correctly could result in damage to the product, personal property
and cause serious injury. This is a sophisticated hobby product and is NOT a toy. It must always be operated
with caution, common sense and some basic mechanical ability. This manual provides instructions on the
assembly, safe operation and maintenance of this hobby product. It is highly recommended that you read and
follow fully the instructions and warnings stated in this manual including safety, assembly, set-up and flying
guidelines in order to operate this product correctly and avoid damage or serious injury.
As the user of this product you and you alone are responsible for operating it in a manner that does not
endanger yourself and others around you or result in damage to the product or property of others. This product
is operated via a radio controlled system that in some cases can be subject to interference from sources
outside of your control. Interference may result in a momentary loss of control so it is always recommended
that this product be used in a suitable open outdoors space.
• This is a radio controlled flying model and as such must always be flown with caution, this is NOT a toy.
• The H-King brief was to design a model for low hours to intermediate pilots.
• Always exercise great caution when using the recommended battery to power this product. For full safety
notes and operating procedures please read the information provided by your battery supplier.
• Take great care when connecting/disconnecting the battery. Once again see your battery suppliers
information for the full safety procedures.
• Never power up the model in a confined space and always keep the fan air intake clear of obstructions,
clothing and anything that can be drawn into the fan unit.
• This product is not a toy, children must be accompanied by an adult at all times when operating this product.
• Only fly this model in an open area away from crowds, people, buildings, trees, power lines, roads, airports
and other obstructions.
• Always put safety first when operating this model and consider the warnings stated above.
• The supplier/manufacturer accepts no responsibility for damage or injury caused through the use of this
product. A reminder that it is not suitable for children under the age of 14. THIS IS NOT A TOY.
1
FEAT URES
SPECIFICATION
- Length: 775 mm
- Wing span: 550 mm
- Weight w/battery: 4S Li-Po 1300mAh (520g +/-10g)
- Power: 50 mm EDF 4S high power brushless motor.
-ESC: 30A with BEC
-Servo: 4 x 9g
- Radio: Radio: 6 ch and up with electronic mixing capability computer radio
(Recommended)
- Battery: 1000-1300mAh 4S Li-Po 30-60C (Recommended)
- Outstanding flight characteristics, it flies like it's on rails
- Fitted with ORX flight stabilizer with 3 different flight modes (Beginner, Inter
mediate, and Expert)
- Pre-installed high power 50mm EDF unit for 4S
- High torque brushless motor
-Two-piece plug-in wing design with carbon fiber wing joiner
- Large battery compartment for easy battery installation/removal before and
after flights’
- Easy to assemble, low parts count.
- Factory-finished with a vivid paint scheme and detailed graphics
2
CONTENTS
1. Fuselage
2. Canopy
3. Main wing set
4. Vertical fin
5. Horizontal stabilizer
6. Nose cone
7. Carbon fiber wing joiner
8. Pushrods
9. Double sided tape
1
3
MAIN WING
ASSEMBLY INSTRUCTIONS
1. Pass the supplied carbon fiber wing joiner through the fuselage
3. Repeat Step #2 for the left wing.
1
2. Install the right wing onto the fuselage and connect the wing servo lead. Then
gently push the wing against the fuselage until it hits the magnet on the wing
saddle. The servo lead should also be tucked nicely inside the groove in between
the wing and the fuselage. The built-in magnet wing locking system on the wing
saddle will hold the wing securely.
4
HORIZONTAL STABILIZER
1. Get the Left/Right stabilizer parts ready. Apply foam safe glue to the root of the
stabilizer and install the left hand side stab onto the fuselage tail as shown.
2. Repeat the above steps for the right-hand side horizontal stabilizer.
3. View the model from the front, ensure the left and right horizontal stabilizer are
installed correctly like the picture shown below. Check this frequently as the glue dries.
VERTICAL FIN
Apply a thin layer of foam safe glue to the vertical fin and install it onto the
fuselage as shown.
5
View the model once again from the front, the vertical fin should be
perpendicular to the main wing. Check frequently as the glue dries.
NOSE CONE
YOUR F -16 B UILD I S N OW COM PLETE
6
Glue into place the nose cone
C OF G POSIT ION
The C of G is 48-53 mm from the wings leading edge. For first flights we
recommend you use the forward measurement. Once you get used to the
model you can then move it back, do not though exceed the most rearward
measurement.
7
F-16 ORX FLIGHT
STABILISATION SYSTEM
FEAT URES
• Integrated with a 32bit MCU and a 6 axis digital gyro for ultra fast flight control
response.
• The ORX stabilisation device is tuned specifically to a particular model for the
best flying performance.
• Supports PWM, PPM and SBUS. Auto-detect.
• Supports 3 different flight modes (Beginner, Intermediate and Expert)
CH AN NEL INPUT
Flight mode (a 3-way toggle switch should be assigned for flight mode selection)
PWM input: Ch 1. Aileron, Ch 2.Elevator, Ch 3 Throttle, and Ch 5 Flight mode
(a 3-way toggle switch should be assigned for flight mode selection)
PPM input: Plug the flight mode/SBUS/PPM channel input plug into your
receiver which supports PPM out. Here is the Ch assignment and shown as
follow. Ch 1. Aileron, Ch 2. Elevator, and Ch 3 Throttle. Ch 5 (a 3-way toggle
switch should be assigned for flight mode selection)
SBUS input: Plug the Flight mode/SBUS/PPM channel input plug into a receiver
which supports SBUS. CH 5 (a 3-way toggle switch should be assigned for flight
mode selection)
8
PUSHROD LI NKAGES SETUP
Connect the ORX via one of the PWM/PPM/SBUS inputs of your chosen
receivers. Connect a 4S Li-Po battery pack and switch on your TX to prepare to
set the throws of the control surfaces. Ensure the servo horns on all servo
output shafts are perpendicular to servo cases, and all control surfaces are
perfectly level. Reset all electronic trims on your TX to the centre position and
remove any Dual Rates/End points settings, leave them at 100% and expo at
0%. There are two sets of pushrods which come with the kit. The shorter ones
are used for ailerons and the longer ones are used for elevators. Install the
supplied longer pushrod to the right-hand side elevator servo horn and use the
third hole from the top as shown. Then repeat the above steps for the elevator
servo on the left-hand side. If you are happy with the above setup, you may
start to set up aileron control surfaces. Install the supplied shorter pushrod to the
right-hand side aileron servo horn and use the forth hole from the top as shown.
Then repeat the above steps to install the pushrod linkage on the left-hand side.
1
9