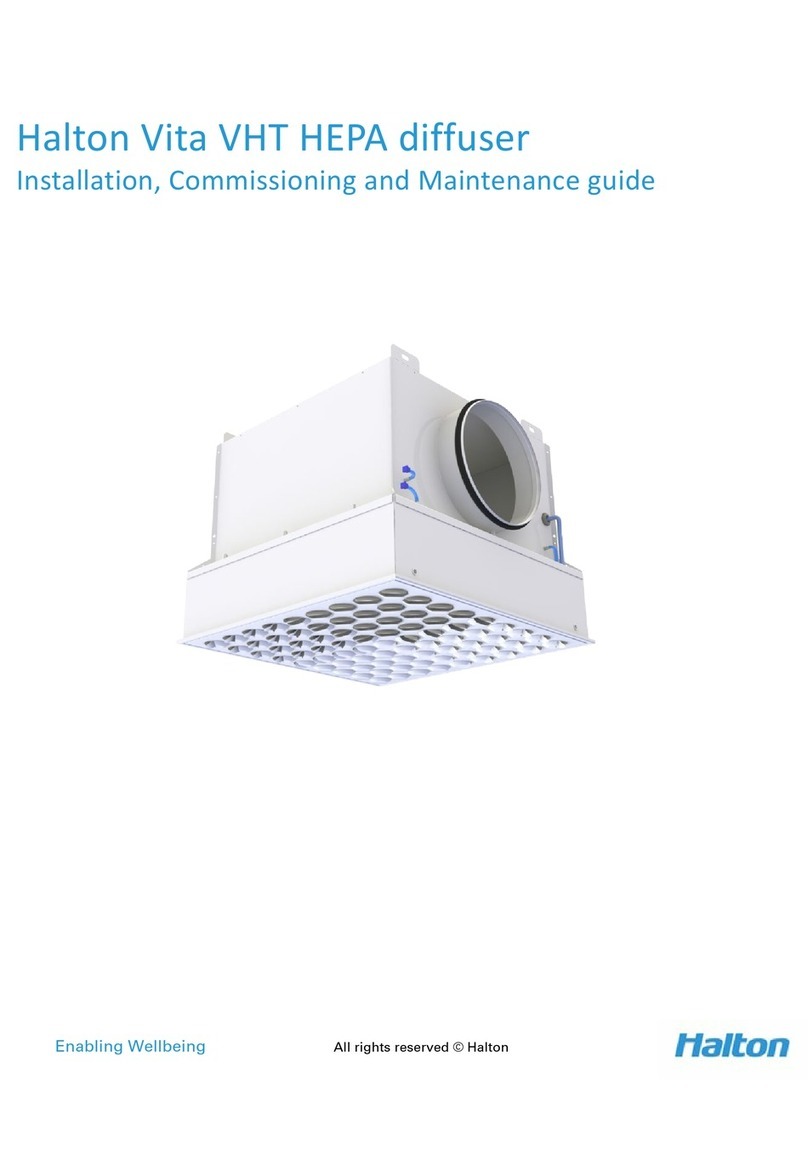
Halton Vita VSN Product manual

Enabling Wellbeing
All rights reserved © Halton
Halton Vita VSN - Installation and maintenance
guide

Halton Vita VSN - Installation and maintenance guide 2(3 )
Version 4.0
All rights reserved © Halton
Contents
Introduction ......................................................................................................................................... 3
. Copyright and disclaimers ............................................................................................................. 3
.2 How to use this manual ................................................................................................................ 3
.3 Summary of changes ..................................................................................................................... 4
.4 Safety notes .................................................................................................................................. 4
.5 Contact information ...................................................................................................................... 6
2 Product description .............................................................................................................................. 7
2. Overview ....................................................................................................................................... 7
2.2 Function ........................................................................................................................................ 8
2.3 Structure and materials ................................................................................................................ 9
2.4 Further technical details ............................................................................................................... 9
3 Installation ......................................................................................................................................... 0
3. Before you start .......................................................................................................................... 0
3. . Installation process .............................................................................................................. 0
3.2 Step by step instructions ............................................................................................................. 0
3.2. Preparing Halton Vita VSN for installation ........................................................................... 0
3.2.2 Installing Halton Vita VSN for Halton Vita OR Space 5......................................................... 2
3.2.3 Installing Halton Vita VSN for Halton Vita OR Space 7......................................................... 5
3.2.4 Installing the ceiling system ................................................................................................. 8
3.2.5 Installing the HEPA filters ..................................................................................................... 8
3.2.6 Installing Halton Vita VSN front panels ................................................................................ 2
4 Maintenance ...................................................................................................................................... 22
4. Maintenance schedule ................................................................................................................ 22
4.2 Step by step instructions ............................................................................................................. 22
4.2. Removing the Halton Vita VSN front panels ........................................................................ 22
4.2.2 Cleaning Halton Vita VSN ..................................................................................................... 23
4.2.3 Changing the HEPA filters .................................................................................................... 24
5 Technical reference data.................................................................................................................... 25
5. Dimensions and weight ............................................................................................................... 25
5.2 Filters ........................................................................................................................................... 3

Halton Vita VSN - Installation and maintenance guide 3(3 )
Version 4.0
All rights reserved © Halton
Introduction
. Copyright and disclaimers
The contents of this document are strictly confidential and for information purposes only. Disclosing
the information in this document without an appropriate contract or permission by Halton to any
third party is prohibited. This document remains the sole property of Halton and may not be
duplicated, borrowed, copied, amended, modified, reproduced, transmitted or distributed to any
third party without the prior written consent of Halton. Any information held in this document or
associated materials may only be used for the purpose specified in this document.
Halton disclaims any and all liability related to this document. Halton gives no explicit or implied
warranties in terms of this document. Any permitted use of the information included herein is at
your own risk. Halton may amend or replace the information included in this document at its sole
discretion without further notice and liability.
All intellectual property rights or applications thereof, including without limitation copyright, model
rights, patents, trade secrets, trade names, trademarks, know-how (whether registered or
unregistered) attributable to this document remain the sole and exclusive property of Halton. No
rights or licenses are granted.
.2 How to use this manual
This guide provides general instructions on how to install the product(s).

Halton Vita VSN - Installation and maintenance guide 4(3 )
Version 4.0
All rights reserved © Halton
.3 Summary of changes
Version
Date
Description
.0
20 8
-
08
-
28
First version
.
20 9
-
0
-
08
Update in chapter
Installing the HEPA filters
2.0
20 9
-
2
-
06
Safety notes
and
Contact information
chapters added
Installing Halton Vita VSN for Halton Vita OR Space 7
chapter added
Updates in
Dimensions and weight
•Dimension pictures updated
•Weight information added
3.0
2020
-
02
-
7
Updates in
Installation process
•Process flowchart added
•Information about fixing material for different VSN models
added
Pictures added to step-by-step instructions
•Installing Halton Vita VSN for Halton Vita OR Space 5
•Installing Halton Vita VSN for Halton Vita OR Space 7
•Installing the HEPA filters
New chapter added
Installing Halton Vita VSN front panels
4.0
2020
-
02
-
26
Maintenance section added
Picture updated in chapter
Function
Pictures added in chapter
Installing Halton Vita VSN for Halton Vita OR
Space 7
.4 Safety notes
All information in this section is important and relevant for your safety. Please pay special attention
to these icons and the accompanying messages when used later in context in this manual.
Warnings
Warning signs indicate a risk of personal injury including death. There is also a potential risk of
material damage. Pay attention to the following signs when performing any tasks or moving in the
area:
WARNING!
This symbol indicates a potential hazard, obstacle or condition requiring special attention.

Halton Vita VSN - Installation and maintenance guide 5(3 )
Version 4.0
All rights reserved © Halton
DANGER OF ROTATING UNIT PARTS!
This symbol indicates a hazardous location with a risk of personal injury including death and material
damage.
DANGER OF OVERHEAD LOADS!
This symbol indicates a hazardous location with a risk of personal injury including death and material
damage.
DANGER OF PERSONAL INJURY!
This symbol indicates a hazardous location (excluding the above-mentioned danger areas) with a risk
of personal injury including death and material damage.
Cautions
Caution signs indicate a risk of personal injury or material damage. To ensure your own safety,
consider the following cautions:
AUTION!
This symbol indicates a hazardous location with a risk of material damage that can also lead to
personal injury.
AUTION! HEAVY OBJE T
Do not lift objects over 20kg (44lbs) alone. Use a lift or seek assistance.

Halton Vita VSN - Installation and maintenance guide 6(3 )
Version 4.0
All rights reserved © Halton
AUTION!
Risk of personal injury or material damage.
Notes
NOTE: Notes are statements to which you should pay special attention.
.5 Contact information
You can find the contact details from www.halton.com/contact.

Halton Vita VSN - Installation and maintenance guide 7(3 )
Version 4.0
All rights reserved © Halton
2 Product description
2. Overview
Halton Vita VSN is a supply air unit for the Halton Vita OR Space 5 and Space 7 solutions.
Applications
•Operating rooms in hospitals
oHalton Vita OR Space 5 solution
oHalton Vita OR Space 7 solution
Key features
•The airflow pattern can be adjusted by turning the supply air nozzles
•Modular structure with several size configurations
•Antimicrobial powder paint finishing
•Equipped with low-pressure-drop Halton H 4 filters with a gel gasket
•Installation flush to the ceiling
•Fixing brackets for easy installation of the product
•Easy filter change and cleaning through the openable diffuser panel
•Easy access to the measurement nipple for plenum pressure measurement

Halton Vita VSN - Installation and maintenance guide 8(3 )
Version 4.0
All rights reserved © Halton
2.2 Function
Air is filtered inside the modules by HEPA filters and supplied into space through the air nozzles
located in the front panel of the unit.
The circumferential supply airflow from the supply air unit is directed partly towards the operating
area and partly towards the room periphery. The inward supply airflow displaces the contamination
generated in the operating area and prevents the intrusion of the outward supply airflow into the
centre. The fine-tuning of the throw pattern is carried out by Halton.
The supply unit size and airflow pattern adjustment are optimised by Halton based on the end-user
requirements and specifications.
Halton Vita VSN for Space 5
Halton Vita VSN for Space 7

Halton Vita VSN - Installation and maintenance guide 9(3 )
Version 4.0
All rights reserved © Halton
2.3 Structure and materials
No.
Part
Material
Casing
Aluminium with antimicrobial epoxy polyester powder paint
finishing (white RAL 90 0)
2
Pressure measurement
port
Polyurethane
3
Filters
Fibreglass paper, aluminium frame and
gel gasket
4
Filter brackets
Acid proof steel
5
Front panels
Galvannealed steel with antibacterial epoxy polyester powder
paint, white (RAL 90 0)
6
Nozzles
Polyacetal (POM), white RAL 90 0
7
Duct connection
Galvanised steel
8
Filter springs
Stainless steel
9
Gasket
Cellular polyethylene foam
0
Fixing brackets
Galvanised steel
2.4 Further technical details
For Halton Vita VSN dimensions and weight see the
Dimensions and weight
chapter in the technical
reference data section.
For filter technical data see the
Filters
chapter in the technical reference data section.

Halton Vita VSN - Installation and maintenance guide 0(3 )
Version 4.0
All rights reserved © Halton
3 Installation
3. Before you start
3. . Installation process
The installation of the Halton Vita VSN unit is carried out in the following order:
3.2 Step by step instructions
3.2. Preparing Halton Vita VSN for installation
This procedure shows how to prepare the Halton Vita VSN supply air units for installation.
Procedure
. Unpack the modules and check their condition.
2. Check that all the parts are present:
oThe dimensions drawing for the rod location
oFour fastening struts for each module
oEight M8 bolts for fastening struts for each module
oTen M6 bolts and nuts for each junction connection ( 0 per each unit)
oFixing material for duct connections
VSN/A
6 pcs self drilling screws
VSN/B and VSN/C
0 pcs M6 x 6mm bolts
oFilter brackets

Halton Vita VSN - Installation and maintenance guide (3 )
Version 4.0
All rights reserved © Halton
3. Detach the front panels and store them in a safe and clean place for the duration of the unit
installation.
NOTE: See
Removing the Halton Vita VSN front panels
.
4. Install the fastening struts in their proper positions with the provided M8 bolts.
5. Install duct connections (optional).
Duct connections can be installed to the units in two ways:
obefore mounting, on the ground
oafter mounting, up in the ceiling
The choice of the method depends on which way is the easiest on site.
NOTE: See step 6 in
Installing Halton Vita VSN for Halton Vita OR Space 5
or step 3 in
Installing Halton Vita VSN for Halton Vita OR Space 7
.
6. Determine the correct location in the ceiling of:
a. the unit
b. the rods
7. Mark the correct location on the ceiling.

Halton Vita VSN - Installation and maintenance guide 2(3 )
Version 4.0
All rights reserved © Halton
3.2.2 Installing Halton Vita VSN for Halton Vita OR Space 5
This procedure shows how to install the Halton Vita VSN supply air units on the ceiling.
Procedure
. Install the first module.
a. Install the rods intended for hanging the module from the ceiling.
b. Lift the module with a panel lifter or similar.
c. Attach the module to the rods by two nuts and two washers: one of each above and
one of each below the strut in order to secure the installation.
d. Adjust the module height to the desired height.
2. Install the second module in the same manner as the first one.

Halton Vita VSN - Installation and maintenance guide 3(3 )
Version 4.0
All rights reserved © Halton
3. Fasten two modules together with M6 type hexagon bolts.
4. Install the third module in the same manner as previous ones.
5. Fasten the modules with M6 type hexagon bolts.

Halton Vita VSN - Installation and maintenance guide 4(3 )
Version 4.0
All rights reserved © Halton
6. Install the fourth module and fasten the modules with M6 type hexagon bolts.
7. Install duct connections.
NOTE: This step can be omitted, if you have installed duct connections beforehand, on the
ground.
8. Check the position of the construction and adjust if needed.
9. Check the height and level of the complete installation and adjust if needed.
0. Lock the height by tightening nuts from above the struts.
. Make sure that bolts are evenly tightened at junctions.

Halton Vita VSN - Installation and maintenance guide 5(3 )
Version 4.0
All rights reserved © Halton
2. Install the HEPA filters for each module and test them for leaks.
NOTE: See
Installing the HEPA filters
.
NOTE: If filters are to be installed later, attach front panels and protect the unit from dust by
using, for example, a plastic sheet.
3. Install the front panels.
NOTE: See
Installing Halton Vita VSN front panels
.
3.2.3 Installing Halton Vita VSN for Halton Vita OR Space 7
This procedure shows how to install the Halton Vita VSN air supply units on the ceiling.
Procedure
. Install the first module.
a. Install the rods intended for hanging the module from the ceiling.
b. Lift the module with a panel lifter or similar.
c. Attach the module to the rods by two nuts and two washers: one of each above and
one of each below the strut in order to secure the installation.
d. Adjust the module height to the desired height.

Halton Vita VSN - Installation and maintenance guide 6(3 )
Version 4.0
All rights reserved © Halton
2. Install the second module in the same manner as the first one. The distance between the
modules should be 200...2400 mm.
3. Install duct connections with M6 x 6mm bolts.
NOTE: This step can be omitted, if you have installed duct connections beforehand, on the
ground.
4. Check the position of the construction and adjust if needed.
5. Check the height and level of the complete installation and adjust if needed.
6. Lock the height by tightening nuts from above the struts.

Halton Vita VSN - Installation and maintenance guide 7(3 )
Version 4.0
All rights reserved © Halton
7. Install the HEPA filters for each module and test them for leaks.
NOTE: See
Installing the HEPA filters
.
NOTE: If filters will be installed later, attach front panels and protect the unit from dust by
using, for example, a plastic sheet.
8. Install the front panels.
NOTE: See
Installing Halton Vita VSN front panels.

Halton Vita VSN - Installation and maintenance guide 8(3 )
Version 4.0
All rights reserved © Halton
3.2.4 Installing the ceiling system
This installation step is optional. The supply and installation of a ceiling system is the responsibility of
the customer.
The Halton Vita VSN supply air unit is compatible with the T24 T-bar false ceiling systems.
The T-bar runners are installed below the device. The unit is designed to fit in the standard size of
the false ceiling grid.
NOTE: For the design of Halton Vita VSN units that are compatible with a different false ceiling
system, contact Halton Sales.
Install the main runners parallel to the unit. The runners can be slid in the gap between the modules
for a uniform installation. Main runners must have a groove distance that is divisible by 00 mm to
support this method, in order to have grid dimensions that match the unit dimensions.
3.2.5 Installing the HEPA filters
Before you start
Make sure that:
•All the site works that produces dust and dirt are completed.
•All non- essential items are removed from the operating room.
•The operating room is clean.
•The ventilation system is tested.
•The amount of air and temperature regulation is tested.
•The air channels are cleaned or properly flushed.
AUTION!
Use extreme caution while fitting the filters. Installation of the filters should be performed by
trained personnel. The slightest damage to the filter medium can result in a leaking filter.
Procedure
. Check that challenge ports can be located for the filter leakage test.
Every standard duct connection in Halton Vita VSN has two upstream aerosol challenge
measuring ports. This allows you to measure of the aerosol concentration and to verify that
the mixing is homogenous.

Halton Vita VSN - Installation and maintenance guide 9(3 )
Version 4.0
All rights reserved © Halton
Make sure that the upstream challenge injection port is located far enough. The position has
to allow mixing of test particles within the air duct. When injecting the test aerosol, ensure
that the concentration of the test aerosol is even across the back of the whole filter.
2. Remove possible dust protection and front panels.
NOTE: See
Removing the Halton Vita VSN front panels
for detailed instructions.
AUTION!
Store the front panels in a safe and clean place during the HEPA filters installation.
3. Remove the filter brackets and clean the interior surfaces and frame components with a
disinfectant.

Halton Vita VSN - Installation and maintenance guide 20(3 )
Version 4.0
All rights reserved © Halton
4. Fit the filter inside the module.
5. Fit the rest of the filters in the same manner as the first one.
6. Secure the filters with the filter brackets.
AUTION!
While tightening the filter brackets, take care no to damage the threads.
Table of contents
Other Halton Fan manuals
Popular Fan manuals by other brands

Harbor Breeze
Harbor Breeze RLG52NWZ5L manual

Allen + Roth
Allen + Roth L1405 instruction manual

ViM
ViM KUBAIR F400 ECOWATT Technical manual

HIDRIA
HIDRIA R10R-56LPS-ES50B-04C10 user guide

BLAUBERG Ventilatoren
BLAUBERG Ventilatoren CENTRO-M 100 L user manual

Triangle Engineering
Triangle Engineering HEAT BUSTER SPL Series owner's manual