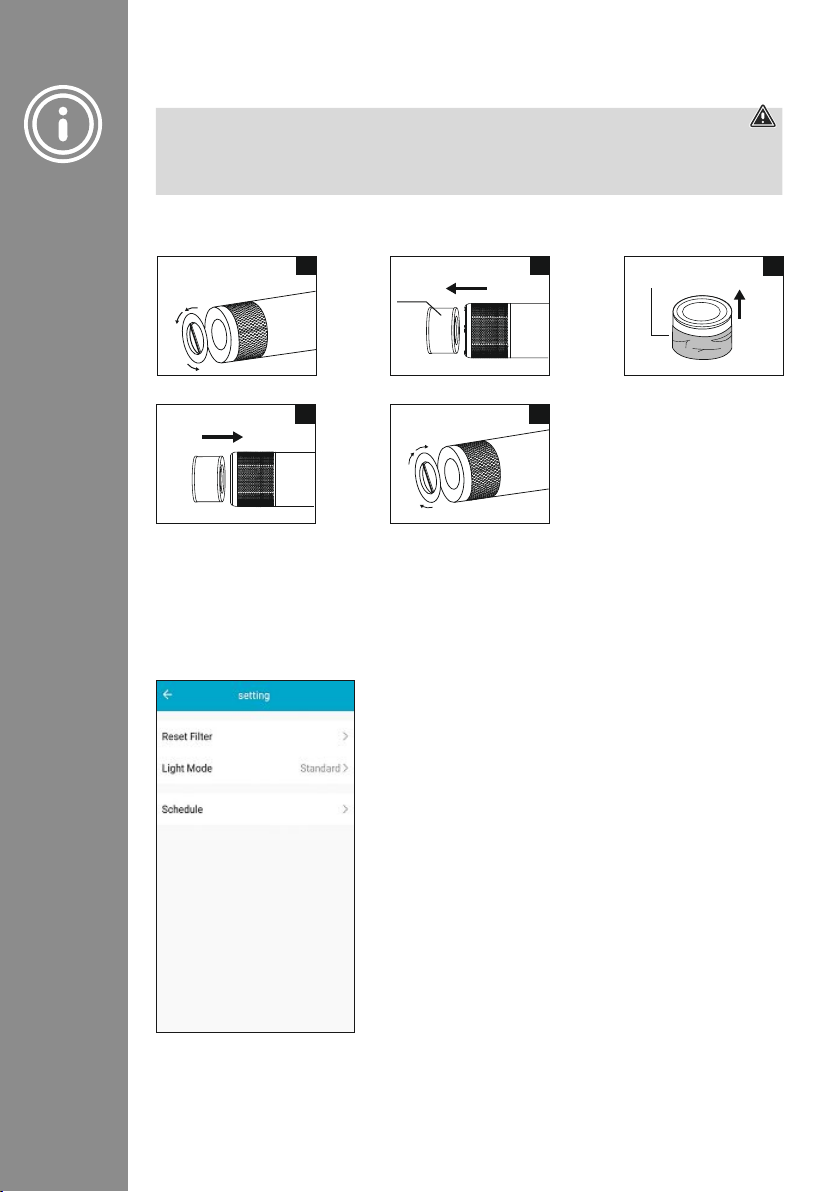
GOperating Instructions
Thank you for choosing aHama product.
Take your time and read the following instructions and information completely.Please keep these instructions in
asafe place for futurereference. If you sell the device, please pass these operating instructions on to the new
owner.
1. Explanation of warning symbols and notes
Risk of electric shock
This symbol indicates arisk of electric shock from touching product parts carrying hazardous voltage.
Warning
This symbol is used to indicate safety instructions or to draw your attention to specichazards and risks.
Note
This symbol is used to indicate additional information or important notes.
2. Safety instructions
•The product is intended for private, non-commercial use only.
•Use the product only for the intended purpose.
•Protect the product from dirt, moistureand overheating and use it in dry rooms only.
•Do not use the product in the immediate vicinity of heaters, other heat sources or in direct sunlight.
•The product is intended only for use inside buildings.
•Only use the article under moderate climatic conditions.
•As with all electrical products, this device should be kept out of the reach of children.
•Do not operate the product outside the power limits specied in the technical data.
•Do not use the product in areas in which electronic products arenot permitted.
•Do not use the product in adamp environment and avoid splashing water.
•Do not drop the product and do not expose it to any major shocks.
•Do not modify the product in any way.Doing so voids the warranty.
•Keep the packaging material out of the reach of children due to the risk of suffocation.
•Dispose of packaging material immediately in accordance with the locally applicable regulations.
•Route all cables so that thereisnorisk of tripping.
•Do not bend or crush the cable.
•Always pull directly on the plug when disconnecting the cable, never on the cable itself.
•This device is not intended for use by persons (including children) with reduced physical, sensory or mental
capabilities, or lack of experience and knowledge, unless they have been given supervision or instruction
concerning use of the device by aperson responsible for their safety.
Risk of electric shock
•Do not open the device or continue to operate it if it becomes damaged.
•Do not use the product if the
AC adapter,the adapter cable or the mains cable aredamaged.
•Do not attempt to service or repair the product yourself.Leave any and all service work to qualied experts.