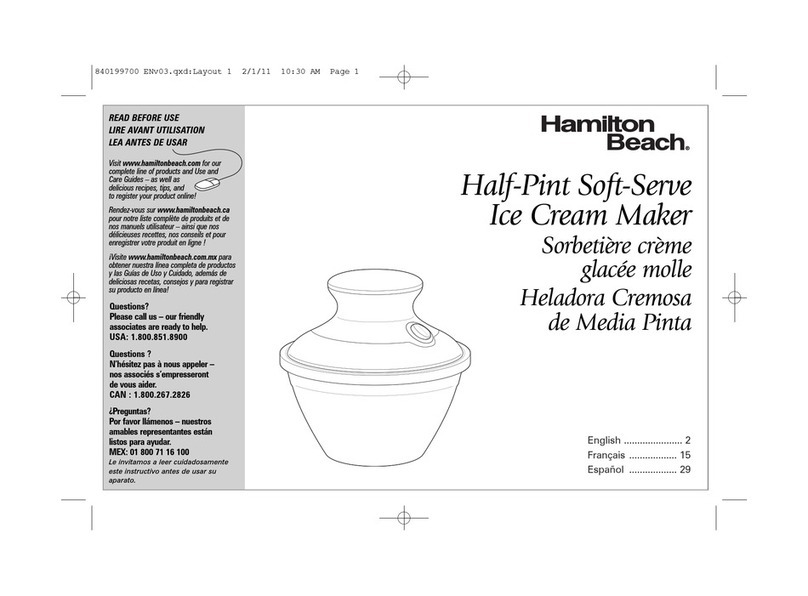
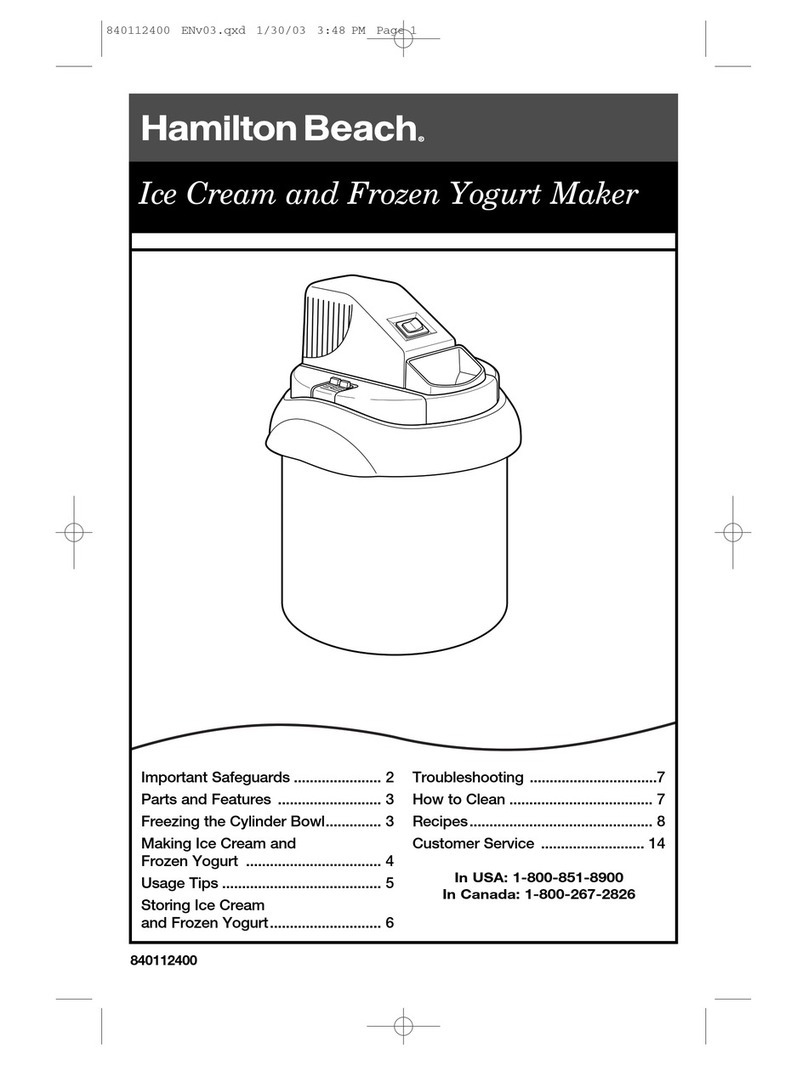
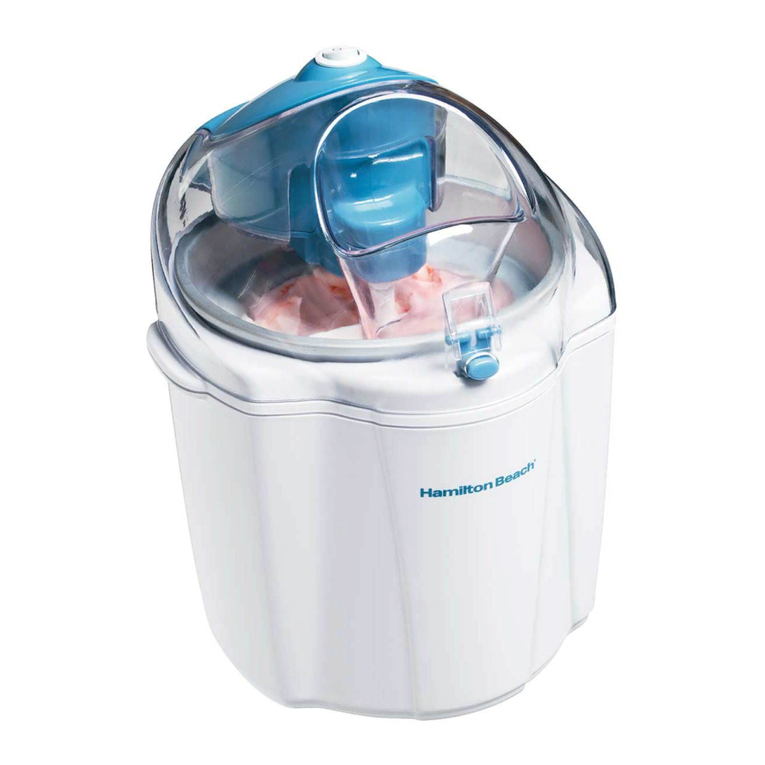
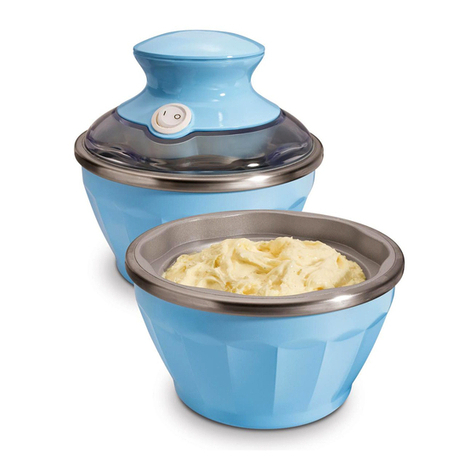
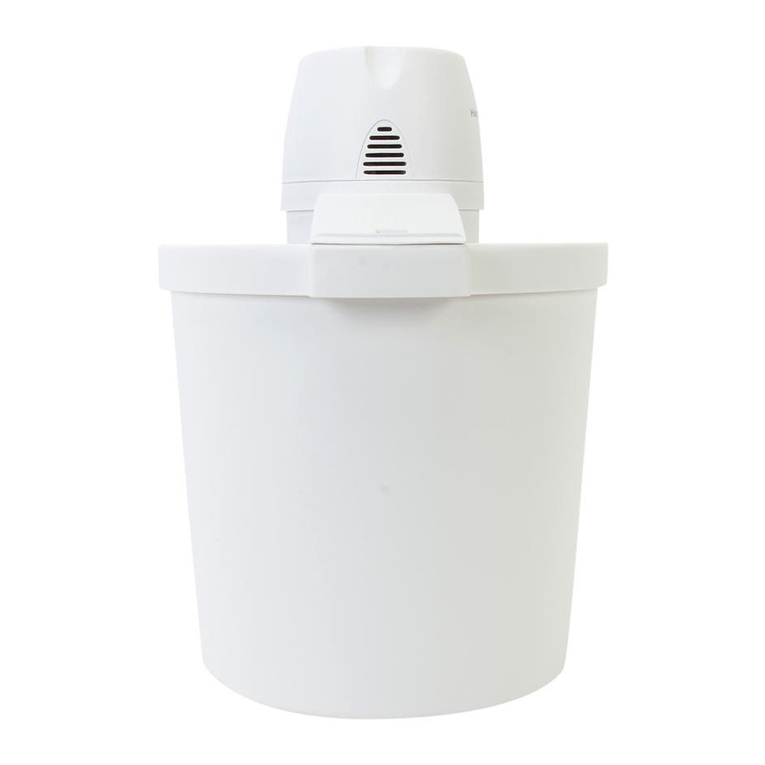
Hamilton Beach 68550-CN User manual

READ BEFORE USE
使用前阅读
使用本设备前,我们建议您仔细阅读
这些说明。
Visit www.hamiltonbeach.cn for our
complete line of products and Use and
Care Guides – as well as
delicious recipes, tips, and
to register your product online!
有关我们所有系列产品的使用与维护指
南
–
以及美味食谱、生活小贴士和
产品在线注册的更多信息,请访问
www.hamiltonbeach.cn
。
English ..................... 2
简体中文 ..................11
Soft Serve
Ice Cream Maker
全自动冰淇淋机
Questions?
Please call us – our friendly
associates are ready to help.
China: 400-852-2655
如有疑问?
请致电我们,我们的团队
随时准备为您提供帮助。
中国大陆免费客服热线
400-852-2655
官方网站:www.hamiltonbeach.cn
型号:68550-CN
68551-CN
68552-CN
68553-CN
68554-CN
此说明书中图片仅供参考,
产品以实物为准。

2
IMPORTANT SAFEGUARDS
1. Read all instructions.
2. Check voltage to be sure that the voltage indicated on the
nameplate agrees with your voltage.
3. To protect against risk of electrical shock, do not put motor
housing of appliance in water or other liquid.
4. Close supervision is necessary when any appliance is used
by or near children. This is not a toy or children’s product.
This product is not designed or intended for use by children
age 12 or younger.
5. Unplug from outlet when not in use, before putting on or taking
off parts, and before cleaning.
6. Avoid contacting moving parts.
7. Do not operate any appliance with a damaged cord or plug or
after the appliance malfunctions, or is dropped or damaged in any
manner. Call our toll-free customer service number for information
on examination, repair, or electrical or mechanical adjustment.
8. The use of attachments not recommended or sold by the
appliance manufacturer may cause fire, electric shock, or injury.
9. Do not use outdoors.
10. Do not let cord hang over edge of table or counter or touch hot
surfaces.
11. Keep hands and utensils out of freezer bowl while in use to reduce
the risk of injury to persons or to the appliance itself.
12. Do not place on or near hot surfaces such as a hot gas or electric
burner. Do not use this unit near oven, heater, or fireplace.
13. Do not operate dry. Always have mixture in freezer bowl.
14. Do not use appliance for other than intended purpose.
When using electrical appliances, basic safety precautions should always be followed to reduce the risk of fire, electric shock, and/or injury to
persons, including the following:
SAVE THESE INSTRUCTIONS!
OTHER CONSUMER SAFETY INFORMATION
This appliance is intended for household use only.
The length of the cord used on this appliance was selected to reduce
the hazards of becoming tangled in or tripping over a longer cord. If
a longer cord is necessary, an approved extension cord may be
used. The electrical rating of the extension cord must be equal to
or greater than the rating of the appliance. Care must be taken to
arrange the extension cord so that it will not drape over the counter-
top or tabletop where it can be pulled on by children or accidentally
tripped over.

3
Parts and Features
Freezer Bowl(s)
(NOTE: Liquid contained in
freezer bowl is nontoxic)
Motor On/Off
Switch
Mixing Paddle
Motor Housing
Power Cord
BEFORE FIRST USE: Remove all literature and packing material from inside the ice
cream maker. Clean freezer bowl(s), mixing paddle, and lid in warm, soapy water.
Thoroughly rinse and dry all parts. DO NOT immerse motor in water. To clean,
wipe with a damp cloth.
Locking Tabs
Lid

4
How to Make Ice Cream
2
134
Allow freezer bowl(s) to freeze
completely. NOTE: Liquid con-
tained in freezer bowl(s) is
nontoxic.
Prepare ice cream mixture.
NOTE: Use between 6–12 oz. of
mixture. Do not exceed 12 oz.
Chill mixture in refrigerator. Insert mixing paddle into motor
housing.
FOR BEST RESULTS:
• Before churning, thoroughly chill ice cream
mixture in the refrigerator and the freezer bowl(s)
in freezer. Freezer bowl(s) should remain in the
freezer for at least 8 hours before use. Freezer
temperature should be set to the coldest setting
and bowls should be placed towards the back
wall.
• This unit produces soft serve ice cream—the
consistency will not be the same as hard, store-
bought ice cream.
• If ice cream is not made after running the unit for
15 minutes maximum, your bowls have not been
frozen long enough OR your freezer is not cold
enough. See Troubleshooting section.
• If you wish to store any leftover ice cream in the
freezer bowl, simply place it inside a large plastic
zippered storage bag and put it back into the
freezer.

5
8
Allow paddle to churn in mixture
for approximately 5–15 minutes.
If needed, press down lightly on
lid during the first few minutes
of churning. This may be needed
from time to time on lower-fat/
lower-sugar recipes.
NOTE: Pushing too hard will
result in the paddle reversing
back and forth.
How to Make Ice Cream (cont.)
6
Ensure lid with motor housing is securely placed on freezer bowl.
Plug into outlet. Press switch to ON (I).
IMPORTANT: Place lid on bowl quickly after pouring ingredients into
bowl, within a few seconds if possible. This will yield better results.
7
5
Pour chilled mixture into freezer
bowl. Do not exceed 12 oz.
(360 ml) of chilled mixture. Make
ice cream one bowl at a time.

6
How to Make Ice Cream (cont.)
10
Unit will not turn OFF automatical-
ly. You must press switch to OFF
(O) to stop churning. Unplug from
outlet.
11
Remove lid. Frozen mixture may
be eaten directly out of the freezer
bowl. To prevent surface scratch-
ing, using plastic utensils is rec-
ommended when eating directly
from freezer bowls.
TO MAKE:
6 ounces (180 ml)
12 ounces (360 ml)
CHURN APPROXIMATELY:
5–6 minutes
8–9 minutes
After turning unit off, let it sit with the paddle and lid still attached
for approximately 2 minutes (see Step 10).
NOTE: If the ice cream mixture is too thick, or sat in freezer bowl
too long before churning, the paddle may struggle and/or reverse
directions. Turn unit OFF (O), break up the mixture in the bowl
with a spoon, replace the paddle, and turn back ON (I).
9
Ice cream is done when it looks
like “soft serve.” A thin layer of
ice cream may stick to the out-
side of bowl; this is normal. Turn
OFF (O); then let sit with mixing
paddle/lid still attached for about
2 minutes, allowing the ice
cream to freeze further.

7
Tips for Best Results
• The machine will run until turned off. See Troubleshooting
if your unit did not make ice cream in 15 minutes.
• Add mix-ins, such as chocolate chips or chopped nuts,
after ice cream has churned for at least 5 minutes or
when mixture is thick and has started to freeze. Make sure
the mixing paddle is firmly pressed down to the bottom of
the freezer bowl when replacing lid (after adding mix-ins).
The mixing paddle should continue scraping the freezer
bowl and not sit on top of the mix-in ingredients.
• The finished result is a soft, spoonable ice cream.
Homemade ice cream will not be the same consistency
as hard, store-bought ice cream.
• Ice cream tastes best when fresh. It will begin to lose its
fresh taste after several days in the freezer.
• Using metal utensils may scratch the surface of the freezer
bowls, but this will not harm the unit. Plastic utensils are
recommended when eating directly from the freezer bowls
to extend the life of your unit.
• Placing hand on lid and pressing down lightly will help
churning and prevent as much ice cream from sticking to the
side of the bowl. A thin layer of ice cream will always stick to
the outside of the bowl; this is normal.
• Keep the freezer bowl(s) in the freezer so that you can make
ice cream at any time.
• For best results, the freezer bowl must be frozen thoroughly.
Make sure to set your freezer at the coldest setting
(temperature should not be more than 0°F [-18°C]).
• Firmness of ice cream depends on variables such as the rec-
ipe used, room temperature, and temperature of ingredients
before churning.
• Some recipes require the mixture to be precooked. Make
the recipe at least one day ahead. This will allow the mixture
to cool completely and increase volume. Base mixture may
not freeze if it is not thoroughly chilled.
• Do not remove freezer bowl from the freezer until ready
to use.
• Do not puncture or heat the freezer bowl.

8
Cleaning
13
Wipe motor housing with a damp
cloth. Do not immerse in water or
other liquid.
4
Wash lid, mixing paddle, and
freezer bowl in sink. The lid and
mixing paddle may be placed in
the top rack of the dishwasher.
Electrical Shock Hazard.
Disconnect power before cleaning.
Do not immerse motor housing or cord in any liquid.
WARNING
2
Squeeze locking tabs and remove
motor housing from lid.

9
Troubleshooting
PROBLEM
Ice cream is not firm enough or
ice cream maker is still running
after 15 minutes.
Ice cream maker stops churning
before ice cream is ready.
Surface of bowl(s) scratched.
Ice cream too firm.
Thick layer of ice cream sticking
to sides of bowl(s).
PROBABLE CAUSE
• The freezer bowl was not in the freezer long enough (for best results, at least 8 hours or
preferably overnight).
• The freezer is not cold enough. Ice cream sets at 10° to 14°F (-12° to -10°C). If the freezer
is not at 0°F (-18°C), the ice cream will not set.
• Too much mixture was put in freezer bowl. Maximum fill is 12 oz. (360 ml).
• Ingredients are warm or at room temperature.
• The freezer bowl was left at room temperature for more than 5 minutes before use.
• The freezer door was opened and closed too many times during the freezing process.
• The freezer bowl has a thick coating of ice on the walls. After washing, dry completely prior to
placing back in freezer.
• Mix-in ingredients, such as chocolate chips or chopped nuts, were added too soon. Wait until ice
cream has churned for at least 15 minutes or until mixture is thick and has started to freeze before
adding.
• The mix-in ingredients are too large, causing the paddle to jam. Chop nuts or other ingredients
before adding.
• Too large a quantity of mix-in ingredients has been added. Add one cup or less of mix-in ingredients.
• Using metal utensils may scratch the surface of the freezer bowls, but this will not harm the unit.
Plastic utensils are recommended when eating directly from the freezer bowls to extend the life of
your unit.
• To order replacement bowls, call the customer service number located on the front cover of this
Use and Care guide.
• Letting the ice cream sit in the freezer bowls for some time after churning will make the mixture
very firm and difficult to scoop. Simply allow the churned mixture to sit for a few additional minutes
and it will begin to soften again.
• A thin layer of ice cream on the sides of bowl is normal. Greater sticking tends to be present in low-
er-fat/lower-sugar recipes. When churning, place hand lightly on lid for the first few minutes to help
these recipes begin to freeze.

10
Vanilla Ice Cream
100mL heavy whipping cream
50mL whole milk
50mL sugar
2 mL lemon juice
1mL vanilla extract
Combine ingredients in a 1-quart container with a tight-fitting lid. Shake until sugar
is dissolved. Keep refrigerated.
Add-ins:
Fruit
Candy
Cookies
Nuts
Place 6–12 ounces (180–360 ml) of ice cream base into freezer bowl. Turn motor
ON (I). Once mixture starts to thicken, turn motor OFF (O), remove lid, and add
3 tablespoons of your favorite mix-in. Replace lid; then restart motor. Hold down
lid until mixing paddle starts to rotate smoothly.
Individual Recipes (6 ounces each)
Chocolate Ice Cream
4 teaspoons (20 ml) unsweetened baking cocoa
2 tablespoons (30 ml) sugar
1/2 cup (125 ml) half-and-half
1/4 teaspoon (1.25 ml) vanilla extract
Combine cocoa and sugar and stir to mix. Add a small amount of half-and-half and
mix. Add remaining half-and-half and vanilla. Stir until well-mixed.
Cappuccino Ice Cream
1 teaspoon (5 ml) instant coffee powder
1/4 teaspoon (1.25 ml) unsweetened baking cocoa
2 tablespoons (30 ml) sugar
1/2 cup (125 ml) half-and-half
Combine all ingredients and stir for 30 seconds to dissolve sugar and coffee.
Recipes
Frozen Strawberry Yogurt
May use strawberry, blueberry, raspberry, or any combination.
1/3 cup (80 ml) berry yogurt
2 tablespoons (30 ml) finely chopped or mashed strawberries
2 tablespoons (30 ml) sugar
3 tablespoons (45 ml) low-fat milk
Combine all ingredients and stir well to mix.
NOTE: Any other type of berries may be substituted for strawberries in this recipe.
Pomegranate-Berry Sorbet
1/4 cup (60 ml) raspberries
1/2 cup (125 ml) pomegranate juice
2 tablespoons (30 ml) sugar
Mash berries. Combine with other ingredients and stir well to mix.
Citrus Cooler Sorbet
2/3 cup (160 ml) orange juice
Grated zest of 1/4 of a lemon
2 tablespoons (30 ml) sugar
Combine all ingredients and stir well to mix.
NOTE: For an easy treat, try making “frozen yogurt.” Simply put one 6-oz. (180 ml) container of yogurt into a freezer bowl and follow
instructions in “How to Make Ice Cream.”
Visit www.hamiltonbeach.cn for our
complete line of products and Use and Care
Guides – as well as delicious
recipes, tips, and to register
your product online!

11
重要安全说明
1. 使用前阅读所有说明。
2. 检查电压是否符合设备铭牌上所指示的电压要求。
3. 为防止电击的危险,请勿将该设备的电机机身放入水或其他液体中。
4. 使用或在儿童附近使用该设备时,一定要密切监督。本产品不是玩具
或儿童产品。本产品不可用于12岁以下儿童使用。
5. 不用时、拆装部件或清洁前,请从插座上拔下电源插头。
6. 避免接触运动部件。
7. 在下列情况下,请勿使用设备:电源线或插头破损、或设备出现故障
后、设备曾跌落或已经出现任何形式的损坏。请拨打我们的免费售后
服务电话,咨询有关电器检查、修理或调整的相关信息。
8. 使用非设备制造商推荐的配套附件可能会导致火灾、电击或人身
伤害。
9. 请勿户外使用。
10. 请勿将电源线搭置在桌台边缘上以及与发热表面接触。
11. 为了减少人身受伤或设备损坏的危险,双手和器具请勿放入冷冻
碗中。
12. 请勿靠近或放置在发热表面上,例如,燃气或电炉。请勿在烤箱、
加热器或壁炉附近使用本设备。
13. 请勿干运行。在冷冻碗中一定要有混合物材料。
14. 请勿将本设备用于非预定用途。
在使用该设备时,为减少火灾、电击和/或人身伤害的危险,应始终遵守基本的安全防范措施,包括以下内容:
请妥善保管这些说明!
其他用户安全信息
本产品建议家庭使用。
本设备电源线的长度设计考虑减少长电源线缠绕或绊倒的危险。倘若需
要更长的电源线,可使用批准的电源延长线。电源延长线的额定电功率
必须等于或大于此设备的额定电功率。电源延长线使用时需特别注意,
以防将其搭设在工作台或桌台上,造成儿童扯拉或绊倒他人。

12
部件和功能
冷冻碗
(注意:冷冻碗中的
液体无毒)
电机开关
搅拌叶板
电机机身
电源线
初次使用前:请拆除冰淇淋机内部所有文字性材料和包装材料。用温洗洁精水清洗冷
冻碗、搅拌叶板和机盖。彻底冲洗所有部件并擦干。请勿将电机浸入水中。如要清
洗,使用湿布擦拭干净即可。
锁扣
机盖

13
如何制作冰淇淋
2
134
让冷冻碗完全冷冻。
注意:冷冻碗中的液体无毒。
准备冰淇淋混合料。
注意:使用 6 至 12 盎司
(180-360 毫升)混合料。
不要多于 12 盎司(360 毫升)。
将混合料放入冰箱冷冻。 将搅拌叶板插入电机机身。
为达到最佳效果:
• 搅拌前,将冰淇淋混合料完全放入冰箱保鲜柜冻到
5-10度。并将冷冻碗放入冰柜。使用前,冷冻碗应
在冰柜中冰冻至少 8 小时。冰柜温度应设置成最低
温度设置且冷冻碗应该放在靠近冰柜壁处。
• 本设备生产软冰淇淋,其稠度与硬冰淇淋、商店售
卖的冰淇淋不同。
• 如果冰淇淋不是在设备运行 15 分钟(最多)后制
成,冷冻碗冰冻时间不够长或冰柜不够冷。请参见
故障排除章节。
• 如果您想要在冷冻碗中储藏剩余冰淇淋,只需将其
放入较大带拉链的塑料袋中,并将袋子放入冰柜。

14
8
让搅拌叶板搅拌混合料液约 5 至
15 分钟。如有必要,在搅拌前几分
钟,轻轻按住机盖。低脂/低糖配方
可能时不时需要按住机盖。
注意:按压过重将会导致搅拌叶板
来回扭动。
如何制作冰淇淋(续)
6
确保带机盖和电机机身完全盖紧冷冻碗。将插头插入插座。将开关按至
开 (I)。
重要信息:倒入料液后,快速将机盖盖紧冷冻碗(在几秒钟之内完成)。
这将会使效果更佳。
7
5
将冷冻的混合料倒入冷冻碗。冷冻
混合料不要多于 12 盎司(360 毫
升)。一次制作一碗冰淇淋。

15
如何制作冰淇淋(续)
10
设备不会自动关机。您必须将开关
按至关机 (O),以停止搅拌。从插座
上拔下插头。
11
取走机盖。可直接从冷冻碗中舀
取冷冻混合料食用。为防止表面刮
伤,直接从冷冻碗食用时,建议使
用塑料餐具。
制作数量:
6 盎司(180 毫升)
12 盎司(360 毫升)
搅拌大致时间:
5 至 6 分钟
8 至 9 分钟
关机后,让设备(不取下搅拌叶板和机盖)放置约 2 分钟(参见步
骤 10)。
注意:如果冰淇淋混合料太厚,或搅拌前放置于冷冻碗太长时间,
搅拌叶板可能会费劲或反方向转动。关机 (O),用调羹在碗中将混
合料打碎,装上搅拌叶板并重新开机 (I)。
9
当冰淇淋看似“柔软”时,冰淇
淋即已制作完成。一薄层冰淇淋可
能会粘在冷冻碗外部,这属正常现
象。关机 (O);然后将设备(不取
下搅拌叶板和机盖)放置约 2 分
钟,让冰淇淋进一步冻结。

16
达到最佳效果的小技巧
• 设备如未关机将一直运行。如果您的设备在 15 分钟内无法制作
冰淇淋,请参见故障排除。
• 冰淇淋至少搅拌 5 分钟后或当混合料变浓且开始冻结时,加入
朱古力碎或碎坚果之类的添加物。重新盖上机盖时(加入添加
物后),确保搅拌叶板牢牢地按至冷冻碗底部。搅拌叶板应继
续在冷冻碗内刮削,且不应停留在添加物的上方。
• 成品是软质、可用调羹舀取的冰淇淋。家庭制作的冰淇淋与硬冰
淇淋、商店售卖的冰淇淋稠度不同。
• 冰淇淋新鲜时,口味最佳。冰淇淋在冰柜放置几天后,其新鲜口
感开始消失。
• 使用金属餐具可能会刮伤冷冻碗表面,但是不会损坏设备。直
接从冷冻碗食用冰淇淋时,建议使用塑料餐具,以延长设备使用
寿命。
• 将手放置在机盖上并轻轻按下将帮助搅拌和防止更多冰淇淋粘住
冷冻碗壁。一薄层冰淇淋总会粘在冷冻碗外部,这属正常现象。
• 将冷冻碗一直放在冰柜中,以便随时制作冰淇淋。
• 为达到最佳效果,冷冻碗必须彻底冷冻。确保将冰柜设置成最
低温度设置(温度不应高于 0°F [-18°C])。
• 冰淇淋硬度取决于多个变量,如所使用的配方、室温和搅拌前冰
淇淋料的温度。
• 部分配方要求混合料需先煮好。至少提前一天做好配方材料。
这可让混合料完全冷却并增加用量。如果主混料未完全冷冻,
它将无法冻结。
• 如果不准备使用,请勿将冷冻碗从冰柜中取出。
• 请勿刺穿或加热冷冻碗。

17
清洁
13
使用湿布擦拭电机机身。严禁将电
机机身浸入水或其他液体中。
4
在水槽中清洗机盖、搅拌叶板和冷
冻碗。机盖和搅拌叶板可放在洗碗
机顶层架上清洗。
触电危险。
清洗前,请断开电源。
请勿将电机机身或电源线浸入任何液体中。
警告
2
按下锁扣,将电机机身从机盖上
移出。

18
故障排除
问题
冰淇淋不够硬或冰淇淋机 15 分钟
后仍在运行。
冰淇淋还未制作完成时,冰淇淋
机停止搅拌。
冷冻碗表面刮伤。
冰淇淋太硬。
较厚的一层冰淇淋粘在碗壁上。
可能的原因
• 冷冻碗放置冰柜时间不够长(为达到最佳效果,需放置至少 8 小时或整晚更佳)。
• 冰柜不够冷。冰淇淋固化温度为 10° 至 14°F(-12° 至 -10°C)。如果冰柜温度不是 0°F (-18°C),冰淇淋将
无法固化。
• 冷冻碗中加入太多混合料。最多加入 12 盎司(360 毫升)。
• 混合料较温或在室温下。
• 使用前,冷冻碗在室温下放置超过 5 分钟。
• 冷冻过程中,冰柜门开开关关太多次。
• 冷冻碗壁上有层厚厚的冰。清洗后,将其彻底擦干再放入冰柜。
• 添加材料如朱古力碎或碎坚果加入过早。待搅拌至少 15 分钟或混合物变浓并开始冻结后再添加。
• 添加材料太大,导致搅拌叶板被卡住。加入前,将坚果或其他材料切碎。
• 加入太多添加材料。加入一杯或更少添加材料。
• 使用金属餐具可能会刮伤冷冻碗表面,但是不会损坏设备。直接从冷冻碗食用冰淇淋时,建议使用塑料餐
具,以延长设备使用寿命。
• 如要订购替换碗,请拨打本使用和护理指南封面上的客服号码。
• 搅拌完成后,让冰淇淋放置在冷冻碗中一段时间后,混合料会变得坚硬且舀取困难。只需让已搅拌的混合
料再放置几分钟,就会开始变软。
• 冰淇淋薄层粘在碗壁上属正常现象。低脂/低糖配方中,冰淇淋粘连更多。搅拌前几分钟时,将手轻轻放
在机盖上以帮助这些配方开始冻结。

19
香草冰淇淋
100毫升浓奶油
50毫升全脂牛奶
50毫升糖
2毫升柠檬汁
1毫升香草精
将材料倒入带盖的容器中混合。摇晃或搅拌直至糖溶化,然后冷藏。
添加物:
水果
糖果
曲奇
坚果
将 6 至 12 盎司(180 至 360 毫升)冰淇淋底粉加入冷冻碗。开机 (I)。混合
料开始变浓后,立即关机 (O),取下机盖并加入 3 汤匙您喜欢的添加物。
盖上机盖;然后重新开机。按下机盖,直至搅拌叶板开始顺利旋转。
个性配方(每个 6 盎司)
巧克力冰淇淋
4 茶匙(20 毫升)不加糖烘焙可可粉
2 汤匙(30 毫升)糖
1/2 杯(125 毫升)淡奶油
1/4 茶匙(1.25 毫升)香草精
将可可粉和糖搅拌混合。加入少量淡奶油并搅拌。加入剩余淡奶油和香
草精。搅拌直至混合均匀。
卡布其诺冰淇淋
1 茶匙(5 毫升)即溶咖啡粉
1/4 茶匙(1.25 毫升)不加糖烘焙可可粉
2 汤匙(30 毫升)糖
1/2 杯(125 毫升)淡奶油
将所有材料混合,搅拌 30 秒,溶化糖和可可粉。
食谱
速冻草莓酸奶
可使用草莓、蓝莓、覆盆子或其他任何组合。
1/3 杯(80 毫升)浆果酸奶
2 汤匙(30 毫升)切细的或粉碎的草莓
2 汤匙(30 毫升)糖
3 汤匙(45 毫升)低脂牛奶
将所有材料混合并搅拌至混合均匀。
注意:本配方中,任何其他莓类均可替代草莓。
石榴浆果冰沙
1/4 杯(60 毫升)覆盆子
1/2 杯(125 毫升)石榴汁
2 汤匙(30 毫升)糖
捣碎浆果。与其他材料混合并搅拌至混合均匀。
清凉柑橘冰沙
2/3 杯(160 毫升)柑橘汁
1/4 个捣碎的柠檬皮
2 汤匙(30 毫升)糖
将所有材料混合并搅拌至混合均匀。
注意:如要制作简单冰品,尝试制作“冷冻酸奶”。只需将 6 盎司(180 毫升)装的酸奶倒入冷冻碗,并遵循“如何
制作冰激凌”中的说明。
访问 www.hamiltonbeach.cn,了解
我们完整的产品系列和使用及护理
指南,以及美味配方、
小贴士和在线注册您的
产品。
Dist.: Hamilton Beach Brands, Inc., Glen Allen, VA 23060
© 2014 Hamilton Beach Brands, Inc.
以上内容如有改动,恕不预先通知

840216304
Model/型号:
68550-CN
68551-CN
68552-CN
68553-CN
68554-CN
Dist.: Hamilton Beach Brands, Inc., Glen Allen, VA 23060
© 2014 Hamilton Beach Brands, Inc.
以上内容如有改动,恕不预先通知
Type/类别:
IC05
Rating/规格
220V ~ 50Hz, 12.5W
This manual suits for next models
4
Table of contents
Other Hamilton Beach Ice Cream Maker manuals

Hamilton Beach
Hamilton Beach 68660 Owner's manual

Hamilton Beach
Hamilton Beach 68770 Owner's manual

Hamilton Beach
Hamilton Beach 68330 User manual

Hamilton Beach
Hamilton Beach 68330N User manual

Hamilton Beach
Hamilton Beach 68120 User manual

Hamilton Beach
Hamilton Beach Ice Cream and Frozen Yogurt Maker User manual

Hamilton Beach
Hamilton Beach 68550E User manual

Hamilton Beach
Hamilton Beach 68508 Owner's manual

Hamilton Beach
Hamilton Beach 68220 - 1.5 Qt Capacity Ice Cream Maker User manual
Hamilton Beach
Hamilton Beach 68880 User manual