4 Installation of Wi-Fi Mobile Station
4.1 USB Hard Disk mode
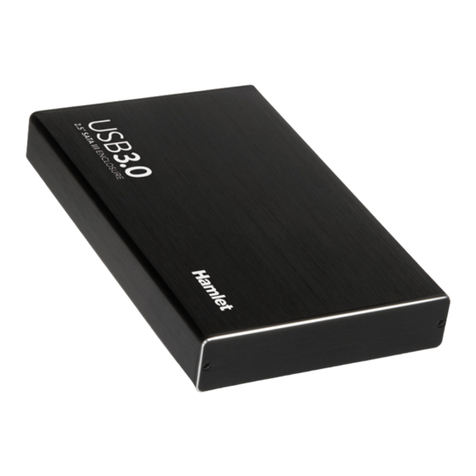
The device can act as an external hard drive when it is connected to a
computer through USB cable.
3. Insert the hard drive into the Wi-Fi enclosure, making sure to place it in
the correct direction.
4. Make sure the HDD is firmly connected to the SATA connector.
5. Position the cover and close the enclosure by sliding the cover until you
hear a click.
6. Connect the USB 3.0 cable to the Wi-Fi enclosure and to an available
USB port of your computer.
7. Turn on the device by pressing the power button.
8. The computer will automatically detect the new hardware and the hard
disk will be visible and accessible by the operating system as a standard
external drive.
Note: The Wi-Fi interface is automatically turned off when the Wi-Fi Mobile
Station is connected via USB cable.
4.2 Wireless Hard Disk mode (Wi-Fi direct connection)
Please follow the steps below to use the device as a wireless storage drive.
1. Insert the hard drive into the Wi-Fi enclosure, making sure to place it in
the correct direction.
2. Make sure the HDD is firmly connected to the SATA connector.
3. Position the cover and close the enclosure by sliding the cover until you
hear a click.
4. Turn on the device pressing the power button.
5. Please wait at least 40 seconds for the Wi-Fi signal to be ready.
6. Open the wireless utility of your operating system and connect to
“Hamlet-WiFiDisk-XXXX” wireless network.
7. When requested, input the Wi-Fi key. The default password is
“az48486y”.
Your device is now wirelessly connected to the Wi-Fi Mobile Station.
Please refer to chapter 5 of this manual to learn about the different ways to
access the hard disk data.
