H&S 2108 User manual

2108/2110/21122108/2110/2112
ActionAction
RAKERAKE
MM
AA
NN
UU
AA
LL
OO
PP
EE
RR
AA
TT
OO
RR
SS
Part #67830 Rev. #01 HSMFG0119Part #67830 Rev. #01 HSMFG0119
READ AND UNDERSTAND THIS MANUAL BEFOREREAD AND UNDERSTAND THIS MANUAL BEFORE
OPERATING THIS EQUIPMENT. UNSAFE OPERATIONOPERATING THIS EQUIPMENT. UNSAFE OPERATION
OR MAINTENANCE OF THIS EQUIPMENT CAN RESULTOR MAINTENANCE OF THIS EQUIPMENT CAN RESULT
IN SERIOUS INJURY OR DEATH.IN SERIOUS INJURY OR DEATH.
WARNINGWARNING
2108 Starting w/Serial #911AR080012108 Starting w/Serial #911AR08001
2110 Starting w/Serial #911AR100012110 Starting w/Serial #911AR10001
2112 Starting w/Serial #911AR120052112 Starting w/Serial #911AR12005

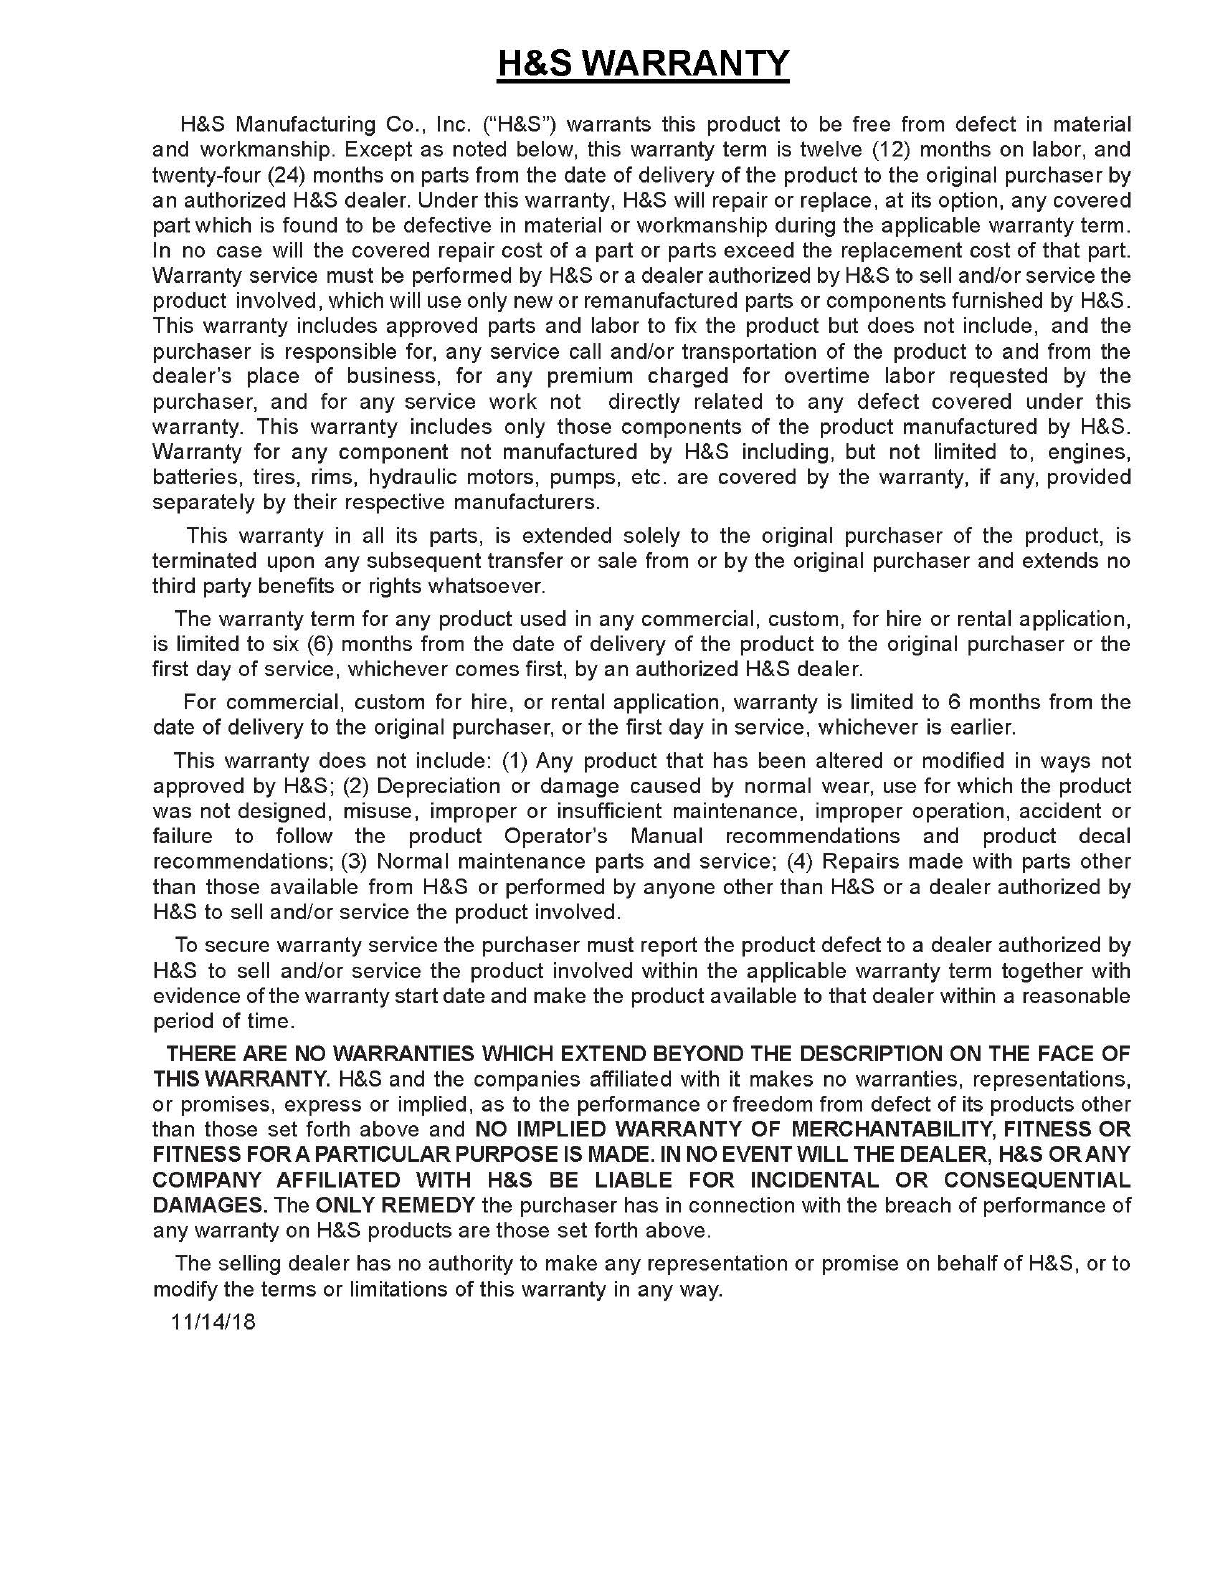
Warranty . . . . . . . . . . . . . . . . . . . . . . . . . . . . . . . . . . . . . . . . . . . . . . . . . . . . . . . . . . . . . . . . . . . . . 1
Manufacturer’s Statement . . . . . . . . . . . . . . . . . . . . . . . . . . . . . . . . . . . . . . . . . . . . . . . . . . . . . . . . 2
Warranty Registration Form . . . . . . . . . . . . . . . . . . . . . . . . . . . . . . . . . . . . . . . . . . . . . . . . . . . . . . 3
Dealer Pre-Delivery Checklist . . . . . . . . . . . . . . . . . . . . . . . . . . . . . . . . . . . . . . . . . . . . . . . . . . . . 5
Delivery Checklist . . . . . . . . . . . . . . . . . . . . . . . . . . . . . . . . . . . . . . . . . . . . . . . . . . . . . . . . . . . . . . 7
Safety Information - Be Alert Symbol . . . . . . . . . . . . . . . . . . . . . . . . . . . . . . . . . . . . . . . . . . . . . . . 9
Explanation of Safety Signs . . . . . . . . . . . . . . . . . . . . . . . . . . . . . . . . . . . . . . . . . . . . . . . . . . . . . 10
Safety Decals . . . . . . . . . . . . . . . . . . . . . . . . . . . . . . . . . . . . . . . . . . . . . . . . . . . . . . . . . . . . . . . . . 11
Safety Information - Warning - Owner Must Read and Understand . . . . . . . . . . . . . . . . . . . . . . 12
Cap Screw Torque Value . . . . . . . . . . . . . . . . . . . . . . . . . . . . . . . . . . . . . . . . . . . . . . . . . . . . . . . . 13
Set-Up & Assembly . . . . . . . . . . . . . . . . . . . . . . . . . . . . . . . . . . . . . . . . . . . . . . . . . . . . . . . . . . . . 14
Transporting . . . . . . . . . . . . . . . . . . . . . . . . . . . . . . . . . . . . . . . . . . . . . . . . . . . . . . . . . . . . . . . . . . 15
Preparing for Operation . . . . . . . . . . . . . . . . . . . . . . . . . . . . . . . . . . . . . . . . . . . . . . . . . . . . . . . . . 16
Operation & Adjustments . . . . . . . . . . . . . . . . . . . . . . . . . . . . . . . . . . . . . . . . . . . . . . . . . . . . . 17-19
Optional Equipment . . . . . . . . . . . . . . . . . . . . . . . . . . . . . . . . . . . . . . . . . . . . . . . . . . . . . . . . . . . . 20
Lubrication Guide . . . . . . . . . . . . . . . . . . . . . . . . . . . . . . . . . . . . . . . . . . . . . . . . . . . . . . . . . . . 21-22
Decal Location . . . . . . . . . . . . . . . . . . . . . . . . . . . . . . . . . . . . . . . . . . . . . . . . . . . . . . . . . . . . . 23-25
Troubleshooting Guide . . . . . . . . . . . . . . . . . . . . . . . . . . . . . . . . . . . . . . . . . . . . . . . . . . . . . . . 26
Service Notes . . . . . . . . . . . . . . . . . . . . . . . . . . . . . . . . . . . . . . . . . . . . . . . . . . . . . . . . . . . . . 27-28
Specications . . . . . . . . . . . . . . . . . . . . . . . . . . . . . . . . . . . . . . . . . . . . . . . . . . . . Inside Back Cover
CONTENTS

-3-

-4-
H&S reserves the right to make changes or add improvements to its products
at any time without incurring any obligation to make such changes to products
previously manufactured. Specications, statements and descriptions of Products
contained in this publication are subject to change without prior notication.

-5-
(Remove Copy At Perforation)

-6-
Intentionally Left Blank

-7-
Rake was not damaged in shipment. Check for dents and loose or missing parts.
Report damage immediately to H&S Manufacturing Co., Inc.
Rake has been correctly assembled according to instructions in this manual. Wheel
nuts and all other fasteners are tightly secured.
All bolts and fasteners are tight.
All grease ttings have been lubricated. See Lubrication Chapter of this manual for
details.
Hoses and ttings are properly attached and there are no visible leaks.
All mechanisms are operating trouble free.
Rake wheels touch ground in unison when lowered into position (Rake setting level).
Wheels are properly mounted.
Tires are inated to correct pressure.
Decals are in place and legible.
After the Rake has been completely set up, check to be certain it is in correct operating order before
delivering to the customer. The following is a list of points to inspect. Check o each item as you
have made the proper adjustments and found the item operating satisfactorily.
Serial Number
Dealer’s Name
Signature of Pre-Delivery Inspector
(Remove Dealers File Copy At Perforation)
DEALER PRE-DELIVERY CHECKLIST
AFTER COMPLETION, DEALER SHOULD REMOVE AND RETAIN FOR RECORDS
Inspection Date
Model Number

-8-
Intentionally Left Blank

-9-
This check list that follows is an important reminder of valuable information that should be passed
on to the customer at the time this Rake is delivered.
Check o each item as you explain it to the customer.
This delivery checklist, when properly lled out and signed, assures the customer that the
pre-delivery service was satisfactorily performed.
Explain to the customer that the pre-delivery inspection was made.
Explain to the customer all the safety precautions they must exercise when operating
this unit.
Explain raking and windrow width adjustments.
Explain to customer that regular lubrication is required for proper operation and long life
of machine.
Show customer the lubrication section of Owner’s Manual.
Give the customer Owner’s Manual and make sure they read and understand all
operating and service instructions.
Have the customer sign a completed “Warranty Registration” and mail it.
DEALER DELIVERY CHECKLIST
(Remove Dealer File Copy At Perforation)
AFTER COMPLETION, DEALER SHOULD REMOVE AND RETAIN FOR RECORDS
Date Delivered
Dealer’s Name
By
Signature of Original Buyer
Note: Warranty is not valid until warranty card is completed and returned to H&S Mfg. Co., Inc.

-10-
Intentionally Left Blank

-11-
YOUR SAFETY
IS INVOLVED.
THIS SYMBOL IS USED THROUGHOUT THIS BOOK WHENEVER YOUR PERSONAL SAFETY IS
INVOLVED. TAKE TIME TO BE CAREFUL. REMEMBER: THE CAREFUL OPERATOR IS THE BEST
OPERATOR. MOST ACCIDENTS ARE CAUSED BY HUMAN ERROR. CERTAIN PRECAUTIONS MUST
BE OBSERVED TO PREVENT THE POSSIBILITY OF INJURY OR DAMAGE.
SAFETY INFORMATION
H&S MANUFACTURING CO., INC.
BE
ALERT!

-12-
RECOGNIZE SAFETY INFORMATION
This is the safety alert symbol. When you see this symbol
on your machine or in this manual, be alert to the potential
for personal injury.
Follow recommended precautions and safe operating
practices.
UNDERSTAND SIGNAL WORDS
A signal word - DANGER, WARNING, or CAUTION - is used
with the safety alert symbol. DANGER identies the most
serious hazards.
Safety signs with signal word DANGER or WARNING are
typically near specic hazards.
General precautions are listed on CAUTION safety signs.
FOLLOW SAFETY INSTRUCTIONS
Carefully read all safety messages in this manual, and all safety signs on your machine. Follow all
recommended precautions and safe operating procedures.
SAFETY INFORMATION
OBSERVE MAXIMUM TRANSPORT SPEED
The maximum transport speed for this implement is 32 km/h (20 mph).
Some tractors are capable of operating at speeds that exceed the maximum
transport speed of this implement. Regardless of the maximum speed capability
of the tractor being used to tow this implement, do not exceed the implement’s
maximum transport speed.
Exceeding the implement’s maximum transport speed can result in:
* Loss of control of the tractor/implement combination
* Reduced or no ability to stop during braking
* Implement tire failure
* Damage to the implement structure or its components
Use additional caution and reduce speed when towing under adverse surface
conditions, when turning, and when on inclines.
Do not attempt transport if the fully loaded implement weighs more than 1.5 times
the weight of the tractor.
Keep signs in good condition. Immediately replace any missing or damaged signs.

-13-
SAFETY INFORMATION

-14-
TRACTOR:
This operator’s manual uses the term “Tractor” when identifying the power source.
WARNING
Study The Above Safety Rules
ATTENTION - BE ALERT - YOUR SAFETY IS INVOLVED
BEFORE YOU ATTEMPT TO OPERATE THIS EQUIPMENT, READ AND STUDY THE FOLLOWING
INFORMATION. IN ADDITION, MAKE SURE THAT EVERY INDIVIDUAL WHO OPERATES OR WORKS
WITH THIS EQUIPMENT, WHETHER FAMILY MEMBER OR EMPLOYEE, IS FAMILIAR WITH THESE
SAFETY PRECAUTIONS.
H&S Manufacturing always takes the operator and their safety into consideration and guards exposed
moving parts for their protection. However, some areas cannot be guarded or shielded in order to ensure
proper operation. In addition, the operators manual and decals on the machine itself warn you of further
danger and should be read and observed closely.
If the machine becomes clogged or for servicing, Stop the tractor engine, remove ignition key and
allow all mechanisms to stop.
Before cleaning or working on the machine, completely disengage the tractor hydraulics. IF THE
RAKE ARMS ARE IN THE RAISED POSITION, MAKE SURE THE HYDRAULIC TRANSPORT LOCK
VALVES TO LOCK THE RAKE ARMS ARE IN THE CLOSED POSITION BEFORE DISCONNECTING
THE HYDRAULIC HOSES.
DO NOT attempt to perform maintenance or repair with tractor running and hydraulic hoses connected
to the tractor.
DO NOT ALLOW PERSONNEL OTHER THAN THE QUALIFIED OPERATOR NEAR THE RAKE.
DO NOT step up on machine at any time.
DO NOT allow minors to operate or be near the machine.
Stay clear of rake when raising or lowering main rake beams.
Stay clear of hydraulic lines, they may be under extreme pressure or heat.
For transport and storage, always make sure that the transport lock valves are in the closed position.
TO PREVENT SERIOUS INJURY OR DEATH

-15-

-16-
1. Assemble the Rake or check the Rake for proper assembly and adjustment. Make sure that all
bolts are tightened.
2. Attach the wheels with tires, using the lug nuts furnished and torque the mounting hardware to
85-95 ft./lbs. of torque. Check wheel bolts periodically thereafter.
3. Check tires and inate to the recommended pressure for eld use (ST205/75R15 - 25-30 PSI).
4. Lubricate the rake completely. (See Lubrication Chapter in this Manual)
5. Tooth bolts must be torqued to 40 ft./lbs. to help prevent excessive tooth breakage.
Re-torque rake tooth bolts after the rst 100 acres. Check periodically thereafter.
NOTE: Determine right or left side of the Rake by viewing it from the rear. If instructions or parts
lists call for hardened bolts, refer to the Cap Screw Torque Values page to identify.
SET-UP & ASSEMBLY

-17-
TRANSPORTING
TOWING ON HIGHWAY
Follow state and local regulations
when towing farm equipment on
public highways. Never tow the
rake on a public highway at a speed
greater than 20 mph (32 kph).
TRANSPORT LOCKS
There are two hydraulic transport lock valves
on the rake that must be turned to the closed
position during transport in case of tractor valve
leakage or hose breakage.
REFLECTORS
Front, side amber & rear red reective decals on the outer edges of the rake for safety.

-18-
PREPARING FOR OPERATION
1. Adjust the tractor hitch (13 to 17 inches above ground) and attach
rake to tractor with a hitch pin that has a safety locking device.
ADJUSTMENTS
There are 5 sets of holes on the adjustable hitch. In addition, the
hitch can also be ipped upside down to obtain 5 more positions,
for a total of 10 positions to adjust for levelness. The hitch should be
adjusted so the main rake beams are level, or parallel to the ground
when in the raking position.
3. Connect the 2 hydraulic hoses for raising
and lowering rake arms to the tractor.
Open the 2 hydraulic transport lock valves
and operate the tractor valve to ll the
hydraulic lines and operate the cylinders.
Add hydraulic uid to the tractor system,
as required.
2. Remove the weight from the lift
jack. Place the jack in the storage
position.
Kwik Pik System
Raise the Rake to the Kwik
PikTM position as shown in
the picture, then lower it to the
raking position. Both wings
should touch the ground at
approximately the same time.
After the rake arms have
returned to the transport
position, close the transport
lock valves before transporting.

-19-
OPERATION & ADJUSTMENTS
TRANSPORT LOCKS
Before the rake arms can be hydraulically
lowered for raking, the two hydraulic transport
lock valves on the rake that must be turned to
the open position.
EMERGENCY SHUTDOWN
Stop the tractor engine, remove ignition key, and allow all mechanisms to stop before
cleaning or working on the machine.
IMPORTANT:
Retighten all bolts on the rake after 100 acres as bolts can loosen up on new machinery.
Re-torque rake tooth bolts after rst 100 acres. Check periodically thereafter.
10 & 12 WHEEL WINDROW
WIDTH ADJUSTMENT
Remove the jack from jack storage position.
Position the jack mount tube on the top of the
rake beam pin with the jack foot in position
as shown. Remove the pin and clip from the
rake arm. The windrow width can now be
adjusted on each side of the rake. There are
three adjustments. After the desired windrow
width has been reached, reinsert the pin in the
desired hole, remove the jack and return it to
the storage position.
RAKING WIDTH ADJUSTMENT
There are ten width adjustments on the 10 & 12-wheel
rake beam, and 6 width adjustments on the 8-wheel.
The beam angle link also has an adjustable eye on the
end for ne tuning the raking & windrow width.
Each rake beam angle can be adjusted
independently for multiple raking conditions.

-20-
OPERATION & ADJUSTMENTS
FLOATATION
Rake Arm/Wheels
Floatation pressure of the rake wheels can be adjusted by adjusting the stop bolt on the top of the spring
located at each end of the main frame. Loosen the jam nut and turn the bolt to increase the amount of
threads showing. This will lighten the rake wheel down pressure. The stop bolt should be adjusted counter-
clockwise to the point that the rake wheels miss some hay as you are raking. When this occurs, increase
the rake wheel down pressure by turning the bolt the opposite way. Tighten the jam nut when the rake
wheel down pressure has been set.
HYDRAULIC SYSTEM
The rake utilizes a 2-hose hook-up with a
Master/Slave cylinder system. When the rake
arms are lowered, the axles rotate forward,
raising the main frame for more clearance.
When the rake arms are raised, the axles
rotate rearward, lowering the main frame for
transport. This system is incorporated with the
raising and lowering of the rake arms.
Raking
Position
Transport
Position
This manual suits for next models
5
Table of contents
Other H&S Farm Equipment manuals

H&S
H&S TF6128 User manual

H&S
H&S 3108 User manual

H&S
H&S GM 170 Installation and maintenance instructions

H&S
H&S 4142 User manual

H&S
H&S HAY MACHINE II Installation and maintenance instructions

H&S
H&S 5126 User manual

H&S
H&S 2957 User manual

H&S
H&S BW1000 LINEWRAP BW1000 LINEWRAP User manual

H&S
H&S LOADMASTER 2X User manual

H&S
H&S HDII RAKE Installation and maintenance instructions