8
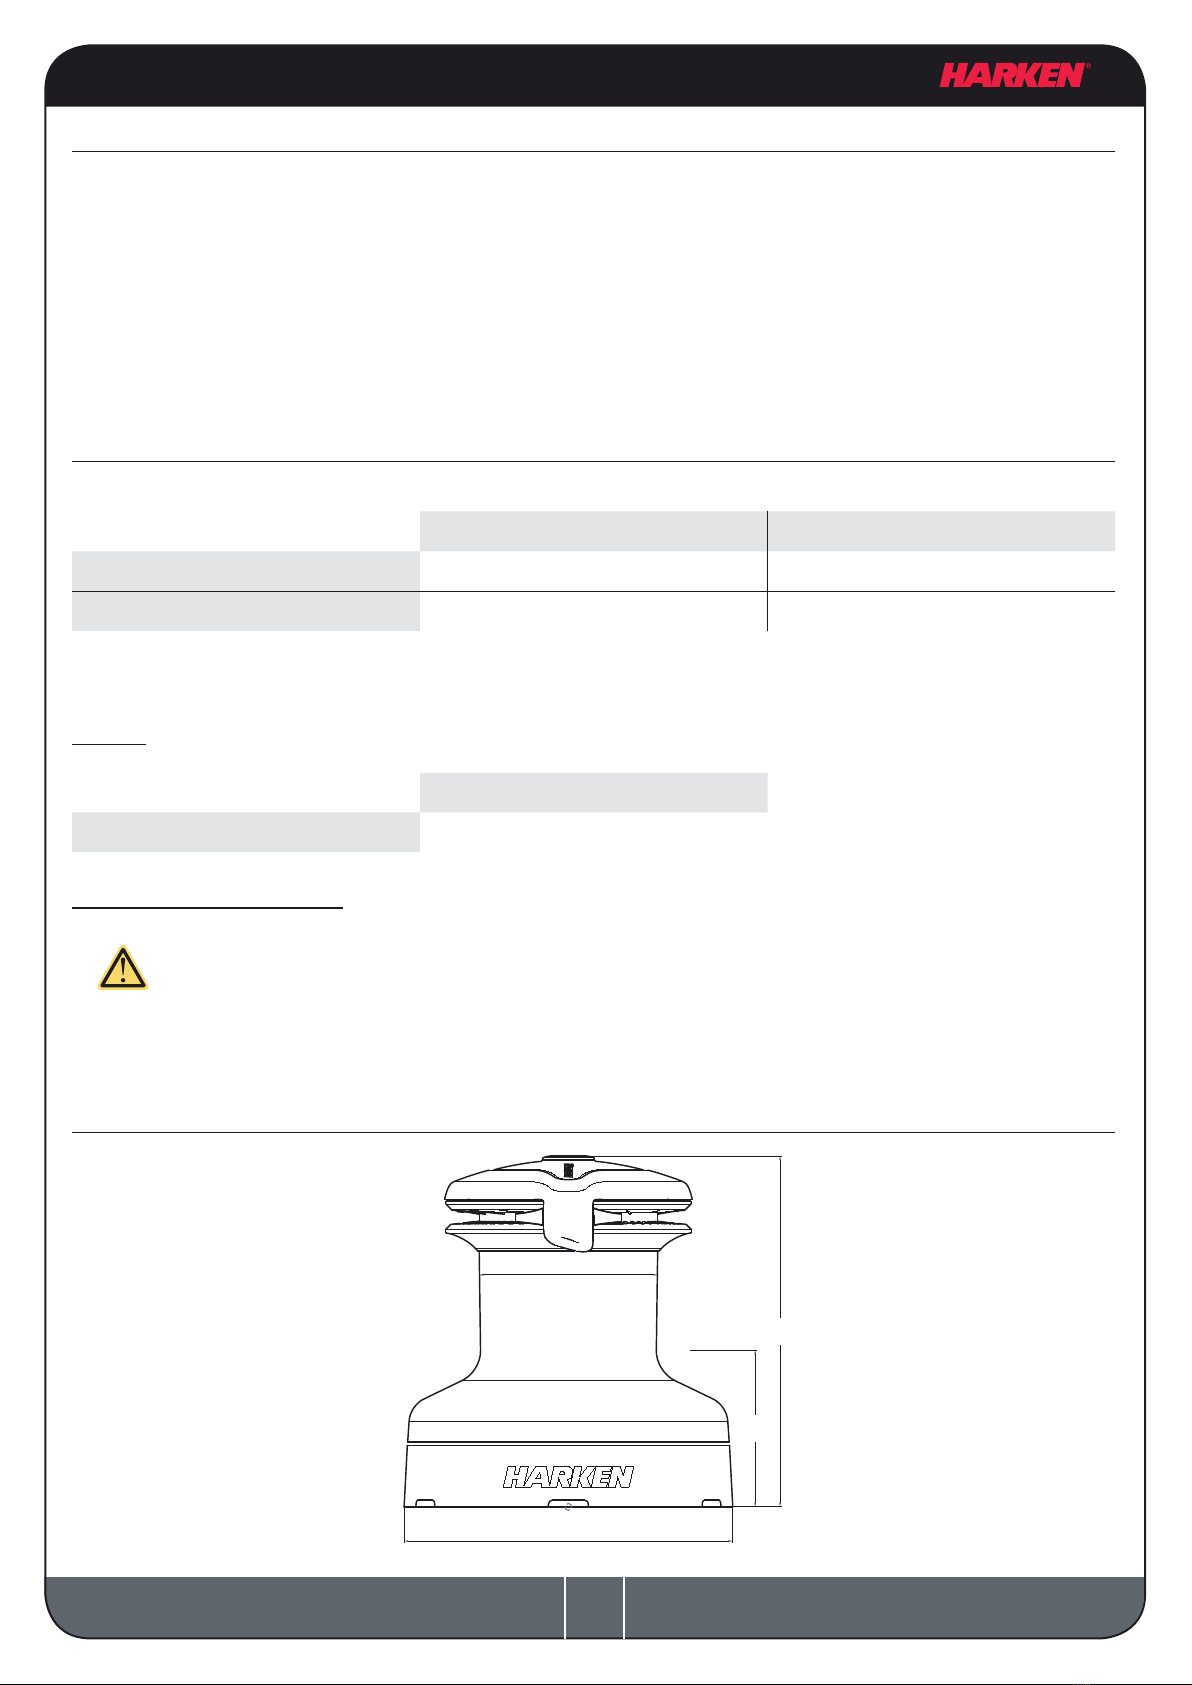
Performa™Winch 70.2 STP
Installation and Maintenance Manual
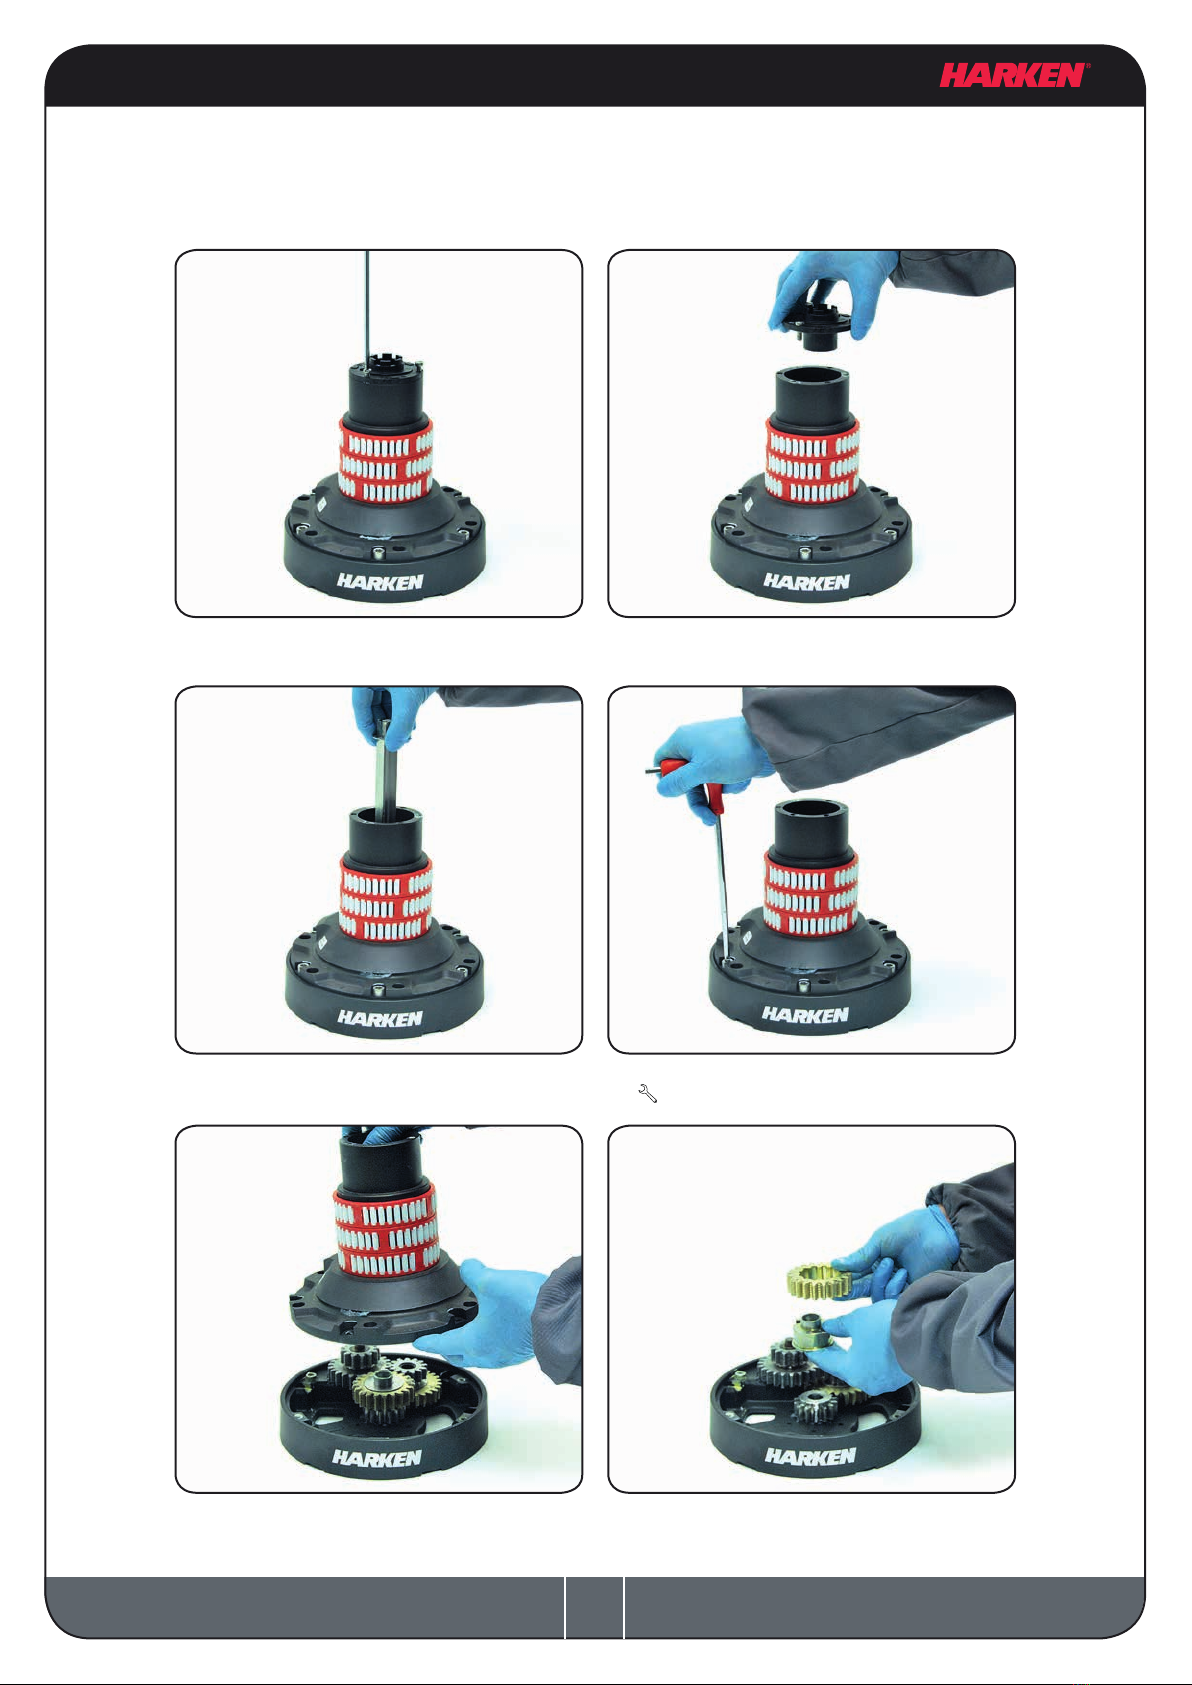
F. Reassemble the winch following the steps of the Procedure in the reverse order, and apply the
products indicated in the section on maintenance.
NOTICE
Before closing the winch, make sure the holes and drainage channels in the base of the winch
are not obstructed.
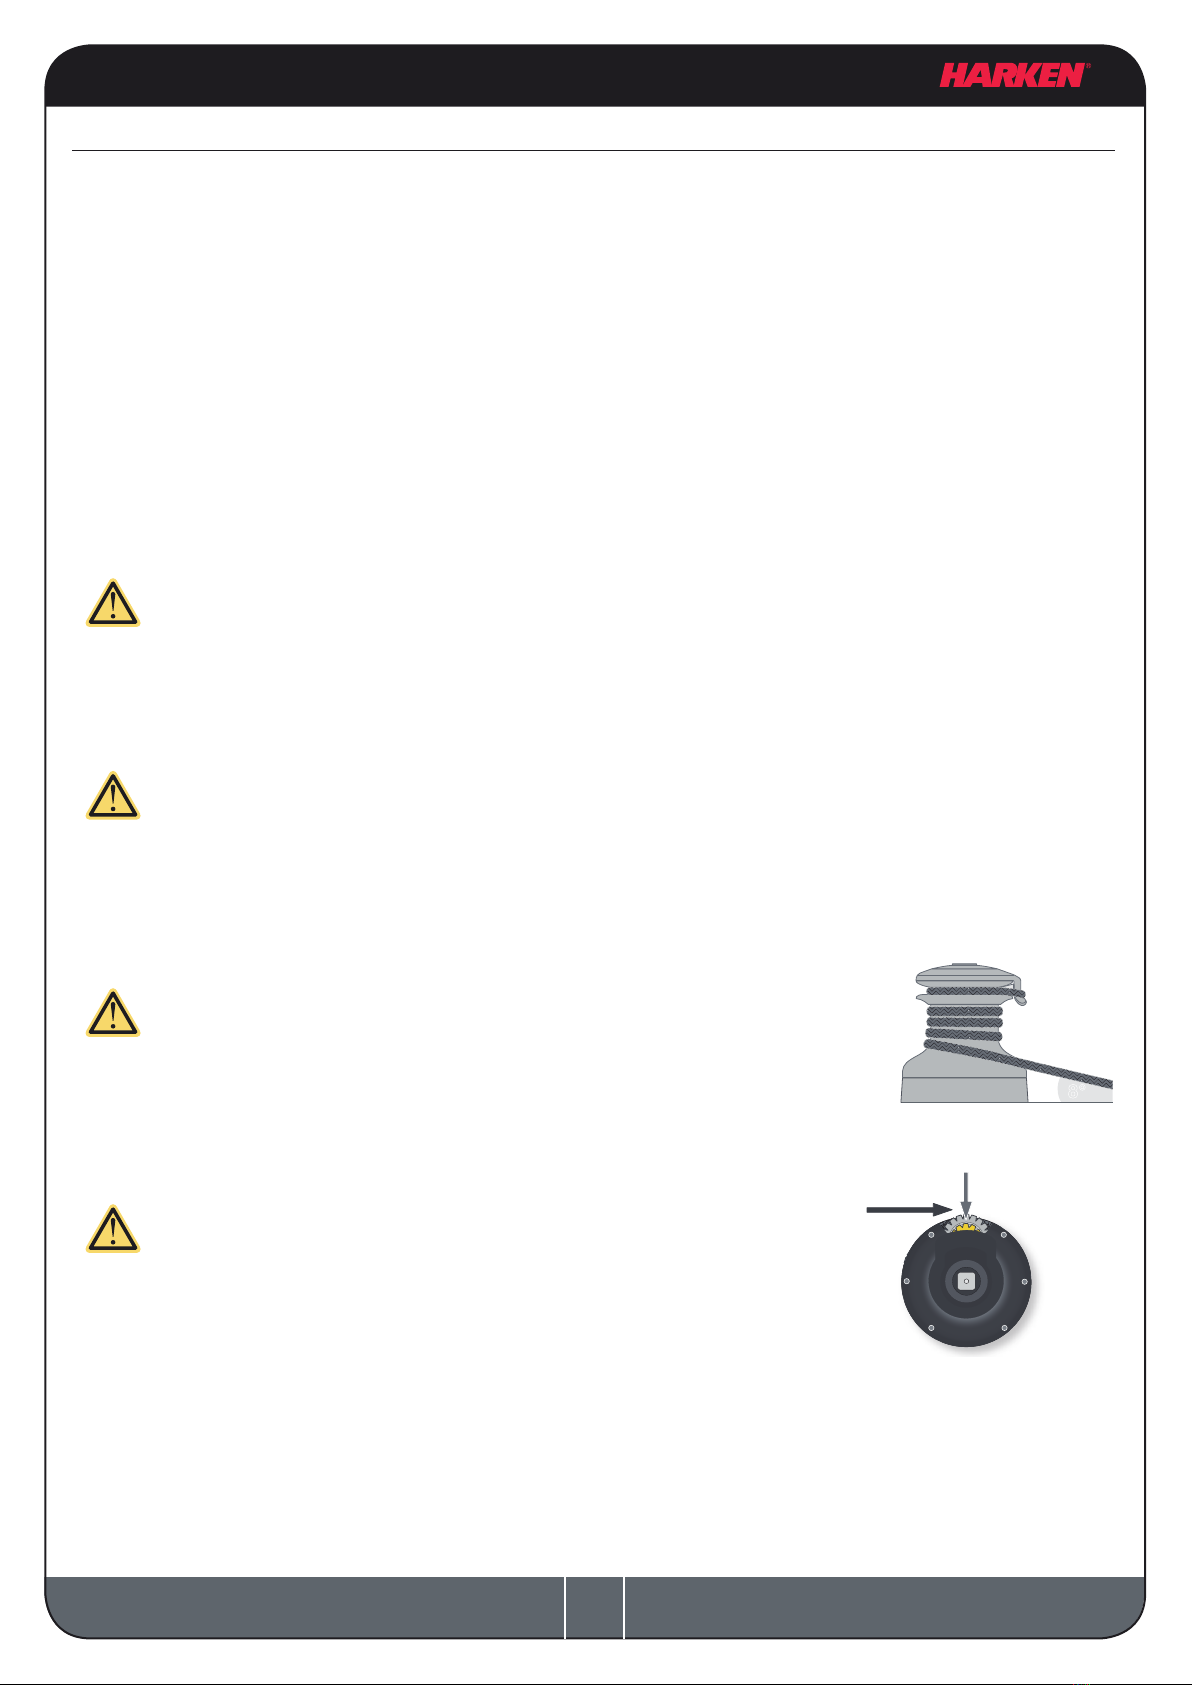
Positioning the self-tailing arm
Position the self-tailing arm so that the line leaving the winch is led into the cockpit.
Maintenance
Washing
Winches must be washed frequently with fresh water, and in any case after each use.
Do not allow teak cleaning products or other cleaners containing caustic solutions to come into
contact with winches and especially anodised, chrome plated or plastic parts.
Do not use solvents, polishes or abrasive pastes on the logos, on the stickers on the winches or on
any anodized, chrome plated and plastic surfaces.
Make sure that the holes and drainage channels in the base of the winch are not obstructed so that
water does not collect.
Maintenance table
Winches must be visually inspected at the beginning and end of every season of sailing or racing.
In addition they must be completely overhauled, cleaned and lubricated at least every 12 months.
After an inspection, replace worn or damaged components. Do not replace or modify any part of the
winch with a part that is not original.
WARNING!
Periodic maintenance must be carried out regularly. Lack of adequate maintenance shortens
the life of the winch, can cause serious injury and also invalidate the winch warranty.
Installation and maintenance of winches must be carried out exclusively by specialized
personnel.
In the case of doubt contact Harken®Tech Service at techservice@harken.it
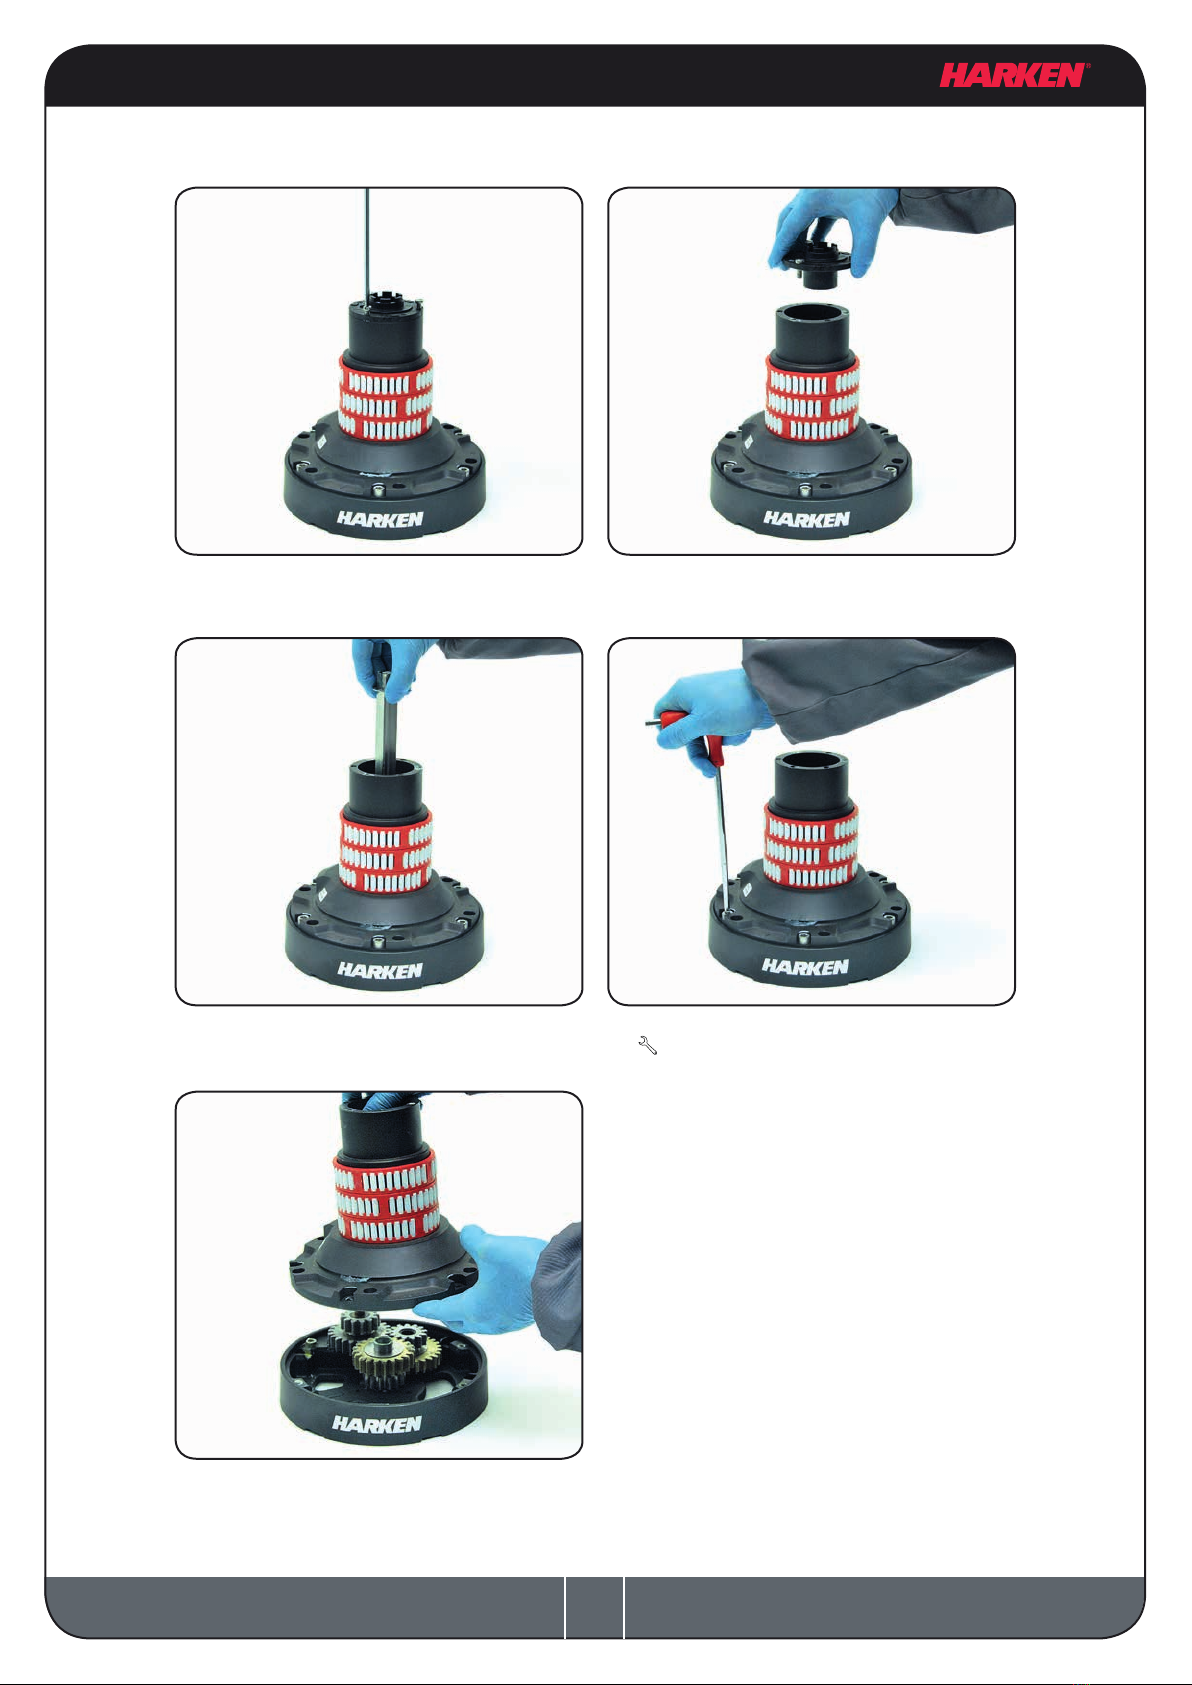
Disassembly procedure
Tools needed
One medium at-bladed screwdriver
A number ve hex key
Rags
Torque to be applied in assembly phase
Maintenance