manuals.online logo
Brands
  1. Home
  2. •
  3. Brands
  4. •
  5. Harken
  6. •
  7. Winch
  8. •
  9. Harken 46.2 Quick start guide

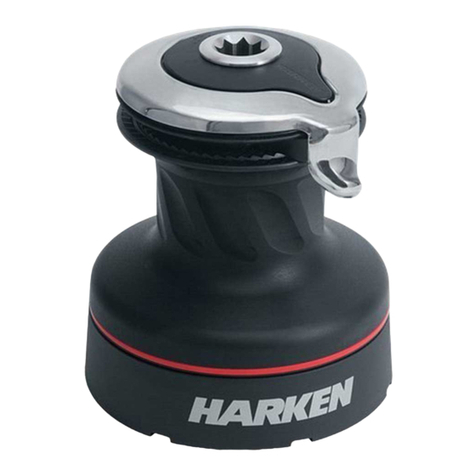
Harken 46.2 Quick start guide

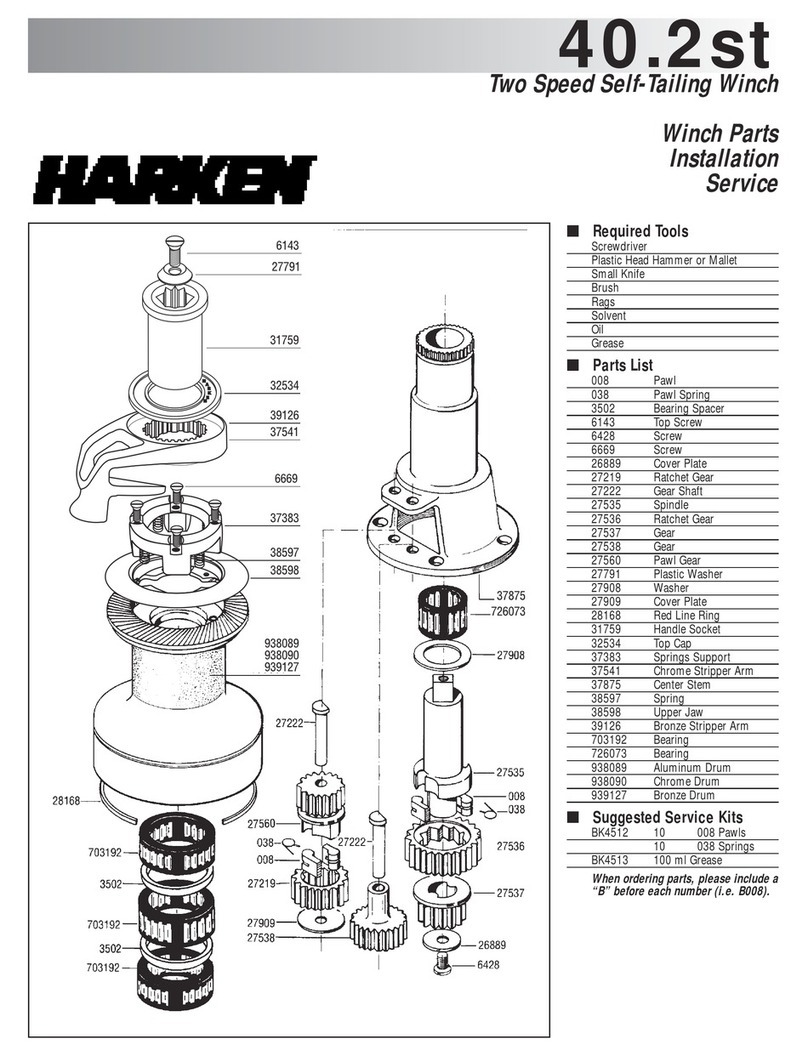
Parts List
6063 Screw
6069 O - Ring
6106 Ball (32 required)
6143 Top Screw
6431 Screw
6662 Screw
26732 Roller
27699 Washer
27791 Plastic Washer
27841 Handle Socket
27845 Drum Crown
32374 Guide Ring
32537 Top Cap
33602 Upper Jaw
33603 Lower Jaw
33604 Adjust ing Cast le
33666 Shimming Washer
33702 Spring
33703 Chrome Stripper Arm
33706 Stripper Arm Support
33751 Spring
33753 Lin e Peeler
33790 Roller Shaft
33898 Bushin g
35345 Bronze Stripper Arm
933703 Chrome Stripper Arm Assembly
Suggested Service Kits
BK4512 10 Pawls 008
10 Springs 038
BK4513 100ml Grease
®
46.2
Two Speed Winch
Parts List
008 Pawl
038 Pawl Spring
768 Thrust Washer
6143 Top Screw
6144 Screw
6351 Screw
6431 Screw
26029 Plastic Washer
26129 Plastic Washer
27791 Plastic Washer
27805 Center Stem
27811 Pawl Gear
27812 Gear
27814 Pawl Gear
27815 Gear Shaft
27816 Gear Shaft
27817 Cover Plate
27819 Handle Socket
27834 Drum Crown
27835 Spindle
27836 Ratchet Gear
27838 Stem Cap
27908 Washer
28169 Red Line Rin g
28217 Base
32525 Top Cap
701887 Bearing
726073 Bearing
726076 Bearing
927854 Aluminum Dru m
927857 Chrome Drum
933350 Bronze Drum
Suggested Service Kits
BK4512 10 Pawls 008
10 Springs 038
BK4513 100ml Grease
Self-Tailing 46.2stTwo Speed 46.2Tools
Tools Required
Allen Wrench (6mm)
Allen Wrench (5mm for Self-Tailing)
Screwdriver
Plastic Head Hammer or Mallet
Small Knife
Brush
Rag s
Solvent
Oil
Grease
When ordering parts for service, please include a "B" before each number (i.e. B008).
Adjusting Self-Tailer
If lines slip in the self-tailer, be sure that there are four
or five wraps on the drum, then consider closing the jaws
by pressing down on the upper jaw 33602 and turning
counterclockwise.
The 33666 shimming washer must be removed to
use small line.
The winch is more efficient when the jaw opening
matches line size, so close the jaws only if you are
using smaller line.
Positioning StripperArm
Loosentop screw
Remove handle socket
Lift stripper arm and position as desired
Opening Winch
Remove top screw
Lift of f d rum
On self-tailing winches, lift off stripper arm with drum
Servicing Winch
Remove bearings from center stem
Remove allen screws holding center stem to base
Remove center stem carefully
Remove pawls and springs - service as below
Remove all bearings, gear shafts and gears
Clean all parts with rags and solvent
Use a brush to lubricate all gears, gear shafts, bearings, teeth
and all moving parts lightly with grease
Replace pawls and springs and lubricate lightly with oil
Reassemble and close winch
Servicing Pawls
Catch spring with knife and hold against pawl
Lift ou t p awl
Clean and check for wear
Place spring against pawl with straight leg against pawl
Hold spring closed and slip pawl into pawl socket
Lubricate pawls using oil
Fittingon Boat
Make sure mounting surface is flat
Check sheet entry angle
Open winch
Position winch on deck with drive gear where sheet enters
winch drum and mark holes
Remove winch and drill holes
Mount using five 5/16" (8mm) flat head machine screws
Ap ply bedding compound and bo lt winch to bo at
Clean excess bedding compound from base drain holes
Lubricate and reassemble winch
Recommended Service Cycle – Service winch before the sailing season and once during.
®
Adjusting Self-Tailer
Correct opening: Sheet fits completely
in to ja w an d re sts a gain st d rum .
Servicing WinchServicing PawlsFitting on Boat
Attention: R atchet gear mounted
b ackw a rds w il l ca use w inc h to slip.
Grease lightly and spread grease
e ven ly. Use a br ush .
Use knife to free captive s pring.
Position drive gear where sheet
e nter s w inc h dr um.
➊
➋
Press
Turn
SHEET
DRIVE GEAR
Insert spring with straight leg against
pawl. Use oil for lubrication.
46.2st
Two Speed Self-Tailing Winch
Winch Parts and Service Instructions
Right Wrong
Pressand turn to adjust self-tailer.
Clean all parts with solvent.
8
Sheet entry must be at least 8°.
When ordering parts for service, please include a "B" before each number (i.e. B008).
H4605-5/98
1251 E. Wisconsin Ave., Pewaukee, WI 53072 USA •Tel: (414) 691-3320 •Fax: 414-6913008
Vi a Della Cerca, 12/14, 22070 Lurago Mari none, Como, Italy •Tel: (39) 31.938840 •Fax:(39) 31.3520031
RIGHT WRONG
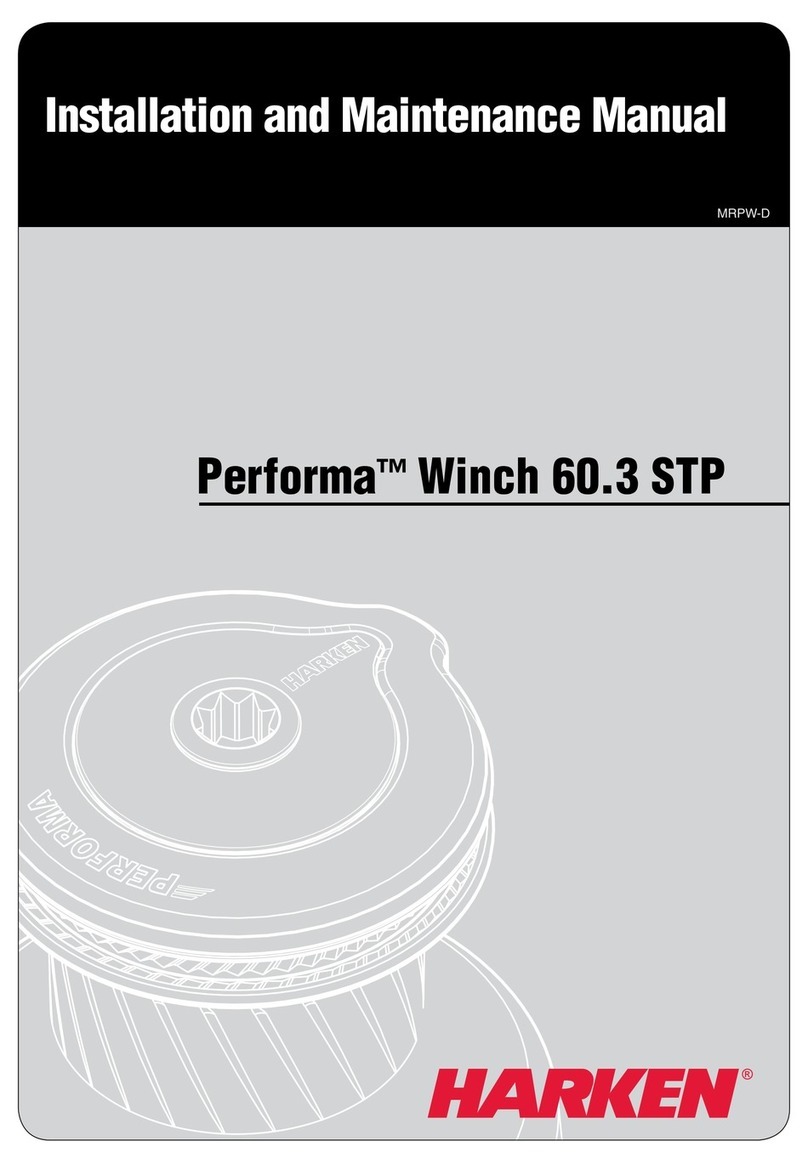
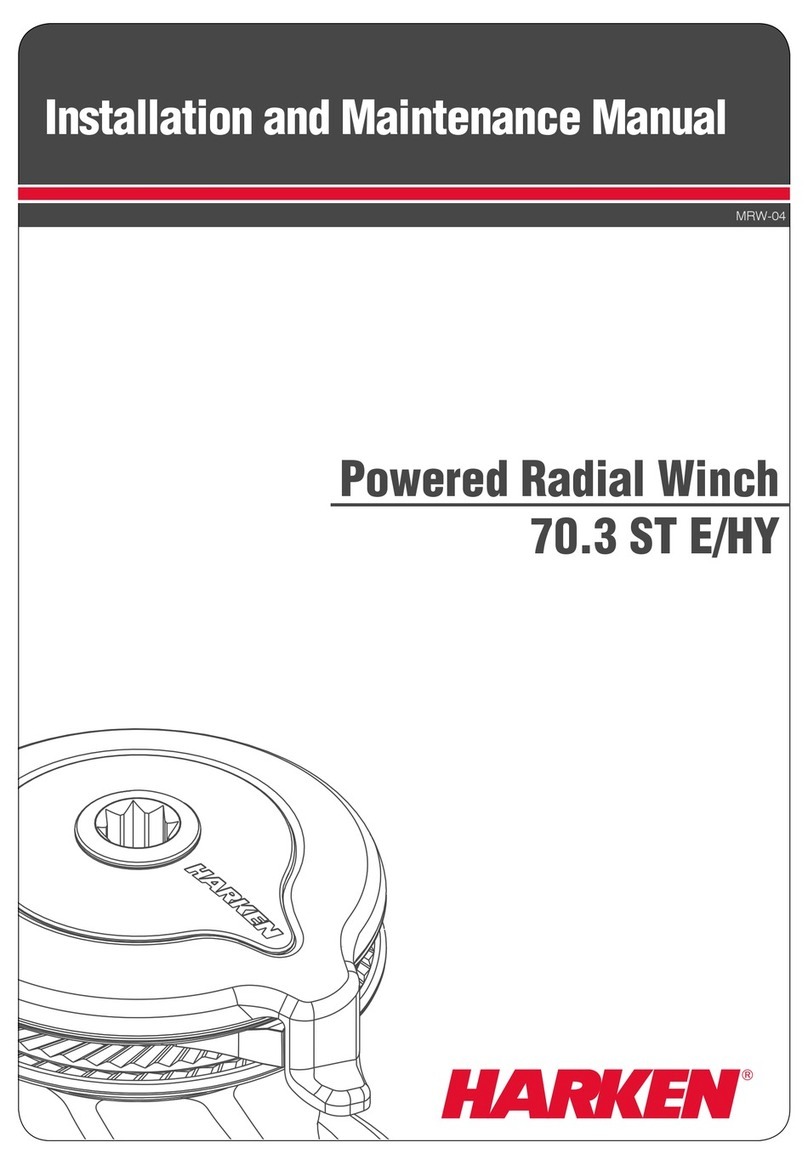
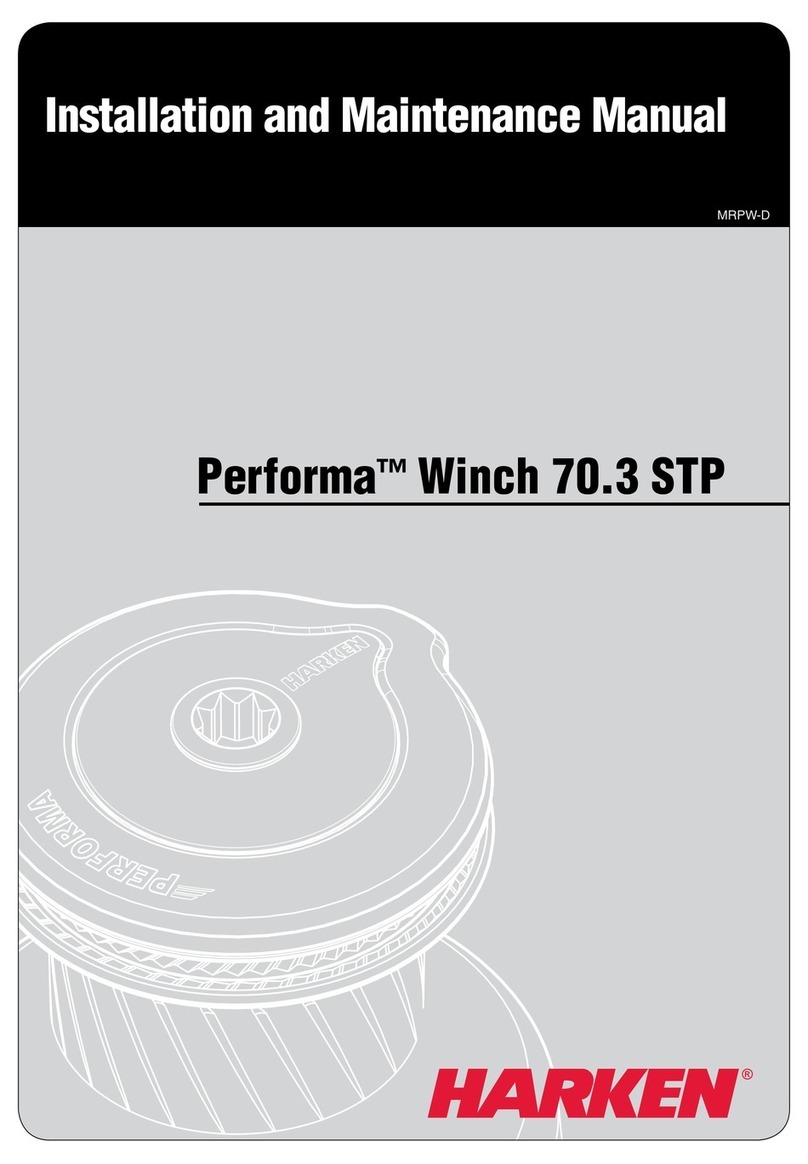
This manual suits for next models

1

Other Harken Winch manuals

Harken 53.2 User manual

Harken

Harken 53.2 User manual

Harken 35.2 PT Manual

Harken

Harken 35.2 PT Manual

Harken 16st Manual

Harken

Harken 16st Manual

Harken 70.3 ST E Manual

Harken

Harken 70.3 ST E Manual

Harken NAUTOR MKIV C8436 User manual

Harken

Harken NAUTOR MKIV C8436 User manual

Harken 64.2ST E Manual

Harken

Harken 64.2ST E Manual

Harken 42.2 Manual

Harken

Harken 42.2 Manual

Harken 60.3 ST E Manual

Harken

Harken 60.3 ST E Manual

Harken 16.2 Two Speed Winch Manual

Harken

Harken 16.2 Two Speed Winch Manual

Harken Top-Crank LokHead Rigging Winch 500 User manual

Harken

Harken Top-Crank LokHead Rigging Winch 500 User manual

Harken 60.3 ST EL Manual

Harken

Harken 60.3 ST EL Manual

Harken Radial Winch 40.2 PT BBB Manual

Harken

Harken Radial Winch 40.2 PT BBB Manual

Harken 44.2st Manual

Harken

Harken 44.2st Manual

Harken Powered Performa Winch 50.2 STP EL Manual

Harken

Harken Powered Performa Winch 50.2 STP EL Manual

Harken 70.3 ST EL Manual

Harken

Harken 70.3 ST EL Manual

Harken 40.2 PT Manual

Harken

Harken 40.2 PT Manual

Harken 40.2STAACCSH User manual

Harken

Harken 40.2STAACCSH User manual

Harken 40.2ST E User manual

Harken

Harken 40.2ST E User manual

Harken 48.2ST E/HY User manual

Harken

Harken 48.2ST E/HY User manual

Harken 56.2ST E/HY User manual

Harken

Harken 56.2ST E/HY User manual

Harken Performa Winch 35.2 STP Manual

Harken

Harken Performa Winch 35.2 STP Manual

Harken 1111 HL Operating instructions

Harken

Harken 1111 HL Operating instructions

Harken 59.2ST E/HY User manual

Harken

Harken 59.2ST E/HY User manual

Harken Powered Performa 80.3 STP EL/HY Manual

Harken

Harken Powered Performa 80.3 STP EL/HY Manual

Popular Winch manuals by other brands

Warrior Winches S9500HS Assembly & operating instructions

Warrior Winches

Warrior Winches S9500HS Assembly & operating instructions

Endurance RWP2000-01 Installation and operation manual

Endurance

Endurance RWP2000-01 Installation and operation manual

Champion 100440 operating manual

Champion

Champion 100440 operating manual

Comeup Seal Gen2 12.5rs Instruction guide

Comeup

Comeup Seal Gen2 12.5rs Instruction guide

Dover TWG TULSA WINCH 1200W Service manual

Dover

Dover TWG TULSA WINCH 1200W Service manual

AEV Bison installation guide

AEV

AEV Bison installation guide

Runva 20000NH Assembly & operating instructions

Runva

Runva 20000NH Assembly & operating instructions

Warrior Winches S2500EN Assembly & operating instructions

Warrior Winches

Warrior Winches S2500EN Assembly & operating instructions

GEBUWIN WW250 D/Ex Series operating instructions

GEBUWIN

GEBUWIN WW250 D/Ex Series operating instructions

POWERWINCH P55000 manual

POWERWINCH

POWERWINCH P55000 manual

Warrior Winches T110S12 owner's manual

Warrior Winches

Warrior Winches T110S12 owner's manual

Hurley Marine H30 Instruction manual & safety warnings

Hurley Marine

Hurley Marine H30 Instruction manual & safety warnings

Westin T-Max REW-9000 Fitting instructions

Westin

Westin T-Max REW-9000 Fitting instructions

Sealey RW5675.V2 manual

Sealey

Sealey RW5675.V2 manual

Comeup DP-10000 instruction manual

Comeup

Comeup DP-10000 instruction manual

Ramsey Winch RPH 53,3 Operating, Service and Maintenance Manual

Ramsey Winch

Ramsey Winch RPH 53,3 Operating, Service and Maintenance Manual

Cycle Country 25-1180 owner's manual

Cycle Country

Cycle Country 25-1180 owner's manual

Dover PULL MASTER H12 Instructions and parts manual

Dover

Dover PULL MASTER H12 Instructions and parts manual

manuals.online logo
manuals.online logoBrands
  • About & Mission
  • Contact us
  • Privacy Policy
  • Terms and Conditions

Copyright 2025 Manuals.Online. All Rights Reserved.