manuals.online logo
Brands
  1. Home
  2. •
  3. Brands
  4. •
  5. harvst
  6. •
  7. Greenhouse Kit
  8. •
  9. harvst Terrace User manual

harvst Terrace User manual


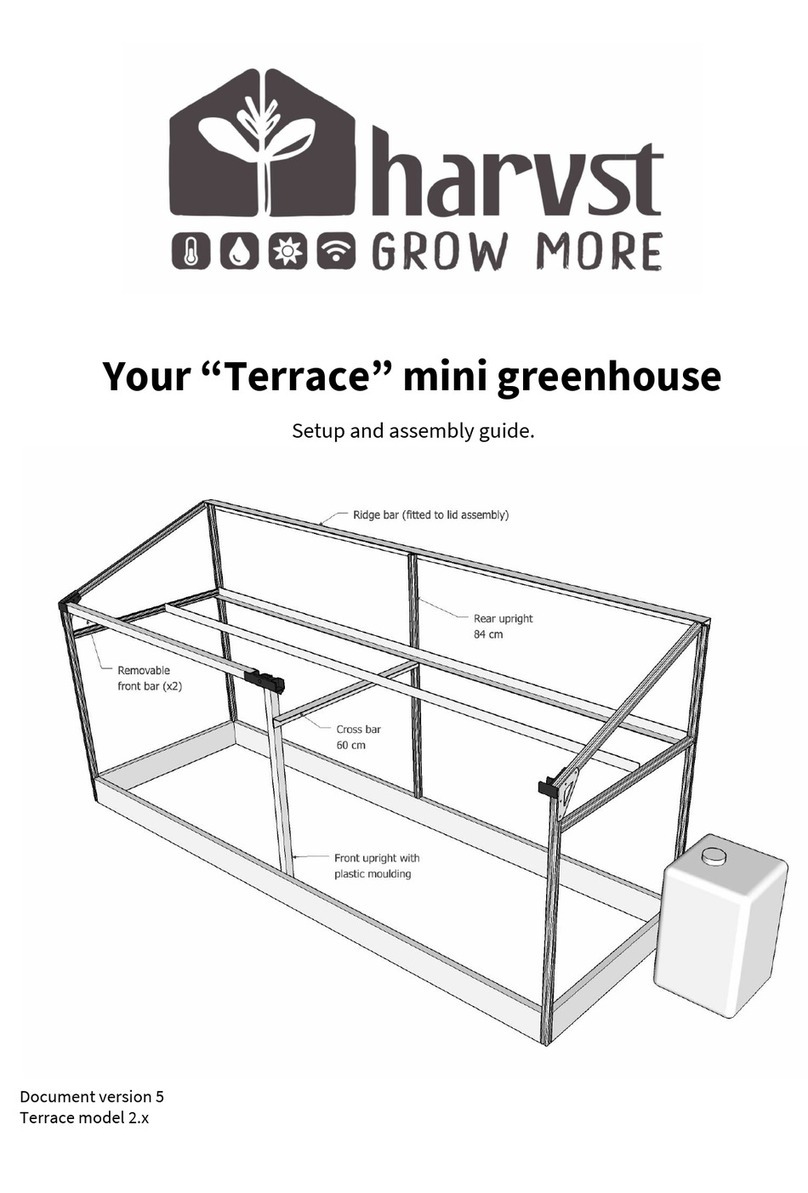
Your “Terrace” mini greenhouse
Setup and assembly guide.

Document version 1
Terrace model 1.x
Contents
Check that your package contains the following parts. If anything is missing, get back
to us as soon as possible : [email protected]


 
1 x Left end panel
Tools and small parts
1 x Right end panel
Bolt and fixings kit
1 x Front timber base board with double
plastic channel
4mm allen key, 8mm spanner
1 x Rear timber base board with single
plastic channel

1 x Lid assembly
1 x Control unit
2 x Front crossbar with double plastic
channel, for above doors
2 x Black temp/moisture sensor
4 x Rear panel (black)
1 x Y-splitter for sensors
2 x Rear panel joining strip (H-section)
Solar panel or mains power supply
1 x Front shelf assembly with pipe
Water valves with connecting cable
1 x Rear shelf (30mm angle)

1 x Rear upright (20mm square section)
Optional:
1 x Crossbar (30mm angle)
Water pump with hose attached
1 x Automatic lid opener
Water tank
2 x Front door
Water level sensor
1 x Front upright (25mm box section with
bracket on top)
Rainwater collection pipe (10mm inside
diameter)
1 x Lid prop


1. Prepare the location

Your Harvster will need level ground to sit on. You can put it directly on grass, on a
raised bed, or a hard standing like concrete or brick. If your foundation is not flat and
level, your lid and doors won't operate smoothly, so it's worth putting the effort in
now.
The rainwater collection system also requires a flat and level base. A slope of 5% (1 in
20) is just about OK.

Sunshine
Put your Harvster somewhere that gets as much sun as possible; grow lights will help
germinate seeds and provide a bit of top-up light, but they are not a complete
substitute for the sun. The solar panel (if you’re running off grid) can be placed up to
3m away from the main unit.

Power
Mains power is not needed unless you add heaters and/or grow lights. If you do add
mains power, you will need to work with a registered electrician to install an outside
power socket, or position your Harvster within 5m of an indoor power socket. The
mains powered Harvst control units come with 5m of cable.

Water
If you have a garden hose, you can run a tee’d connection to your Harvster. It can be as
far as you like from the tap.

If you don’t have a hose, you’ll need a pump, and a water tank of some sort. You can
use the Harvster tank, or a water butt if there’s one within 2m of your Harvster. If you
live in an area that doesn’t get much rain, you might want to consider running a gutter
offshoot from another roof onto your Harvster to collect more rainwater.

Base
Harvsters can be placed directly on the ground, on an existing raised bed, or on one of
our Harvster raised beds. Consider how much soil depth you want to have for your
plants. At least 25cm (10”) is wise for many vegetables that are suitable for growing in a
Harvster.

A 40cm raised bed under the largest Harvster (1.2m * 2m / 4’ * 7’) will take about 500kg
of soil / compost. That’s about 10 wheelbarrows full - this will vary based on the type of
soil you get and how moist it is.

Containers are great for growing in; the Harvster is designed to take standard 600mm
euro stacking crates.



2. Attach baseboards to end panels

Parts
2 x pre-assembled end panel
2 x timber base board
8 x 50mm furniture bolt

The base board with the double black
plastic track is on the front of the
Harvster. The ribs on the timber face
out.

The base board with the single black
plastic track is on the back of the
Harvster.

Attach the timber base boards to the
end panels, using the furniture bolts.
Tighten the screws well.
3. Fit the rear shelf
Parts
1 x 30mm aluminium shelf
2 x 20mm M5 bolt and nut

The rear shelf (without the irrigation
pipe) is fitted to the bottom of the
plastic blocks using a single bolt at the
end of each shelf.


4. Fit the front shelf

Parts
1 x Front shelf
2 x 20mm M5 bolt and nut

The front shelf is the angle aluminium
with a black pipe connected.



 

The twin water valves will fit on the
right later.

Fit the shelf to the brackets in the same
way as you fitted the rear shelf, and do
the nuts up tightly.
5. Fit water valves

Parts
1 x twin water valves
1 x jubilee/pipe clip
Fit the water valves to the right end of
the pipe on the front shelf. The snap-on
hose connector faces backwards
towards the rear of the greenhouse, so
that the bottom outlet plugs into the
front shelf pipe.
6. Fit front upright


Parts
1 x square box section with
black plastic moulding.
2 x 55mm M5 bolt
2 x penny washer
2 x M5 washer and nut
Bolt it loosely to the inside of the front
base board using the large penny
washer on the outside, and a small
washer and nut on the inside.

The riveted bracket faces inside the
Harvster. Tighten the bolts later once
you have aligned it vertically.


 
7. Fit cross-brace




Parts
1 x 60cm aluminium angle
1 x 55mm M5 bolt and nut
2 x 12mm M5 bolt and nut
3 x M5 washer
This part holds the front upright
securely to the two shelves, running
from the front of the greenhouse to the
rear.

Slide the cross brace between the
bottom of the front shelf and the black
water pipe, then, using a 55mm bolt,
attach the front to the right hand side
of the front upright (as you are looking
at the front of the Harvster).

Use an M5 * 8mm bolt and nut to
secure the cross brace to the bottom of
the front and rear shelves.

The holes are extra large for
adjustment of the lid catch.
8. Fit the rear upright


Parts
1 x 20mm bar (84cm)
1 x 40mm M5 bolt
1 x M5 washer & nut

Place the bar onto the stub in the
middle of the rear base board, and bolt
it to the middle of the rear shelf.


 
9. Fit the rear panels




Use the supplied punch to put holes in
the black rear panels.
Parts
4 x Black rear panel
2 x Black plastic H-section
2 x cable tie

From behind, drop the four black
panels into the slot on the rear base
panel, and outwards into the slots in
the end panel uprights.

Slide the H-section down between the
panels. It doesn't matter whether the
long leg is inside or outside.

The cable ties are used to hold the
H-section to the shelves.

Punch a hole either side of the
H-section, so that you can thread the
cable ties through the double holes in
the rear shelf.



10. Fit front bars and doors


The left hand door goes on the inside
track. The right hand door (with both
handles fitted the same way) goes in the
front track:

Parts
2 x Door bar (25mm box
section with twin black
plastic track)
2 x Door panel
1 x Door handle w/bolts

Put the doors in as per the drawing on
the left. The right hand door has a
sticker at the top right.

Once the doors are in, put in the
support bars which have the track in
which the top of the doors slide.

On the left hand door, you’ll see two
holes for mounting the small handle.
Bolt the handle to the door using two
M5 x 12mm bolts, with a washer and
nut on the inside of the door.

The right hand door doesn’t have a
small handle; you can use the long
handle attached to the side of the
door.





11. Screw in the mister nozzles



Parts
7 x Yellow mister nozzle
1 x Lid assembly

Screw the yellow mister nozzles into
the pre-punched holes in the black
pipe which runs underneath the ridge
(attached to the lid assembly)

Set the arrow on the nozzle facing
forwards (towards you) for the nozzle
to be on. Twist it sideways to turn that
nozzle off.
12. Fit the lid

This step can take a bit of time. Don't
rush it.


Parts
1 x Pre assembled lid
3 x M5 30mm bolts

Place the lid onto the top of the unit
with the pipes facing down at the rear
of the greenhouse.

Slot the top of the rear panels into the
base of the ridge piece.

Align the holes in the end of the ridge
piece with the threaded holes in the
top of the end panel uprights.

The 30mm bolts drop down through
the ridge into the uprights. Take care
not to strip the threads in the top of the
end panels.

When everything is lined up, tighten
down the bolts.


13. Fit the lid prop

Parts
1 x 83cm aluminium section
1 x M5 * 12mm bolt
1 x Nylok nut


Fit the lid prop to the right hand side of
the front shelf. It rests on top of the
cross bar on the right hand panel.
14. Connect the mister hose

Parts
1 x 53cm water hose
1 x Steel pipe clip

TIP :

Warm the ends of the hose in hot
water for a few seconds to soften them.

Push the hose onto the ridge irrigation
pipe, and then onto the rear port of the
twin water valve which is fitted to the
front shelf.

Tighten up the pipe clip around the
water valve.
15. Assemble the lid opener

Parts
1 x Automatic lid opener

This opener is shown with a bracket on
the end of the lifter arm (at top). We
have removed this and fitted it to the
lid of the greenhouse.

This will open the lid of your Harvster
when it gets hot, thanks to wax melting
inside the black cylinder.

Follow the assembly instructions
supplied with the opener to put the
black cylinder into the mechanism.

The temperature at which it opens
depends on how far in the black
cylinder has been screwed. Fully in, the
lid will start to open at around 20C.
Fully out, it’s nearer 30C.




WARNING : this part is springy and
may catch your fingers if you let go
of it unexpectedly while open.




16. Fit the lid opener to the lid

Parts
1 x Automatic lid opener

Prop the lid open using the lid prop.

The top of the lid opener arm is held to
the lid using an M5 x 20mm bolt with a
nylok nut.


Remove the bolt from the lid opener
assembly and put it through the metal
bracket attached to the catch
mechanism under the lid. Don’t tighten
the bolt so much that the mechanism
jams; leave it a little loose.
17. Attach the lid opener to the frame

Parts
1 x Automatic lid opener
Put the lid prop away and clip the
mechanism into the bracket on the
rear of the front cross piece, above the
doors.
18. Tighten the front upright

Now that you have everything together,
you can tighten the front upright in the
vertical position, making sure it’s
aligned centrally with the middle of the
lid.
If you cannot get it aligned properly,
double check you have a flat and level
base for the greenhouse.
19. Adjust the catch

When the lid is closed, the catch will
hold it shut until the automatic lid lifter
pushes from the bottom, or you release
the catch by pulling on the ball.
If the catch mechanism is binding or
not releasing, you can adjust it by
moving the front upright forwards or
backwards slightly, by loosening the
bolts in the oversized holes of the cross
brace.
Control system
Connecting to your WiFi network

Now it's time to set up the control box and connect to WiFi. You can do this indoors,
before you install the control box into your greenhouse, polytunnel or cold frame.

1. Ensure your WiFi network name and password are handy.
2. Turn on your Harvst control unit. It will start beeping fast and the red LED will
be on.
3. If, after 10 seconds, no previous WiFi connection has been found, the unit will
start beeping slowly; once a second. It has just started it’s own WiFi signal.
4. On your phone, go to WiFi settings, and connect to the "harvst-wifi" access
point. You should be automatically redirected to http://192.168.4.1 *
5. Click the blue "Configure WiFi" button.
6. You should see your WiFi network listed. Choose your WiFi network by clicking
its name. If you don't see yours, click "Refresh".
7. Enter your password and click save.
8. The unit will pause for a while and then if it connects OK, you'll hear a double
beep.

If you run out of time, or have trouble connecting, turn the unit off and then back on
again to restart the WiFi connection process. A successful connection will be
remembered the next time you turn the unit on.

* If you’re NOT redirected automatically to the setup screen once you have connected
to harst-wifi, then open a browser (Chrome, Safari etc) and type in “192.168.4.1” to the
address bar; where you would normally enter a website address. This will take you to
the blue “Configure Wifi” button.


Scan this QR code with your phone to
view a video which shows you how to
connect your control unit to WiFi:

Control system
Mounting into your greenhouse

Once you’re happy that the control unit connects to WiFi indoors near your WiFi router,
you can install it into your Harvster.

At the top right of the rear panels you’ll see four holes. Use the M5 x 12mm bolts to fix
the control unit to the rear panels.

This will be easiest if you prop the lid open, so you can reach the inside and outside at
the same time.

Mains power supply for heated greenhouses

If your Harvster is heated, with a mains power supply, mount the power supply
underneath the control box, to the rear panel. Run the cables behind the shelves
(between the shelf and the rear panel), down the ground where the mains cable goes
out via the notch in the timber base board.

Solar panel for off grid greenhouses

If your Harvster is solar powered, run the solar panel cable through the hole in the rear
panel and plug it into the control box. Mount the solar panel to something solid close
to your Harvster.

If you don’t have anywhere suitable, you can place the panel on the lid of the Harvster;
secure it down with strong double sided tape.

 
Self watering
Connecting the pump and tank (optional)

If you don’t have a garden hose that you can leave connected permanently to your mini
greenhouse, you can use a tank and water pump. The low voltage submersible pump is
powered by the control unit, and the tank can be filled using the greenhouse gutters so
that you don’t have to top it up as often.

1. Position the tank on the right hand side of your Harvster. We recommend that you
place it outside so that you get more growing space. If you don’t have space in your
yard or garden, you can place it inside the frame.

2. Ensure the water pipe is firmly attached to the pump with a pipe clip, then drop the
pump into the tank.

3. Attach the short hose with a snap-on connector to the water valves. If your tank is
outside, point the elbow on the end of this short pipe out through one of the holes in
the right hand end panel.

4. Put the pump wire and the tank level sensor wire through the hole in the right hand
panel now (the plugs won’t fit through once the pipe has been fitted).

Now fit the pump hose to the elbow on the short hose assembly. It’s a tight push fit,
and will be easier if you warm the pipe in hot water for a few seconds first.

5. Connect the pump plug into the control box; it’s the two-pin socket next to the large
power supply socket.

6. Connect the tank level sensor plug into the control box. It’s the smaller two-pin plug
on the bottom. Drop the other end (it looks like an audio/headphone plug) into the
water tank so that it rests about ⅓ of the way up.

When the water level drops below the sensor, you’ll get an email and text message to
suggest that you fill up your tank.

Self watering
Testing your irrigation

Put some water in the tank (or connect your garden hose), and turn on the control unit
(which should already be paired with your WiFi network). If it’s a solar powered one,
wake it up by pressing the yellow button on the left. It will stay awake for 5 minutes.

From your Harvster dashboard, click the “access device directly” button, and you’ll be
taken to a grey screen which is the control box itself. Here you can click “water now” to
run the pump and test your system.

The watering will run for a number of seconds, which you set on the dashboard.

Remember that changes to settings on the dashboard can take up to 30 minutes to be
updated on your control unit - to speed this up when you are testing, click the green
“get latest settings” button on the grey device screen.



Environmental sensors
Soil moisture and temperature sensors
Your Harvster comes with two black dual-purpose sensors, which will measure soil
moisture as well as soil temperature. These are best placed in an area where the
temperature and moisture doesn’t change too fast; such as a large container of soil, or
the ground. It’s best placed horizontally, just under the surface.

The first soil sensor is what drives the irrigation (and optional heating) for zone 1. The
second sensor (with the red band around it), is used to monitor zone 2.

We recommend that the bottom of your Harvster is zone 1 (watered by the sprayer
pipe) and the shelf is zone 2 (watered by the mister bar).

The soil sensors plug into the 4-pin connector on the control unit, via a Y-splitter.


To measure the soil moisture, place the sensor so that the bottom half is completely
under the soil. In shallow soil (such as a seed tray), you’ll need to place the sensor on
its side.

The temperature is measured by a device halfway up the body of the sensor; again, if
you have shallow soil and want to measure the temperature of the soil itself, this will
need to be below the surface.
Air temperature sensor
A silver temperature-only sensor comes pre-wired into your control box. You can use
this to monitor any temperature; typically it’s used for outside air temperature, and
will show as “air temp” on the app.

WARNING
Do not plug or unplug the dual purpose sensors while the control unit is turned on.
Heating
If you have a heated greenhouse, it will be supplied with a mains powered control unit
(it has three sockets on the left hand side). The top two connectors are for heaters;
zone 1 at the top and zone 2 below it. Into these connectors you can plug Harvst heater
pads. The bottom connector is for Harvst waterproof LED grow lights, which are
available as optional extras.

You can use up to four heater pads for each connector (unless you are also using grow
lights, in which case we suggest no more than 3 heaters per connector).

Since the zone temperature sensors are in the same dual-purpose sensor as the
moisture detector, we recommend the following setup:
Zone 2 (top of greenhouse, with misters)
Have at least one seed tray or gravel tray filled with soil; you can germinate seeds in it.
You don’t need sensors in every seed tray, so you’ll use this one to control the
environment on the top shelf. This will be your “control” tray. Put a heater pad into the
bottom of an empty seed tray, and then place your control tray into that. Slide the dual
purpose sensor down the side of the soil in the top tray, so it measures the moisture
and temperature of the control tray. When the control tray gets dry (or too hot), we can
assume that other seed trays on the same level are about the same.
Zone 1 (bottom of greenhouse, with sprayers)
Larger tubs in the bottom will heat up much more slowly than seed trays, so they need
to have different heating control. Just as you have a control tray in the top, you can
have a control tub in the bottom, which contains the dual-purpose sensor. If you have a
Yard model and are planting directly into the ground then we suggest your zone 2
control tub is on the middle shelf. Put the heater pad into the bottom of your growing
container before filling it with soil. If you’re confident you are going to keep this
container for this use, then peel off the back of the heater pad and stick it securely to
the container. You won’t be able to get it off again easily. Place the sensor flat, just
under the surface of the soil. We’ve found this is a good position to get good moisture
and temperature readings.

Heat settings
You might want to set seedling trays at 20 °C to germinate peppers, and salad grow
tubs at 15 °C. Read more online about the best growing temperatures for different
crops.

The large tubs at the bottom of a greenhouse could be set to 15 °C, but might not
achieve that temperature if it’s very cold outside. A single heater pad should be able to
keep a large grow tub at least 10 °C above ambient temperature (even when the
outside temperature is freezing).

The pads can reach a maximum theoretical temperature of 40 °C, so it’s possible to get
a small amount of soil very warm. The bigger the tub you try to heat, the slower it will
heat up, and the more heat will be lost at the same time as heat is being put in, so you
have a lower achievable maximum temperature.

Place your temperature sensors somewhere sensible so that they report the
temperature of the soil you’re heating, rather than the temperature of the heater pad.
Keeping one or two large tubs in the base of your Harvster warm will also keep the air
temperature in the Harvster to a reasonable level.

Put any ground-level heated tubs on an insulating layer of wood, if possible, to keep
them off the cold ground.

The power supply can provide up to 150 Watts of power. Each heater pad uses
approximately 15-20 Watts, which means you can in theory fit 8-10 heater pads. We
have provided outputs and splitters for up to 8 heater pads. The power supply itself will
give off a fair bit of warmth, and because that’s mounted inside the greenhouse, you’ll
get an extra boost.



Lighting
The Harvst heated greenhouses support low-voltage waterproof grow lights, to help
your seedlings grow stronger, and to help plants grow better in the darker months of
the year.

Up to 4 grow lights can be fitted, using a splitter connected to the lower outlet on the
left hand side of the control box.

The grow lights are provided with a versatile clamp and flexible stalk, so you can
position them wherever you want them. We recommend that lights for top shelf plants
are clamped to the front of the shelf, with the LED plate positioned just under the
closed lid. This will let water from the misters reach your plants. Lights for lower plants
should be fitted on the back of the middle shelf (for the Yard model).

Loading and planting
Every gardener will have their own way of doing things, but to help you get started with
the unique growing environment in a Harvster, we have some tips.
Main crops
The bottom of the Harvster is where you’ll grow your main crops; the ones that need
the deepest soil, and will grow the tallest. If you have your Harvster on the ground, you
have the soil right there. If your Harvster is on brick or concrete, you can add height
with our raised beds, or you can use deep containers. The Harvsters have been
designed to take standard 600mm euro crates, which we can supply. We use the ones
around 220mm (10”) deep.
Salads, herbs and mid level crops
The shelves of the Harvster are where you might want to grow crops that don’t need as
much height or as much soil depth. Perhaps salads, herbs or micro-greens. In a tall
Harvster, this would typically be the middle shelf. In a wide Harvster, you might want to
set one side of the shelf for mid-level crops and one side for seedlings.

Typically the mid level crops are sown directly in the tubs that they will grow in.
The shelves are designed for standard seed trays (38cm x 24cm).
Seedlings
Your main crops can either be sown directly where they are going to grow, in the
bottom, or you can start them in seed trays on a shelf. Even if you’re sowing your main
crops directly, it’s a good idea to do further sowings of the same crop in a seed tray, so
that when you harvest your main crop, you have some strong seedlings ready to
transplant.

Seedlings are started on the shelf of the Harvster; the top shelf if you have a tall
Harvster, or one side of a wide Harvster. Our heated seed trays and grow lights are a
great way to get seeds to germinate at any time of year, if your Harvster is connected to
mains electricity.

The top shelf of the Harvster is watered with a misting spray. You can turn off each
mister individually if you don’t have a tray under it.

Other manuals for Terrace

1

Other harvst Greenhouse Kit manuals

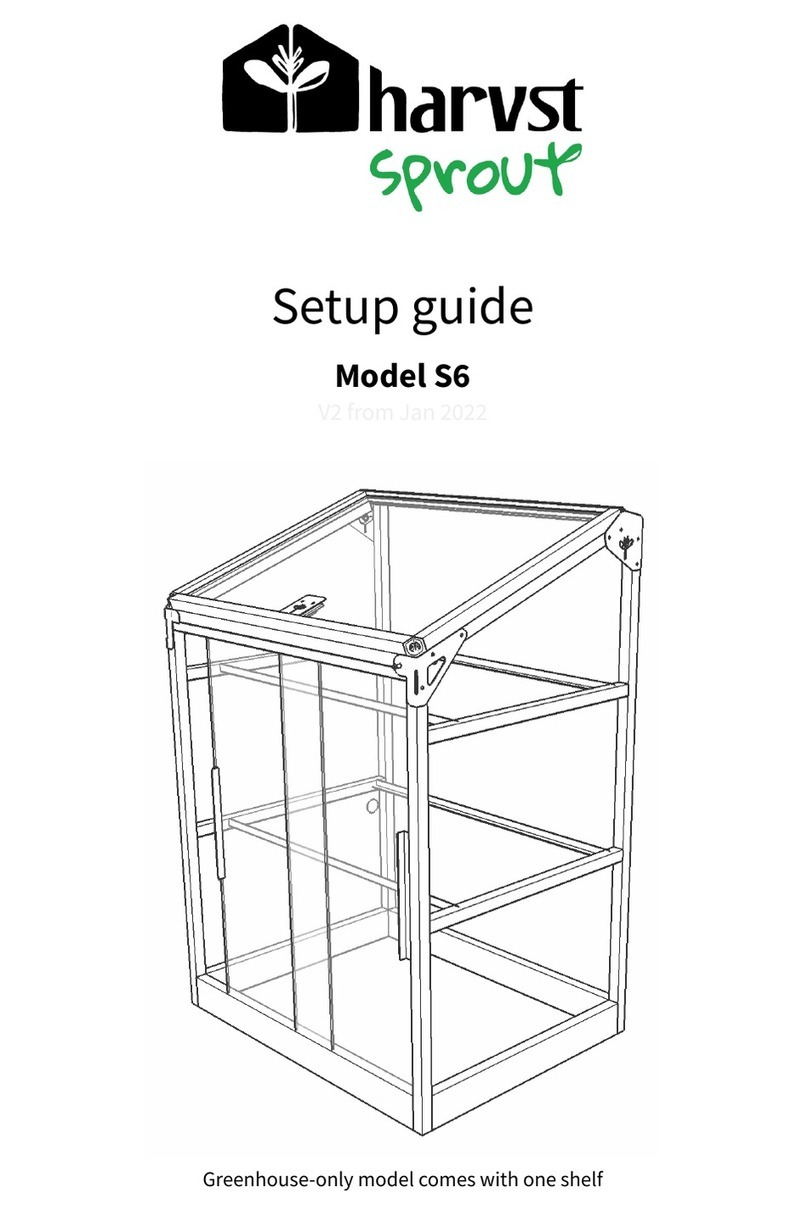
harvst Sprout S6 Mini User manual

harvst

harvst Sprout S6 Mini User manual

harvst S14 User manual

harvst

harvst S14 User manual

harvst S14 User manual

harvst

harvst S14 User manual

harvst WaterMate User manual

harvst

harvst WaterMate User manual

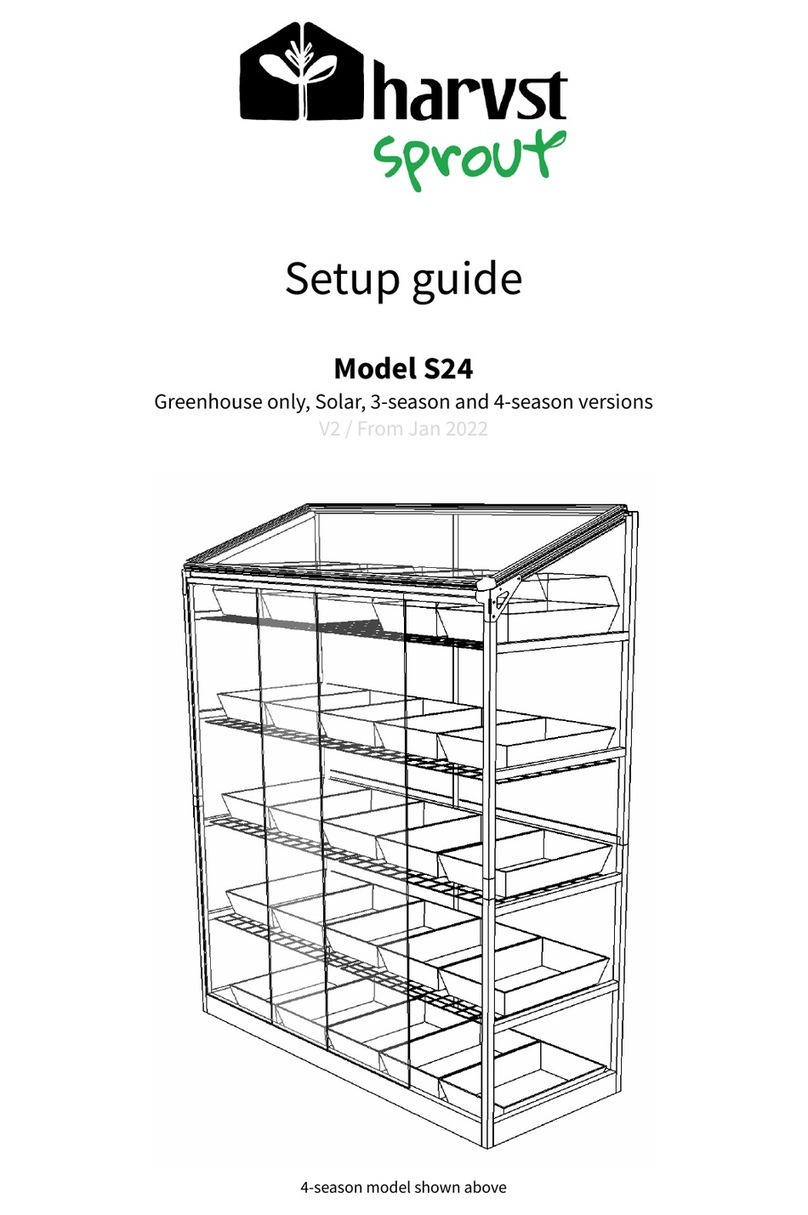
harvst S24 User manual

harvst

harvst S24 User manual

harvst Sprout S6 Mini User manual

harvst

harvst Sprout S6 Mini User manual

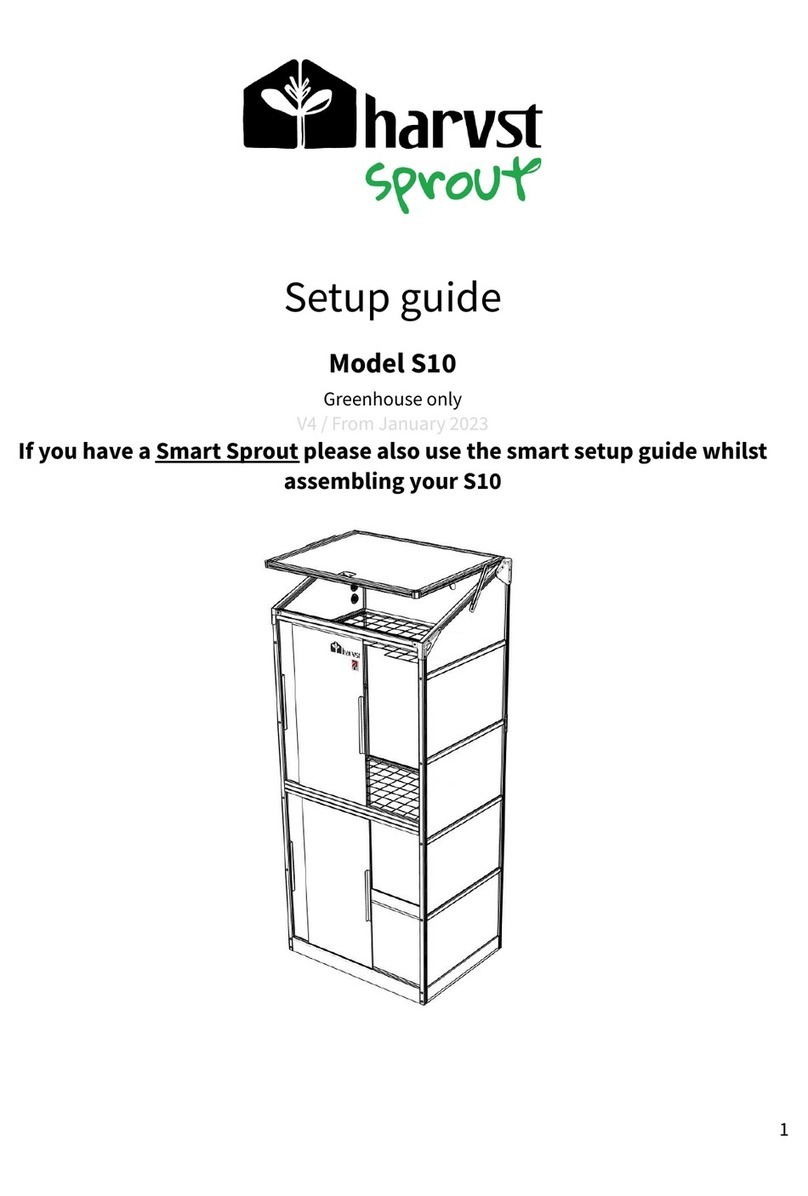
harvst Sprout S10 Mini User manual

harvst

harvst Sprout S10 Mini User manual

harvst WaterMate User manual

harvst

harvst WaterMate User manual

harvst Harvster User manual

harvst

harvst Harvster User manual

harvst Sprout S10 Mini User manual

harvst

harvst Sprout S10 Mini User manual

harvst Sprout S6 Mini User manual

harvst

harvst Sprout S6 Mini User manual

harvst Terrace User manual

harvst

harvst Terrace User manual

harvst Sprout S10 Mini User manual

harvst

harvst Sprout S10 Mini User manual

harvst S14 User manual

harvst

harvst S14 User manual
harvst Yard User manual

harvst

harvst Yard User manual

harvst S24 User manual

harvst

harvst S24 User manual

harvst S24 User manual

harvst

harvst S24 User manual

Popular Greenhouse Kit manuals by other brands
Costway HW51811 user manual

Costway

Costway HW51811 user manual

Feelgood PY6 instructions

Feelgood

Feelgood PY6 instructions

Forest WRGH quick start guide

Forest

Forest WRGH quick start guide

Palram CANOPIA RUBICON 6x10 / 2x3 How to assemble

Palram

Palram CANOPIA RUBICON 6x10 / 2x3 How to assemble

Palram Yukon Shed 11x9 manual

Palram

Palram Yukon Shed 11x9 manual

Halls Cotswold 46 Assembly instructions

Halls

Halls Cotswold 46 Assembly instructions

Sproutwell NURSERY GREENHOUSE Assembly instructions
Sproutwell

Sproutwell NURSERY GREENHOUSE Assembly instructions

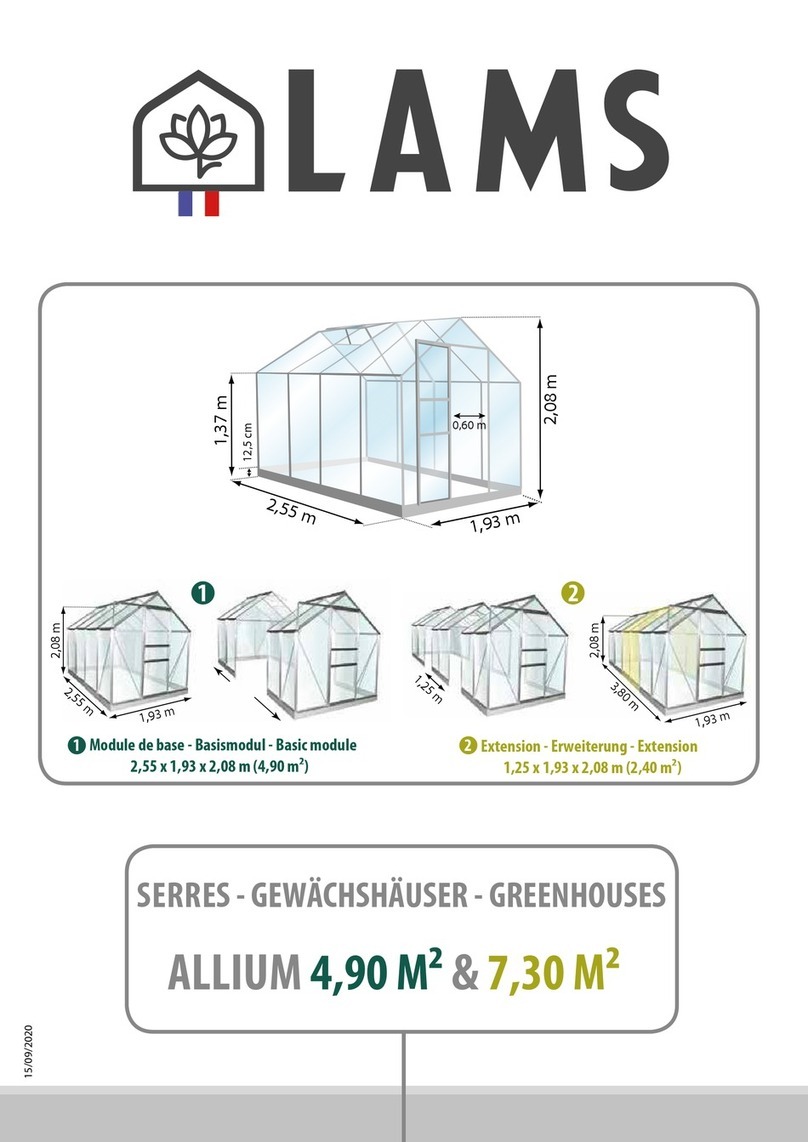
LAMS ALLIUM 4,90 Assembly instructions
LAMS

LAMS ALLIUM 4,90 Assembly instructions

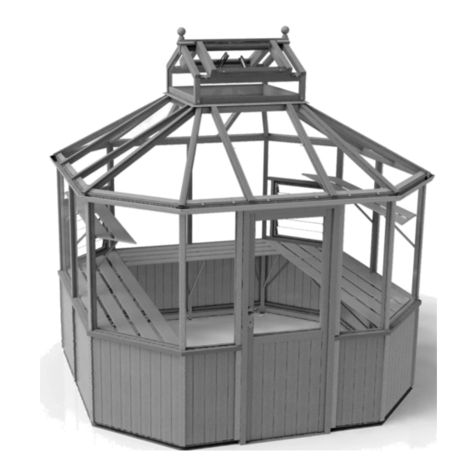
Alton Evolution Octagonal 9x9 instruction manual
Alton

Alton Evolution Octagonal 9x9 instruction manual

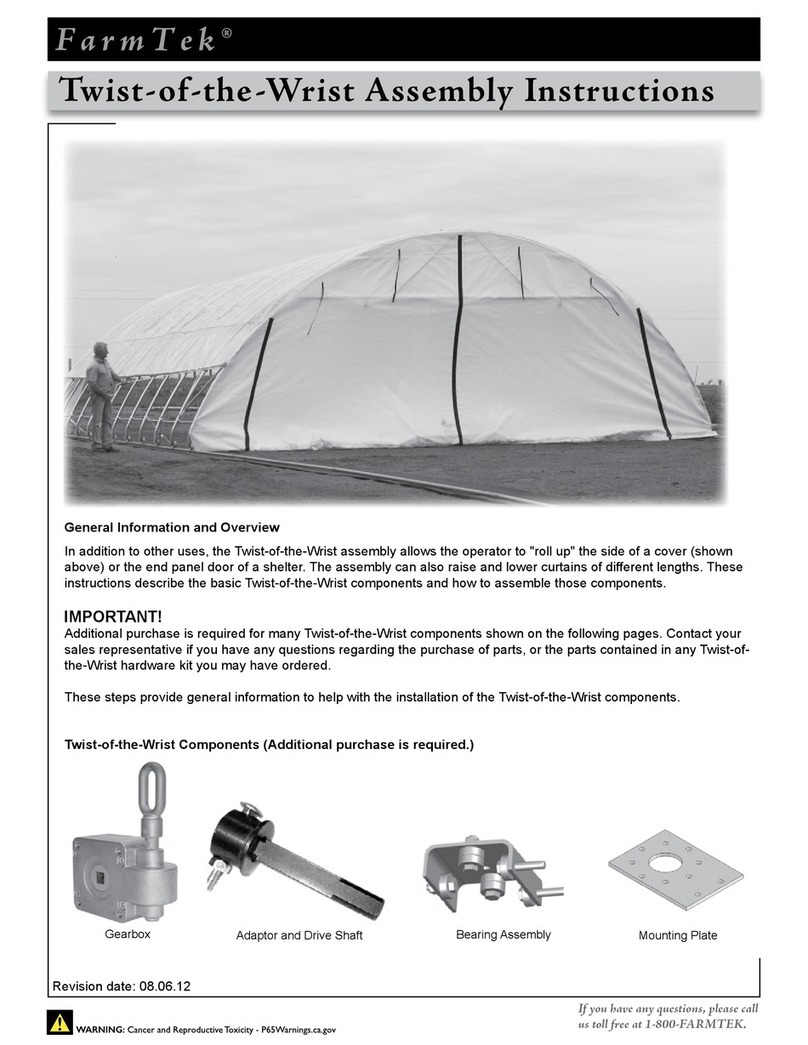
FarmTek Twist-of-the-Wrist Assembly instructions
FarmTek

FarmTek Twist-of-the-Wrist Assembly instructions

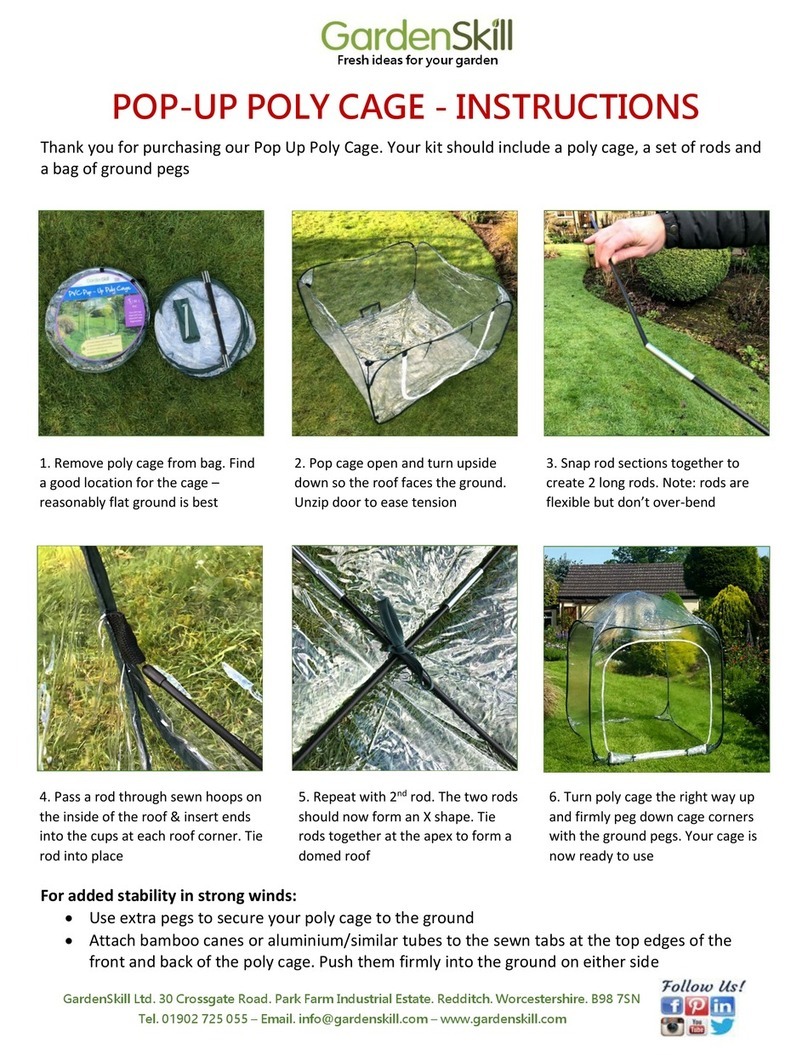
GardenSkill POP-UP POLY CAGE Series instructions

GardenSkill

GardenSkill POP-UP POLY CAGE Series instructions

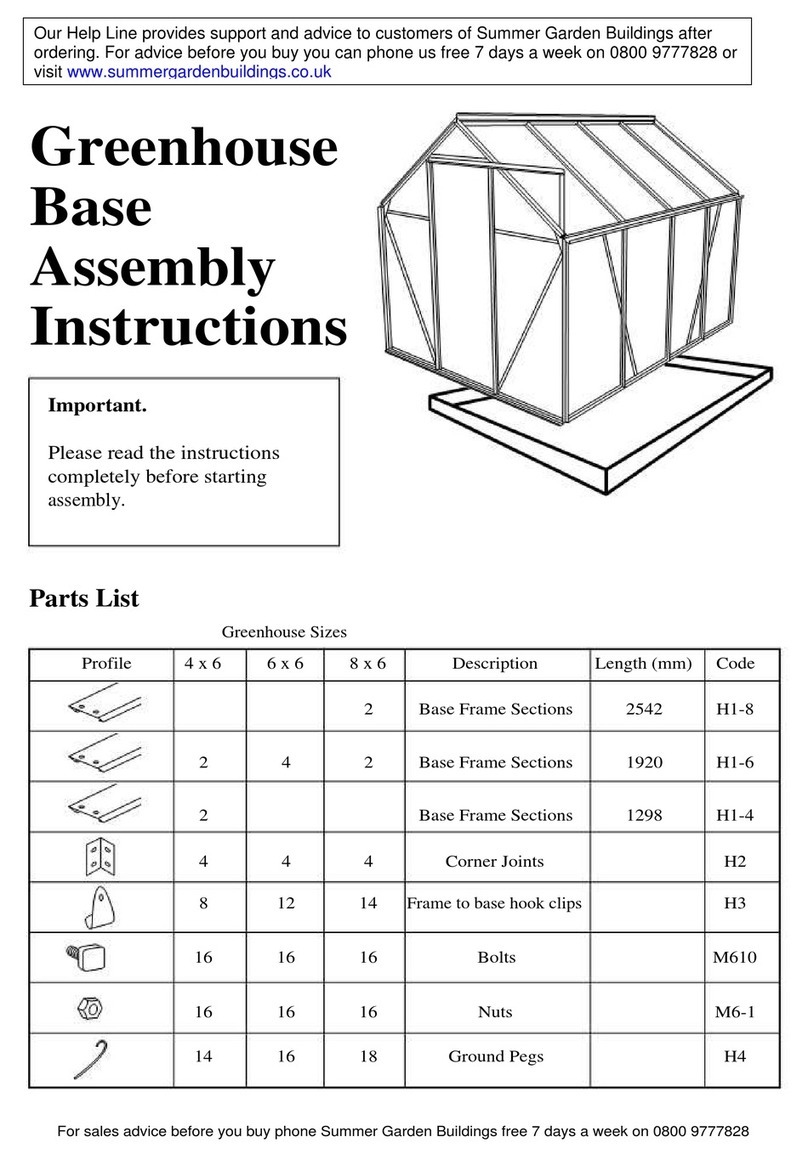
Sproutwell GRANGE - 5 Assembly instructions
Sproutwell

Sproutwell GRANGE - 5 Assembly instructions

Gardman 2979 Assembly instructions

Gardman

Gardman 2979 Assembly instructions
Richel J30309 Assembly instructions and user guide

Richel

Richel J30309 Assembly instructions and user guide

Hortus 211-203 Assembling manual

Hortus

Hortus 211-203 Assembling manual
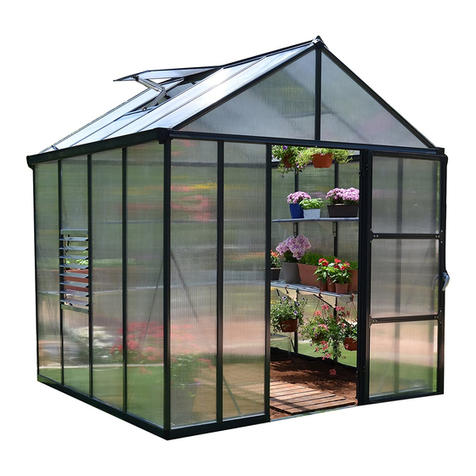
Palram Glory Standard Assembly instructions
Palram

Palram Glory Standard Assembly instructions

Dancover GH152200 Assembly instructions
Dancover

Dancover GH152200 Assembly instructions

Mercia Garden Products 04GREENLEAN0804-V2 General instructions

Mercia Garden Products

Mercia Garden Products 04GREENLEAN0804-V2 General instructions
manuals.online logo
manuals.online logoBrands
  • About & Mission
  • Contact us
  • Privacy Policy
  • Terms and Conditions

Copyright 2025 Manuals.Online. All Rights Reserved.