manuals.online logo
Brands
  1. Home
  2. •
  3. Brands
  4. •
  5. Hatco
  6. •
  7. Heated Shelf
  8. •
  9. Hatco HBG-2418 User manual

Hatco HBG-2418 User manual

Other manuals for HBG-2418

2

This manual suits for next models

11

Other Hatco Heated Shelf manuals

Hatco MPP Series User manual

Hatco

Hatco MPP Series User manual

Hatco Glo-Ray GRS-18 User manual

Hatco

Hatco Glo-Ray GRS-18 User manual

Hatco HGSM Series User manual

Hatco

Hatco HGSM Series User manual

Hatco GRS Series User manual

Hatco

Hatco GRS Series User manual

Hatco Glo-Ray GRSBF-36-O Application guide

Hatco

Hatco Glo-Ray GRSBF-36-O Application guide

Hatco Glo-Ray GRSR-19 Application guide

Hatco

Hatco Glo-Ray GRSR-19 Application guide

Hatco HSBF-HC Series User manual

Hatco

Hatco HSBF-HC Series User manual

Hatco GR3-27 User manual

Hatco

Hatco GR3-27 User manual

Hatco Glo-Ray GRS-18 User manual

Hatco

Hatco Glo-Ray GRS-18 User manual

Hatco GR3-29 User manual

Hatco

Hatco GR3-29 User manual

Hatco Glo-Ray GRSS Series Installation instructions

Hatco

Hatco Glo-Ray GRSS Series Installation instructions

Hatco HBG-3018 User manual

Hatco

Hatco HBG-3018 User manual

Hatco Glo-Ray GRSB-24-F User manual

Hatco

Hatco Glo-Ray GRSB-24-F User manual

Hatco GR3-27 User manual

Hatco

Hatco GR3-27 User manual

Hatco GLO-RAY GRS Series Installation instructions

Hatco

Hatco GLO-RAY GRS Series Installation instructions

Hatco GLO-RAY GRSS-2418 User manual

Hatco

Hatco GLO-RAY GRSS-2418 User manual

Hatco Glo-Ray GRSB-24-I Application guide

Hatco

Hatco Glo-Ray GRSB-24-I Application guide

Hatco HBG Series User manual

Hatco

Hatco HBG Series User manual

Hatco Glo-Ray GRS-18 Application guide

Hatco

Hatco Glo-Ray GRS-18 Application guide

Hatco GLO-RAY GRSS-2418 User manual

Hatco

Hatco GLO-RAY GRSS-2418 User manual

Hatco GLO-RAY GRSS-3618 User manual

Hatco

Hatco GLO-RAY GRSS-3618 User manual

Hatco HBG-2418 User manual

Hatco

Hatco HBG-2418 User manual

Hatco GRS Series User manual

Hatco

Hatco GRS Series User manual

Hatco HGSM-1P User manual

Hatco

Hatco HGSM-1P User manual

Popular Heated Shelf manuals by other brands

Duke Infrared Heatsink Service manual

Duke

Duke Infrared Heatsink Service manual

FPG INLINE GN Series product manual

FPG

FPG INLINE GN Series product manual

Buffalo CW147 instruction manual

Buffalo

Buffalo CW147 instruction manual

Metro DataVac C175 Series user manual

Metro DataVac

Metro DataVac C175 Series user manual

Nuttall Flexeserve Hub quick start guide

Nuttall

Nuttall Flexeserve Hub quick start guide

Marshall AIR CB1 owner's manual

Marshall AIR

Marshall AIR CB1 owner's manual

Bartscher 112080 instruction manual

Bartscher

Bartscher 112080 instruction manual

FPG INLINE 3000S Series product manual

FPG

FPG INLINE 3000S Series product manual

Flexeserve Zone MK2 2 Tier quick start guide

Flexeserve

Flexeserve Zone MK2 2 Tier quick start guide

Marshall AIR NN4A owner's manual

Marshall AIR

Marshall AIR NN4A owner's manual

Giani GCETW39AL-1 instruction manual

Giani

Giani GCETW39AL-1 instruction manual

Eagle Heated Drawers Operating manual and instructions

Eagle

Eagle Heated Drawers Operating manual and instructions

Bathroom Butler LOFT TWIN 6 Bar Assembly, Mounting and User Instructions

Bathroom Butler

Bathroom Butler LOFT TWIN 6 Bar Assembly, Mounting and User Instructions

Marshall Amplification NN4A owner's manual

Marshall Amplification

Marshall Amplification NN4A owner's manual

Prince Castle Bins none Brochure & specs

Prince Castle

Prince Castle Bins none Brochure & specs

Nuttall flexeserve ZONE 400 Operation manual

Nuttall

Nuttall flexeserve ZONE 400 Operation manual

Cres Cor H138NPSCDOMMQ Series Operating and maintenance instructions

Cres Cor

Cres Cor H138NPSCDOMMQ Series Operating and maintenance instructions

Cres Cor CGMH73A Operating and maintenance instructions

Cres Cor

Cres Cor CGMH73A Operating and maintenance instructions

manuals.online logo
manuals.online logoBrands
  • About & Mission
  • Contact us
  • Privacy Policy
  • Terms and Conditions

Copyright 2025 Manuals.Online. All Rights Reserved.

&W #07.05.200.00
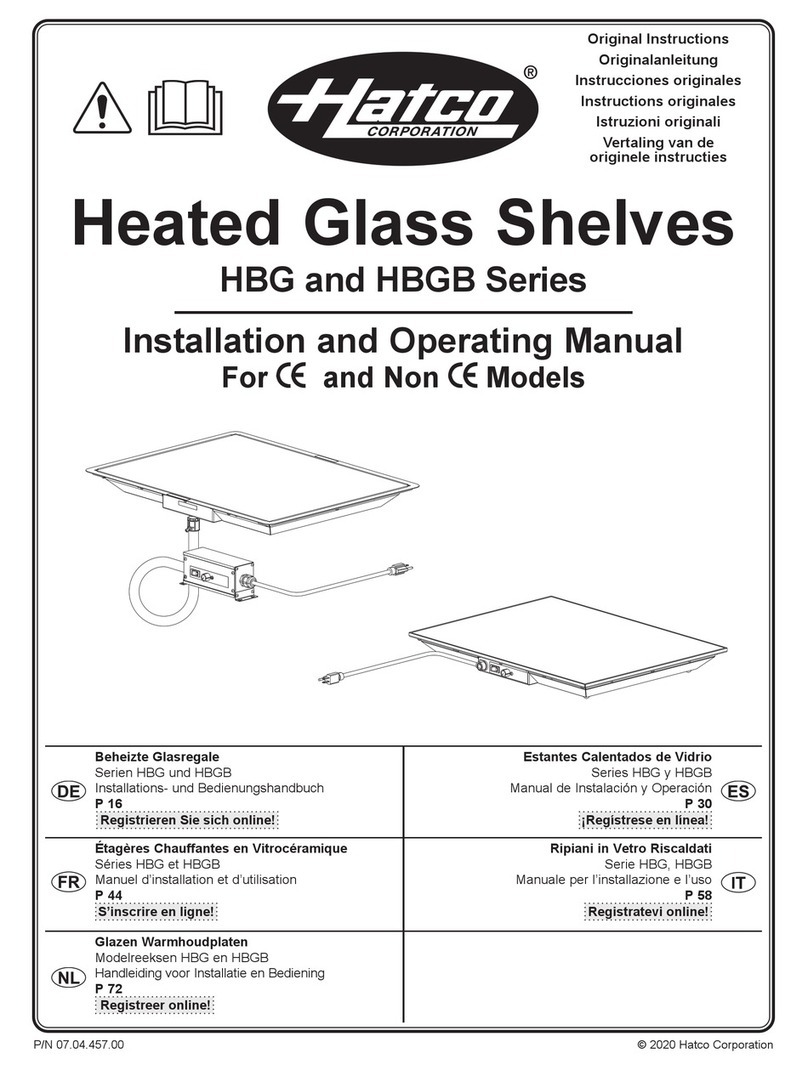
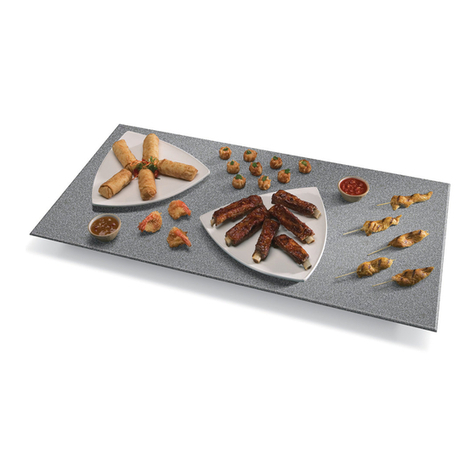
Heated Black Glass Shelves
HBG and HBGB Series
Installation and Operating Manual
© 2008 Hatco Corporation
Do not operate this equipment unless
you have read and understood the
contents of this manual! Failure to follow
the instructions contained in this manual
may result in serious injury or death.
This manual contains important safety
information concerning the maintenance,
use, and operation of this product. If
you’re unable to understand the contents
of this manual, please bring it to the
attention of your supervisor. Keep this
manual in a safe location for future
reference.
No opere este equipo al menos que haya
leído y comprendido el contenido de este
manual! Cualquier falla en el seguimiento
de las instrucciones contenidas en este
manual puede resultar en un serio lesión
o muerte. Este manual contiene
importante información sobre seguridad
concerniente al mantenimiento, uso y
operación de este producto. Si usted no
puede entender el contenido de este
manual por favor pregunte a su
supervisor. Almacenar este manual en
una localización segura para la referencia
futura.
i
CONTENTS
Form No. HBGM-0608
INTRODUCTION
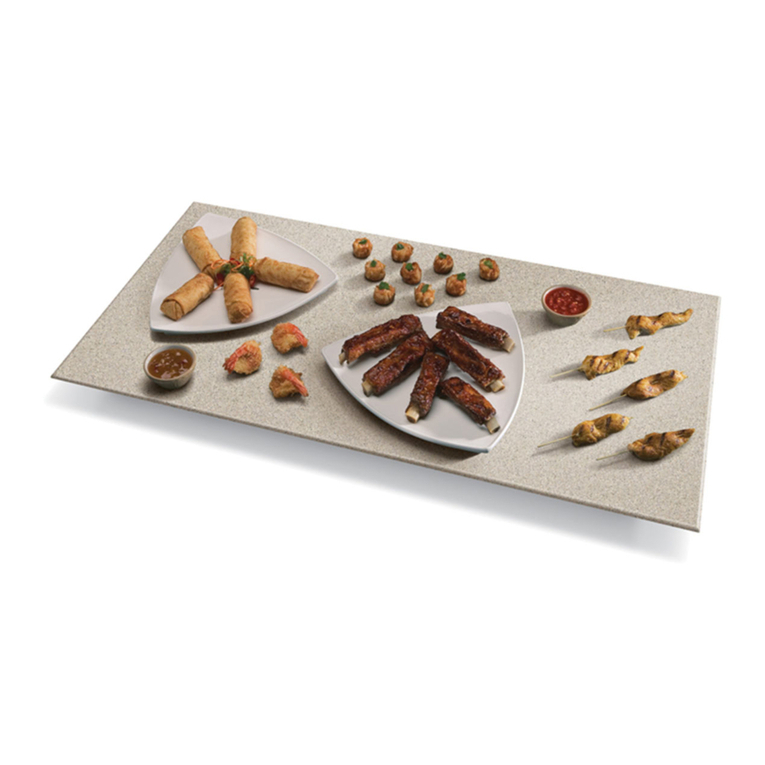
The Hatco Heated Black Glass shelf is designed to
safely hold food hot while blending into your décor.
t will keep all food at proper serving temperatures
without affecting quality. This unit features a
thermostatically-controlled heated glass base that
extends the food holding times.
Heated Black Glass shelves are a product of
extensive research and field testing. The materials
used were selected for maximum durability,
attractive appearance, and optimum performance.
Every unit is inspected and tested thoroughly prior
to shipment.
This manual provides the installation, safety, and
operating instructions for the Heated Black Glass
shelf. Hatco recommends all installation, operating,
and safety instructions appearing in this manual be
read prior to installation or operation of the Heated
Black Glass shelf.
Safety information that appears in this manual is
identified by the following signal word panels:
WARNING indicates a hazardous situation
which, if not avoided, could result in death or
serious injury.
CAUTION indicates a hazardous situation which,
if not avoided, could result in minor or moderate
injury.
NOTICE is used to address practices not related
to personal injury.
NOTICE
CAUTION
WARNING
Important Owner Information...............................i
Introduction...........................................................i
Important Safety Information..............................1
Model Designation...............................................2
Model Descriptions..............................................2
All Models........................................................2
HBG Models....................................................2
HBGB Models..................................................2
Specifications.......................................................3
Dimensions — HBG Models............................3
Dimensions — HBGB Models.........................3
Plug Configurations.........................................4
Electrical Rating Chart — HBG Models ..........4
Electrical Rating Chart — HBGB Models........5
Installation ............................................................6
HBG Models....................................................6
HBGB Models..................................................6
Operation..............................................................9
General............................................................9
Maintenance .......................................................10
General..........................................................10
Daily Cleaning ...............................................10
Cleaning Burned-On Residue........................10
Cleaning Sugary Spills ..................................10
Cleaning Metal Marks and Scratches............10
Troubleshooting Guide......................................11
Options................................................................12
Accessories........................................................13
Hatco imited Warranty.....................................13
Authorized Parts Distributors...........Back Cover
IMPORTANT OWNER INFORMATION
Record the model number, serial number, voltage,
and purchase date of your Heated Black Glass shelf
in the spaces below. Please have this information
available when contacting Hatco for service
assistance.
Model No. ________________________________
Serial No. ________________________________
Voltage __________________________________
Date of Purchase __________________________
Business 8:00 a.m. to 5:00 p.m.
Hours: Central Standard Time
(Summer Hours: June to September –
8:00 a.m. to 5:00 p.m. C.S.T.
Monday through Thursday
8:00 a.m. to 2:30 p.m. C.S.T. Friday)
Telephone: (800) 558-0607; (414) 671-6350
Fax: (800) 690-2966 (Parts and Service)
(414) 671-3976 ( nternational)
24 Hour 7 Day Parts and Service
Assistance available in the
United States and Canada
by calling (800) 558-0607.
Additional information can be found by visiting our
web site at www.hatcocorp.com.
IMPORTANT SAFETY INFORMATION
Form No. HBGM-0608 1
E ECTRIC SHOCK HAZARD:
• Plug unit into a properly grounded electrical
outlet of the correct voltage, size, and plug
configuration. If the plug and receptacle do
not match, contact a qualified electrician to
determine and install the proper voltage and
size electrical outlet.
• Turn the power switch OFF, unplug the power
cord, and allow the unit to cool before
performing any maintenance or cleaning.
• DO NOT submerge or saturate with water.
Unit is not waterproof. Do not operate if unit
has been submerged or saturated with water.
• This unit is not “jet-proof” construction. Do
not use jet-clean spray to clean this unit.
• Unit is not weatherproof. ocate the unit
indoors where the ambient air temperature is
a minimum of 70°F (21°C).
• Do not pull unit by power cord.
• Discontinue use if power cord is frayed or
worn.
• Do not attempt to repair or replace a
damaged power cord. The cord must be
replaced by Hatco, an Authorized Hatco
Service Agent, or a person with similar
qualifications.
• Use only Genuine Hatco Replacement Parts
when service is required. Failure to use
Genuine Hatco Replacement Parts will void
all warranties and may subject operators of
the equipment to hazardous electrical
voltage, resulting in electrical shock or burn.
Genuine Hatco Replacement Parts are
specified to operate safely in the
environments in which they are used. Some
aftermarket or generic replacement parts do
not have the characteristics that will allow
them to operate safely in Hatco equipment.
FIRE HAZARD: ocate the unit a minimum of
1″ (25 mm) from combustible walls and
materials. If safe distances are not maintained,
combustion or discoloration could occur.
This unit has no “user-serviceable” parts and
must be serviced by qualified personnel only. If
service is required on this unit, contact an
Authorized Hatco Service Agent or contact the
Hatco Service Department at 800-558-0607 or
414-671-6350; fax 800-690-2966; or International
fax 414-671-3976.
WARNING
BURN HAZARD: Some exterior surfaces on the
unit will get hot. Use caution when touching
these areas.
ocate the unit at the proper counter height in
an area that is convenient for use. The location
should be level to prevent the unit or its
contents from falling accidentally and strong
enough to support the weight of the unit and
contents.
Do not operate built-in models without the
control box mounted properly as described in
the installation instructions.
This unit is recommended for use in metallic
countertops. Damage to non-metallic
countertop material caused by heat generated
from Hatco equipment is not covered under the
Hatco warranty. For other surfaces, verify that
the material is suitable for temperatures up to
200°F (93°C).
Built-in units must not have a setpoint
temperature higher than 200°F (93°C).
Temperatures exceeding 200°F (93°C) will
damage the unit and void the warranty.
Do not lay unit on the side with the control panel
or damage to the unit could occur.
Do not slide pans across glass surface, use
rough-bottomed pans, or drop anything on
glass surface. Scratching or breakage may
occur. Damage to glass surface or breakage of
glass caused by misuse is not covered under
warranty.
CAUTION
NOTICE
Read the following important safety information to avoid serious injury or death and to
avoid damage to equipment or property.
MODE DESIGNATION
MODE DESCRIPTIONS
2Form No. HBGM-0608
All Models
All Hatco Heated Black Glass shelves are ideal for
pass through areas, buffet lines, and as hors d’
oeuvre displays. National Sanitation Foundation
(NSF) approval allows the placement of food
product directly on the glass surface, if desired.
Standard equipment includes an illuminated power
ON/OFF switch, a thermostatically-controlled
heated ceramic glass top, and a painted steel base.
The Heated Black Glass shelves have a
temperature range of 100° to 200°F (38° to 93°C).
HBG Models
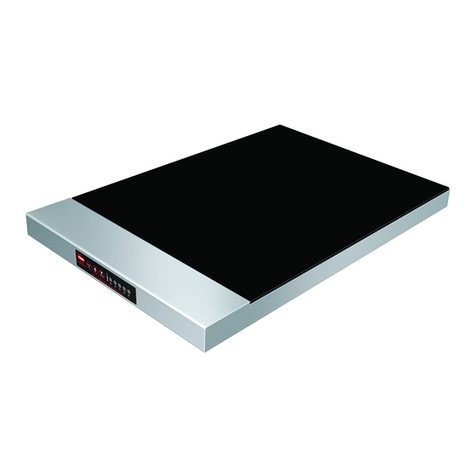
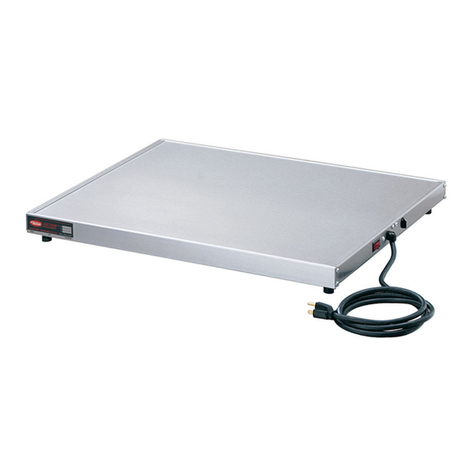
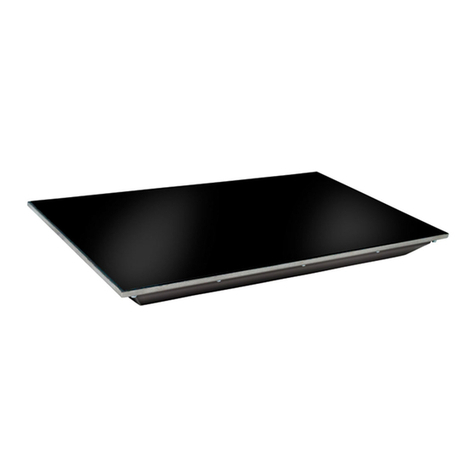
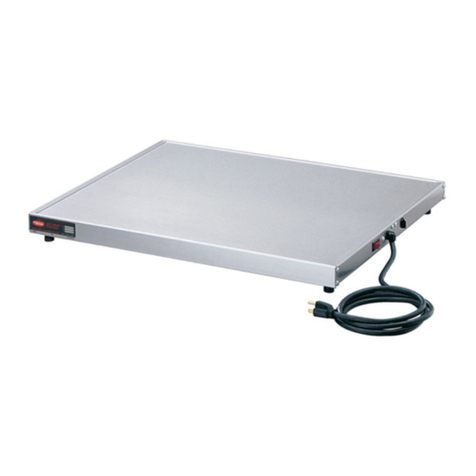
The HBG Heated Black Glass shelf is a portable
shelf with an attached 6′ (1829 mm) cord and plug.
The portable unit is available in six models:
HBG-2418, HBG-3018, HBG-3618, HBG-4818,
HBG-6018 and HBG-7218.
Figure 2. Model HBG
HBGB Models
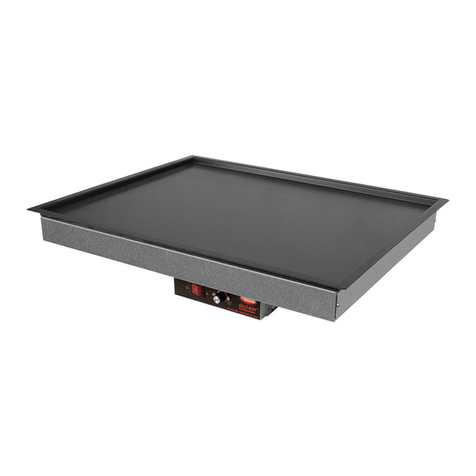
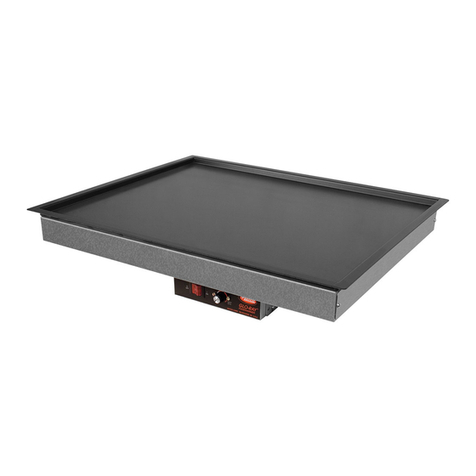
The HBGB Heated Black Glass shelf is a built-in unit
that is equipped with an attached trim mounting ring.
The unit includes a remote control box that is
attached with 3′ (914 mm) of conduit.A6′ (1829 mm)
cord with plug connects the remote control box to
the power source.
The built-in units are available in six models: HBGB-
2418, HBGB-3018, HBGB-3618, HBGB-4818,
HBGB-6018 and HBGB-7218.
Figure 3. Model HBGB
HBGB-XXXX
Heated
Glass
Built-In
Black Width (inches)
Depth (inches)
Figure 1. Model Designation
SPECIFICATIONS
Form No. HBGM-0608 3
Dimensions — HBG Models
Width Depth Height Footprint Footprint
Model (A) (B) (C) Width (D) Depth (E)
HBG-2418 24-3/8″ 18-3/8″ 2-1/2″ 19-3/4″ 13-3/4″
(619 mm) (467 mm) (64 mm) (502 mm) (349 mm)
HBG-3018 30-3/8″ 18-3/8″ 2-1/2″ 25-3/4″ 13-3/4″
(772 mm) (467 mm) (64 mm) (654 mm) (349 mm)
HBG-3618 36-3/8″ 18-3/8″ 2-1/2″ 31-3/4″ 13-3/4″
(924 mm) (467 mm) (64 mm) (806 mm) (349 mm)
HBG-4818 48-3/8″ 18-3/8″ 2-1/2″ 42-3/4″ 12-3/4″
(1229 mm) (467 mm) (64 mm) (1086 mm) (324 mm)
HBG-6018 60-3/8″ 18-3/8″ 2-1/2″ 54-3/4″ 12-3/4″
(1534 mm) (467 mm) (64 mm) (1391 mm) (324 mm)
HBG-7218 72-3/8″ 18-3/8″ 2-1/2″ 66-3/4″ 12-3/4″
(1838 mm) (467 mm) (64 mm) (1695 mm) (324 mm)
A
D E
B
C
Front View Side View
Figure 4. Dimensions – HBG Model
Width Depth Height
Model (A) (B) (C)
HBGB-2418 25-3/4″ 19-3/4″ 2-1/4″
(654 mm) (502 mm) (57 mm)
HBGB-3018 31-3/4″ 19-3/4″ 2-1/4″
(806 mm) (502 mm) (57 mm)
HBGB-3618 37-3/4″ 19-3/4″ 2-1/4″
(959 mm) (502 mm) (57 mm)
HBGB-4818 49-3/4″ 19-3/4″ 2-1/4″
(1264 mm) (502 mm) (57 mm)
HBGB-6018 61-3/4″ 19-3/4″ 2-1/4″
(1568 mm) (502 mm) (57 mm)
HBGB-7218 73-3/4″ 19-3/4″ 2-1/4″
(1873 mm) (502 mm) (57 mm)
Width Depth Height
(D) (E) (F)
Remote Box 7″ 2-1/2″ 3″
(178 mm) (64 mm) (76 mm)
A
B
D
E
C
F
Front View
Side View
Figure 5. Dimensions – HBGB Model
Dimensions — HBGB Models
SPECIFICATIONS
4Form No. HBGM-0608
Model Voltage Watts Amps Plug Configurations Shipping Weight
HBG-2418 120 425 3.5 NEMA 5-15P 22 lbs. (10 kg)
220-230 (CE) 420–459 1.9–2.0 CEE 7/7 Schuko 22 lbs. (10 kg)
230-240 (CE) 459–500 2.0–2.1 BS-1363 or AS 3112* 22 lbs. (10 kg)
HBG-3018 120 525 4.4 NEMA 5-15P 27 lbs. (12 kg)
220-230 (CE) 525–574 2.4–2.5 CEE 7/7 Schuko 27 lbs. (12 kg)
230-240 (CE) 574–625 2.5–2.6 BS-1363 or AS 3112* 27 lbs. (12 kg)
HBG-3618 120 630 5.3 NEMA 5-15P 32 lbs. (15 kg)
220-230 (CE) 630–689 2.9–3.0 CEE 7/7 Schuko 32 lbs. (15 kg)
230-240 (CE) 689–750 3.0–3.1 BS-1363 or AS 3112* 32 lbs. (15 kg)
HBG-4818 120 850 7.1 NEMA 5-15P 44 lbs. (20 kg)
220-230 (CE) 840–918 3.8–4.0 CEE 7/7 Schuko 44 lbs. (20 kg)
230-240 (CE) 918–1000 4.0–4.2 BS-1363 or AS 3112* 44 lbs. (20 kg)
HBG-6018 120 1050 8.8 NEMA 5-15P 54 lbs. (25 kg)
220-230 (CE) 1050–1148 4.8–5.0 CEE 7/7 Schuko 54 lbs. (25 kg)
230-240 (CE) 1148–1250 5.0–5.2 BS-1363 or AS 3112* 54 lbs. (25 kg)
HBG-7218 120 1260 10.5 NEMA 5-15P 64 lbs. (29 kg)
220-230 (CE) 1260–1378 5.7–6.0 CEE 7/7 Schuko 64 lbs. (29 kg)
230-240 (CE) 1378–1500 6.0–6.3 BS-1363 or AS 3112* 64 lbs. (29 kg)
Electrical Rating Chart — HBG Models
The shaded areas contain electrical information for Export models only.
* AS3112 plug for use in Australia only.
NOTE: Shipping weight in ludes pa kaging.
Plug Configurations
Units are supplied from the factory with an electrical
cord and plug installed. Plugs are supplied
according to the applications as shown in Figure 6.
E ECTRIC SHOCK HAZARD: Plug unit into a
properly grounded electrical outlet of the correct
voltage, size, and plug configuration. If the plug
and receptacle do not match, contact a qualified
electrician to determine and install the proper
voltage and size electrical outlet.
WARNING
Figure 6. Plug Configurations
NEMA 5-15P
AS 3112
CEE 7/7 Schuko
BS-1363
NOTE: Receptacle not supplied by Hatco.
SPECIFICATIONS
Form No. HBGM-0608 5
Model Voltage Watts Amps Plug Configurations Shipping Weight
HBGB-2418 120 425 3.5 NEMA 5-15P 27 lbs. (12 kg)
220-230 (CE) 420–459 1.9–2.0 CEE 7/7 Schuko 27 lbs. (12 kg)
230-240 (CE) 459–500 2.0–2.1 BS-1363 or AS 3112* 27 lbs. (12 kg)
HBGB-3018 120 525 4.4 NEMA 5-15P 32 lbs. (15 kg)
220-230 (CE) 525–574 2.4–2.5 CEE 7/7 Schuko 32 lbs. (15 kg)
230-240 (CE) 574–625 2.5–2.6 BS-1363 or AS 3112* 32 lbs. (15 kg)
HBGB-3618 120 630 5.3 NEMA 5-15P 37 lbs. (17 kg)
220-230 (CE) 630–689 2.9–3.0 CEE 7/7 Schuko 37 lbs. (17 kg)
230-240 (CE) 689–750 3.0–3.1 BS-1363 or AS 3112* 37 lbs. (17 kg)
HBGB-4818 120 850 7.1 NEMA 5-15P 54 lbs. (25 kg)
220-230 (CE) 840–918 3.8–4.0 CEE 7/7 Schuko 54 lbs. (25 kg)
230-240 (CE) 918–1000 4.0–4.2 BS-1363 or AS 3112* 54 lbs. (25 kg)
HBGB-6018 120 1050 8.8 NEMA 5-15P 64 lbs. (29 kg)
220-230 (CE) 1050–1148 4.8–5.0 CEE 7/7 Schuko 64 lbs. (29 kg)
230-240 (CE) 1148–1250 5.0–5.2 BS-1363 or AS 3112* 64 lbs. (29 kg)
HBGB-7218 120 1260 10.5 NEMA 5-15P 74 lbs. (34 kg)
220-230 (CE) 1260–1378 5.7–6.0 CEE 7/7 Schuko 74 lbs. (34 kg)
230-240 (CE) 1378–1500 6.0–6.3 BS-1363 or AS 3112* 74 lbs. (34 kg)
Electrical Rating Chart — HBGB Models
The shaded areas contain electrical information for Export models only.
* AS3112 plug for use in Australia only.
NOTE: Shipping weight in ludes pa kaging.
INSTA ATION
6Form No. HBGM-0608
General
Use the following procedures to install the HBG and
HBGB units.
E ECTRIC SHOCK HAZARD: Do not attempt to
repair or replace a damaged power cord. The
cord must be replaced by Hatco, an Authorized
Hatco Service Agent, or a person with similar
qualifications.
FIRE HAZARD: ocate the unit a minimum of 1″
(25 mm) from combustible walls and materials. If
safe distances are not maintained, combustion
or discoloration could occur.
ocate the unit at the proper counter height in
an area that is convenient for use. The location
should be level to prevent the unit or its
contents from falling accidentally and strong
enough to support the weight of the unit and
contents.
Do not lay unit on the side with the control panel
or damage to the unit could occur.
HBG Models
1. Remove unit from box.
2. Remove the information packet.
NOTE: To prevent delay in obtaining warranty
overage, fill out and mail in the warranty
ard to Hat o.
3. Remove tape and protective packaging from all
surfaces of unit.
4. Place the unit in the desired location. Make sure
all the feet on the bottom of the unit are
positioned securely on the countertop.
E ECTRIC SHOCK HAZARD: Unit is not
weatherproof. ocate the unit indoors where the
ambient air temperature is a minimum of 70°F
(21°C).
HBGB Models
Do not operate built-in models without the
control box mounted properly as described in
the installation instructions.
CAUTION
WARNING
NOTICE
CAUTION
WARNING
This unit is recommended for use in metallic
countertops. Damage to non-metallic countertop
material caused by heat generated from Hatco
equipment is not covered under the Hatco
warranty. Forothersurfaces,verifythatthematerial
is suitable for temperatures up to 200°F (93°C).
1. Remove unit from box.
2. Remove information packet.
NOTE: To prevent delay in obtaining warranty
overage, fill out and mail in the warranty
ard to Hat o.
3. Remove tape and protective packaging from all
surfaces of unit.
4. Prepare the countertop opening. Refer to the
“Countertop Cutout” chart on the following page
for recommended countertop cutout
dimensions.
5. Apply a bead of NSF-approved sealant on the
top edge of the countertop cutout and the
underside of the trim mounting ring (see
Figure 7). The sealant must be rated for use at
a minimum temperature of 250°F (121°C).
6. Place the unit into the countertop opening.
7. Remove any excess sealant.
8. Locate the remote control box assembly in an
area that is convenient for operation. f
necessary, remove the end brackets from the
control box, rotate, and reposition them. The
control box will require a hole mounting pattern
of 7-5/8″ x 1-1/4″ (194 mm x 32 mm). See
Figure 8 for mounting distances.
NOTE: The remote ontrol box should be mounted
using s rews with a 1/4″ (6 mm) minimum
diameter s rew head inserted through the
keyholes lo ated on the mounting bra kets.
The remote ontrol box is to be readily
removable, not permanently mounted.
Do not modify wiring or cut thermostat capillary
wire on control box to increase semi-remote
mounting distance. Cutting the thermostat
capillary wire will cause the unit to overheat and
may damage the unit as well as the surrounding
countertop.
9. Once all components are secured, proceed to
the OPERAT ON section.
NOTE: A 6′ (1829 mm) ord is supplied with this
applian e; any ex ess ord should be
neatly routed so it does not hang down.
NOTICE
NOTICE
INSTA ATION
Form No. HBGM-0608 7
Countertop Cutout
Model Minimum Width Maximum Width Minimum Depth Maximum Depth
HBGB-2418 24-3/4″ (629 mm) 25″ (635 mm) 18-3/4″ (476 mm) 19″ (483 mm)
HBGB-3018 30-3/4″ (781 mm) 31″ (787 mm) 18-3/4″ (476 mm) 19″ (483 mm)
HBGB-3618 36-3/4″ (933 mm) 37″ (940 mm) 18-3/4″ (476 mm) 19″ (483 mm)
HBGB-4818 48-3/4″ (1238 mm) 49″ (1245 mm) 18-3/4″ (476 mm) 19″ (483 mm)
HBGB-6018 60-3/4″ (1543 mm) 61″ (1549 mm) 18-3/4″ (476 mm) 19″ (483 mm)
HBGB-7218 72-3/4″ (1848 mm) 73″ (1854 mm) 18-3/4″ (476 mm) 19″ (483 mm)
Trim Mounting Ring
Countertop
Apply a beadof NSF-approved
sealant between the countertop
material and trimmounting ring.
Sealant must be rated foruse at
aminimum temperature of
250°F (121°C).
Figure 7. HBGB Countertop nstallation
INSTA ATION
8Form No. HBGM-0608
Use this arc to determine
approximate mounting
distances for semi-remote
controls.
Top View
Under Counter
Surface
Recessed
Panel
Figure 8. Maximum Semi-Remote Mounting Distance for HBGB Model Control Box