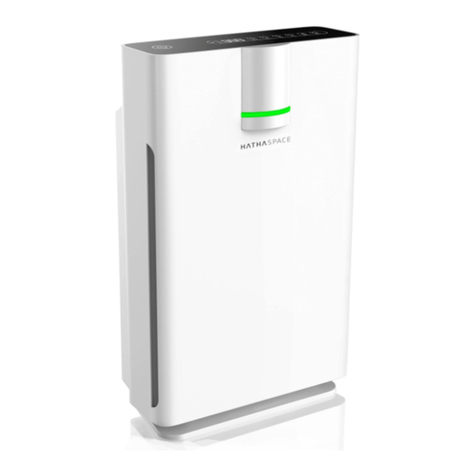
HATHASPACE HSP002 User manual

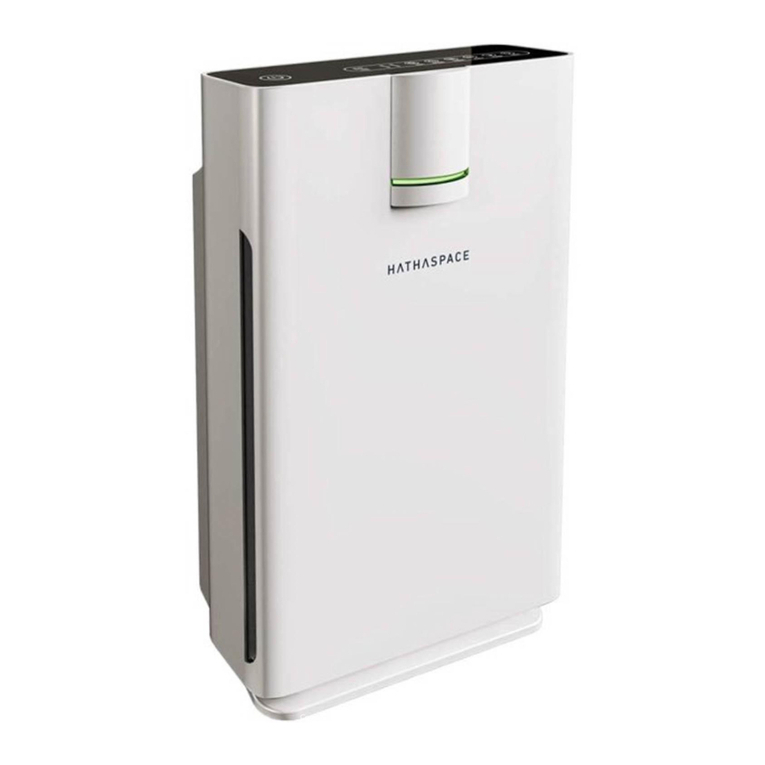
HSP002 Smart True
HEPA Air Purifier 2.0
PRODUCT MANUAL
PURE AIR,
ALWAYS.

NOTE:
Remove plastic bag from
filter before use

Safety Instructions 5
Purification 6
Product Diagram 7
Operation 10-12
Maintenance 13
Troubleshooting 14
Specifications 14
Customer Support 15
Contents

SAFETY TIPS
Do not insert fingers or foreign matter into the air-inlet and
outlet.
Do not use in an environment filled with hydrogen, natural gas,
propane and other flammable gases.
Do not use the air purifier if the power cord or plug is damaged
or the wall’s power socket has become loose.
Do not use in a wet place.
Do not block the air inlet or outlet.
Do not operate the air purifier without installing the filter.
Use 120V U.S. power supply only.
Do not place the machine near heat sources, such as gas stoves,
or ovens.
Do not use alcohol or organic solvents to clean the machine.
Please unplug the power cord when cleaning.
Use a dry cloth to clean the air purifiers surface.
Use the grip on the back of the purifier to move it. Do not lift
from the front panel.
5

Purification
5 STAGE PURIFICATION
1. Cold Catalyst Filter
As the final stage of purification, the Cold Catalyst filter removes VOC’s and other harmful
gases found in household products.
2. Activated Carbon Filter
Activated carbon absorbs smoke, odors, and gases in the air including but not limited to
formaldehyde, ammonia, sulfur dioxide, nitrogen oxide, toluene, acetic acid, trimethylamine,
benzene, and acetaldehyde. Small microporous zeolite minerals are added to the carbon
filter to remove heavy metals and combustion chemicals.
3. Polypropylene Filter
Non-woven polypropylene materials serve as an extra pre-filter for the HEPA filter,
capturing small corrosive particles. This extends the life of the H13 HEPA filter.
4. H13 True HEPA Filter
H13 True HEPA filter removes particles from the air, including dust and smoke. These
smaller particles make up the majority of harmful air pollutants like tobacco smoke
and lead dust.
5. Washable Pre-Filter
A preliminary nylon Pre-Filter removes large particles like pet hair, dust, and floating
debris. This helps extend the life of the composite filter.
3Polypropylene Filter
4H13 True HEPA Filter
2Activated Carbon Filter
1Cold Catalyst Filter
Washable Pre-Filter
5
1-4 5
6
Product Diagram
MACHINE STRUCTURE
1. Front Panel
2. Pre-Filter
3. Composite Filter
4. Panel Switch
5. Main Body
6. Laser Sensor
7. Control Panel
7
7

CONTROL PANEL INSTRUCTIONS
PM Index, Timer, and Display Area
Power: Turns purifier on and o.
Max: Sets the purifier to the maximum air purification speed (greater than high
mode) for 60 minutes before returning to previous speed.
Speed: Choose from 4 dierent fan speeds (sleep, low, medium, and high).
Timer: Sets purifier on a timed mode (1 - 12 hours). Purifier will automatically
shut-owhen done.
Auto: In Auto, the fan speed automatically changes according to your air
environment.
Sleep Timer: Sleep Timer turns othe unit after a preset time. With the unit on,
press the timer button. Your purifier will turn oat the time you determine, shown
on the display. You can use Sleep Timer to turn your unit oafter you leave, saving
power. Keep pressing the timer button to increase the number of hours (from 1-12).
Wake Up Timer: Wake Up timer turns on the unit after a preset time. With the unit
o, press the timer button. Your purifier will turn on at the time you determine,
shown on the display. You can use Wake Up Timer to keep your air clean after you
leave. Keep pressing the timer button to increase the number of hours (from 1-12).
Light: Turns the air quality light strip on and o.
PM Index: Shows the true concentration of particulate matter (PM) in your air.
8

AIR QUALITY FRONT PANEL DISPLAY
A precision laser sensor detects your air
quality in real-time, reporting the true
concentration of particulate matter (PM) in
your air. Consistent with the Air Quality Index
set by the EPA, a display on the top of the unit
shows your live PM index reading, while a
light strip on the front panel changes colors
according to your EPA index score, so you can
see the air quality from across the room.
0 EXCELLENT 50 GOOD 100 FAIR 150 POOR 500
AIR QUALITY INDEX INDICATOR
99

Operation
BEFORE OPERATION
Before using for the first time, unpack the filters, remove the polybag, and reinstall them.
While using the air purifier, please place it at least 6 feet away from devices that emit radio
waves (such as TVs, radios or clocks), to prevent radio interference.
Do not install the sensor directly facing any air-outlet, or it may aect normal operation of
the device.
Do not install the device near curtains and other objects that may touch the air inlet or
outlet, or else the outlets may be blocked and the device may malfunction.
Do not install the device in any place with rapid changes in temperature, which may expose
the purifier to condensation.
Only use in temperatures between 40-95 degrees Fahrenheit.
Place the air purifier on the floor. When the air purifier is placed on thick carpets, it may
cause the unit to vibrate.
10

HOW TO REMOVE FILTERS
1. Removing the Front Panel: Hold both sides of the front panel and pull towards you until
the panel disconnects from the magnet. Do not pull too hard, to avoid damage.
2. Removing the Pre-Filter: Grab the center holders and lightly pull. The Pre-Filter
will pop out.
3. Removing the Composite Filter: Use the white tabs to pull the filter out.
1. Installing the Composite Filter: Remove the polybag first and then place the filter inside
with tabs facing you.
2. Installing the Pre-Filter: Place the Pre-Filter in the purifier by fitting the plastic pegs in
the corresponding slots.
3. Installing the Front Panel: First, place the bottom of the front panel in the slots at the
bottom of the unit and then close the top of the panel. The magnets at the top of the purifier
will keep the front panel secure.
FILTER INSTALLATION
11
Machine Front Panel
Installation area
Pre-Filter
Composite Filter
11

OPERATION
AUTO
mode
AUTO
mode
TIMER
LIGHT
control
SPEED
control
SPEED
control
Plug your purifier into the 120V outlet.
Press Power button to turn the machine ON/OFF.
Press MAX to set the purifier to the maximum speed. It will run on Max for
60 minutes before returning to the original running mode.
Press SPEED to manually adjust the fan speeds from 1-4 (sleep, low,
medium, and high).
Press AUTO to switch your purifier to auto mode. In auto mode, the air
purifier will automatically adjust based on the real time PM 2.5 Index.
The display will count down for 90 seconds to gather a reading, before
adjusting.
Filter Reset: To reset the filter change reminder after placing
in new filters, press and hold the AUTO and TIMER button for 3
seconds simultaneously.
Press LIGHT to turn the air quality Indicator light ON/OFF.
12

Maintenance
Changing the Filters
Your purifier will remind you to change your filters every 3,000 hours. This is a general
recommendation based on the average household air quality and is not always specific to
each customer’s needs. For this reason, we recommend changing the filter every 4 months
to optimize performance.
Filter Replacement Reminder
The AUTO and TIMER buttons flash on and ocontinuously, indicating it is time to replace
the filters. To reset the Filter Replacement Reminder, press and hold both flashing buttons
at the same time, until they stop flashing. Your Filter Replacement Reminder is now reset
to go oin another 3000 hours.
Cleaning Filters
1. Pre-Filter: The nylon Pre-Filter can be washed with water and does not need to be
replaced.
2. Composite Filter: The composite filter can be lightly wiped with a dry cloth to remove
visible debris. Do not use any water or liquids on the filter.
Purchasing Additional Air Filters
Note: To avoid shortening the life of your air purifier, use only certified Hathaspace
filters for HSP002.
Guidelines:
• Replace filters every 4 months for optimal performance.
• Do not clean the filters with water or other liquids. Use a keyboard duster to
gently remove any physical debris such as lint and hair.
Filters
Pre-Filters
Composite Filter
Replacement Time
No need to replace
Every 3,000 hours or sooner
13
JOIN OUR FILTER CLUB
New filters delivered to your door,
right when you need them.
SCAN
&
SAVE
13

Troubleshooting
Specifications
Problem
Machine not turning on?
Air flow is reduced?
No improved air quality?
AUTO + TIMER buttons
flashing
Product
Rated Voltage
Rated Frequency
Rated Power
Noise
CADR (PM)
CADR (Formaldehyde)
Solution
Check if the power cord is connected properly.
Check if the front plate is closed properly.
Check if the filter polybag is removed. If not, remove it.
Check if air inlet/outlet is blocked. If so, clean blockage.
Check if filters are dirty. If so, replace them.
Check if the filters are placed properly in the purifier.
Sensor may be influenced by water vapor or
fumes. Test the machine in a new environment.
Check to see if the filters are dirty.
Replace every 4 months.
Filter replacement reminder hit 3000 hours.
Press and hold AUTO + TIMER to reset.
Replace filters.
HSP002
120 V / Please refer to the nameplate on the back of
the machine.
60HZ
100W
66dB(A)
450 m3/ hr
160m3/ hr
1414

Welcome to the Hathaspace family. For questions, contact us at
In Harmony.
JOIN OUR FILTER CLUB
New filters delivered to your door,
right when you need them.
SCAN
&
SAVE
15
Hathaspace strives to make every part of your experience exceptional. If you have any
questions or concerns about your air purifier, please feel free to contact our Customer
Support.
Website: https://hathaspace.com
Customer Support
15
Note: To avoid shortening the life of your air purifier, use only certified Hathaspace
filters for HSP002.
Guidelines:
• Replace filters every 4 months for optimal performance.
• Do not clean the filters with water or other liquids. Use a keyboard duster to
gently remove any physical debris such as lint and hair.

www.hathaspace.com
1-800-446-0535
Hathaspace
Manufactured for Hathaspace EPA Est. No. 98681-CHN-1
© Hathaspace. All rights reserved.
HSP002 Smart True
HEPA Air Purifier 2.0
Other manuals for HSP002
3
Table of contents
Other HATHASPACE Air Cleaner manuals

HATHASPACE
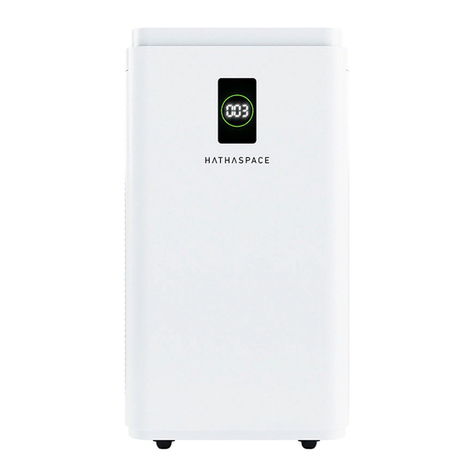
HATHASPACE HSP003 User manual

HATHASPACE
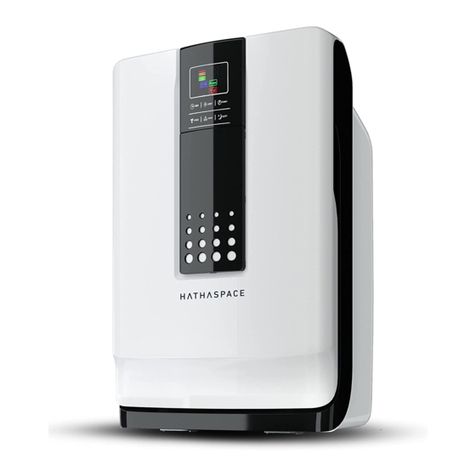
HATHASPACE HSP002 User manual

HATHASPACE
HATHASPACE HARMONY 1500 User manual

HATHASPACE
HATHASPACE HARMONY 600 User manual

HATHASPACE
HATHASPACE HSP001 User manual

HATHASPACE
HATHASPACE HSP001 User manual

HATHASPACE
HATHASPACE HSP001 User manual

HATHASPACE
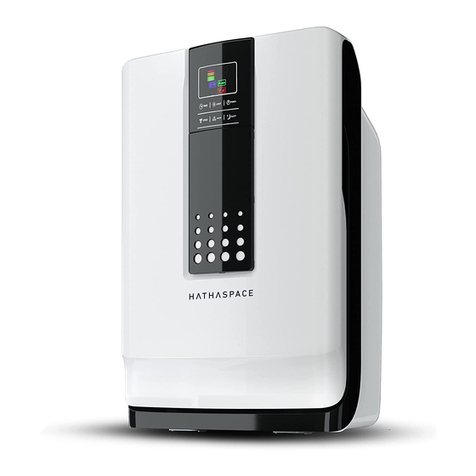
HATHASPACE HSP002 User manual

HATHASPACE
HATHASPACE HSP001 User manual

HATHASPACE
HATHASPACE HSP002 User manual