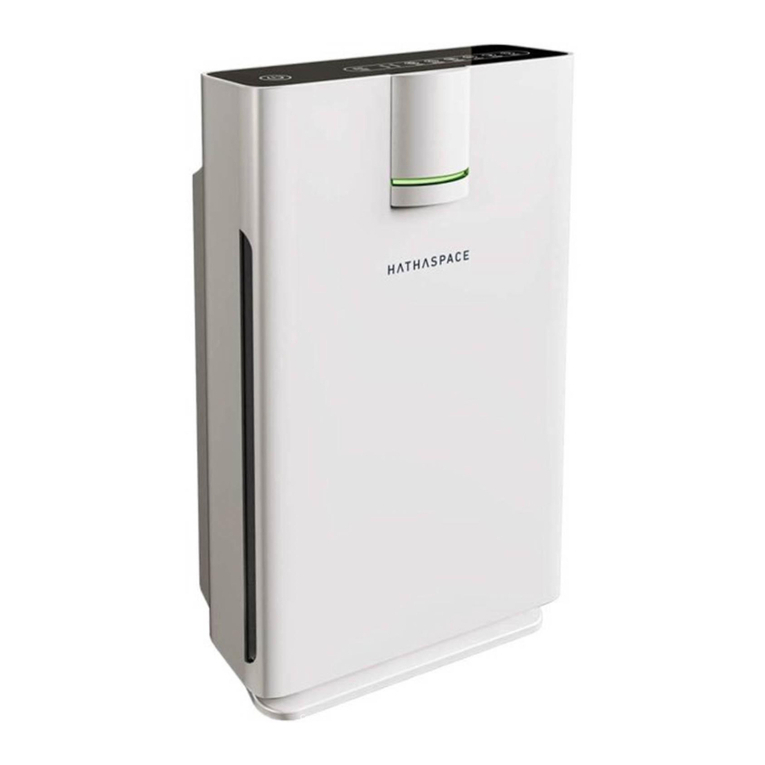
HATHASPACE HSP002 User manual

Air Purifier
Model HSP002


Safety Instructions 1
Purification 5
Product Diagram 6
Operation 9
Maintenance 12
Troubleshooting 13
Specifications 13
14
Warranty
CONTENTS

1
Please read all safety instructions prior to use, and follow during use.
SAFETY INSTRUCTIONS
Notice: The following content is related to safety, users must abide by the
following instructions in order to properly use this product.
1. Do not use any accessories not approved by Hathaspace. They may cause the
device to malfunction.
2. After unpacking, check the product for damage and check all accessories are
present.
3. If a fault occurs, immediately unplug the power cord. Do not operate the air
purifier if it is defective.
4. The air purifier should be repaired only by Hathaspace
6. This appliance has a polarized plug (one blade is wider than the other). To
reduce the risk of electric shock, this plug is intended to fit in a polarized outlet
only one way.If the plug does not fit fully in the outlet, reverse the plug. If it still
does not fit, contact a qualified electrician. Do not attempt to modify this safety
feature.

2
Any content marked with this sign refers to prohibited behavior
that may damage the product or endanger the user’s personal
safety.
Any instructions marked with this sign must be strictly followed,
as otherwise it may cause damage to the product or endanger the
user’s personal safety.
Any contents marked with this sign are sections the user must
pay attention to, otherwise it may cause product damage or
Do not insert fingers or foreign matter into the air-inlet and
outlet.
Do not use in an environment filled with hydrogen, natural gas,
propane and other flammable gases.
Do not use the air purifier if the power cord or plug is damaged,
or the wall’s power socket has become loose.
Key:

3
Clear the dust on the power plug regularly.
Use 120V~ Standard Power Supply only.
Do not place the machine near heat resources, such as gas stoves,
or ovens.
Do not use alcohol or organic solvents to clean the machine.
Do not use in a wet place.
Do not block the air inlet or outlet.
Do not operate the air purifier without installing the filter.

4
Please unplug the power cord when cleaning.
Use a dry cloth to clean the air purifiers surface.
Use the grip on the back of the purifier to move it. Do not lift
from the front panel.

PURIFICATION
5
1. Washable Pre-Filter
A preliminary nylon pre-filter removes large particles like pet hair, dust, and
floating debris. This helps extend filter life.
2. Anbacterial Filter
Antibacterial micro-materials catch bacteria and germs.
3. True H13 Medical Grade HEPA Filter
H13 medical grade HEPA removes 99.97% of particles down to 0.3 microns in
diameter and 99.95% of particles down to 0.1 microns in diameter. These smaller
particles make up most of the harmful air pollutants in categories like viruses
and combustion chemicals.
4. Zeolite Filter
Zeolites are microporous, aluminosilicate minerals that have unique absorption
properties. Small zeolite minerals are added to the carbon filter to remove heavy
metals and combustion chemicals in the air like formaldehyde, ammonia, sulfur
dioxide, and nitrogen oxide.
6-in-1 Purification
1 2 3 4 5 6

PRODUCT DIAGRAM
6
5. Acvated Carbon Filter
Small activated charcoal molecules help to further absorb smoke (cooking and
cigarette), odors, and gases in the air like formaldehyde, ammonia, sulfur dioxide,
and nitrogen oxide.
6. Nano Cold Catalyst Filter
As the final stage of purification, the Nano Cold Catalyst filter helps remove
VOC’s and other harmful gases found in household products.
Machine Structure
(1) Front Panel
(2) Pre-Filter
(3) Composite Filter
(4) Panel Switch
(5) Main Body
(6) Laser Sensor

7
Display Panel Introduction
1. Power: Turns purifier on and off.
2. Max: Sets the purifier to the maximum air purification speed (greater than high
mode) for 60 minutes before returning to previous speed.
3. Speed: Choose from 4 different fan speeds (sleep, low, medium, and high).
4. Timer: Sets purifier on a timed mode (1 – 12 hours). Purifier will automatically
shut-off when done.
5. Auto: In Auto, the fan speed automatically changes according to your air
environment.
6. Sleep: Sets purifier to quietest setting and turns the display lights off.
7. Light: Turns the air quality light strip on and off.
8. PM Index: Shows the true concentration of particulate matter (PM) in your air.
PM Index, Timer, and Display Area
Control Panel Instructions

8
Air Quality Front Panel Display
A hyper-sensitive laser sensor detects your air quality in real-time, reporting
the true concentration of particulate matter (PM) in your air. Consistent with
the Air Quality Index set by the EPA, a display on the top of the unit shows your
live PM concentration and a light strip on the front panel changes colors
according to your EPA index score.
EPA Air Quality Index
PM Concentration (µg/m³)
Green
Blue
Yellow
0 - 50
51 – 100
101 – 150
Red
151 – 200
Color
Excellent
Good
Fair
Poor
Air Quality

9
OPERATION
Before Operation
Before using for the first time, please unpack the filters, remove the polybag,
and install them properly into the air purifier.
While using the air purifier, please place it at least 6 feet away from devices
that emit radio waves (such as TVs, radios or clocks), to prevent radio
interference.
Do not install the sensor directly facing any air–outlet, or it may affect normal
operation of the device.
Do not install the device near curtains and other objects that may touch the air
inlet or outlet, or else the outlets may be blocked and the device may malfunction.
Do not install the device in any place with rapid changes in temperature, which
may lead the unit to be directly exposed to an environment with condensation.
Only use in temperatures between 40-95 degrees Fahrenheit.
Place the air purifier on a flat surface. When the air purifier is placed on thick
carpets, it may cause the unit to vibrate.

10
Fig. 1 Fig. 2
Fig. 3 Fig. 4
How to Remove Filters
1. Removing the Front Panel: Hold both sides of the front panel and pull towards
you until the panel disconnects from the magnet. Do not pull too hard to avoid
damage.
2. Removing the Pre-Filter: Grab the center holders and lightly pull. The pre-filter
will unhook from their locked position.
3. Removing the Composite Filter: Use the white tabs to pull the composite filter
out.
Filter Installation
1. Installing the Composite Filter: Remove the polybag first and then place the
filter inside with handles facing you (Fig. 3).
2. Installing the Pre-Filter: Place the pre-filter in the purifier by fitting the plastic
pegs in the correct locking position (Fig. 3).
3. First, place the bottom of the panel in the slots and then close the top of the
panel. The magnets at the top of the purifier will keep the front panel secure
(Fig. 4).
Composite Filter Purifier
Installation Area
Pre-Filter

11
Operation
Plug the cord into the power supply to go on standby mode.
Press Power button to turn the machine ON/OFF.
Press Max to set the purifier to the maximum speed. It will run
on Max for 60 minutes before returning to the original running
mode.
Press Speed to manually adjust the fan speeds from 1 –4 (sleep,
low, medium, and high).
Press AUTO button to switch your purifier to auto mode. In
auto mode, the air purifier will automatically adjust based on
the real-time PM 2.5 Index.
Press Light button to turn the air quality lindicator light
ON/OFF.
Filter Reset: To reset the filter change reminder
after placing in new filters, press and hold the
AUTO and Timer button for 3 seconds
simultaneously.
+

12
Filters Replacement Time
Pre-filter No need to replace
Composite filter Every 3,000 hours or sooner
Cleaning the Filters
1. Pre-Filter: The nylon pre-filter can be washed with water and does not need
to be replaced.
2. Composite Filter: The composite filter can be lightly wiped with a dry cloth to
remove visible debris. Do not use any water or liquids on the filter. To maintain
peak performance of the filter, we recommend recharging the filter in the sun
every two months (See below for details).
Changing the Filters
Your purifier will remind you to change your filters every 3,000 hours. This is
a general recommendation based on the average household air quality and is
not always specific to each customer’s needs. For this reason, we recommend
changing the filter every 4 months to ensure best performance.
Filter Replacement Reminder
Resetting Filter Replacement Reminder: Every time you replace your filters,
you can reset the filter replacement reminder by pressing the AUTO and
Time button at the same time for 3 seconds.
Recharging the Composite Filter in the Sun:
The Composite Filter contains a layer of activated carbon molecules, which
absorb chemicals, gases, smoke, and odors. Over time, these molecules can
become saturated with particles, affecting their absorption capacity. UV light
from the sun re-activates the carbon molecules, allowing them to expand their
pores and release particles and gases.
To prolong your Composite Filter and maintain best performance, we
recommend placing the filter in the sun for 30 minutes every two months. When
doing this, please place the filter in a safe dry area (black/ activated carbon side
up), where the UV rays from the sun can hit it. After 30 minutes, the activated
carbon molecules recharge and are more absorbant of new particles
MAINTENANCE

Problem Solution
Machine not turning on?
Check if the power cord is connected properly.
Check is the front plate is closed properly.
Air flow is reduced?
Check if the filter polybag is removed.
If not, remove it.
Check if filters are dirty.
If so, replace them.
Check if air inlet/outlet is blocked.
If so, clean blockage.
No improved air quality?
Check if the filters are placed properly in
the purifier.
Sensor may be influenced by water vapor or
fumes. Test the machine in a new environment.
Check to see if the filters are dirty.
Replace every 4-6 months.
13
TROUBLESHOOTING
SPECIFICATIONS
Product Name Air Purifier Model HSP002
120V
Please refer to the nameplate on the back of machine.
60HZ
100W
Rated Voltage
Rated Frequency
Rated Power
≤66dB(A)
Noise
450 m3/hr
CADR(PM)
160 m3/hr
CADR (Formaldehyde)

Dear Customer,
Your purifier comes with a 5-year extended warranty and award-winning
customer service.
The 5-year warranty begins on the purchase date. All goods are guaranteed to be
free from defects in materials and workmanship. Have an issue? We will gladly
repair your product or replace it, as appropriate and at our discretion, free of
charge. This guarantee is non-transferable and does not cover cosmetic damage,
wearand tear, damage resulting from abuse, misuse, loss of the unit,
unauthorized repair, improper handling, or products purchased from an
unauthorized retailer and distributor. This warranty will not cover
consequential damages.
Acvang Your 5-Year Warranty:
To extend your warranty to 5 years, please visit our website at
https://hathaspace.com/pages/warranty and fill out the short form
or scan the QR code below.
Welcome to the Hathaspace family. For questions, just contact us at
In harmony,
Hathaspace team
WARRANTY
14


Other manuals for HSP002
3
Table of contents
Other HATHASPACE Air Cleaner manuals

HATHASPACE
HATHASPACE HARMONY 600 User manual

HATHASPACE
HATHASPACE HSP002 User manual
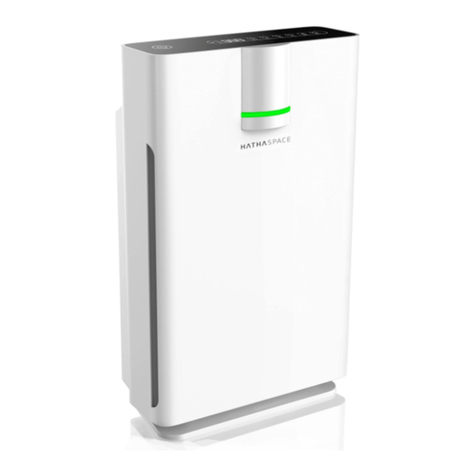
HATHASPACE
HATHASPACE HSP001 User manual

HATHASPACE
HATHASPACE HSP002 User manual

HATHASPACE
HATHASPACE HSP001 User manual

HATHASPACE
HATHASPACE HARMONY 1500 User manual

HATHASPACE
HATHASPACE HSP001 User manual

HATHASPACE
HATHASPACE HSP003 User manual

HATHASPACE
HATHASPACE HSP002 User manual
HATHASPACE
HATHASPACE HSP001 User manual