manuals.online logo
Brands
  1. Home
  2. •
  3. Brands
  4. •
  5. A-Tach Mounts
  6. •
  7. Automobile Accessories
  8. •
  9. A-Tach Mounts 20016 User manual

A-Tach Mounts 20016 User manual

A-Tach # 20016
Designed for: RAM Trucks 2019 - 20__
A-Tach
Mobile Device Mounts
NOTICE: A-Tach Mounts will not be responsible for
any damage to the vehicle due to the installation
and/or use of the product. The product has been
tested to fit securely to the listed vehicles.
Instructions are provided for your convenience.
You are responsible for the use of the product and
to determine if you have the skill to attach the
product without causing damage to your vehicle or
the product.
Read all instructions and view the photos before
attaching this product.
WARNING: Please hold the vehicle mount and holster over the place where the solution attaches to the
dash BEFORE securely attaching it to the vehicle. This will insure you like the fit and location of the solution.
(1) The holster comes with a two part securing strap
for the hand gun. Place your hand gun into the
holster. Then snap the two parts of the strap
together and place the strap in a position that will
secure the hand gun into the holster.
(2) Slide the hooked parts of the Velcro on the
strap into the slots on the sides of the holster.
Using the included blue card stock will help. The
strap is adjustable by the distance the straps are
inserted into the slots. Be sure to align the hooked
parts of the Velcro with the mesh parts to create a
secure connection.
(3) Consider if you want the holster for right hand
use or left hand use. Attach the holster to the
mount by inserting the clip arm on the mount
through the clip slot on the side of the holster.
Photo is for illustration and might not show the
actual mount.
(4) Inspect the area the SAMS will attach to ensure
it will not be an obstruction.
Clean the area where the mount will attach.
Remove the covering from the tape. Hook the top
angled edge of the SAMS over the top edge of the
dash panel under the steering wheel. (See Photo)
(5) Press forward on the bottom of the mount until
the edge clips onto the bottom of the dash panel
under the steering wheel. The mount needs to fit
tight so it might take some pressure. The tape
should connect onto the panel. The tape will not
leave any residue if the mount is removed in the
future.
Warranty and Returns
A-Tach Mounts Limited Warranty
A-Tach warrants the product to be free of all defects in materials and workmanship for a period of six (6) months
from the date of purchase. This warranty extends to the original buyer. Damaged products caused by anything
outside of shipping damage are not covered by this warranty.
Within the period of this warranty, A-Tach has the option to repair or replace the item or refund the purchase price.
Any replacement parts will be done on an exchange basis. All repairs and service must be done by A-Tach. Product
must be delivered to A-Tach during the warranty time along with proof of purchase price and date. The shipping
and packaging costs will be the buyer’s responsibility. Labor costs and parts to repair will be A-Tach Mounts
responsibility.
A-Tach Mounts will not be responsible for any damage to the vehicle or product due to the installation and/or use of
the product. A-Tach is not responsible for damages caused by extreme heat conditions. Any above exclusion may
not apply in states that do not allow the exclusion or limitation. This warranty gives you specific legal rights. You
also may have other rights which vary from state to state.
Returns
Before any product may be returned, A-Tach must give prior approval. An RMA# (Return Merchandise
Authorization Number) needs to be given to the buyer to return a product. All returns must be within (30) days of
the invoice date and include proof of purchase. Any returned product must be undamaged and in like new
condition. Returned product must be scratch free with no additional holes or screw marks on the product.
A-Tach reserves the right to withhold any refund if the product is believed to be damaged. A return must include a
copy of the original order or invoice. All parts and components that were shipped with the original product must be
included with the returned product.
Contact Information:
A-Tach Mounts / Clarkston, WA 99403 / cs@atachmounts.com

Other A-Tach Mounts Automobile Accessories manuals
A-Tach Mounts 50131 User manual

A-Tach Mounts

A-Tach Mounts 50131 User manual

A-Tach Mounts 50321 User manual

A-Tach Mounts

A-Tach Mounts 50321 User manual

A-Tach Mounts ST-1 User manual

A-Tach Mounts

A-Tach Mounts ST-1 User manual

A-Tach Mounts 20025 User manual

A-Tach Mounts

A-Tach Mounts 20025 User manual

A-Tach Mounts ST-1 User manual

A-Tach Mounts

A-Tach Mounts ST-1 User manual
A-Tach Mounts ST-1 User manual

A-Tach Mounts

A-Tach Mounts ST-1 User manual
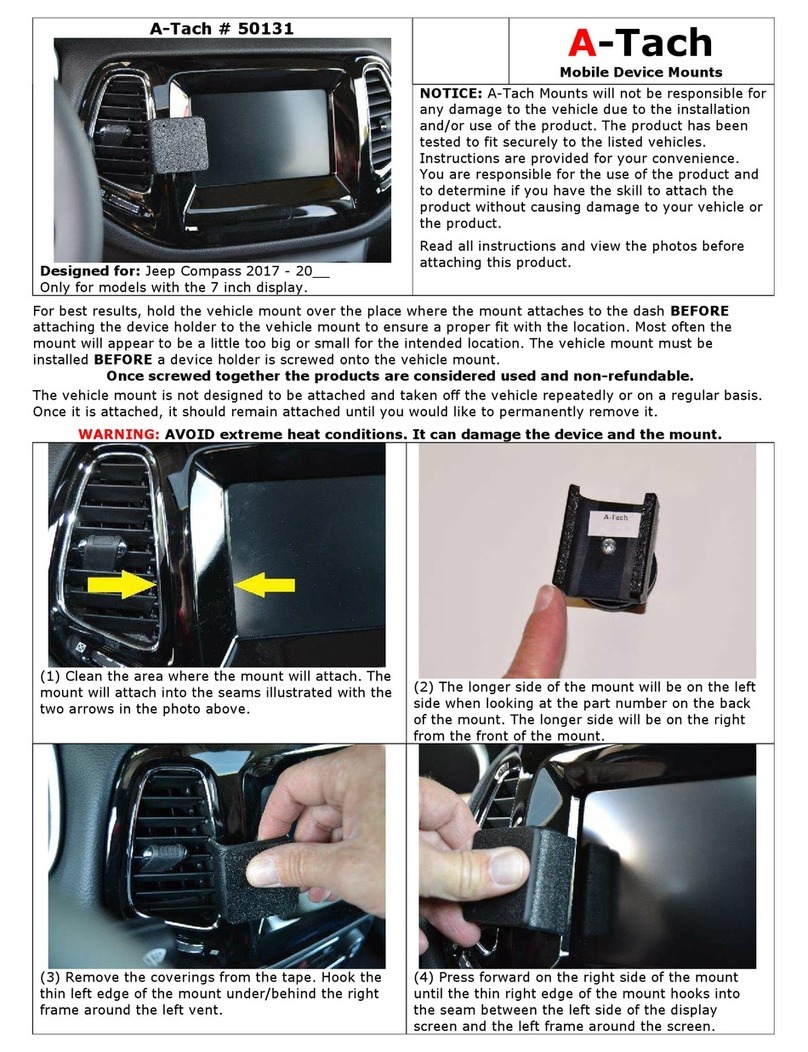
A-Tach Mounts ST-1 User manual

A-Tach Mounts

A-Tach Mounts ST-1 User manual

A-Tach Mounts 50366 User manual

A-Tach Mounts

A-Tach Mounts 50366 User manual

A-Tach Mounts 50213 User manual

A-Tach Mounts

A-Tach Mounts 50213 User manual

A-Tach Mounts ST-2 User manual

A-Tach Mounts

A-Tach Mounts ST-2 User manual

A-Tach Mounts 50322 User manual

A-Tach Mounts

A-Tach Mounts 50322 User manual

A-Tach Mounts 50206 User manual

A-Tach Mounts

A-Tach Mounts 50206 User manual

A-Tach Mounts 50291 User manual

A-Tach Mounts

A-Tach Mounts 50291 User manual
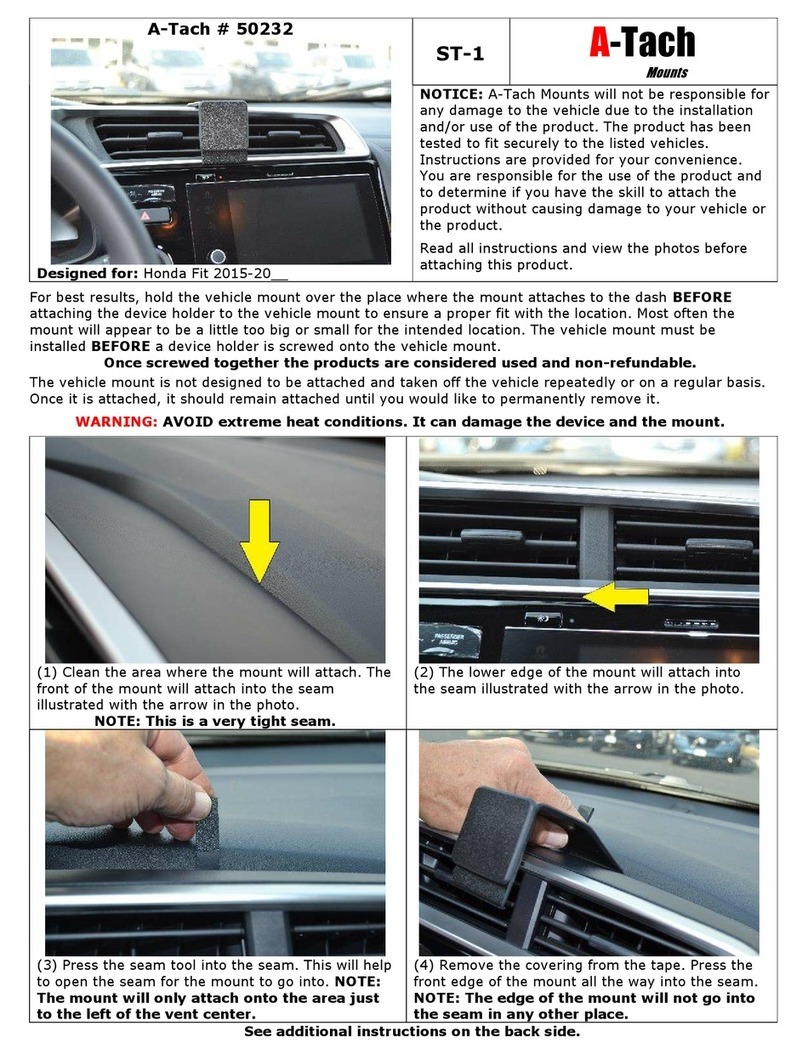
A-Tach Mounts STL-1 User manual

A-Tach Mounts

A-Tach Mounts STL-1 User manual

A-Tach Mounts 50232 User manual

A-Tach Mounts

A-Tach Mounts 50232 User manual
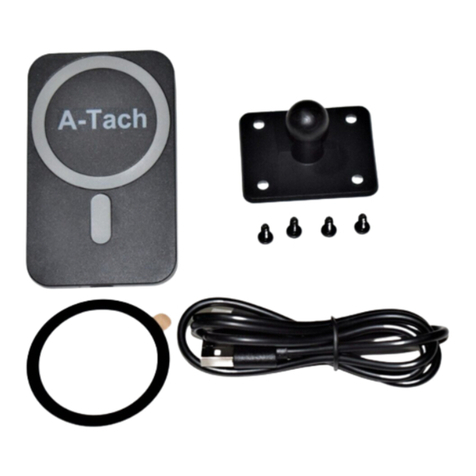
A-Tach Mounts 50320 User manual

A-Tach Mounts

A-Tach Mounts 50320 User manual

A-Tach Mounts ST-1 User manual

A-Tach Mounts

A-Tach Mounts ST-1 User manual

A-Tach Mounts ST-1 User manual

A-Tach Mounts

A-Tach Mounts ST-1 User manual

A-Tach Mounts ST-1 User manual

A-Tach Mounts

A-Tach Mounts ST-1 User manual

A-Tach Mounts ST-1 User manual

A-Tach Mounts

A-Tach Mounts ST-1 User manual

A-Tach Mounts ST-1 User manual

A-Tach Mounts

A-Tach Mounts ST-1 User manual
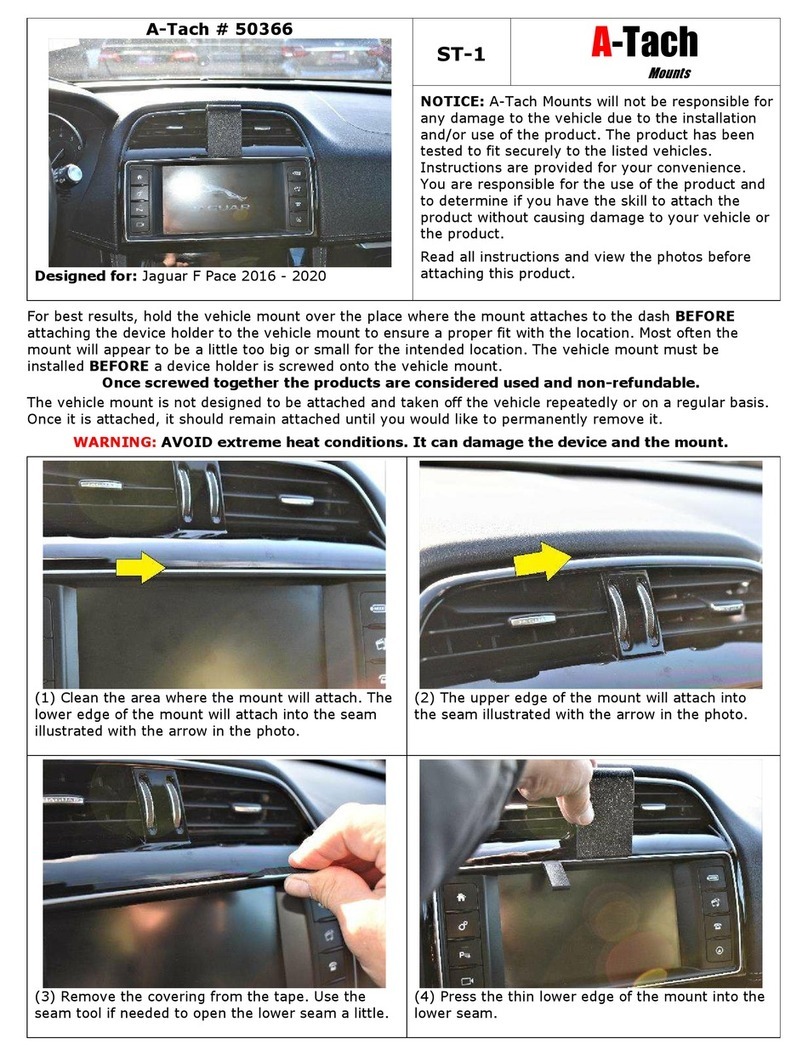
Popular Automobile Accessories manuals by other brands

Prorack K687 Fitting instructions

Prorack

Prorack K687 Fitting instructions

Steren POD-146 manual

Steren

Steren POD-146 manual

Kuda-Phonebase 291110 Installation instruction

Kuda-Phonebase

Kuda-Phonebase 291110 Installation instruction

STO N SHO SNS 138 Installation procedures

STO N SHO

STO N SHO SNS 138 Installation procedures

SuperATV IN-WS-K-TRX installation instructions

SuperATV

SuperATV IN-WS-K-TRX installation instructions

Nordic Plow E-Z-GO manual

Nordic Plow

Nordic Plow E-Z-GO manual

Ironman4x4 SLIDE-AWAY110 installation guide

Ironman4x4

Ironman4x4 SLIDE-AWAY110 installation guide

WALMEC 40061 AL quick start guide

WALMEC

WALMEC 40061 AL quick start guide

Setma E09VW39005 manual

Setma

Setma E09VW39005 manual

CALIMA 46066 operating instructions

CALIMA

CALIMA 46066 operating instructions

Tuff Tonneaus 10634 FITTING INSTRUCTION

Tuff Tonneaus

Tuff Tonneaus 10634 FITTING INSTRUCTION

Romik 2332 installation instructions

Romik

Romik 2332 installation instructions

Hiniker 7802 Operator's manual

Hiniker

Hiniker 7802 Operator's manual

N-Com B5 User instructions and safety

N-Com

N-Com B5 User instructions and safety

FMCSA ELD-Express user manual

FMCSA

FMCSA ELD-Express user manual

Prorack TP1 installation instructions

Prorack

Prorack TP1 installation instructions

Thule 1713 instructions

Thule

Thule 1713 instructions

ARB DELUXE BULL BAR Fitting instructions

ARB

ARB DELUXE BULL BAR Fitting instructions

manuals.online logo
manuals.online logoBrands
  • About & Mission
  • Contact us
  • Privacy Policy
  • Terms and Conditions

Copyright 2025 Manuals.Online. All Rights Reserved.