Testing the Trigger Zone/Placing Training Flags
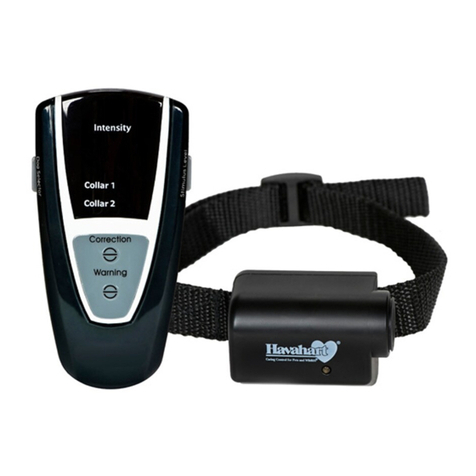
Fitting a Collar
9www.HavahartWireless.com 10
1-800-800-1819, OPTION 453
Your actual Fence Boundary may not follow
exactly the steps you took when recording your
Fence. Your actual Boundary will be a point
within the Trigger Zone. These points strung
together will make up your Fence Boundary.
The Trigger Zone may be 6 -13 feet wide and a
Collar correction at any point within the Zone
is acceptable (see Illustration E).
To confirm the location of your actual
Fence Boundary and place the white
Training Flags, follow these steps...
• Set the Collar to “Tone-Only.”
• Extend your arm down and by your side. Hold the Collar
by the battery housing so that you can see the Collar
Light. Make sure that your body does not get between
the Collar and the Bases as your body may affect the
signal and cause the Boundary to shift inward.
• Walk toward a blue Boundary Flag while gently shaking
the Collar until the Collar beeps and the Collar Light
flashes red. To confirm the Boundary location, step back
until the Collar stops beeping and then walk forward in
the same direction until the Collar beeps and the Collar
Light flashes red again. Place a white Training Flag at
the beeping point (see Illustration F).
• Repeat the process by walking toward the blue
Boundary Flag about 6 feet to the right of the previous
Flag, verifying the Fence Boundary, placing a white
Training Flag, and then stepping back into the Roaming
Area.
• Repeat until the entire containment area is encolsed by
white Training Flags (see Illustration G).
If you are comfortable with the placement of the Training
Flags and the resulting Roaming Area, you can remove
your blue Boundary Flags. If you are not satisfied, you
may need to re-record your Fence to fine-tune the
Fence Boundary. You can also try to record a Fence using
the pause feature (see Instruction Manual for more
information). Please keep in mind the Fence Boundary will
not exactly mirror the path you walked (blue Flags) due to
attenuation of objects in the path; however, you will be
training your dog to the white Training Flags.
Testing the Trigger Zone/Placing Training Flags
5
Illustration E = Trigger Zone
Illustration F
Illustration G
Fitting a Collar
6
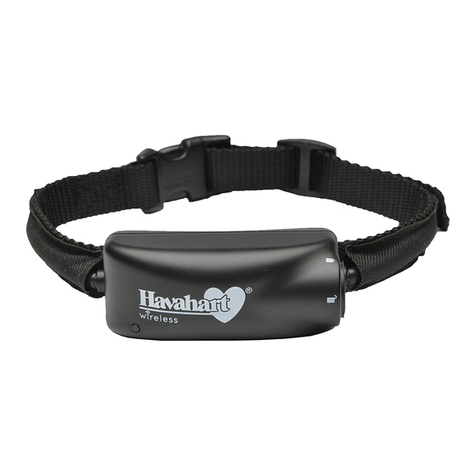
•Be sure your dog is safely within the Roaming Area and the Correction Level is
set to “Tone-Only.”
•With your dog standing comfortably, position the Collar high on your dog’s neck,
underneath the chin with the Probes centered on your dog’s neck. The Havahart®
logo should be right side up when you look at your dog.
•Make sure the Probes maintain contact with your dog’s skin.
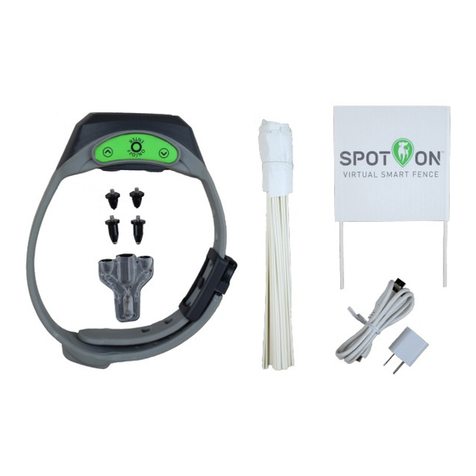
- Collar is factory-installed with Long Probes for thick- or long-haired breeds.
- Short Probes for short-haired dogs are included.
- To change the Probes, simply unscrew the Long Probes and replace them.
Finger-tighten the Probes. Do not over tighten.
•Adjust the Collar to fit snugly but not tightly. You should be able to slide the tip
of one finger between your dog’s coat and one of the Probes on the Collar. The tip
of your finger should not be able to slip between the two easily, but with some
effort. It should be a tight squeeze (see Illustration H). Separately, you should be able
to slide one finger between the strap of the Collar and the back of your dog’s neck.
•Once the Collar is adjusted to the correct length, remove the Collar and trim the excess
using scissors (see Illustration I). With a lighter, melt the cut edge to prevent fraying.
Illustration I
NOTE: It may be necessary to trim the hair on your dog’s neck to ensure reliable contact.
NOTE: If your dog is going to continue to grow or grows a long winter coat, leave extra room
before trimming off the excess Collar Strap.
Illustration H


