10
Setting Up the Controller
Havahart® Radial-Shape Wireless Dog Fence
1-800-800-1819, Option 1
Setting Up the Collar
2
Installing a Battery:
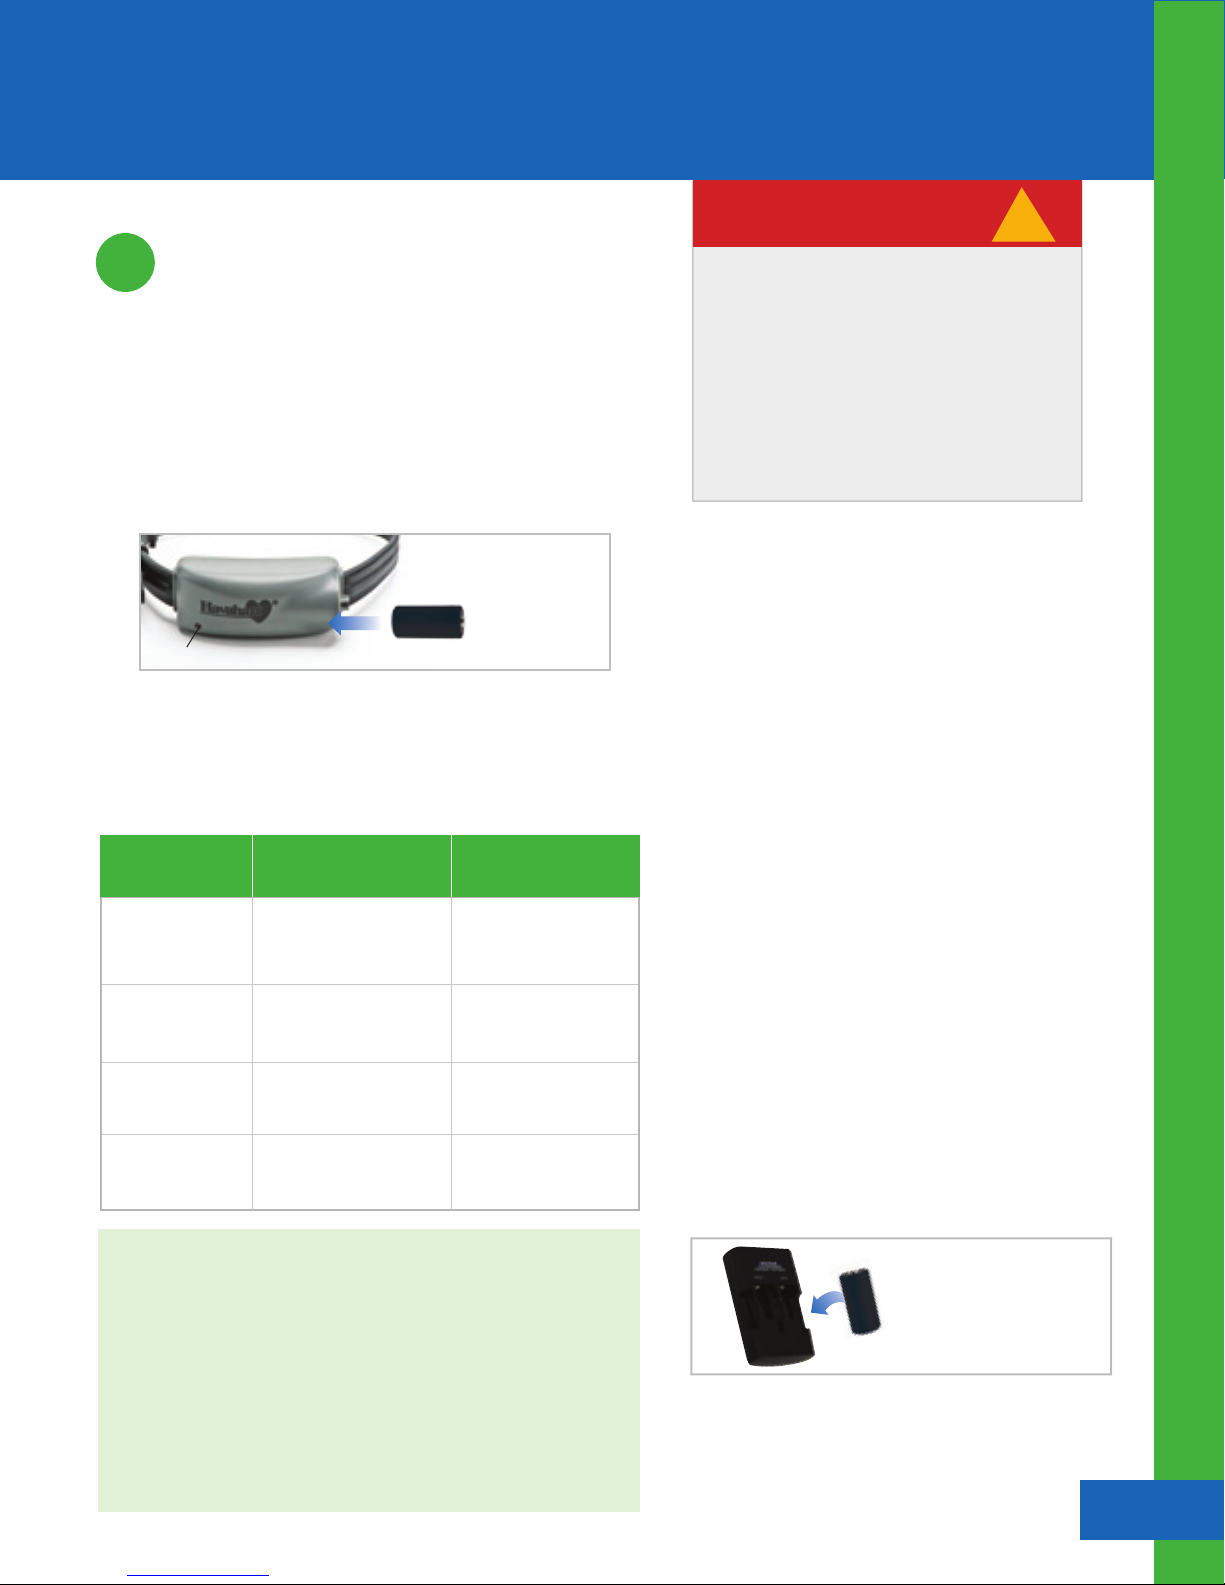
1. Make sure a Battery is fully charged before installing it in the
Collar (see Recharging a Battery on Page 12). Turn the Battery
Cap on the Collar counterclockwise about 1/4 turn and pull it
out. With the positive side facing outward, install one RCR123
Battery into the Collar (see Figure 1.4). Replace the Battery Cap
and turn it clockwise to lock into place.
2. The Collar Light will flash green. If it does not, shake the Collar
gently as the Collar is in sleep mode (see the Havahart® Collar
Light Chart).
NOTE : The Collar is always “on” when a fully charged Battery is
installed. However, the Collar may be awake or asleep. Integrated
Motion Sensor Technology allows the Collar to conserve Battery
life when appropriate by putting the Collar to sleep. The Collar
Light will not flash when the Collar is asleep. Movement, such as
gently shaking the Collar, will awaken it and the Collar Light will
flash green.
The Collar Light will flash red to indicate that the Battery needs to
be recharged. The Controller will also produce an auditory tone
to alert you that the Battery is low.
Havahart® Collar Light Chart:
-Collar is asleep OR
-Battery is too Low OR
-Battery is not in the Collar
-Collar is not added to
the Controller OR
-Controller is turned off
-Normal Operation
-Collar is paired to the
Controller
-Low Battery
OR
-Boundary Breach
Collar Light ActionCollar Status
Off
Fast Green Flash
every second
Slow Green Flash
every 4-5 seconds
Red Flash
Shake gently and watch
for the Light to flash green.
Make sure a fully charged
Battery is in the Collar.
Make sure the Controller is
turned on and add the
Collar to the Controller.
No action required.
Charge the Battery OR
Return the dog to the
Roaming Area.
The Collar should not be placed on your
dog until after you have successfully
installed it on the system.
Install one Collar at a time. The system
allows you to activate up to 2 Collars.
The default correction level of the Collar is
set to Tone Only, which you need to use
to set up your fence boundary.
!
IMPORTANT MESSAGE
Recharging a Battery:
You want to see the red light come on when you
place the Battery in the Charger. You can charge up
to two Batteries at the same time. When the Battery
is close to being fully charged, the light will flicker
red and blue. Do NOT take the Battery out until the
light turns completely blue. It takes less than 3 hours
to fully charge a Battery.
Note: Recharging the RCR123 Battery is similar to
recharging a mobile phone. Always have a spare
Battery ready to go when your other Battery gets
low. You should expect to charge the Battery every
3-5 days depending on how active your dog is.
Warning: Do NOT put a non-rechargeable Battery in the
Battery Charger.
Correct way to Insert a
Battery in the Charger.
+
-
-Remove the low Battery from the Collar.
-Make sure the Battery Charger is properly connected
to a grounded120V AC outlet.
-Properly orient the Battery in the Charger with the
positive side closest to the lights of the Charger.
-Remove the Battery when recharging is complete.
Recharging Light Colors:
Blue - when on standby (no Battery in chamber),
- when the Battery is in the chamber the
wrong way
- when the Battery is fully charged
Red - when the Battery is charging
Figure 1.4
Battery Installation
RCR123 3V +
-
Collar Light


