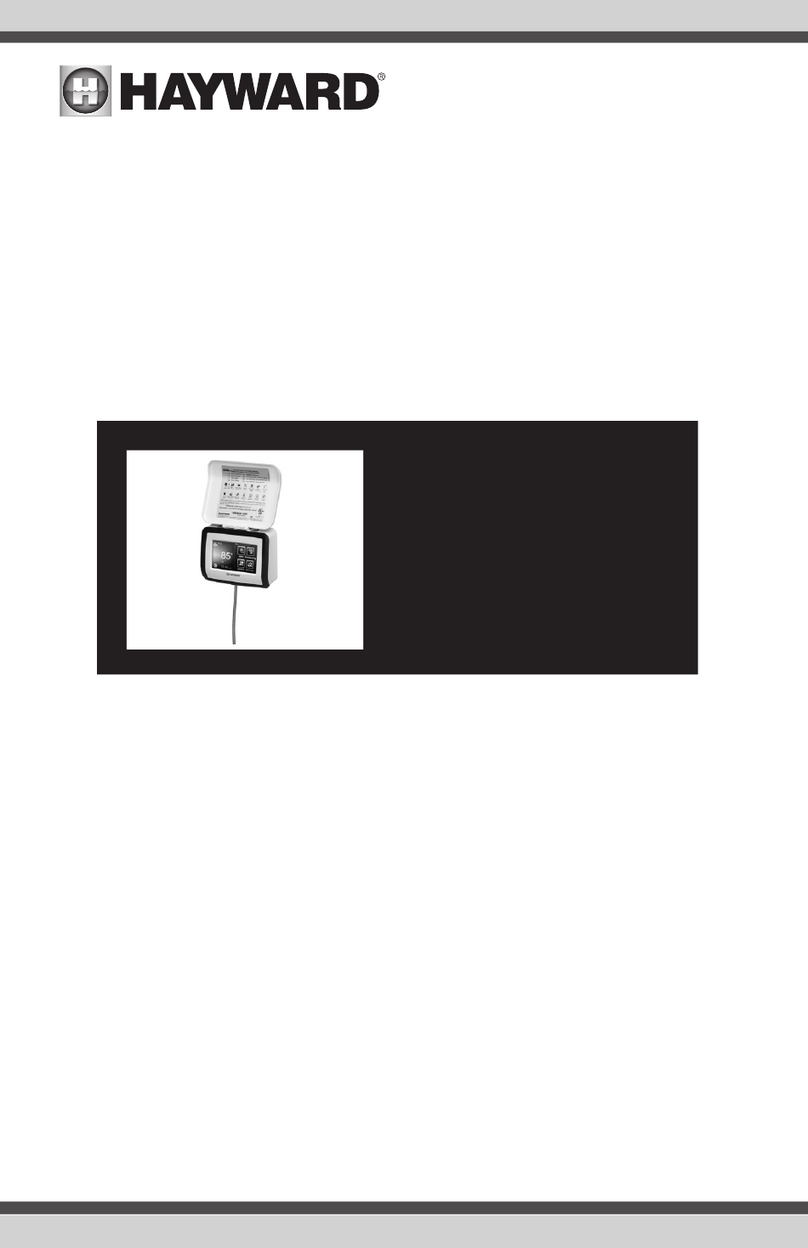
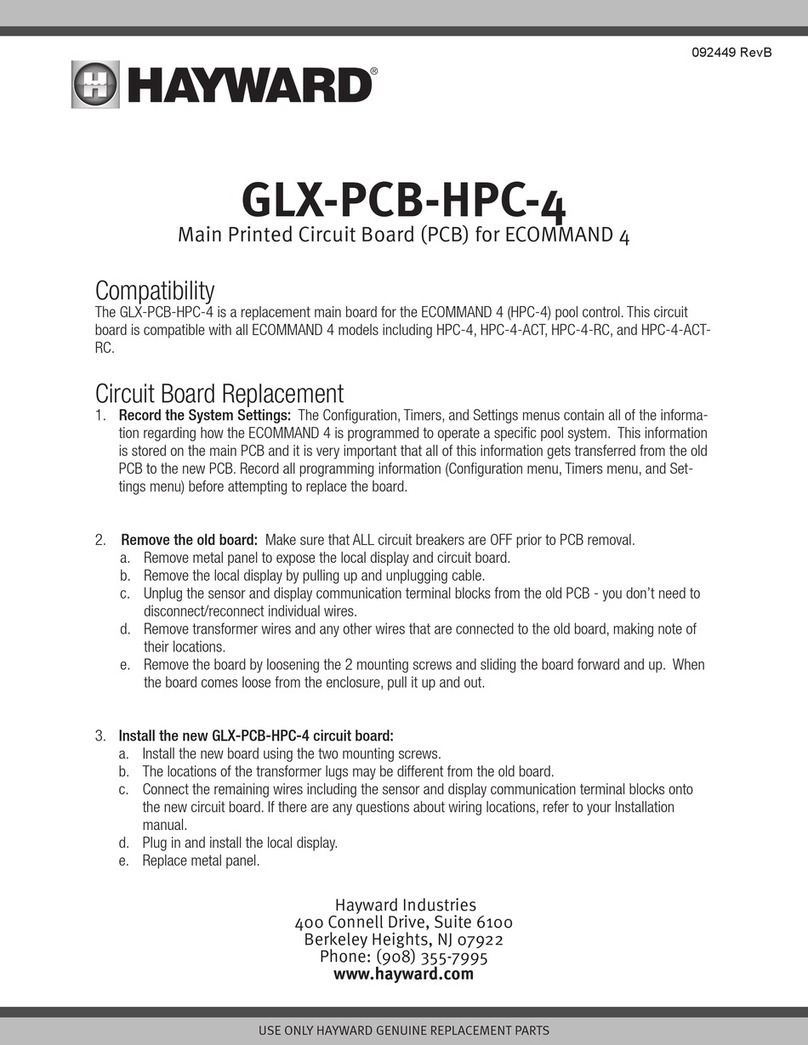
Hayward HLPMPCONV User manual
Other Hayward Controllers manuals
Hayward
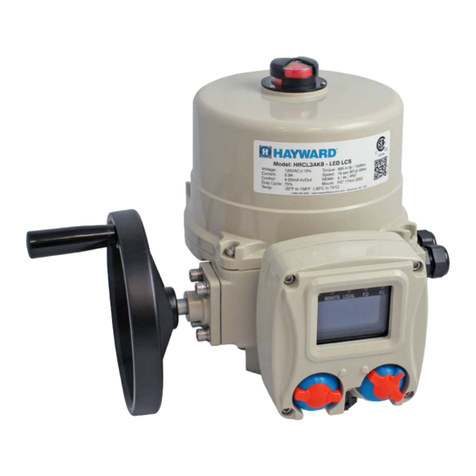
Hayward HRSN2 series Manual
Hayward
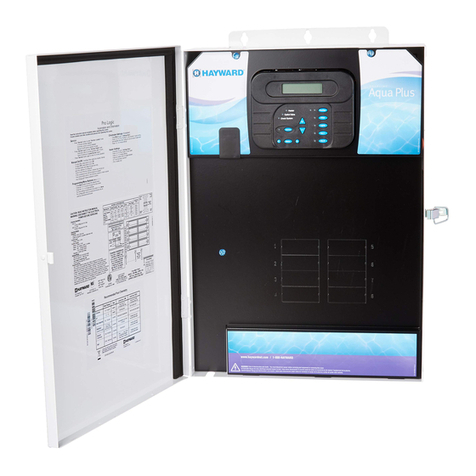
Hayward Aqua Plus® User manual

Hayward
Hayward HLXPLCONTROL User manual
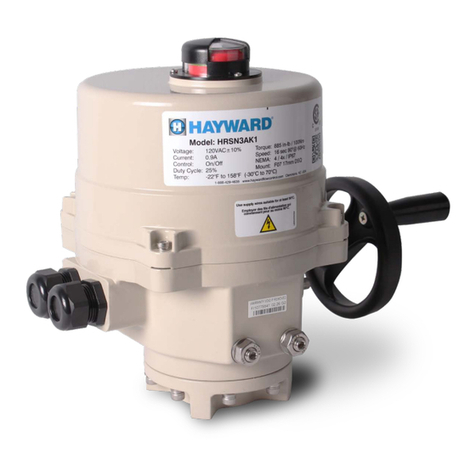
Hayward
Hayward HRSN3 series Manual
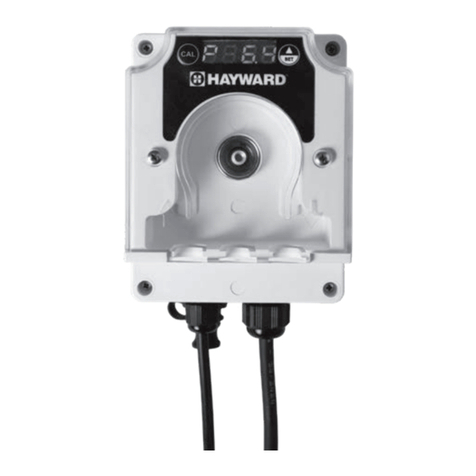
Hayward
Hayward Pool Rx LT User manual

Hayward
Hayward HCC 1000 User manual
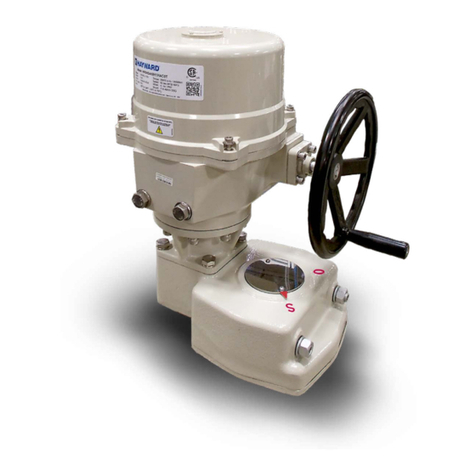
Hayward
Hayward HRSN6 series Manual
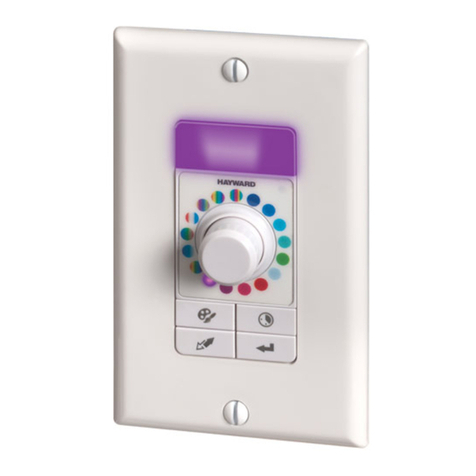
Hayward
Hayward ColorLogic LKCUS1100 User manual
Hayward
Hayward CAT-1000-ORP User manual
Hayward
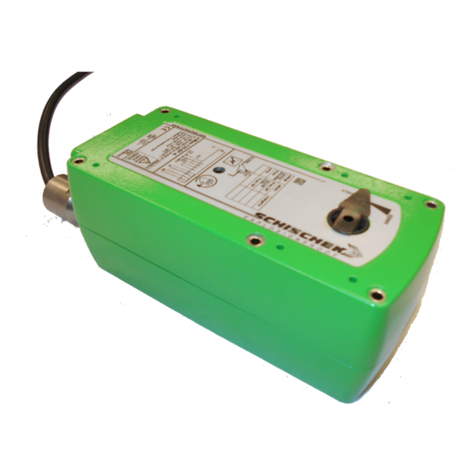
Hayward RSR3 Series Manual
Hayward
Hayward OmniPL Retrofit Kit User manual
Hayward
Hayward AQR100 User manual
Hayward
Hayward HRSN3FS Series Manual
Hayward
Hayward CAT-2000 User manual
Hayward
Hayward CAT 5000 User manual
Hayward
Hayward ECP3 Series Manual
Hayward
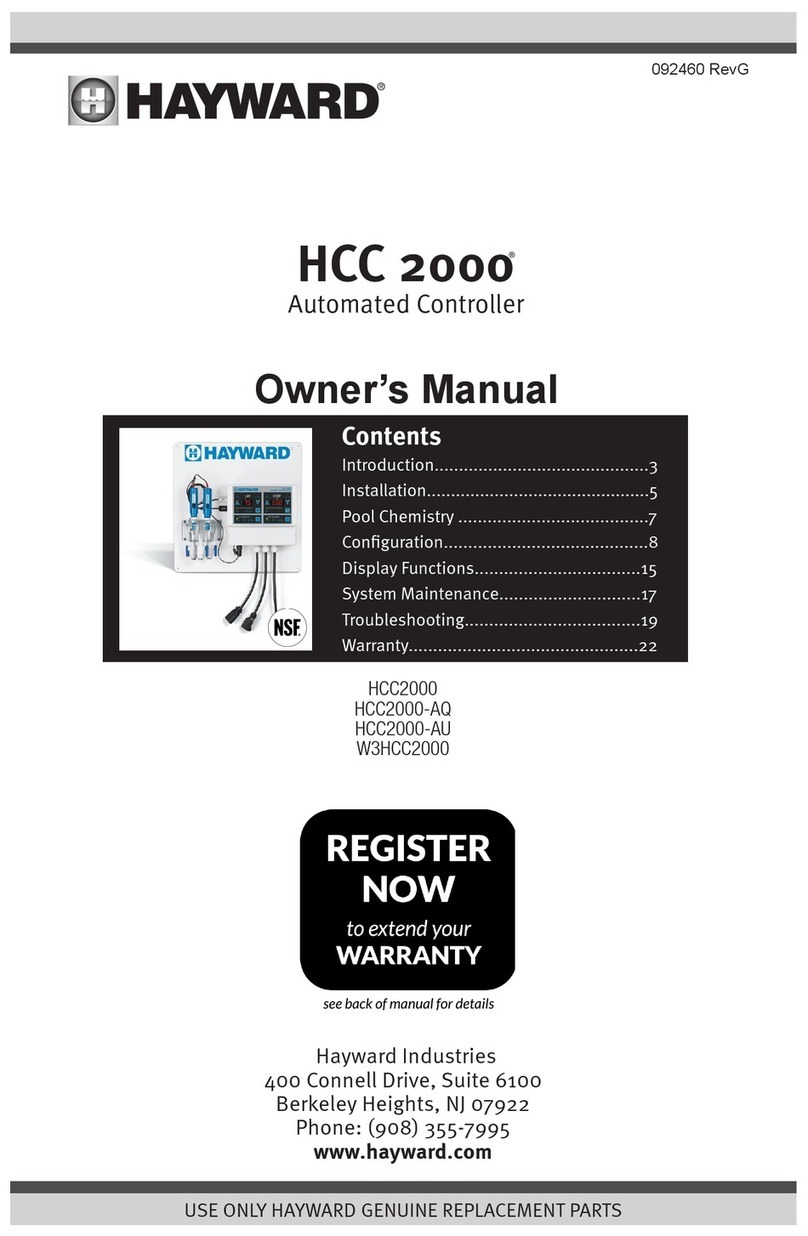
Hayward HCC 2000 User manual

Hayward
Hayward OmniPL Retrofit Kit User manual

Hayward
Hayward Aqua Plus® User manual
Hayward
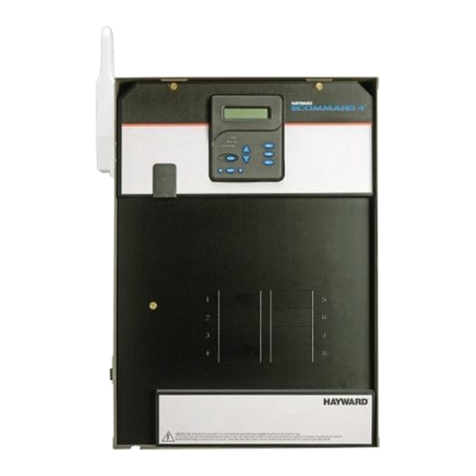
Hayward E-Command® 4 User manual
Popular Controllers manuals by other brands

Digiplex
Digiplex DGP-848 Programming guide

YASKAWA
YASKAWA SGM series user manual

Sinope
Sinope Calypso RM3500ZB installation guide

Isimet
Isimet DLA Series Style 2 Installation, Operations, Start-up and Maintenance Instructions

LSIS
LSIS sv-ip5a user manual

Airflow
Airflow Uno hab Installation and operating instructions
