manuals.online logo
Brands
  1. Home
  2. •
  3. Brands
  4. •
  5. Hayward
  6. •
  7. Swimming Pool Pump
  8. •
  9. Hayward MaxFlo XL-SP2300 Series Supplement

Hayward MaxFlo XL-SP2300 Series Supplement

USE ONLY HAYWARD GENUINE REPLACEMENT PARTS
MaxFlo XL Pump 30-LITINSB011 Rev-A
Secure pump to base
with screws or bolts to reduce vibration and pipe stress.
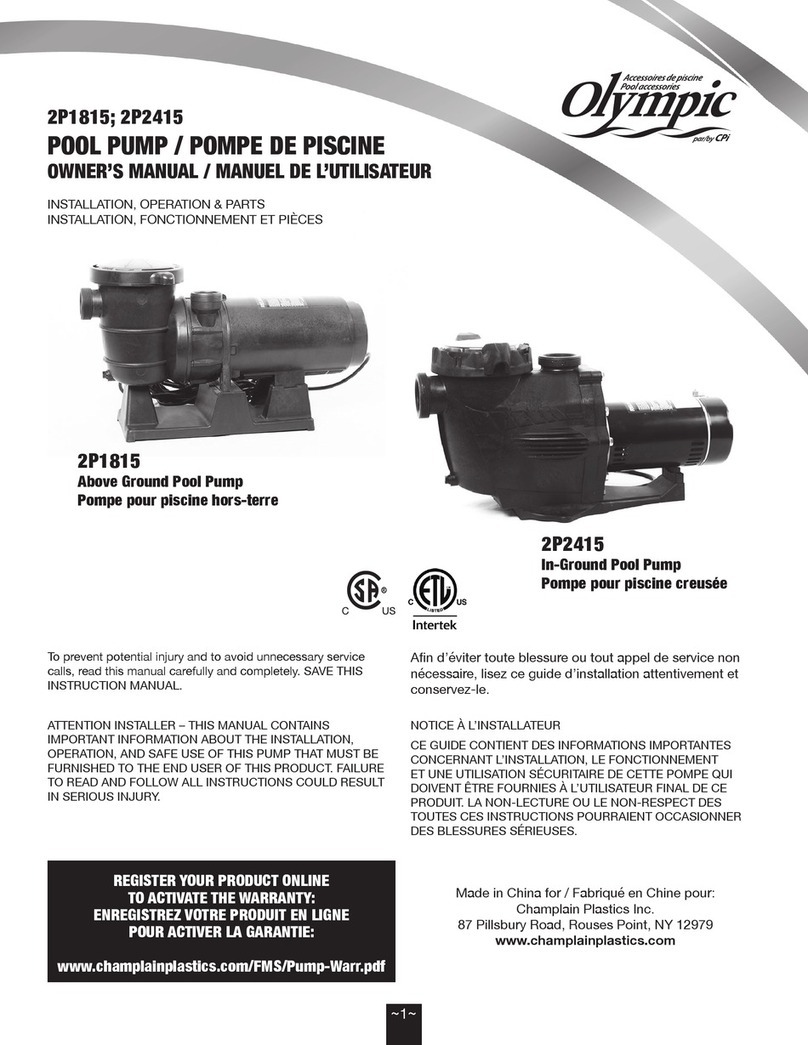
SELF-PRIMING SWIMMING POOL PUMP
INSTALLATION AND OPERATING
INSTRUCTION MANUAL
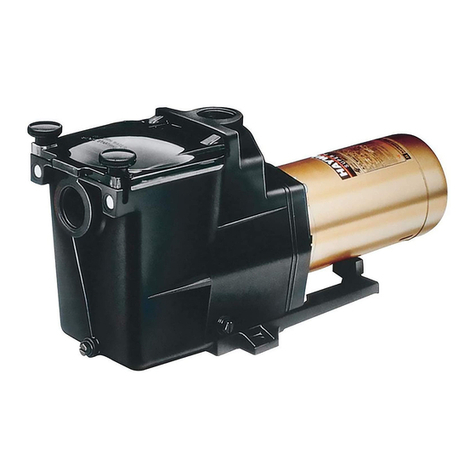
Your Hayward MaxFlo XL is a high technology self-priming centrifugal pump that combines
performance, dependability and value with durable construction. Designed for pools of all
types and sizes, MaxFlo XL features 40mm and 50mm union connections to match a variety
of plumbing configurations and has a cam and ramp strainer cover that seals with less than
a quarter turn.
MaxFlo XL is an ideal choice for both new construction or as a replacement pump.
MaxFlo XL
™- SP2300 Series
USE ONLY HAYWARD GENUINE REPLACEMENT PARTS
MaxFlo XL Pump
Page 2
MaxFlo XL Pump - Replacement Parts
Parts Diagram
Parts Listing
Ref. No.
1
2
3
4
5
6
7
8
9
10
11
12
13
14
15
16
17
18
--
--
--
Part No.
SPX2300DLS
SPX2300Z4
SPX2300M
SPX2300AA
SPX4000FG
SPX2700ZPAK
SPX2300Z3PAK3
SX220Z2
SPX2300B
SPX2300CVS
GMX600F
SPX2700SA
SPX2300E
SPX3200Z5PAK4
SPX2300G
SPX1600Z52
SPX2700UNKIT
SPX3200UNKIT
SPX2300GR
SPX3200UG
SPX2315AQ6M
SPX0327
Description
Strainer Cover Kit (Includes Strainer Cover, Lock-Ring, O-Ring)
Strainer Cover O-Ring
Strainer Basket
Pump Strainer Housing with Drain Plugs
Drain Plug with O-Ring
Hardware Pack (Includes 4 Housing Bolts, Seal Plate Spacers & Square Nuts)
Diffuser Screw (3Pack)
Diffuser O-Ring
Diffuser
Impeller
Housing O-Ring
Shaft Seal Assembly
Seal Plate
Motor Bolt (4 Pack)
Motor Support with Base Mount Screws
Motor Support Base Mount Screws (2 Pack)
Union Connector Kit suits 40mm PVC pipe (Inc’d 2 Nuts, Connectors, Gaskets)
Union Connector Kit suits 50mm PVC pipe (Inc’d 2 Nuts, Connectors, Gaskets)
Optional Riser Base
Union Gasket - Not shown
Motor, suit SP2315AQ
“Jack’s formular 327 Multilube” Silicone lube for O-Rings - 1 ounce (28gram) tube
Qty. Req’d
1
1
1
1
2
1
1
1
1
1
1
1
1
1
1
1
1
1
1
2
1
1
1
USE ONLY HAYWARD GENUINE REPLACEMENT PARTS
MaxFlo XL Pump
Page 3
Shaft Seal Change Instructions
IMPORTANT SAFETY INSTRUCTIONS
PLEASE READ AND FOLLOW ALL INSTRUCTIONS
When servicing electrical equipment, basic safety precautions should always be observed including the following.
Failure to follow the instructions may result in injury.
• Disconnect the pump motor power cord from the power outlet before beginning the shaft seal replacement.
• Only qualified personnel should attempt to replace the shaft seal. Contact your local authorized Hayward Dealer
or service center if you have any questions.
• Exercise extreme care in handling both the rotating and stationary sections of the two-part replacement seal.
Foreign matter or improper handling will easily scratch the graphite and ceramic sealing surfaces.
• See the “Parts Diagram” on the previous page for the pump component locations.
Removing the Motor Assembly
1. Remove the four (4) 5/16” x 1.75” hex head bolts (Item 6), which hold the motor assembly to the pump/strainer
housing (item 4), using a 1/2” AF spanner or socket.
2. Slide the motor assembly out of the pump/strainer housing (item 4), exposing the diffuser (item 9). Remove the
three (3) diffuser screws (item 7), and pull the diffuser (item 9) off the seal plate (item 13) to expose the impeller
(item 10).
Removing the Impeller
1. To prevent the motor shaft from turning, insert a Flat Blade Screwdriver through the center hole in the fan cowling and
into the slot on the end of the motor shaft and hold it.
2. Remove the impeller (item 10) by rotating it counterclockwise.
Removing the Ceramic Seat
1. Remove the spring seal assembly (item 12) and seal plate (item 13) from the motor by removing the four (4) 3/8”
x 1” bolts (item 14) that secure it to the motor, using a 9/16” AF spanner or socket. Remove the motor support
bracket (item 15) from the seal plate (item 13).
2. Press the ceramic seat with rubber cup out of the seal plate (item 13). If tight, use a small screwdriver to tap the seal
out from the back side of the seal plate.
IMPORTANT - Clean all recesses and parts to be reassembled. Inspect gaskets and replace if necessary.
Seal, Impeller, and Diffuser Installation
1. Clean and lightly lubricate the motor shaft and seal recess in the seal plate (item 13) with a dilute solution of non
granulated liquid type soap. Gently wipe the polished face of the ceramic seal with a soft, lint free cotten cloth.
Lubricate the rubber cup on the ceramic seat and press it firmly into the recess of the seal plate (item 13), with the
polished ceramic surface facing towards you.
2. Reassemble the motor to the seal plate (item 13) using the four (4) 3/8” x 1” bolts (item 14) by tightening them in
a cross pattern and torque to 11.5 N-m. Ensure there is equal clearence between the motor shaft and ceramic seat.
Re-attach the motor support (item 15) to the seal plate (item 13).
3. Gently wipe the black, polished surface of the carbon spring seal assembly (item 12) with a soft, lint free cotton cloth.
4. Press the carbon spring seal assembly (item 12) onto the motor shaft, with the black polished surface facing the
ceramic seat.
5. Screw the impeller (item 10) onto the motor shaft in a clockwise direction and tightn snugly by holding the motor
shaft with the Flat Blade Screwdriver as explained earlier.
6. Place the diffuser (item 9) over the impeller (item 10) and onto the seal plate (item 13), aligning the three (3)
pins on the diffuser (item 9) with the three (3) holes on the seal plate (item 13). Note: Flat side of diffuser rim will
face up. Replace the three (3) diffuser screws (item 7) and torque to 2.3 N-m.
7. Replace the motor Assembly into the pump/strainer housing in the reverse order of the removal steps. Ensure the
housing gasket (item 11) is lubricated and tighten the housing bolts (item 6) in a cross pattern evenly and to a
torque of 21 Newton Meters.
MAXIMUM TOTAL HEAD - IMPORTANT INSTALLATION INFORMATION
G. If the Supply Cord is damaged, it must be replaced by
persons in order to avoid a hazard.
Hayward Pool Products (Australia) Pty Ltd.
Melbourne-Sydney-Brisbane-Perth
Email: [email protected] Website: www.hayward-pool.com.au
the manufacture, its service agent or similarly qualified
Model Max Total
Metres Head
Max Pressure
kPa
SP2315AQ 14.5 143
the strainer cover lock ring by hand only.
discharge gauge reading).
© 2014 Hayward Industries, Inc.
Hayward and MaxFlo XL are registered
trademarks of Hayward Industries, Inc.
, VIC. 3164

Other Hayward Swimming Pool Pump manuals

Hayward RS750 User manual

Hayward

Hayward RS750 User manual

Hayward TriStar VS Series Quick start guide

Hayward

Hayward TriStar VS Series Quick start guide

Hayward Power-Flo LX User manual

Hayward

Hayward Power-Flo LX User manual

Hayward Max-Flo™ User manual

Hayward

Hayward Max-Flo™ User manual

Hayward Super Pump® VS User manual

Hayward

Hayward Super Pump® VS User manual

Hayward HP50A Service manual

Hayward

Hayward HP50A Service manual

Hayward Max-Flo SP2805X7 User manual

Hayward

Hayward Max-Flo SP2805X7 User manual

Hayward VSP User manual

Hayward

Hayward VSP User manual

Hayward TriStar User manual

Hayward

Hayward TriStar User manual

Hayward TriStar Waterfall User manual

Hayward

Hayward TriStar Waterfall User manual

Hayward MaxFlo VS 500 User manual

Hayward

Hayward MaxFlo VS 500 User manual

Hayward Super Pump Pro User manual

Hayward

Hayward Super Pump Pro User manual

Hayward EcoStar User manual

Hayward

Hayward EcoStar User manual

Hayward Max-Flo VS™ User manual

Hayward

Hayward Max-Flo VS™ User manual

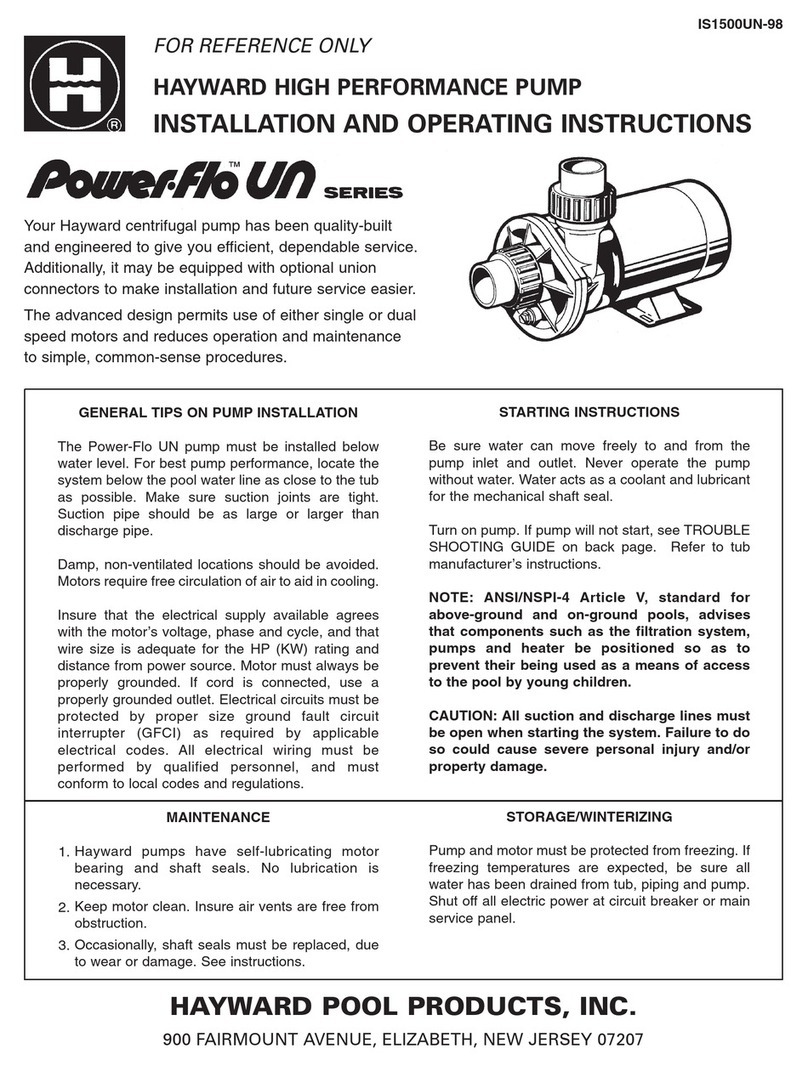
Hayward Power-flo UN series User manual

Hayward

Hayward Power-flo UN series User manual

Hayward PowerFlo Matrix User manual

Hayward

Hayward PowerFlo Matrix User manual

Hayward TriStar SP322063EEV User manual

Hayward

Hayward TriStar SP322063EEV User manual

Hayward Super Pump User manual

Hayward

Hayward Super Pump User manual

Hayward HP65A Service manual

Hayward

Hayward HP65A Service manual

Hayward TriStar SP3007EEAZ User manual

Hayward

Hayward TriStar SP3007EEAZ User manual

Hayward SP2305X7 User manual

Hayward

Hayward SP2305X7 User manual

Hayward HP55BEE User manual

Hayward

Hayward HP55BEE User manual

Hayward PowerFlo VS 300 User manual

Hayward

Hayward PowerFlo VS 300 User manual

Hayward Super II User manual

Hayward

Hayward Super II User manual

Popular Swimming Pool Pump manuals by other brands

Madimack Elite Max user manual

Madimack

Madimack Elite Max user manual

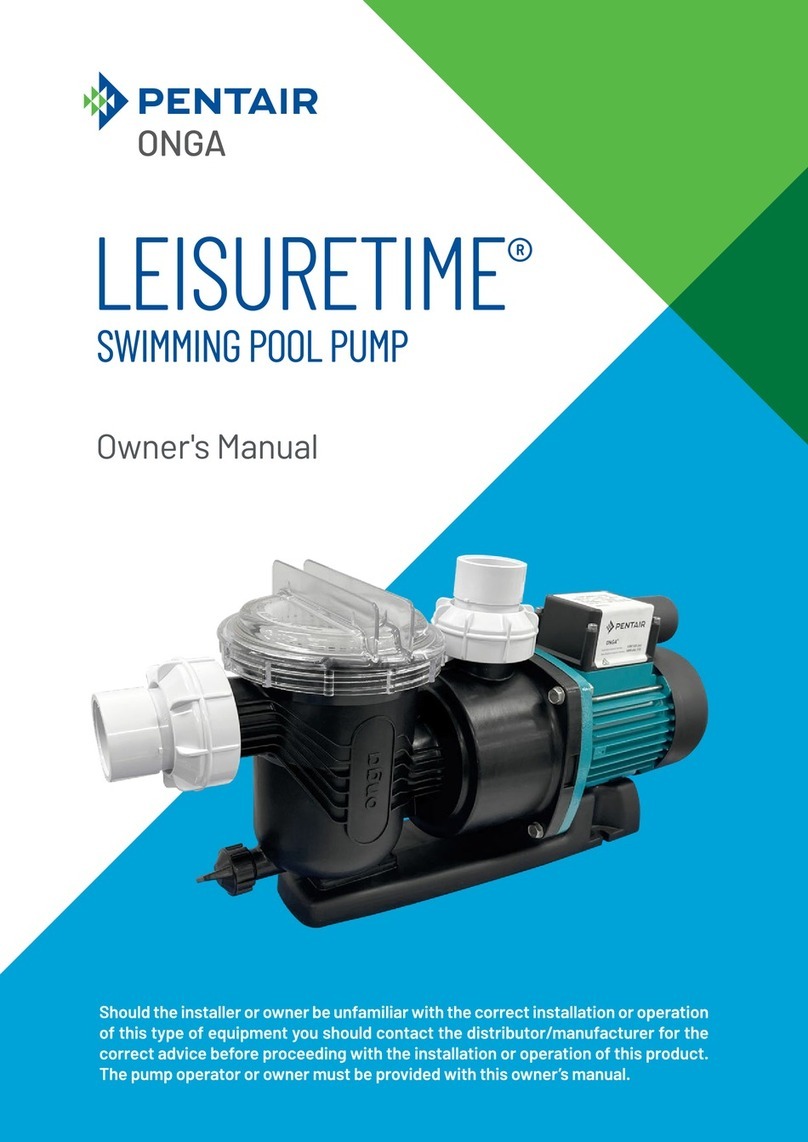
onga Onga owner's manual

onga

onga Onga owner's manual

POLYGROUP LIMITED RP350-S owner's manual

POLYGROUP LIMITED

POLYGROUP LIMITED RP350-S owner's manual

Harmopool Harmo Kubi ZVWX4015 instruction manual

Harmopool

Harmopool Harmo Kubi ZVWX4015 instruction manual

CARVIN Magnum owner's manual

CARVIN

CARVIN Magnum owner's manual

Blagdon 1400 manual

Blagdon

Blagdon 1400 manual

Pentair 5P2R Installation and operating instructions

Pentair

Pentair 5P2R Installation and operating instructions

Calpeda MPC operating instructions

Calpeda

Calpeda MPC operating instructions

Everbilt PCP10001-VSP Use and care guide

Everbilt

Everbilt PCP10001-VSP Use and care guide

Etatron eTwin Operating	instructions and maintenance

Etatron

Etatron eTwin Operating instructions and maintenance

DAB E.SWIM Instruction for installation and maintenance

DAB

DAB E.SWIM Instruction for installation and maintenance

Pentair IntelliFlo VS+SVRS brochure

Pentair

Pentair IntelliFlo VS+SVRS brochure

STA-RITE PRC Series brochure

STA-RITE

STA-RITE PRC Series brochure

Aqua Simpool pH instruction manual

Aqua

Aqua Simpool pH instruction manual

PSH REGAL-40M Instructions for use and maintenance

PSH

PSH REGAL-40M Instructions for use and maintenance

Sunrunner SUNC3000 40885 Operation manual

Sunrunner

Sunrunner SUNC3000 40885 Operation manual

Pentair Pool Products 4HP-VD - 3' STD Operation & service manual

Pentair Pool Products

Pentair Pool Products 4HP-VD - 3' STD Operation & service manual

Oase Pondovac 4 operating instructions

Oase

Oase Pondovac 4 operating instructions

manuals.online logo
manuals.online logoBrands
  • About & Mission
  • Contact us
  • Privacy Policy
  • Terms and Conditions

Copyright 2025 Manuals.Online. All Rights Reserved.