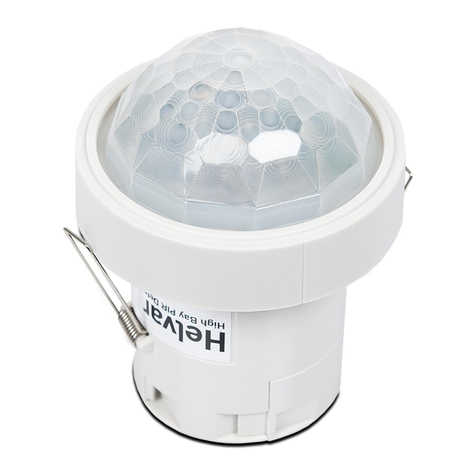
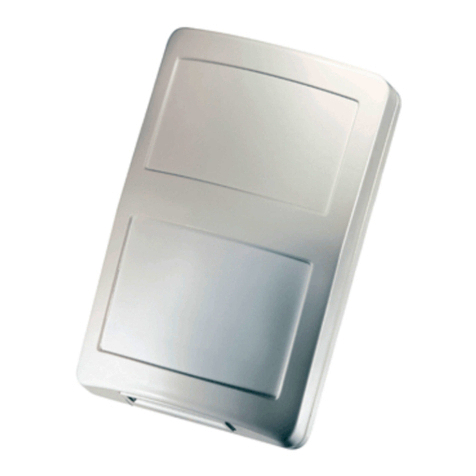
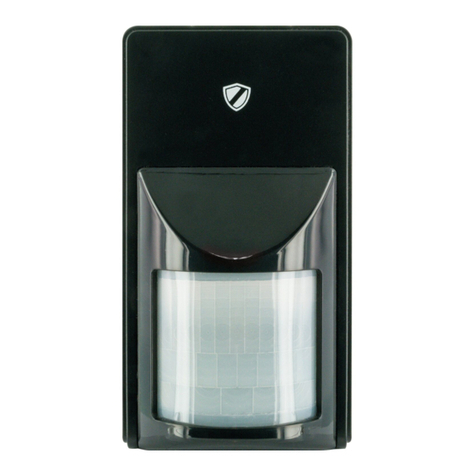
To mount the OB-1501 iDim Orbit flush into a ceiling, complete the following steps:
1. Mount the mains connector as shown in section 3.1,‘Mounting the mains connector’, below on this page.
2. Mount the required DALI connectors as shown in section 3.2,‘Mounting the DALI connectors’, on page4.
3. If required, mount the input connector for the manual switch as shown in section 3.3,‘Mounting the input connector
for the manual switch’, on page5.
4. Plug the mains connector and the DALI connector(s) into the sensor.
5. If required, plug the input connector for the manual switch into the sensor.
6. Mount the sensor into the ceiling as shown in section 3.4,‘Mounting the sensor into the ceiling’, on page5.
7. Power the sensor up.
8. Download the iDim Orbit app to your iOS device (iPod Touch, iPhone or iPad).
9. Connect the iDim Orbit app to the required OB-1501 iDim Orbit via Bluetooth®Smart™.
10. Configure the sensor using the app. The default passcode is 00000. For information, see the iDim Orbit App Guide.
3. Installation
Installation Notes
3.1. Mounting the mains connector
• Position the sensor so that the occupants of the room are normally inside the detection zone.
• Do not fix the sensor to an unstable or vibrating surface.
• Do not install the sensor within 1 m of any lighting, forced air heating, or ventilation equipment.
• The external supply must be protected. External protection must not exceed 16 A Type C MCB.
Solid cables:
Push the stripped cable until it hits
the backstop.
Stranded cables:
a. Push down the required clamp
with a 2.5mm screwdriver.
b. Insert the stripped cable until it
hits the backstop.
c. Remove the screwdriver to close
the clamp.
Pull the prelatched strain-relief
housing over the cable.
Strip 8mm of the live, neutral and
earth cable insulation.
8 mm
1. 2. 3.
N: Neutral
: Earth
2 | L: Live in
1 | L‘: Switched line
3


