manuals.online logo
Brands
  1. Home
  2. •
  3. Brands
  4. •
  5. HELVAR
  6. •
  7. Security Sensor
  8. •
  9. HELVAR 311 User manual

HELVAR 311 User manual

1Helvar | Data is subject to change without notice. www.helvar.com
Installation Guide
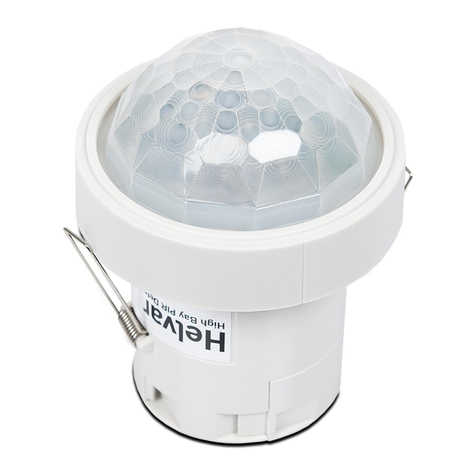
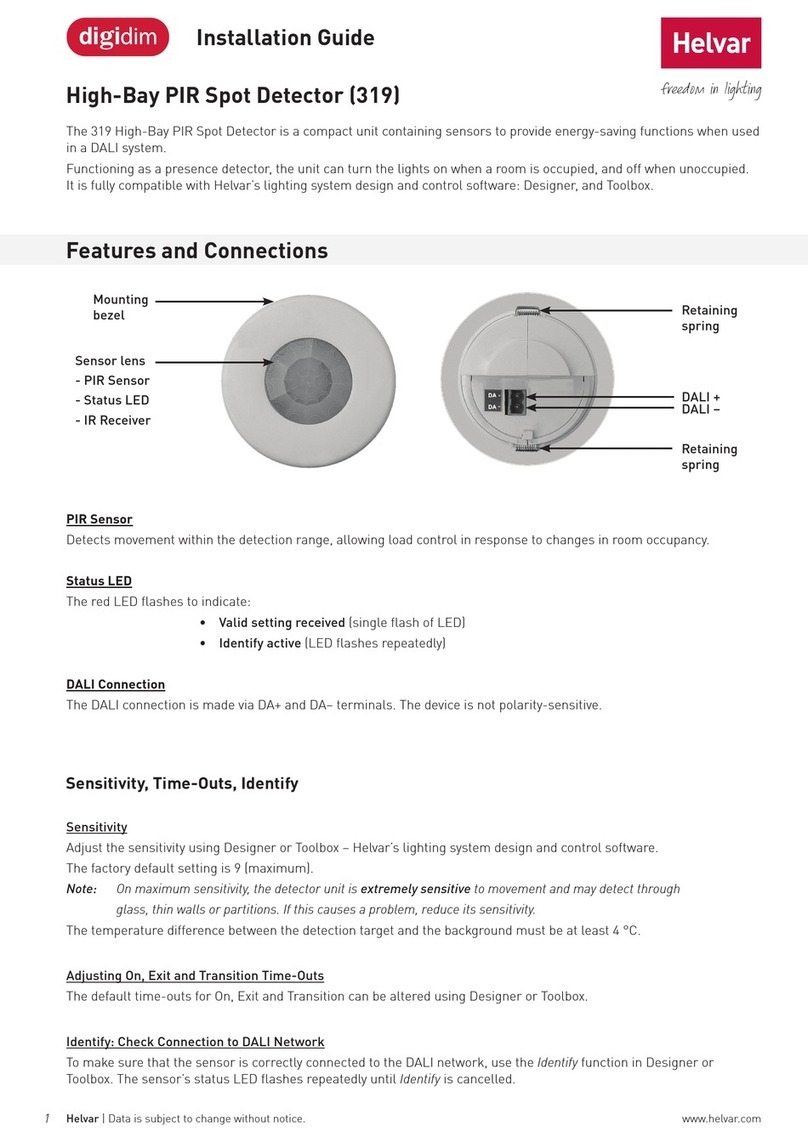
Sensor lens
- PIR Sensor
- Status LED
- IR Receiver
Mounting
bezel Retaining
spring
Retaining
spring
DALI +
DALI –
Features and Connections
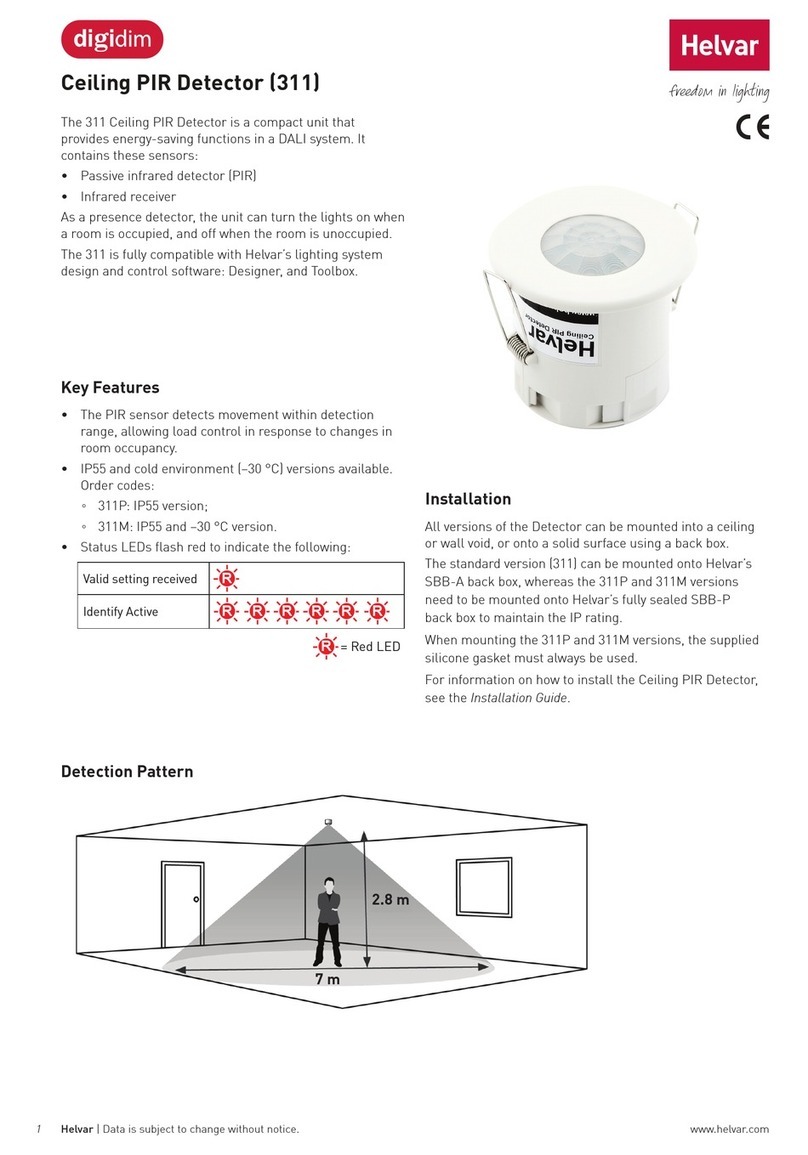
Ceiling PIR Detector (311)
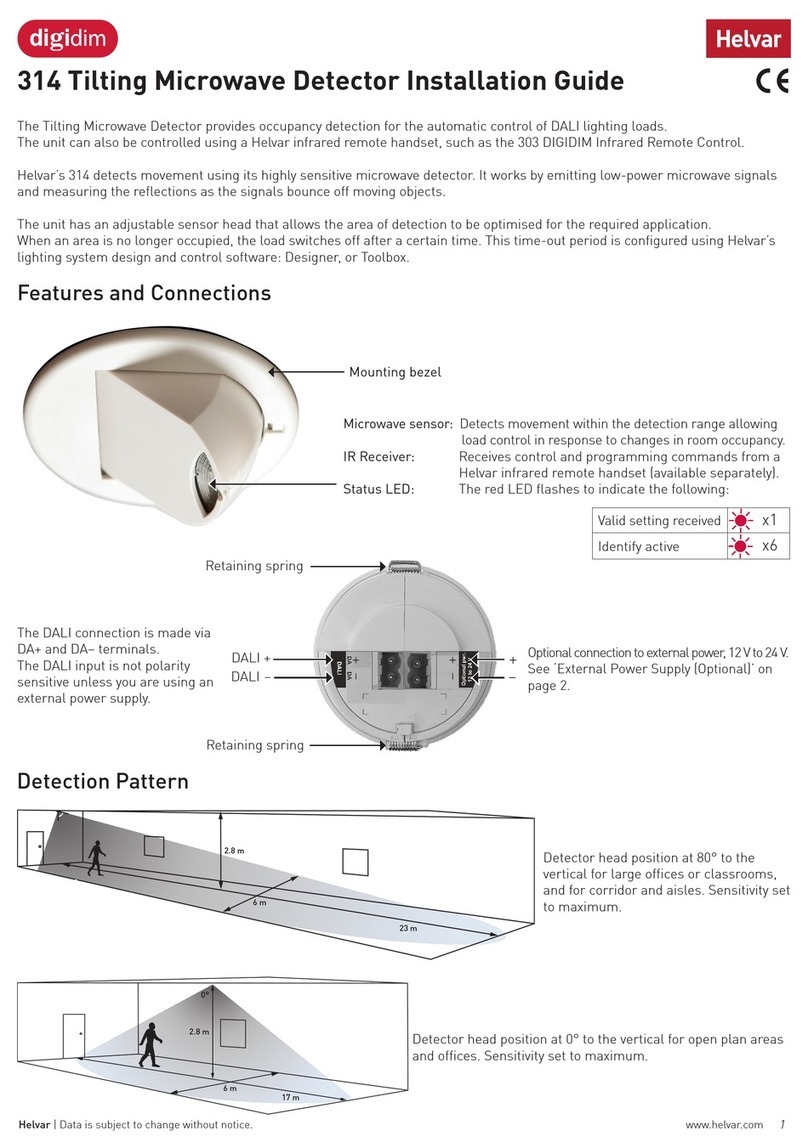
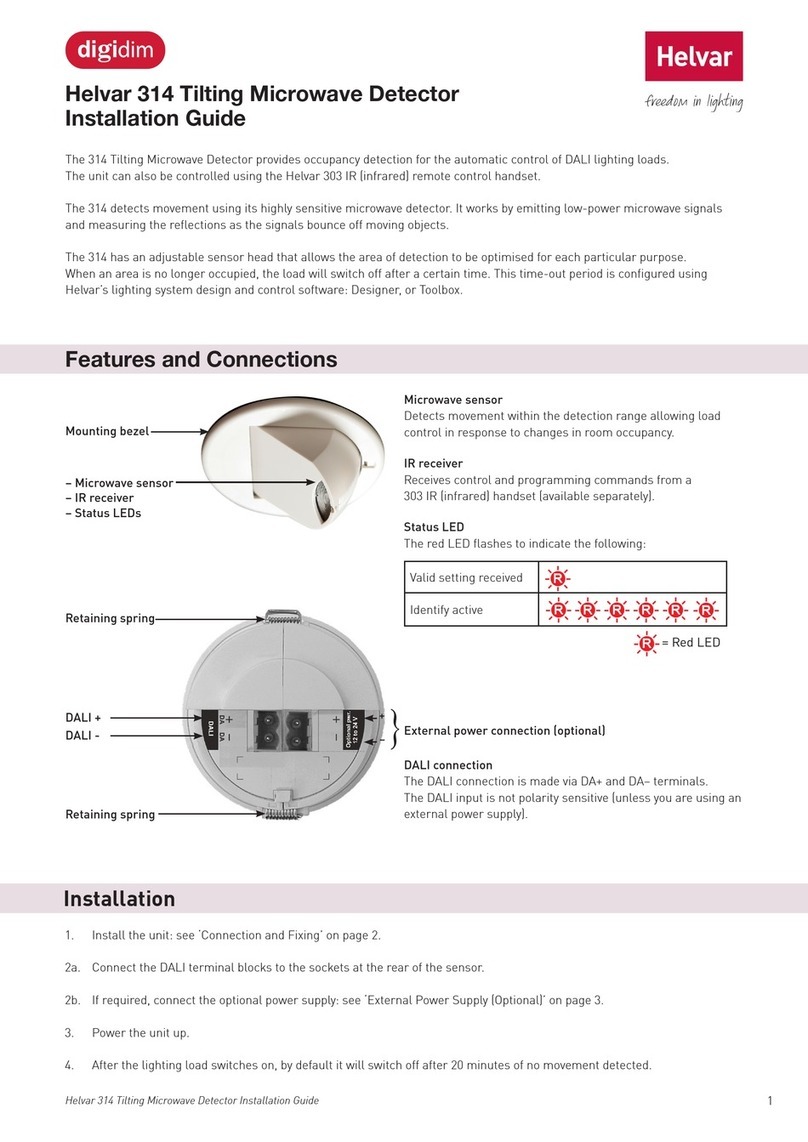
The 311 Ceiling PIR Detector is a compact unit containing sensors to provide energy-saving functions when used in a
DALI system.
Functioning as a presence detector, the unit can turn the lights on when a room is occupied, and off when unoccupied.
It is fully compatible with Helvar’s lighting system design and control software: Designer, and Toolbox.
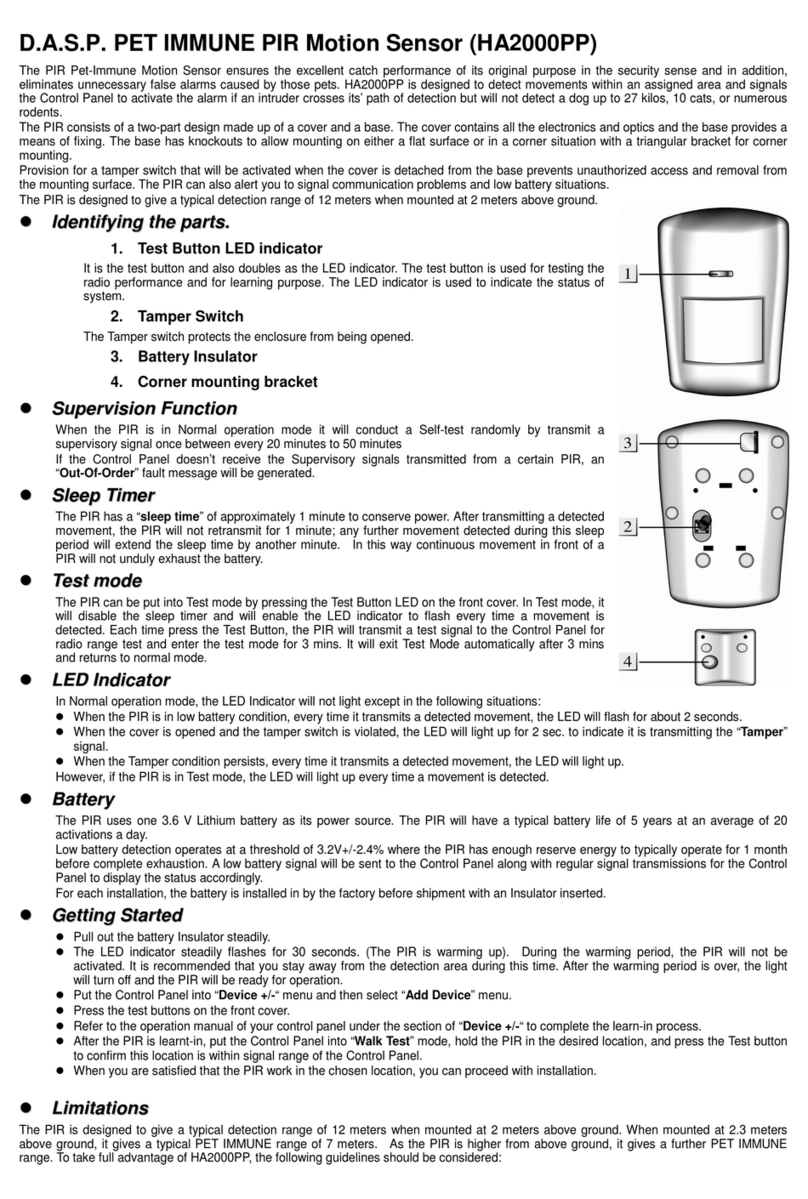
PIR Sensor
Detects movement within the detection range, allowing load control in response to changes in room occupancy.
Status LED
The red LED flashes to indicate:
• Valid setting received (single flash of LED)
• Identify active (LED flashes repeatedly)
DALI Connection
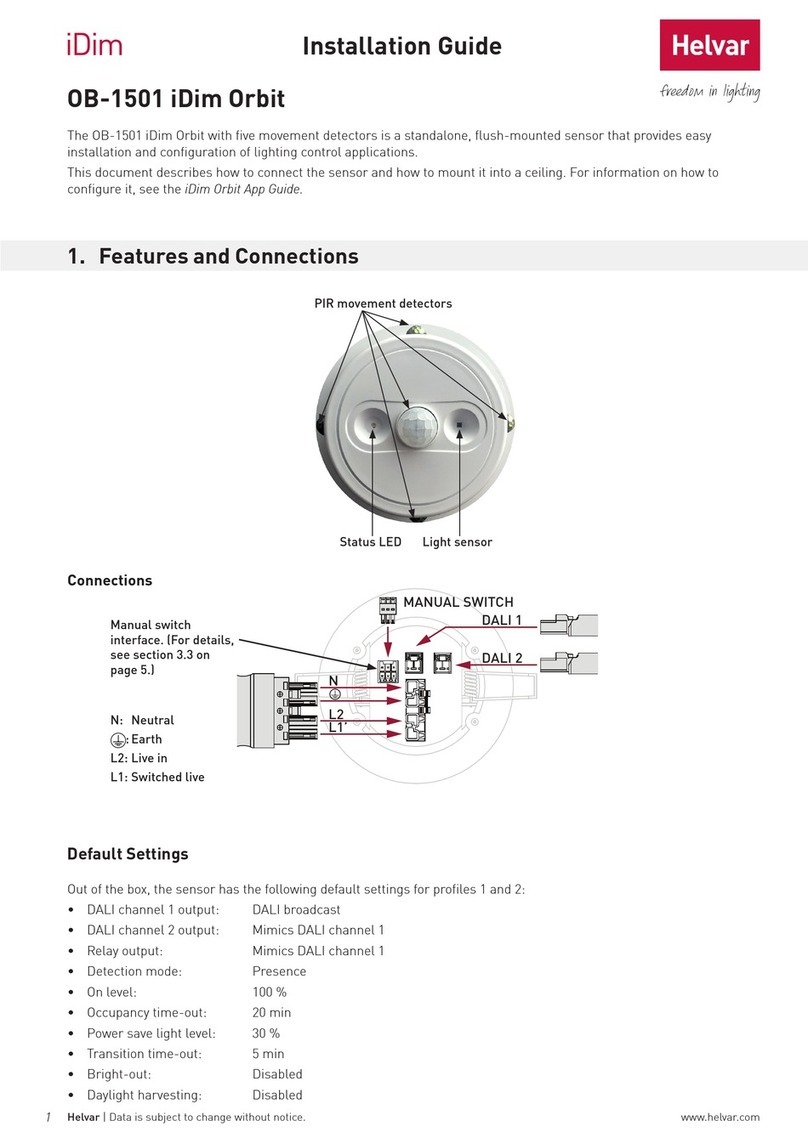
The DALI connection is made via DA+ and DA– terminals. The device is not polarity-sensitive.
2
Helvar 311 Ceiling PIR Detector: Installation Guide
Sensitivity
Adjust the sensitivity using Designer or Toolbox – Helvar’s lighting system design and control software.
The factory default setting is 9 (maximum).
Note: On maximum sensitivity, the detector unit is extremely sensitive to movement and may detect through
glass, thin walls or partitions. If this causes a problem, reduce its sensitivity.
The temperature difference between the detection target and the background must be at least 4°C.
Adjusting On, Exit and Transition Time-Outs
The default time-outs for On, Exit and Transition can be altered using Designer or Toolbox.
Identify: Check Connection to DALI Network
To make sure that the sensor is correctly connected to the DALI network, use the Identify function in Designer or
Toolbox. The sensor’s status LED flashes repeatedly until Identify is cancelled.
Sensitivity, Time-Outs, Identify
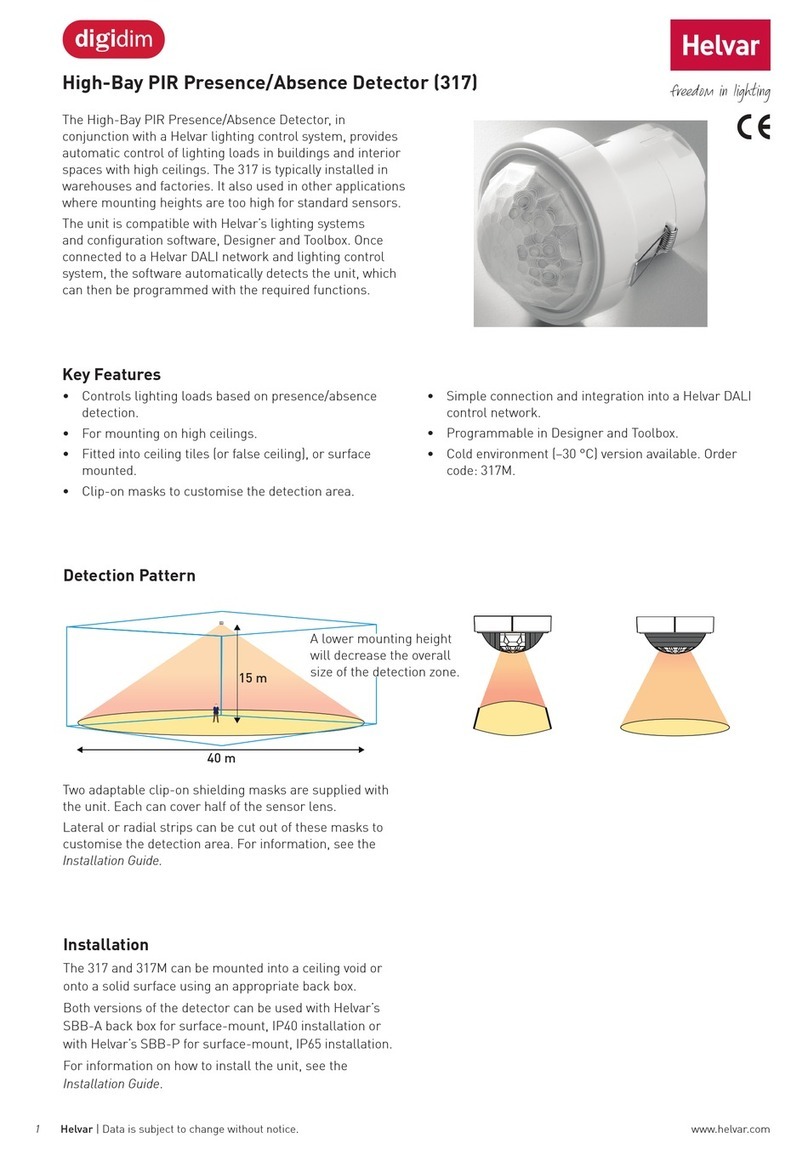
A lower mounting height will
decrease the overall size of the
detection zone.
Sensitivity set to maximum
Detection Pattern
Installation
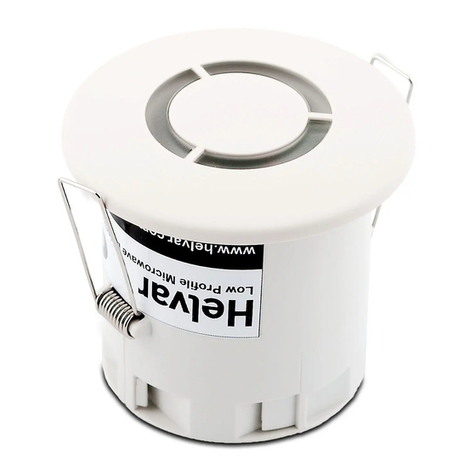
All versions of the Ceiling PIR Detector can be mounted into a ceiling or wall void or onto a back box. The standard
version (311) can be mounted onto the SBB-A surface back box, whereas the 311P and 311M versions need to be
mounted onto Helvar’s fully sealed, IP65-rated SBB-P back box. When mounting the 311P and 311M versions, the
supplied silicone gasket must always be used.
The following steps are required for all versions and installations of the unit.
1. Connect the DALI connector to the socket located at the rear of the sensor.
2. Flush fixing: Insert the unit into the ceiling or wall (see ‘Connection and Fixing: Flush Fixing’ on page 3); or
Surface mounting: Install the unit using the SBB-A or the SBB-P surface back boxes, as appropriate (see
‘Connection and Fixing: Surface Mounting’ on page 4).
3. Power the unit up.
4. Configure the unit using Designer or Toolbox.
5. If the load triggered by the sensor comes on, by default it will take 20 minutes (of no movement detected) for the
load to switch off.
2.8 m
7 m
3Helvar | Data is subject to change without notice. www.helvar.com
Connection and Fixing: Flush Fixing
1. 2.
3. 4.
Attach cable clamp
Ø 64 mm – 68 mm
WARNING
Take special care when
bending springs to install
the unit.
Installation Notes
• Position the sensor so that the occupants of the room are normally inside the detection zone.
• Do not fix the sensor to an unstable or vibrating surface.
• Do not install the sensor within 1 m of any lighting, forced air heating, or ventilation equipment.
4
Helvar 311 Ceiling PIR Detector: Installation Guide
Connection and Fixing: Surface Mounting
There are two different mounting procedures: one for the 311 onto the SBB-A surface back box, another one for the
311P and 311M onto the SBB-P surface back box. Both back boxes must be ordered separately.
Mounting onto Surface Back Box SBB-A (IP 40)
60
50
65
73
76
Ø76
5
Ø
5Helvar | Data is subject to change without notice. www.helvar.com
Mounting onto Surface Back Box SBB-P (IP IP55, 311P and 311M only)
8.7.
1. 2.
5. 6.
4.3.
21
6
Helvar 311 Ceiling PIR Detector: Installation Guide
Technical Data
Connections
External power / DALI: Removable connector block;
Wire size: 0.5mm² –1.5mm²
solid or stranded
Cable rating: All cables must be mains
rated.
Max. length: 300 m @ 1.5mm²
Power
DALI supply input: 13 V to 22.5 V
DALI consumption: 15 mA
Sensors
Presence detector: PIR: Passive infrared
presence detector
Infrared receiver:
For remote control commands.
Note: Adjust sensitivity using
Designer or Toolbox (not by
remote control unit).
Mechanical data
Mounting hole
diameter:
68 mm
Bezel diameter: 76 mm
Material (casing): Flame-retardant ABS
Finish / Colour: Matt / White RAL 9003
Weight: 58 g
IP code: 311: IP40
311P*: IP55
311M*: IP55
* Only when the supplied
gasket is used and the unit is
mounted onto Helvar’s SBB-P
back box or flush in a ceiling.
Operating conditions
Ambient temperature: 311 & 311P: 0 °C to +35 °C
311M: –30 °C to +35 °C
Note: The temperature difference
between the detection target
and the background must be at
least 4°C.
Relative humidity: Max. 90 %, noncondensing
Storage temperature: 311 & 311P: –10 °C to +70 °C
311M: –30 °C to +70 °C
Conformity and standards
EMC emission: EN 61000–6–1
EMC immunity: EN 61000–6–3
Safety: EN 60730–1
Environment: Complies with WEEE and
RoHS directives.
Version information
Software version: 6.08
Hardware version: Rev. 2
Helvar Ltd
Hawley Mill
Hawley Road
Dartford
Kent
DA2 7SY
United Kingdom
www.helvar.com
Dimensions (mm)
Ø 76 61
68
58
3.7 3.6
Note: The gasket is supplied with the 311M and the 311P
versions.
Doc. 7860267, issue 4, 2016-01-18

Other HELVAR Security Sensor manuals

HELVAR Digidim 313 User manual

HELVAR

HELVAR Digidim 313 User manual

HELVAR digidim 317 User manual

HELVAR

HELVAR digidim 317 User manual

HELVAR 318 User manual

HELVAR

HELVAR 318 User manual

HELVAR Digidim 317 User manual

HELVAR

HELVAR Digidim 317 User manual

HELVAR digidim 313 User manual

HELVAR

HELVAR digidim 313 User manual

HELVAR digidim 314 User manual

HELVAR

HELVAR digidim 314 User manual

HELVAR Digidim 311 User manual

HELVAR

HELVAR Digidim 311 User manual

HELVAR 314 Tilting User manual

HELVAR

HELVAR 314 Tilting User manual

HELVAR digidim 319 User manual

HELVAR

HELVAR digidim 319 User manual

HELVAR OB-1501 User manual

HELVAR

HELVAR OB-1501 User manual

Popular Security Sensor manuals by other brands

Abus 4043158057744 manual

Abus

Abus 4043158057744 manual

Agni AGNI-203 quick start guide

Agni

Agni AGNI-203 quick start guide

DigiSpec VMD-1001 Operation manual

DigiSpec

DigiSpec VMD-1001 Operation manual

Pilz PSEN cs1.1n operating instructions

Pilz

Pilz PSEN cs1.1n operating instructions

STEINEL IS 180 series operating instructions

STEINEL

STEINEL IS 180 series operating instructions

EDTM ShowerGuard RD1661 Operator's manual

EDTM

EDTM ShowerGuard RD1661 Operator's manual

PRASTEL 2PH60C quick start guide

PRASTEL

PRASTEL 2PH60C quick start guide

Olimpia TI 150 operating manual

Olimpia

Olimpia TI 150 operating manual

RKI 35-3001A-09 Operator's manual

RKI

RKI 35-3001A-09 Operator's manual

tau TAU-AC-900-PIVOT installation guide

tau

tau TAU-AC-900-PIVOT installation guide

Elkron TT19AM Installation

Elkron

Elkron TT19AM Installation

steute Ex RC Si 56-3G/D Mounting and wiring instructions

steute

steute Ex RC Si 56-3G/D Mounting and wiring instructions

Sports Radar DT100 instructions

Sports Radar

Sports Radar DT100 instructions

KNX DM KNT 002 instruction manual

KNX

KNX DM KNT 002 instruction manual

Powerfix Profi 97003 Operation and safety notes

Powerfix Profi

Powerfix Profi 97003 Operation and safety notes

Trader ARCTIC OWL OWPIROD quick start guide

Trader

Trader ARCTIC OWL OWPIROD quick start guide

urmet domus VOG 5 User handbook

urmet domus

urmet domus VOG 5 User handbook

Tractel Tracpode Operating and maintenance instructions

Tractel

Tractel Tracpode Operating and maintenance instructions

manuals.online logo
manuals.online logoBrands
  • About & Mission
  • Contact us
  • Privacy Policy
  • Terms and Conditions

Copyright 2025 Manuals.Online. All Rights Reserved.