7
6
1. Attach the power adapter to the
”POWER INLET” at the back of the
analyzer. Make sure that the lid on
top of the analyzer is closed.
2. a. Serial port. The analyzer can be
connected to a printer (for further
information, see Set up Printer func-
tion).
2. b. USB port. (Used for PC-connection
– only outside US)
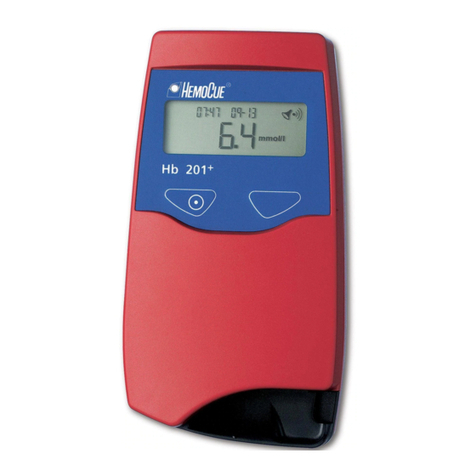
3. Press and hold the left button until
the display is activated (all symbols
appear on the display). The display
shows the version number of the
program, audio signal and the
HemoCue symbol. During this time
the analyzer will automatically verify
the performance of the optical unit.
4. After this the display will show three
flashing dashes. This indicates that
the HemoCue Albumin 201 Analyzer
is ready for use.
To turn the analyzer off, press and hold
the left button until the display reads
OFF and then goes blank. Disconnect
the analyzer from the power source by
removing the power adapter from the
outlet.
Note! Make sure that the lid is closed.
If the lid is open for more than one
minute, the display will show ”U-A”.
Once the lid is closed, the analyzer will
perform an electronic “self test”.
US


