3
EN
Dear Customer,
Thank you for purchasing this Hendi appliance. Please read this manual carefully before connecting the
appliance in order to prevent damage due to incorrect use. Read the safety regulations in particular very
carefully.
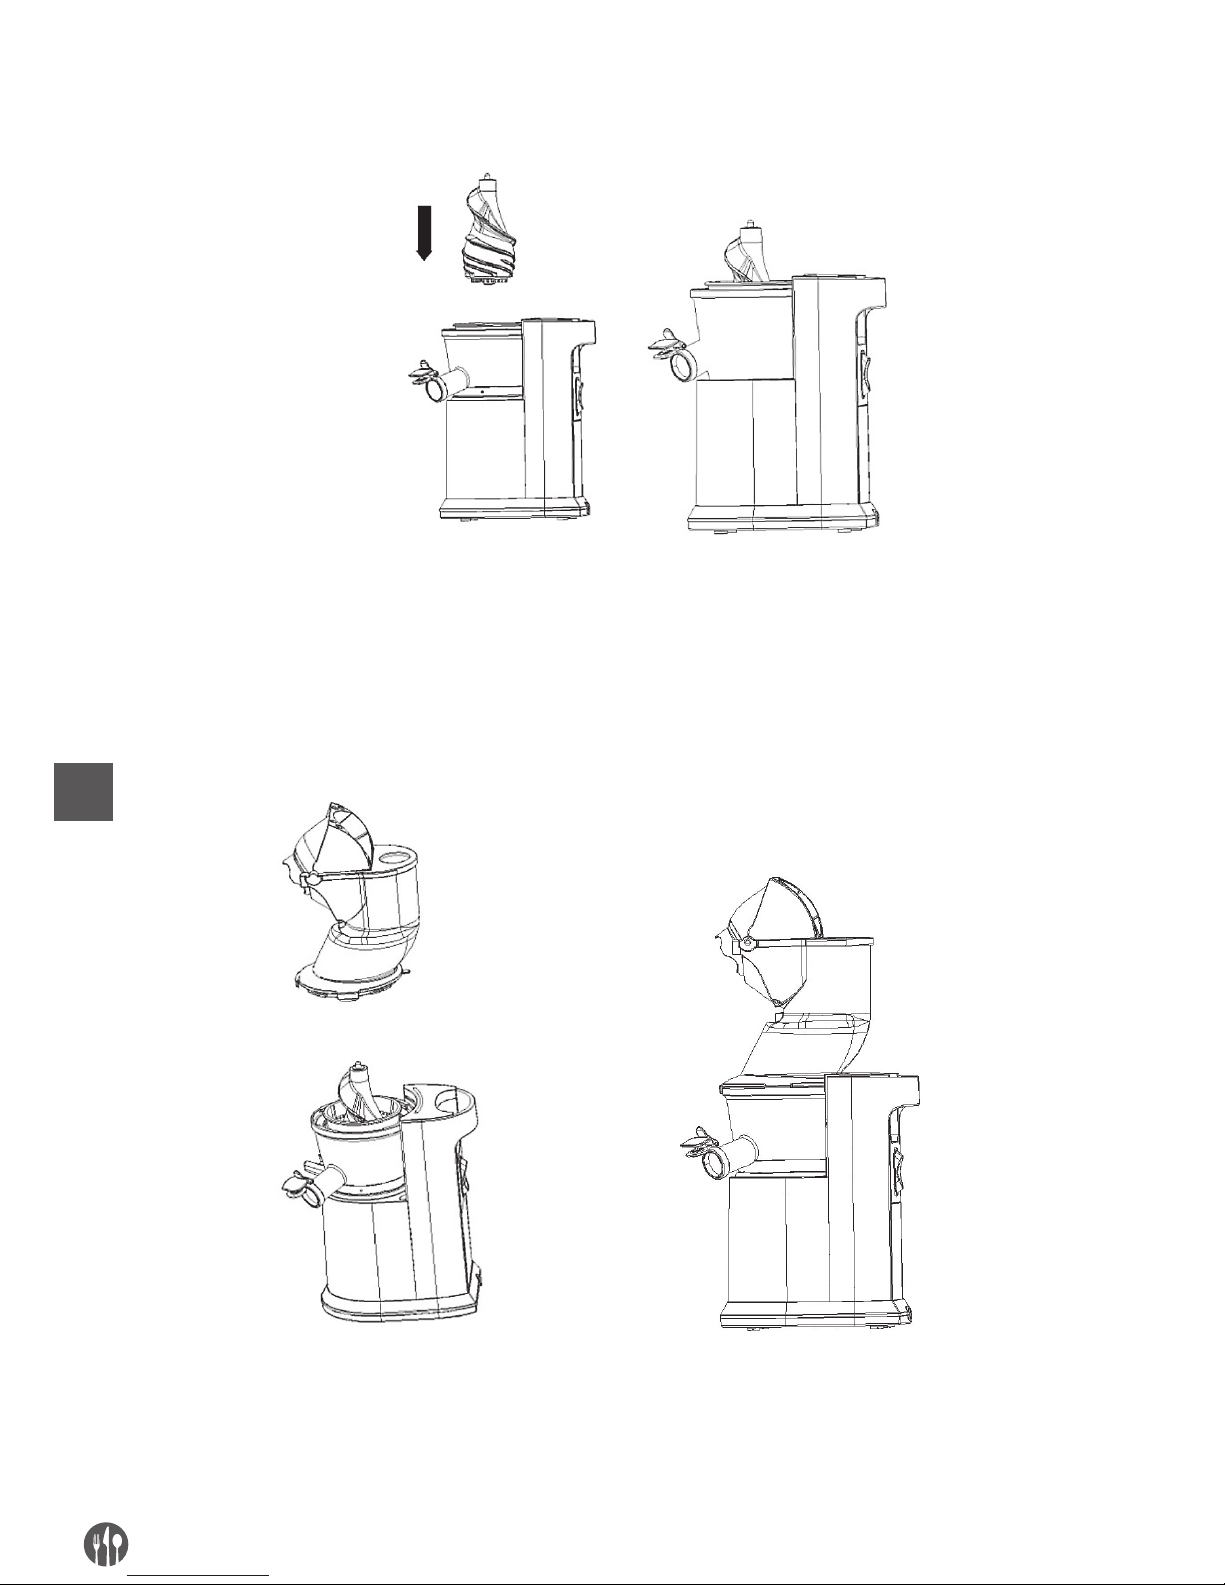
1. THE SLOW JUICING DIFFERENCE
Slow Juicing allows you to consume more fruits
and vegetables in one glass than you could eat at
one time. There is no oxidation or separation in
slow juicing, so it preserves more of the organic
nutrients from the food and keeps it closer to its
natural state. Fresh juice from a slow juicer is ab-
sorbed directly into the body, allowing the intake
of important vitamins and nutrients from your
food - your body receives everything it needs
for optimum health. In addition, you can create
a wide variety of juice recipes to enjoy from fruits
and vegetables you may not normally enjoy eat-
ing whole.
The Slow Juicer uses a 2-step process in which
the juice is extracted from the fruit or vegetable
twice before it enters your glass. The auger, the
main component of the unit, precisely squeezes
the food without shredding or grinding it, helping
you to get more juice in your glass.
The Slow Juicer produces fresh and healthy juice
that’s packed with more vitamins and nutrients
needed for everyday living. In addition, the Slow
Juicer uses less energy, saving you money and
helping to lower your carbon footprint. One glass
and you’ll experience first-hand the difference
between store-bought juice and fresh, healthy
goodness.
2. SAFETY REGULATIONS
• This appliance is only suitable for private household use and it is not designed for
commercial purpose.
• The appliance must only be used for the purpose for which it was intended and
designed. The manufacturer is not liable for any damage caused by incorrect
operation and improper use.
• Keep the appliance and electrical plug away from water and any other liquids. In
the event that the appliance should fall into water, immediately remove plug from
the socket and do not use until the appliance has been checked by a certified
technician. Failure to follow these instructions could cause a risk to lives.
• Never attempt to open the casing of the appliance yourself.
• Do not insert any objects in the casing of the appliance.
• Do not touch the plug with wet or damp hands.
• Danger of electric shock! Do not attempt to repair the appliance yourself. In case
of malfunctions, repairs are to be conducted by qualified personnel only.
• Never use a damaged appliance! Disconnect the appliance from the electrical
outlet and contact the retailer if it is damaged.