manuals.online logo
Brands
  1. Home
  2. •
  3. Brands
  4. •
  5. Henny Penny
  6. •
  7. Fryer
  8. •
  9. Henny Penny OE 301 User manual

Henny Penny OE 301 User manual

enny
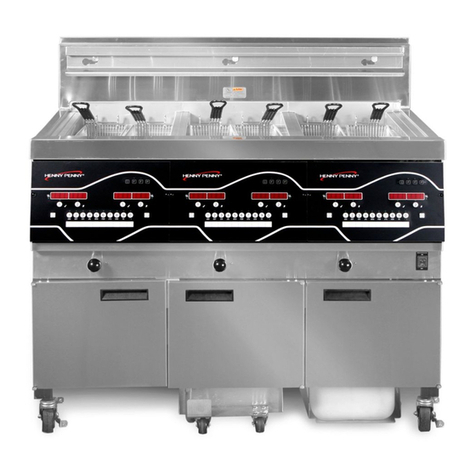
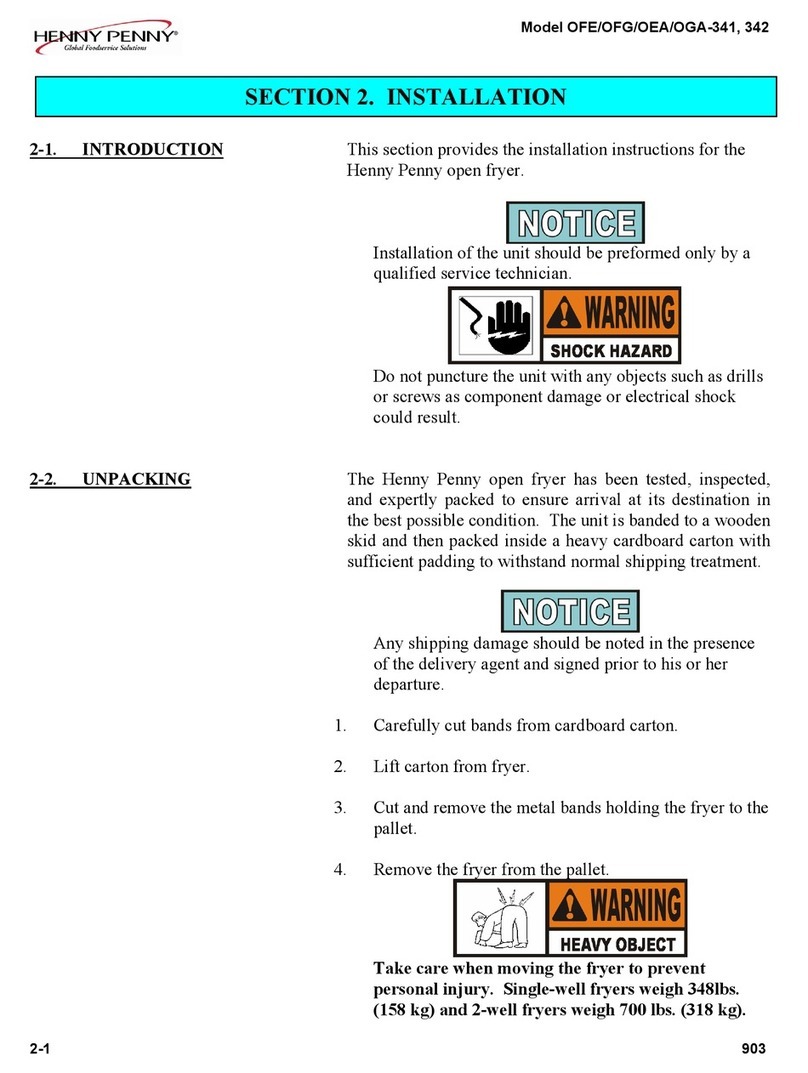
This section provides the installation instructions for the
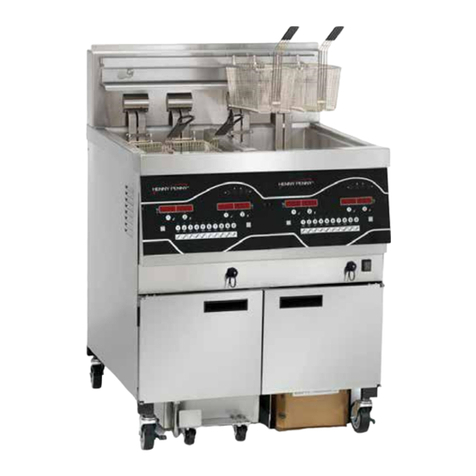
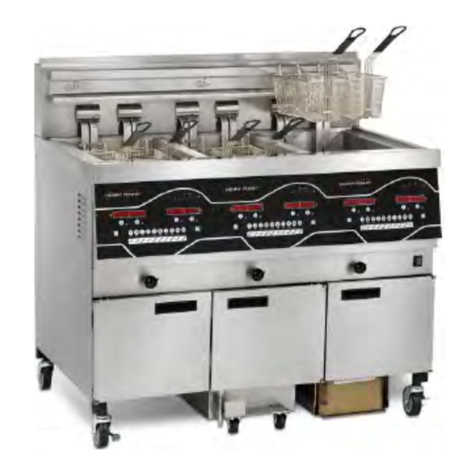
Henny Penny Fry Station.
Installation of the unit should be performed only by a
qualified service technician.
Do not puncture the unit with any objects such as drills or
screws ascomponent damage or electrical shockcould result.
The Henny Penny Fry Station has been tested, inspected,
and expertly packed to ensure arrival at its destination in
the best possible condition. The unit is bolted to a wooden
skid and then packed inside a heavy cardboard carton with
sufficient padding to withstand normal shipping treatment.
Any shipping damage should be noted in the presence of
the delivery agent and signed prior to his or her departure.
1. Carefully cut bands from cardboard carton.
2. Lift carton from fryer.
This manual should beretained in a convenient location for
future reference.
Wiring diagram for this appliance is located on the inside
access door below the control panel. Post in a prominent
location, instructions to befollowed in event user smellsgas.
This information shall be obtained by consulting the local
gas supplier.
The proper location of the Fry Station is very important
for operation, speed,and convenience. The location of the
fiy station should allow clearances for servicing and proper
operation. Choose a location which will provide easy loading
and unloading without interfering with the final assembly of
food orders. Operators have found that frying from raw to
finish, and holding the product in warmers provides fast con
tinuous service. Keep in mind the best efficiency will be
obtained by a straight line operation, i.e. raw in one side and
finished out the other side. Order assembly can be moved
away with only a slight loss of efficiency.
The fryer should be installed in such a way asto prevent
tipping or movement causing splashing of hot liquid shortening.
This may be accomplished by the location the fiy station is in, or
by restraining ties.
The gasModel OG-300 Series Fry Station is designed
for installation on combustible floors and adjacent to
combustible walls. Fry Station must be installed with a
minimum clearance from all combustible, and
noncombustible materials, 4 inches from side and 4
inches from the back.
For proper operation, the fry station should be level from
side to side and front to back. Using a level place on the
flat areasaround the frypot collar, on the middle well, adjust
the castersuntil the unit is level.
adequate exhaust hood or vent
is essential to permit efficient removal of the steam exhaust and
frying odors. Special precaution must be taken in designing an
exhaust canopy to avoid interference with the operation of the
1fry station. We recommend you consult a local ventilation or
heating company to help in designing an adequate system.
Ventilation must conform to local, state,andnational codes.
Consult your local fire department or building authorities.
When installing the gasfry stationdonot attachanexten-
sionto the gasflue exhauststack.This may impair proper
operationof the burner,causingmalfunctionsandpossible
negativebackdraft.
The gasfry station is factory availablefor eithernatural
or propanegas.Checkthe dataplateinsidethe front door
of thecabinetto determinethepropergassupply
requirements. TE
TheOG-301 canbeoperatedat altitudesof upto 4000feet
abovesealevel with no changesto theunit. For operation
above4000feet,pleasecontactHennyPennyCorporation
for changesto theunit.
Do not attemptto useanygasotherthanthat specifiedon
thedataplate. Incorrect gassupplycould result in afire
or explosion.
Pleaserefer to the illustration onthefollowing pagefor the
recommendedhookup of the fry stationto themain gasline
supply.
To avoid possibleseriouspersonalinjury:
* Installation mustconform with AmericanNational Standard
2223.l-Latest Edition National FuelGasCodeandthe local
municipal building codes. In Canada,installationmustbein
accordancewith StandardCAN/CGA B 149.1& .2,
Installation Codes- GasBurning Appliancesandlocal
codes.
0Thefry stationandits individual shutoff valve mustbe
disconnectedfrom the gassupplypiping systemduring any
pressuretesting of that systemattestpressuresin excessof
l/2 PSIG(3.45 KPA).
* The fry stationmustbeisolatedfrom thegassupplypiping
systemby closing its individual manualshutoff valve
during anypressuretestingof thegassupplypiping system
attestpressuresequalto or lessthan l/2 PSIG(3.45KPA).
T
INIMU~I PULL of equip-
ment away from wall
permissible for accessi-
bility to Quick Disconnect
Device.
AVOID SHARP BENDS AND KINKS when
pulling equipment away from wall. (Max-
imum pull will kink ends, even if installed
properly, and reduce Connector life.)
~
QUICK DISCON.
NECT DEVICE
while extended at
MAXIMUM PULL NOT
ADVISED WHILE
CONNECTED
Couplings and hose
should be installed in the
same plane as shown at
left. DO NOT OFFSET
COUPLINGS-this causes
torsional twisting and
undue strain causing
premature failure.
This is the correct way to
install metal hose for ver-
tical traverse. Note the
single, natural loop.
Allowing a sharp bend, as
shown at right, strains and
twists the metal hose to a
point of early failure at the
coupling.
Maintain the minimum or
larger bending diameter
between the couplings
for
longest life.
Closing in the diameter at
the couplings, as shown
at right, creates double
bends causing work
fatigue failure of the
fittings.
In all installations where
“self-draining” is not
necessary, connect metal
hose in a vertical loop.
~0 NOT CONNECT
METAL HOSE HORI-
ZONTALLY . . . unless
“self-draining” is neces-
sary, then us% support on
lower plane as shown at
left.
odel
Please refer to the illustration below
when installing cable restraint on all
moveable gas fryers.
l-bolt is to be secured to the building
using acceptable building construc-
tion practices.
c CT1
Secure l-bolt to a building stud. DO
NOT attach to dry wall only. Also,
locate the l-bolt at the same height as
the gas service. Preferred installation
is approximately six inches to either
side of service. Cable restraint must
be at least six inches shorter than
flexible gas line.
Utilize elbows when necessary to
avoid sharp kinks or excessive ben-
ding. For ease of movement, install
with a “lazy” loop. Gas appliance
must be disconnected prior to max-
imum movement. (Minimum move-
ment is permissible for hose
disconnection).
A standard one inch, black steel pipe and malleable fittings
should be used for gas service connections.
Do not use cast iron fittings.
Although one inch size pipe is‘reconunended, piping
should be of adequate size and installed to provide a supply
of gassufficient to meet the maximum demand without
undue loss of pressure between the meter and the fry station.
The pressure loss in the piping system should not exceed 0.3
inch water column.
“revisions should be made for moving the fry station for
leaning and servicing. This may be accomplished by:
Installing a manual gas shut off valve and a disconnect
union, or
Installing a heavy duty design A.G.A. certified
connector. In order to be able to service this appliance,
which is provided with casters,a connector complying
with ANSI 221.69 or CAN/CGA 6.16 and a
quick-disconnect device complying with ANSI 22 1.41
or CAN l-6.9 must be installed. It must also be
installed with restraining means to guard against
transmission of strain to the connector asspecified in
the appliance manufacturer’s instruction.
Refer to the cable restraint instructions (illustration 2-6)
on how and where to attach the restraining devices to
the wall and fryer.
Prior to turning the gas supply on, be sure the gasdial
cock on fry station gasvalve is in the OFF position.
After the piping and fittings have been installed, check
for gasleaks. A simple checking method is to turn on
the gasand brush all connections with a soap solution.
If bubbles occur, it indicates escaping gas. In this
event, the piping connection must be redone.
Never use a lighted.match or open flame to test for gas
leaks. Escaping gas could causean explosion resulting
in severepersonal injury.

Other manuals for OE 301

2

This manual suits for next models

5

Other Henny Penny Fryer manuals

Henny Penny 600 User manual

Henny Penny

Henny Penny 600 User manual

Henny Penny LVE-202 User manual

Henny Penny

Henny Penny LVE-202 User manual

Henny Penny OE-100 User manual

Henny Penny

Henny Penny OE-100 User manual

Henny Penny LOV LVG-102 User manual

Henny Penny

Henny Penny LOV LVG-102 User manual

Henny Penny F5 User manual

Henny Penny

Henny Penny F5 User manual

Henny Penny OFE-341 User manual

Henny Penny

Henny Penny OFE-341 User manual

Henny Penny OEA-321 User manual

Henny Penny

Henny Penny OEA-321 User manual

Henny Penny OFE-290 User manual

Henny Penny

Henny Penny OFE-290 User manual

Henny Penny Evolution Elite User manual

Henny Penny

Henny Penny Evolution Elite User manual

Henny Penny FM07-020-F User manual

Henny Penny

Henny Penny FM07-020-F User manual

Henny Penny LVG-202 User manual

Henny Penny

Henny Penny LVG-202 User manual

Henny Penny 691 Operating instructions

Henny Penny

Henny Penny 691 Operating instructions

Henny Penny OEA/OGA-341 User manual

Henny Penny

Henny Penny OEA/OGA-341 User manual

Henny Penny 500 User manual

Henny Penny

Henny Penny 500 User manual

Henny Penny Frontier UHC 600 Reference guide

Henny Penny

Henny Penny Frontier UHC 600 Reference guide

Henny Penny 500 User manual

Henny Penny

Henny Penny 500 User manual

Henny Penny OFE- 290 Instruction Manual

Henny Penny

Henny Penny OFE- 290 Instruction Manual

Henny Penny 301 User manual

Henny Penny

Henny Penny 301 User manual

Henny Penny OEA-323 User manual

Henny Penny

Henny Penny OEA-323 User manual

Henny Penny ODE-323 electri User manual

Henny Penny

Henny Penny ODE-323 electri User manual

Henny Penny OFG-341 User manual

Henny Penny

Henny Penny OFG-341 User manual

Henny Penny 322 User manual

Henny Penny

Henny Penny 322 User manual

Henny Penny OE 301 Operating instructions

Henny Penny

Henny Penny OE 301 Operating instructions

Henny Penny OFE-292 User manual

Henny Penny

Henny Penny OFE-292 User manual

Popular Fryer manuals by other brands

GILES EOF-BIB/FFLT/24/24 manual

GILES

GILES EOF-BIB/FFLT/24/24 manual

GE 168997 manual

GE

GE 168997 manual

Falcon G350/11 Installation and servicing instructions

Falcon

Falcon G350/11 Installation and servicing instructions

GoWISE USA GW22612 instruction manual

GoWISE USA

GoWISE USA GW22612 instruction manual

Wolf IF15/S Specification sheet

Wolf

Wolf IF15/S Specification sheet

Electrolux Thermetic 9CHG583284 Operating and safety instructions

Electrolux

Electrolux Thermetic 9CHG583284 Operating and safety instructions

DeLonghi D677UX Instructions for use

DeLonghi

DeLonghi D677UX Instructions for use

SEVERIN DEEP FRYER - Dimensions

SEVERIN

SEVERIN DEEP FRYER - Dimensions

Toastmaster TMFG18-NAT Installation and operation instructions

Toastmaster

Toastmaster TMFG18-NAT Installation and operation instructions

Domo DO465FR Instruction booklet

Domo

Domo DO465FR Instruction booklet

Russell Hobbs RDF300 Instructions and warranty

Russell Hobbs

Russell Hobbs RDF300 Instructions and warranty

Farberware FBW FT 43721 B manual

Farberware

Farberware FBW FT 43721 B manual

GERMANICA GEAF5L3LD instruction manual

GERMANICA

GERMANICA GEAF5L3LD instruction manual

Wells F-85 Features and specifications

Wells

Wells F-85 Features and specifications

Philips HD9211 user manual

Philips

Philips HD9211 user manual

Lakeland 31796 Instruction booklet

Lakeland

Lakeland 31796 Instruction booklet

Dash Tasti-Crisp DFAF755 user manual

Dash

Dash Tasti-Crisp DFAF755 user manual

Keating Of Chicago 18 BB GAS Specification sheet

Keating Of Chicago

Keating Of Chicago 18 BB GAS Specification sheet

manuals.online logo
manuals.online logoBrands
  • About & Mission
  • Contact us
  • Privacy Policy
  • Terms and Conditions

Copyright 2025 Manuals.Online. All Rights Reserved.