hepco & becker 6536507 00 01 User manual
Other hepco & becker Motorcycle Accessories manuals
hepco & becker
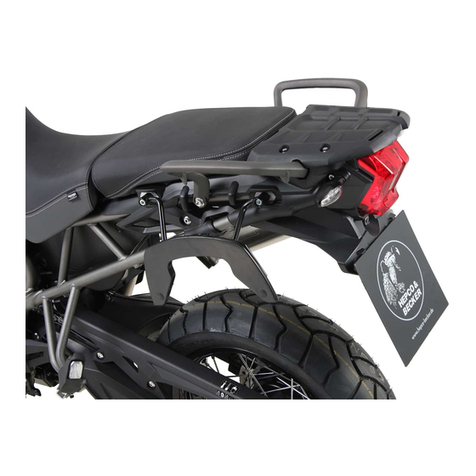
hepco & becker 6307546 00 01 User manual
hepco & becker
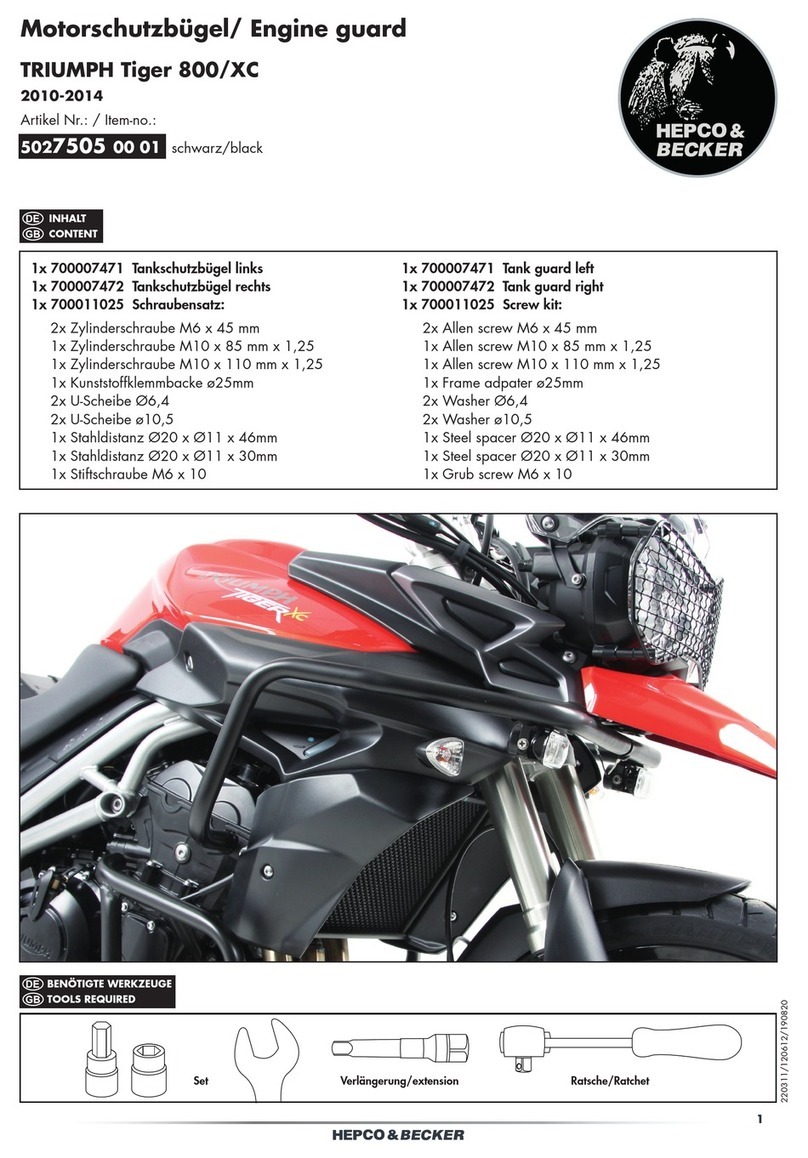
hepco & becker 6307592 00 01 User manual
hepco & becker
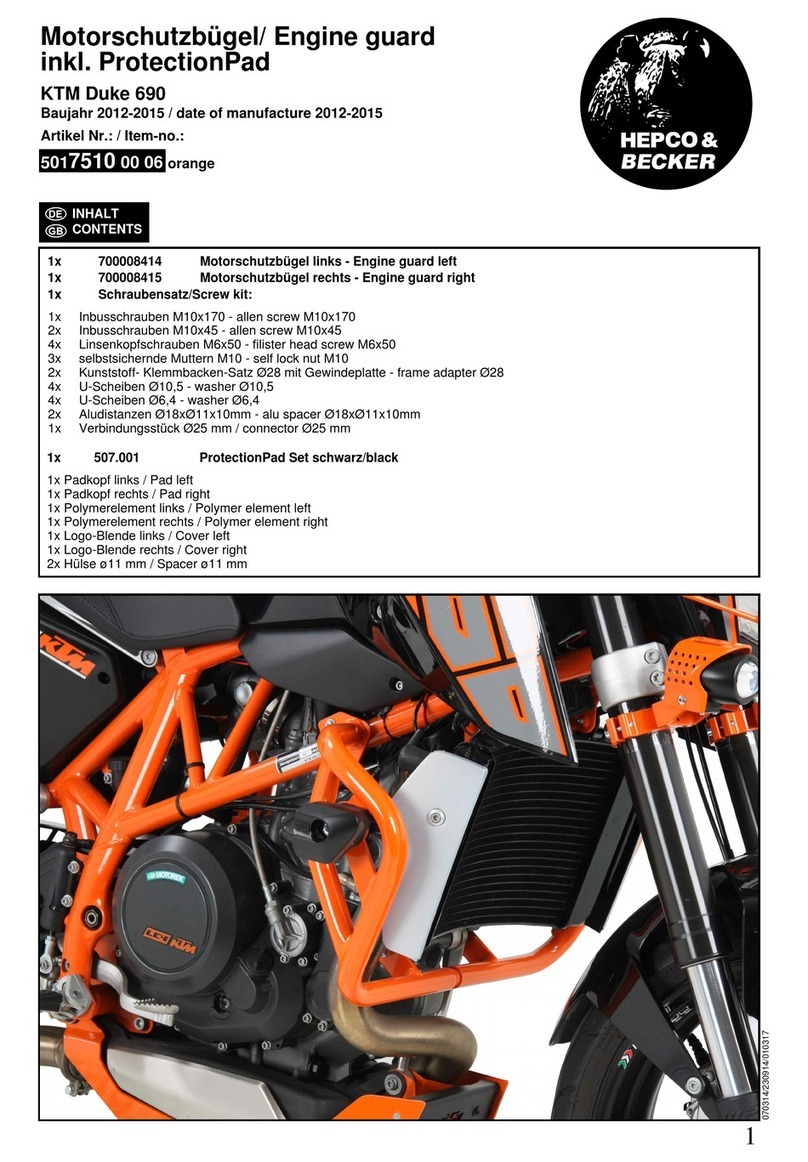
hepco & becker 5027505 00 01 User manual
hepco & becker
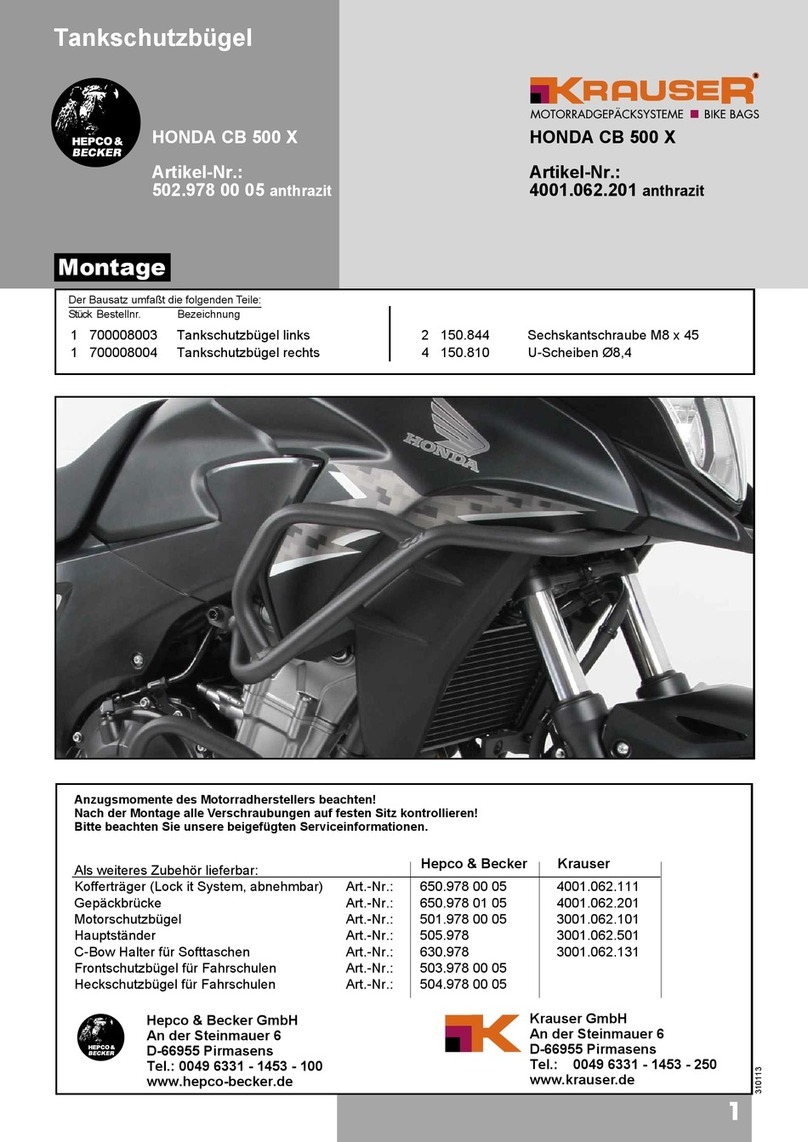
hepco & becker 5017510 00 06 User manual
hepco & becker
hepco & becker KRAUSER 502.978 00 05 Installation guide
hepco & becker
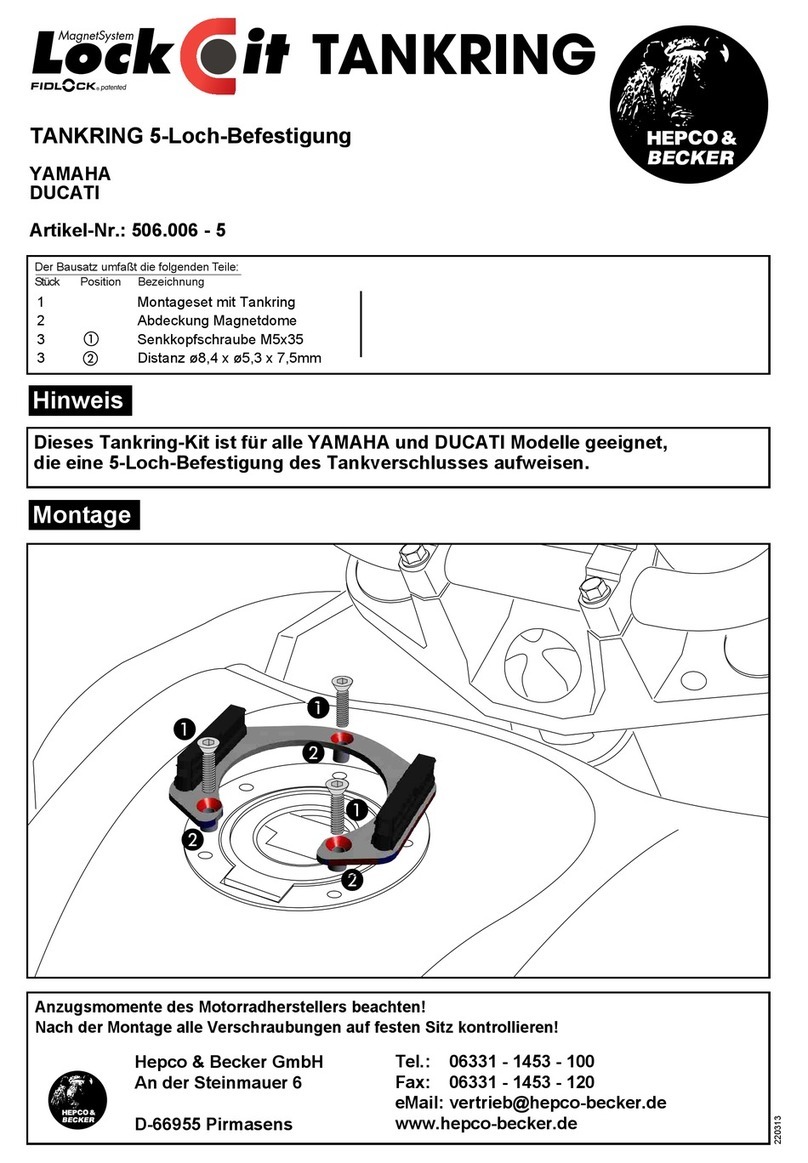
hepco & becker Lock-It TANKRING 506.006-5 User manual

hepco & becker
hepco & becker 6607570 01 01 User manual

hepco & becker
hepco & becker Easyrack User manual

hepco & becker
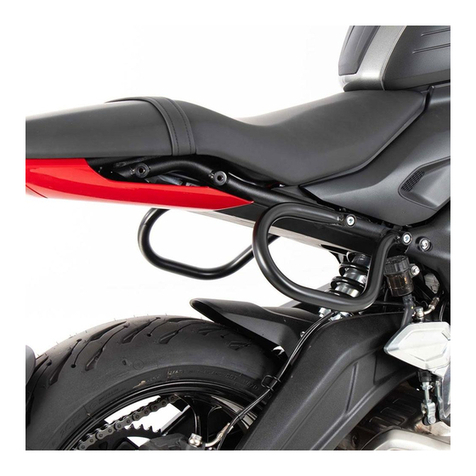
hepco & becker 6504557 00 05 User manual
hepco & becker
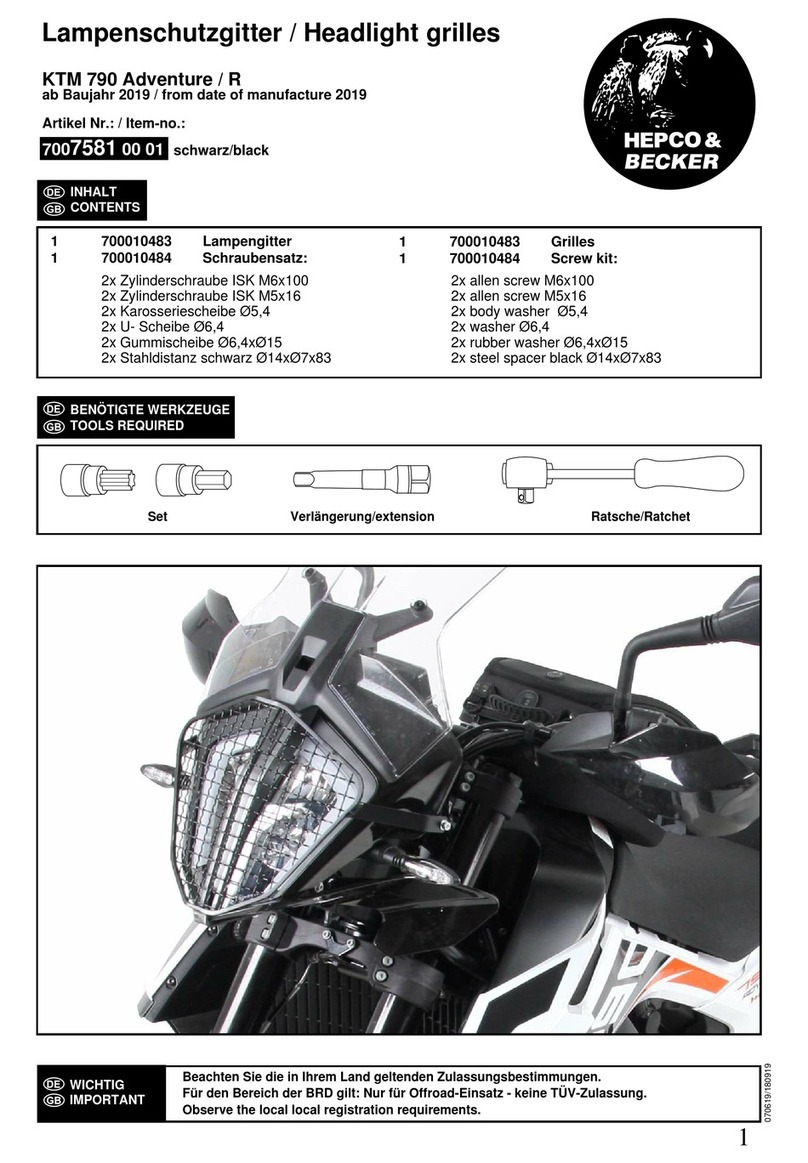
hepco & becker 7007581 00 01 User manual
hepco & becker
hepco & becker 5047612 00 01 User manual
hepco & becker
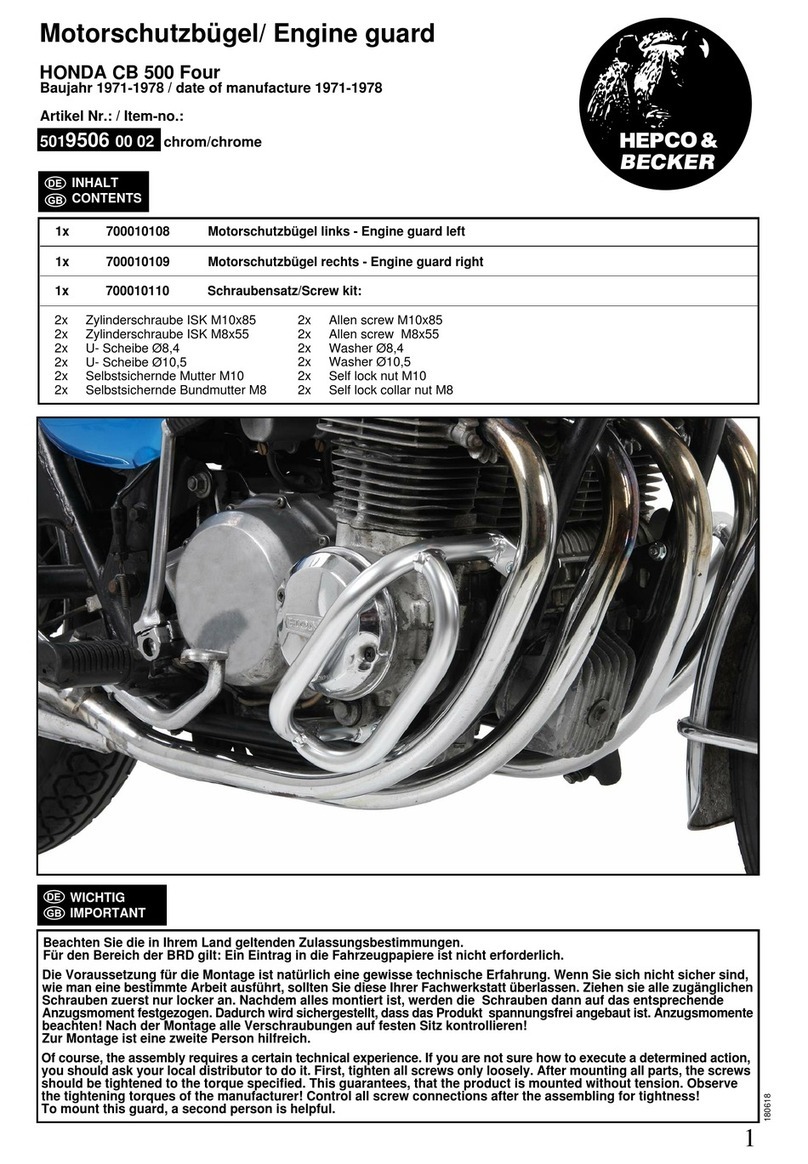
hepco & becker 5019506 00 02 User manual
hepco & becker
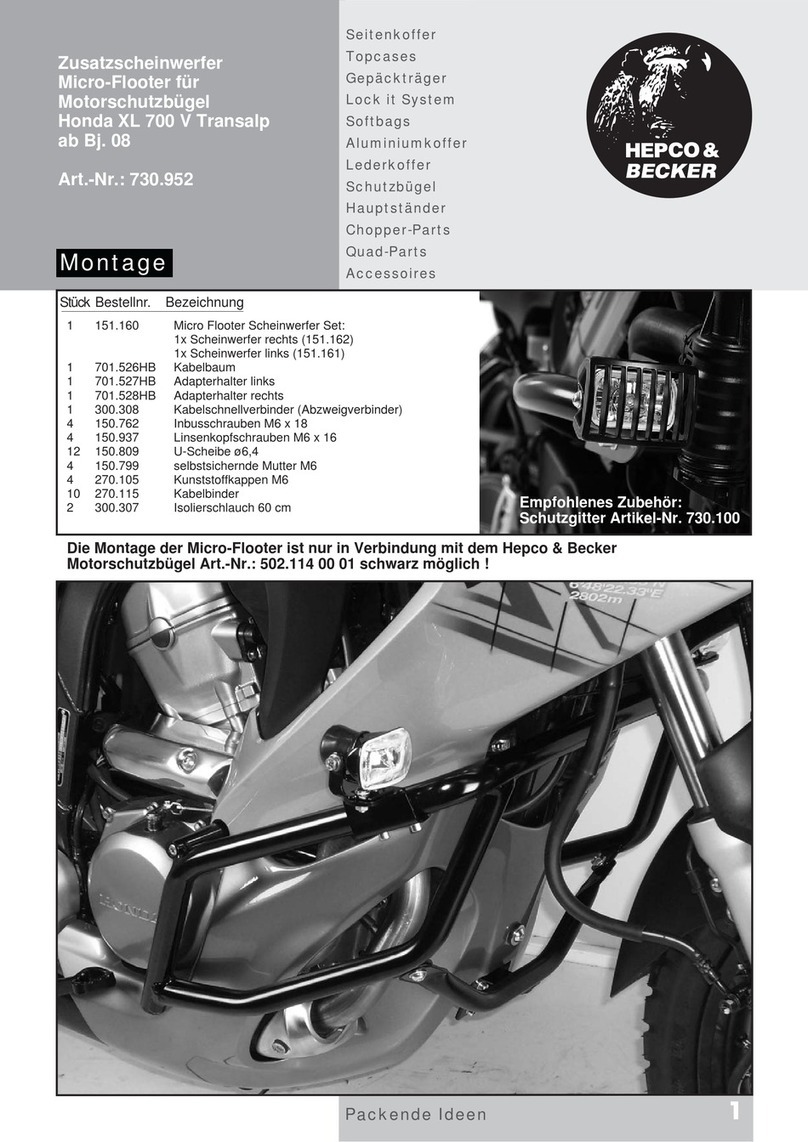
hepco & becker 730.952 User manual
hepco & becker
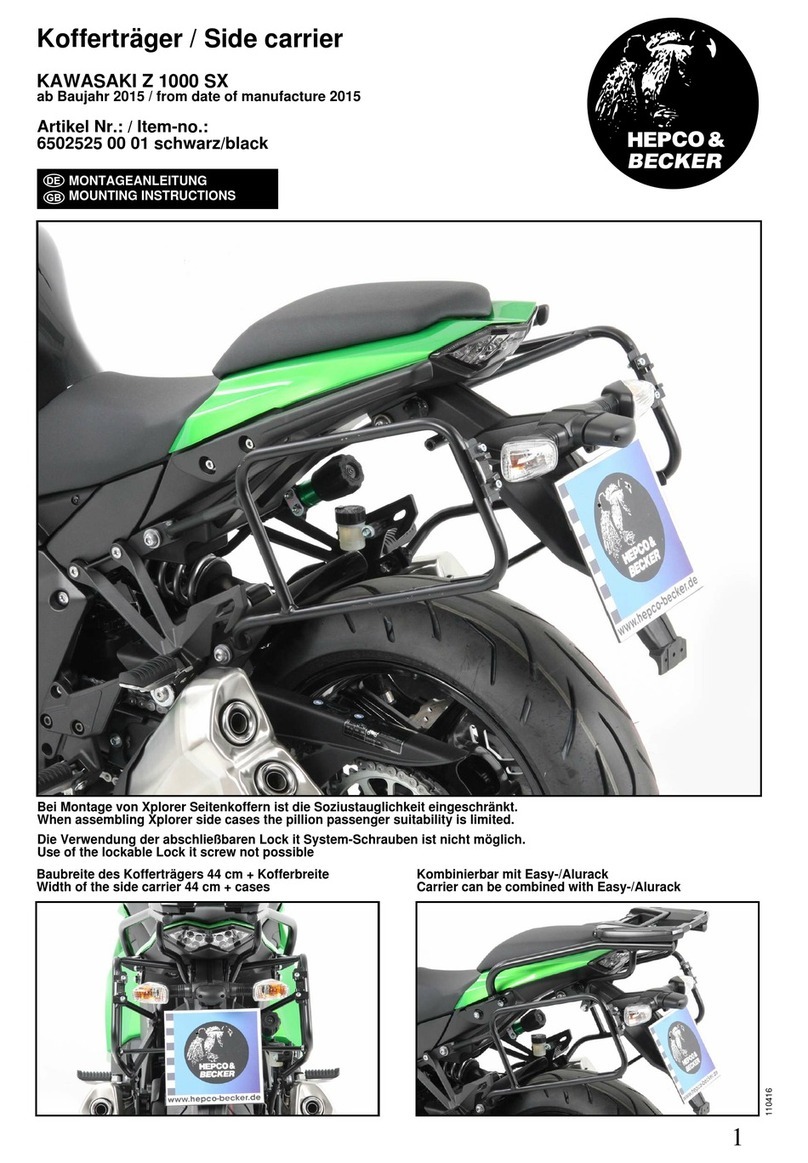
hepco & becker 6502525 00 01 User manual
hepco & becker
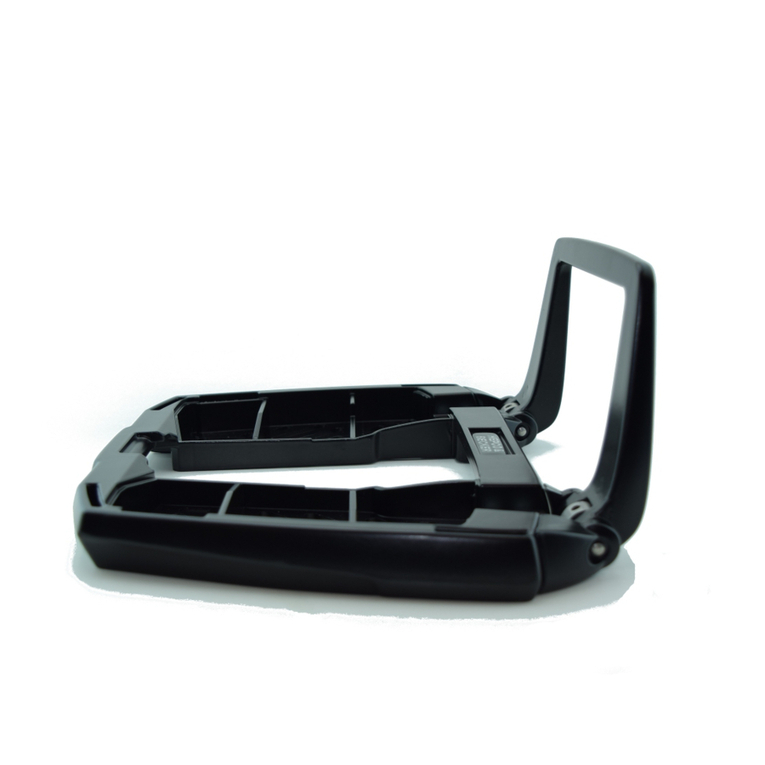
hepco & becker Easyrack User manual

hepco & becker
hepco & becker Sportrack User manual
hepco & becker
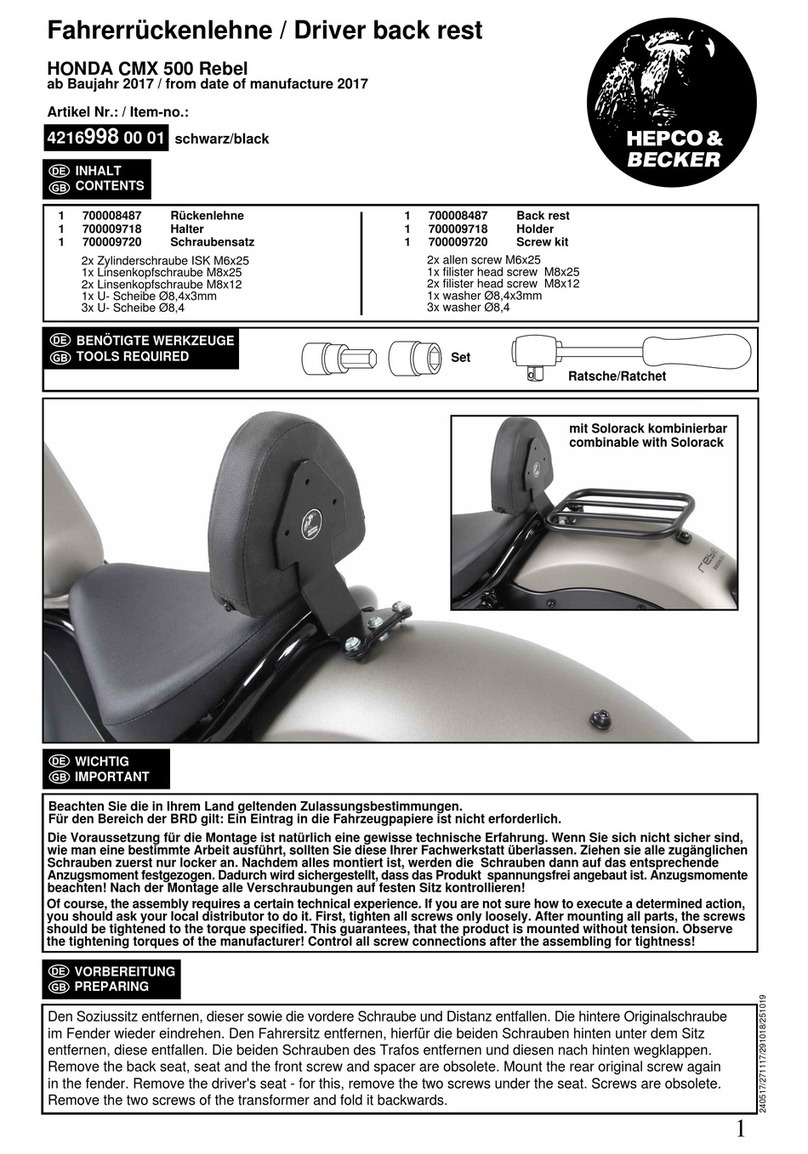
hepco & becker 4216998 00 01 User manual
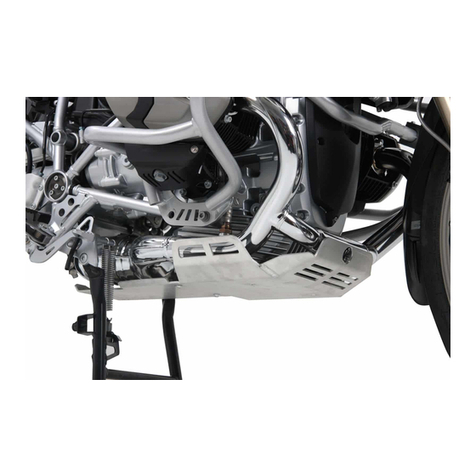
hepco & becker
hepco & becker 810637 00 12 User manual
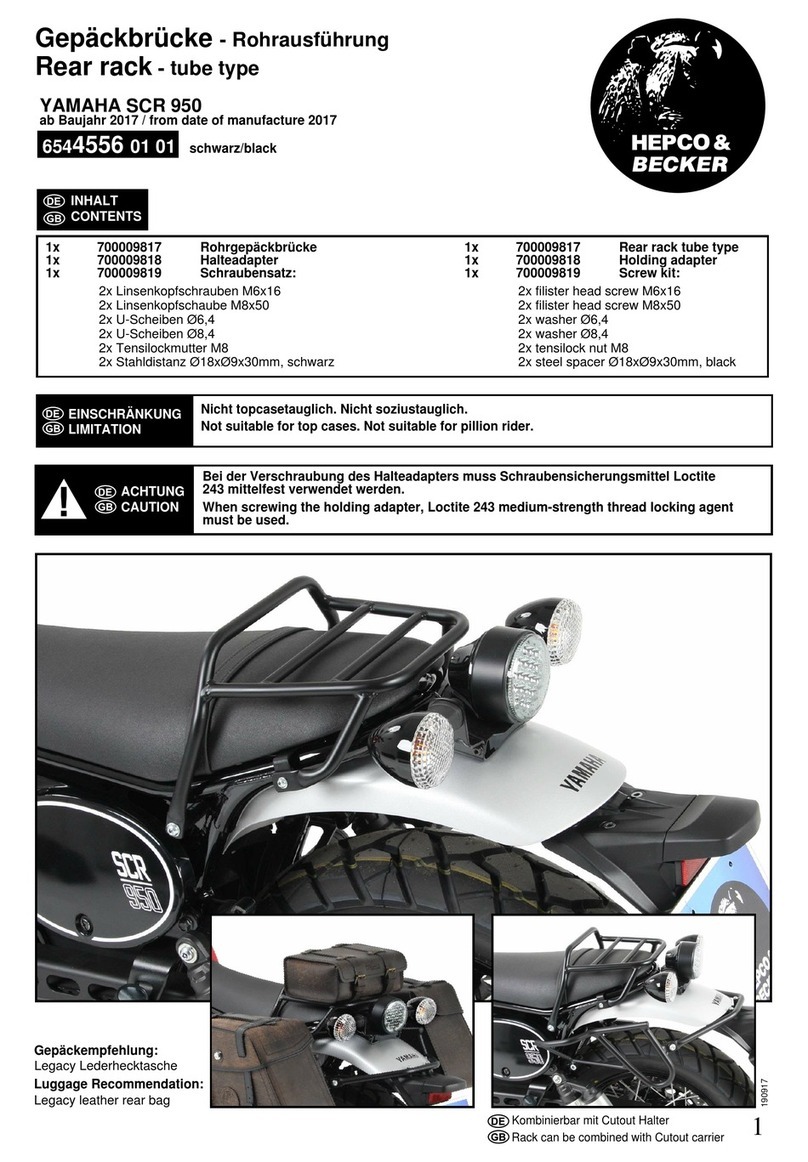
hepco & becker
hepco & becker 6544556 01 01 User manual
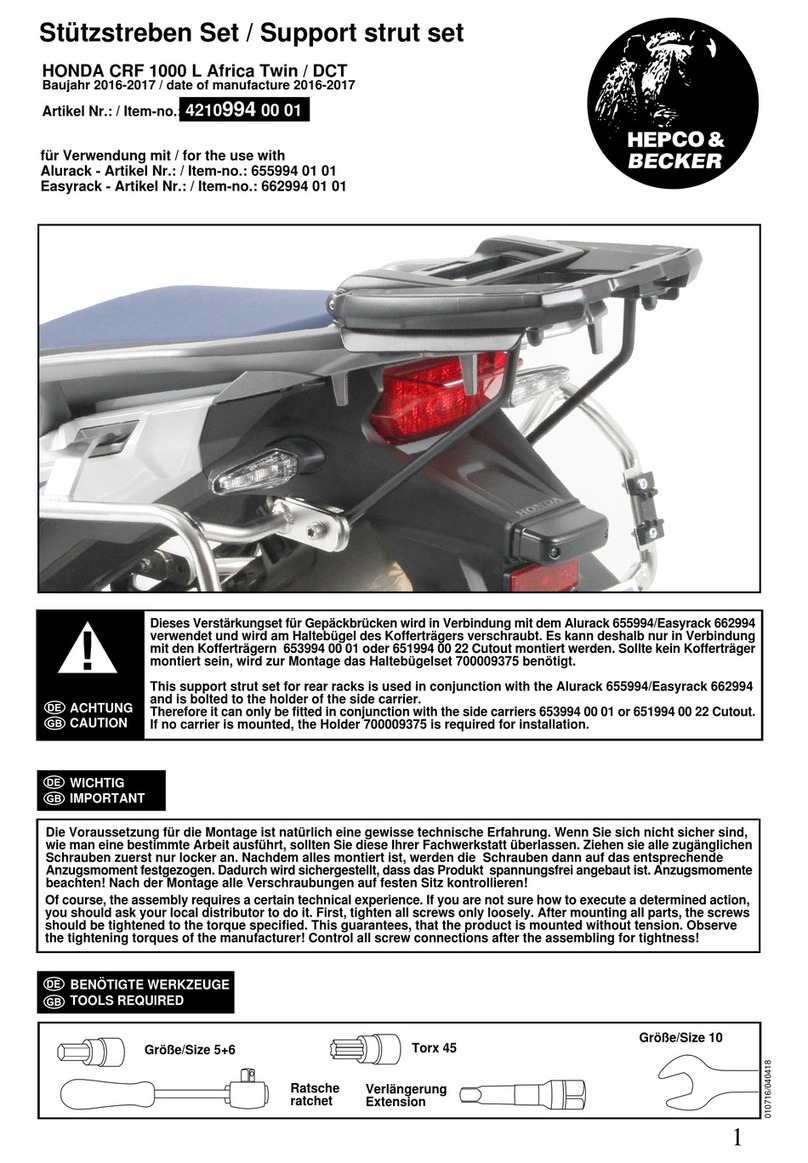
hepco & becker
hepco & becker 4210994 00 01 User manual
Popular Motorcycle Accessories manuals by other brands

Joubert
Joubert 10001711 instruction manual

SW-Motech
SW-Motech SBL.01.971.10000/B Mounting instructions

GÜDE
GÜDE GSH 180-TC-2 Translation of the original instructions
Cyclevision
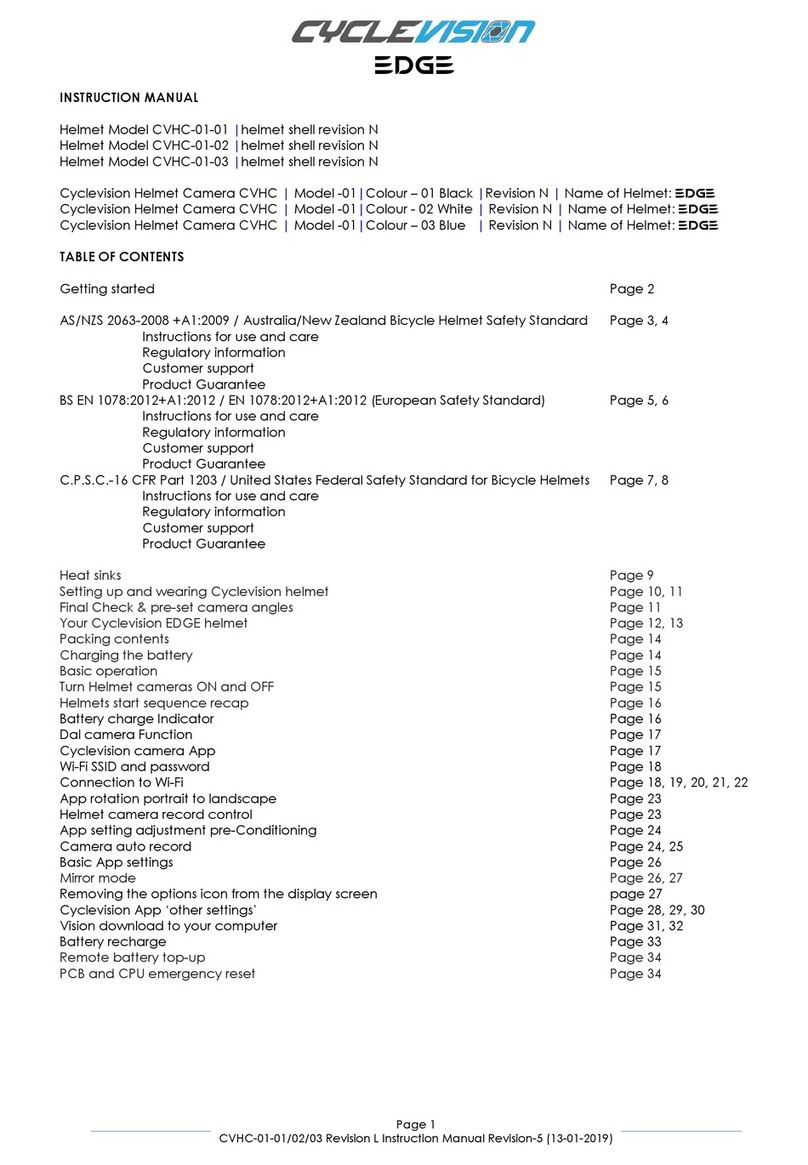
Cyclevision EDGE CVHC-01-01 instruction manual

Sena
Sena MOMENTUM EVO user guide
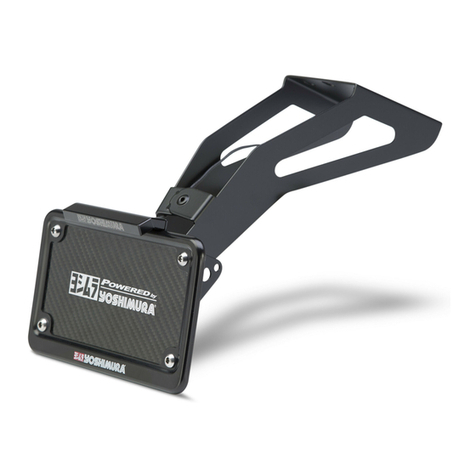
Yoshimura
Yoshimura 070BG131001 quick start guide
