manuals.online logo
Brands
  1. Home
  2. •
  3. Brands
  4. •
  5. HG2
  6. •
  7. Automobile Accessories
  8. •
  9. HG2 Runner User manual

HG2 Runner User manual

FOR TECHNICAL ASSISTANCE, VISIT www.hg2lighting.com/help
1
PARTS LIST
1 – XX” HG2 Runner – Rear of Vehicle
1 – RPM12 Runner Platform Module
1 – Pattern Selector Button
1 – 7A Fuse
1 – 1/4” Grommet
1 – Installation Guide and Warranty Info Packet
REQUIRED TOOLS
• Drill
• 9/32” and 5/16” Drill Bits
• Phillips-head Screwdriver/bit
• Wire Strippers
• Wire Crimping Tool
• Electrical tape
• Wire/Cable Ties
• 5/16” or 10mm Wrench (for battery connections)
Additional tools may be required to complete
installation.
INSTALLATION
Preparation
1. Read the installation guide for this product in its
entirety.
2. Unpack product components and review parts list.
3. Bench test control module and runner using 12v
power supply to ensure components are in working
order.
4. Remove rear hatch sill panel.
5. Place vehicle on vehicle lift or jack stands.
Mounting
1. Open rear hatch/doors.
2. Test fit rear HG2 Runner assembly in opening.
Assembly should lay on top of bumper with end
caps butting against front sill of bumper.
3. Take note of location to drill for wire routing.
Perform visual inspection under vehicle, behind
bumper, to ensure drilling and wire routing will not
interfere with existing systems or heat sources.
Rear Mount:
2007 – 2012 Chevrolet Tahoe
2007 – 2012 GMC Yukon
HG2 Runner assembly centered in opening.
End caps butt to front sill of bumper.
Location to drill for wire routing. Inspect to ensure drilling
or wiring will not interfere with vehicle systems.
FOR TECHNICAL ASSISTANCE, VISIT www.hg2lighting.com/help
2
9. Center HG2 Runner assembly on bumper front sill
without adhering mounting tape.
10. Push Rear Runner assembly towards front of
vehicle, then push down to seat mounting tape.
11. Apply firm pressure along entire length of
assembly to completely seat mounting tape.
Wiring
12. Route wiring to Runner Platform Module [RPM12]
taking caution to avoid moving parts, heat sources
and interference with normal operation of existing
vehicle systems.

5. Mark location on right side of bumper front sill
using centerpunch and drill using 5/16” drill bit.
Insert 1/4” grommet (supplied).
6. Clean bumper mounting location first with soap
and water solution (or equivalent) then again using
supplied alcohol wipe.
7. Feed Rear Runner wiring through grommet
8. Remove protective covering from mounting tape.
Detail photo illustrates hole location for wiring.
Drill hole using 5/16” bit. Insert supplied 1/4” grommet.
Wiring through grommet and removal of mounting tape.
Push center of HG2 Runner assembly forward, closing
any gap that may exist along the front sill of the bumper
(noted by circle).
Push down to seat mounting tape, while holding
assembly against the front sill of the bumper. Apply
pressure against length of assembly to seat mounting
tape.

Other HG2 Automobile Accessories manuals

HG2 SIDE RUNNER User manual

HG2

HG2 SIDE RUNNER User manual

HG2 REAR RUNNER User manual

HG2

HG2 REAR RUNNER User manual

HG2 REAR RUNNER 2013 Ford F-Series User manual

HG2

HG2 REAR RUNNER 2013 Ford F-Series User manual

HG2 REAR RUNNER User manual

HG2

HG2 REAR RUNNER User manual

HG2 SIDE RUNNER 2014-2019 Ford F150 User manual

HG2

HG2 SIDE RUNNER 2014-2019 Ford F150 User manual

Popular Automobile Accessories manuals by other brands

BenQ HKW-720 manual

BenQ

BenQ HKW-720 manual

Samsung WEP750 quick start guide

Samsung

Samsung WEP750 quick start guide

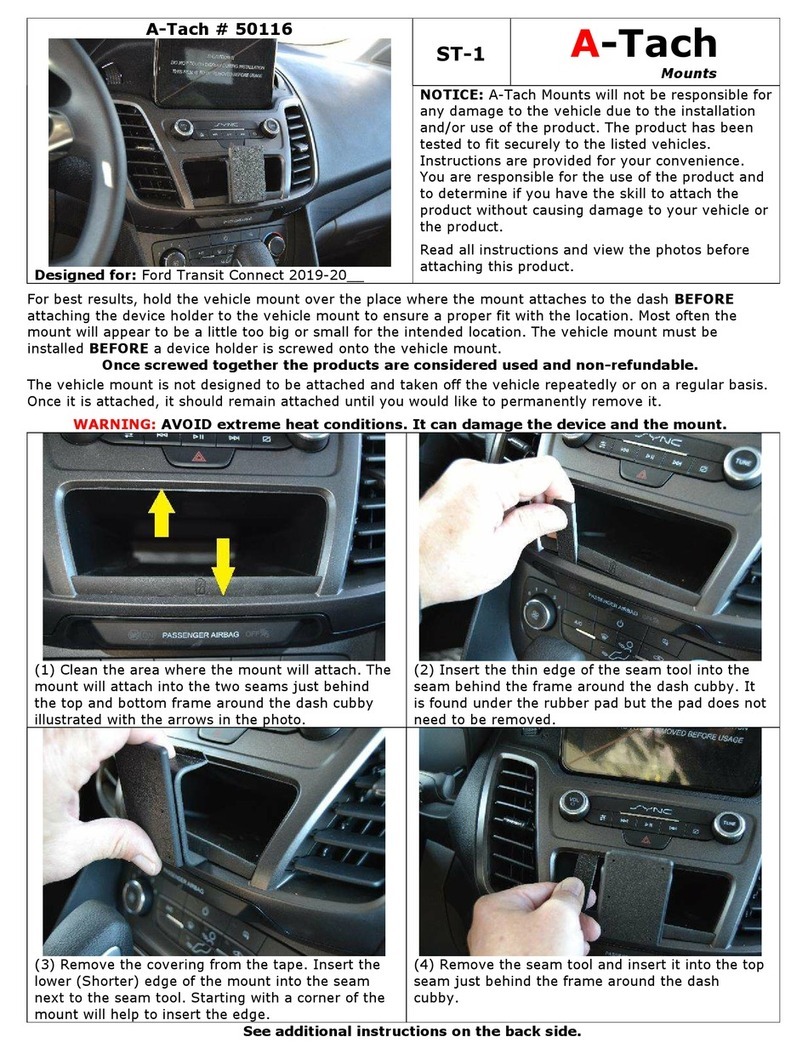
A-Tach Mounts ST-1 instructions

A-Tach Mounts

A-Tach Mounts ST-1 instructions

Lippert ARIES S224050 installation manual

Lippert

Lippert ARIES S224050 installation manual

muth Signal installation instructions

muth

muth Signal installation instructions

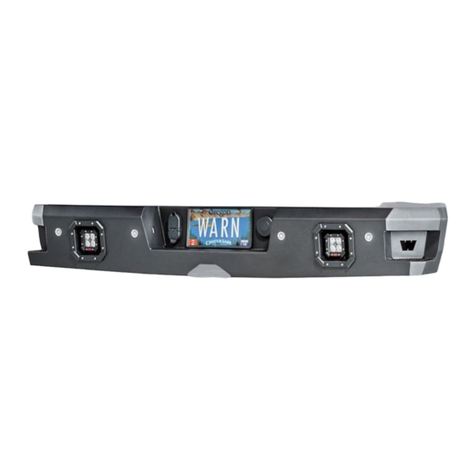
Warn 96550 installation instructions

Warn

Warn 96550 installation instructions

Victory 4x4 OFF-GRID FRIDGE SLIDE installation instructions

Victory 4x4

Victory 4x4 OFF-GRID FRIDGE SLIDE installation instructions

Club Car ICCUTPMK Installation & owner's manual

Club Car

Club Car ICCUTPMK Installation & owner's manual

DV8 OFFROAD LPBM-02 installation manual

DV8 OFFROAD

DV8 OFFROAD LPBM-02 installation manual

Intellitronix BG6003 installation guide

Intellitronix

Intellitronix BG6003 installation guide

RBP RBP-1324B-RX3 instructions

RBP

RBP RBP-1324B-RX3 instructions

POOL-LINE 110128 Assembly instructions

POOL-LINE

POOL-LINE 110128 Assembly instructions

Hyundai K2F57 AC000 manual

Hyundai

Hyundai K2F57 AC000 manual

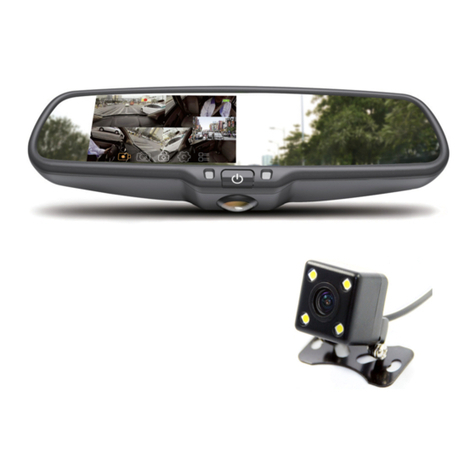
Accele optix 360 RVMDVR360 quick start guide

Accele

Accele optix 360 RVMDVR360 quick start guide

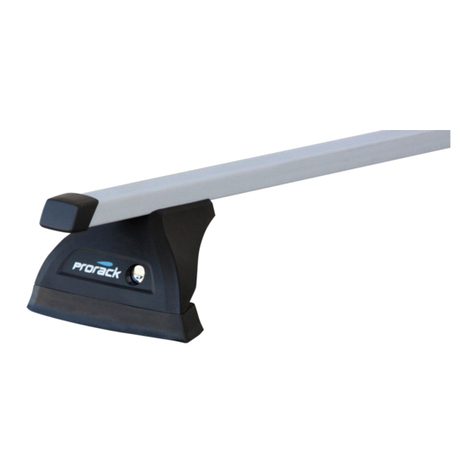
Prorack K328 Fitting instructions

Prorack

Prorack K328 Fitting instructions

STO N SHO SNS 374 Installation procedures

STO N SHO

STO N SHO SNS 374 Installation procedures

ring RBGW430 instructions

ring

ring RBGW430 instructions

American muscle 99-04 installation instructions

American muscle

American muscle 99-04 installation instructions

manuals.online logo
manuals.online logoBrands
  • About & Mission
  • Contact us
  • Privacy Policy
  • Terms and Conditions

Copyright 2025 Manuals.Online. All Rights Reserved.