manuals.online logo
Brands
  1. Home
  2. •
  3. Brands
  4. •
  5. Hollywood Racks
  6. •
  7. Automobile Accessories
  8. •
  9. Hollywood Racks Sport Rider HR1475 User manual

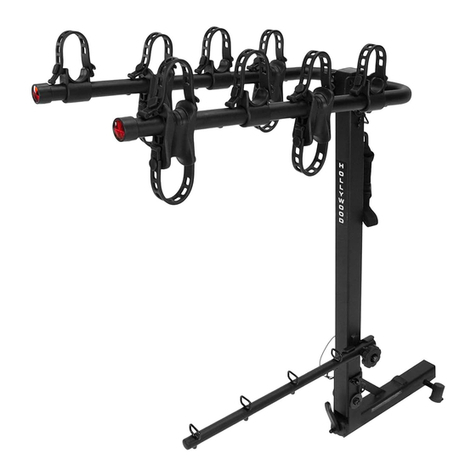
Hollywood Racks Sport Rider HR1475 User manual

Hollywood Racks Sport Ride
r 4 Bike Hitch Rack Instruction Manual
Model HR1475 –2 bike add on kit for Model HR1450

Not to be used on any trailer, fifth wheel
or vehicle being towed by another vehicle
Weight Limit 45 lbs/20 kg per bike
4bike maximum capacity
A
1
Install Wheel Holders:
Rotate and remove L pins from holes
A. Rotate wheel tubes to a horizontal
position, then replace L pins into holes
Bas indicated.
Slide wheel Holders Eand Fonto
wheel tubes as indicated.
2
Fig. 2a
Fig. 2b Fig. 2c
After installing wheel holders, install
the “stop” screws into the bottom of
the wheel tubes as indicated in Figure
2c. Use Phillips screwdriver.
Installing extension assembly for 4
bike capacity
Note: Remove front square reflector cap.
You will need a Phillips head screwdriver
(screw located on bottom
of tube. (Please put it someplace where
you won’t lose it!)
Slide extension assembly all the way into
base assembly per Fig. 1a.
Insert the pin through the holes. Be sure
that the pin passes through the welded
loop on the end the bolt attached to the
lever N.
Then install Rclip through the pin.
Tighten the lever until good and snug. Do
not over torque!
Fig. 1a
Fig. 1b
Fig. 1c
Installing bikes on the rack
The bikes should be mounted from inside (1st bike) to
the outer most bike (3rd or 4th bike). See Fig. 6a.
The bikes should always be positioned so that the lowest point on the
bike frame’s top tube is close to the vertical post (Fig. 6b).
The bike handlebars should be staggered (first bike’s handlebars on
passenger side, second bike’s handlebars on driver side, etc.
1. Lower both vertical posts as described earlier.
2. To adjust the bike’s wheels trays, loosen the knobs and slide wheel
holders along the wheel support tube so that they are positioned directly
beneath each wheel.
Try to adjust the position of the wheel trays so that the hook will rest on the
bike’s lowest point of the top tube (Fig. 6b)
Tighten knobs securely. Rotate the bike’s pedals so that the vertical post
can be raised and secured. Slide the hook down onto the frame. Use the
Velcro strap on the wheel holder per Fig. 17d.
3. Adjust the wheel holders of the second bike and mount
to the rack in the same procedure as described above.
4. Raise and secure the outer vertical post for the 3rd or 4th bike.
5. Be sure that the hooks are well supported on the bike’s frame and the
knobs securely pushing down on the bike’s frame.
Tips for carrying woman’s bikes and bikes with slanted top tubes: Adjust the
wheel trays so that the hook will rest in the bike frame’s top tube and seat
tube.
3
Position the long frame hook on top of the round vertical post facing
the vehicle. Squeeze the lever and the tab together, so that the lever
is all the way up (engaged). Now wiggle the plastic housing down
onto the tube aligning the index guides with the index slots. You may
have to gently tap it with your other hand. Remember the lever
must be engaged to install it onto the tube. Repeat for the short
hook facing in the opposite direction.
Using the clamps:
After the clamp is installed, it can only be raised by engaging the
lever. The clamp can physically be pushed down without engaging
the lever but it is highly recommended that the lever also be
engaged when lowering the clamp.
Fig. 3a
Fig. 3b
Fig. 3c
Fig. 3d
Step 3: Installation and operation of Clamp System
Limited Lifetime Warranty (effective January 1, 2008):
Hollywood Racks will warrant its car racks and accessories during the time that an original retail purchaser
owns the product subject to the exclusions and limitations of this warranty. Hollywood Racks will remedy
defects in materials and workmanship by repairing or replacing (at its option) a defective part without charge
for labor or parts. Hollywood Racks may elect (at its option) to issue a refund equal to the purchase price
paid for the product.
This warranty does not cover problems caused by normal wear and tear including (but not limited to)
weather, scratches, dents, rust, accidents, unlawful vehicle operation, misuse, abuse, neglect, theft,
unauthorized modifications, or unauthorized repair. No warranty is given for defects resulting in incorrect
assembly, incorrect installation onto the vehicle, installation on a “no fit” vehicle, incorrect attachment of
bicycles onto the rack, or overloading of the rack’s weight restrictions. This warranty terminates if the
original retail purchaser transfers the product to any other person.
If a product is believed to be defective, the original retail purchaser should contact either the original retailer
or Hollywood Racks directly at 800-747-4085 or at [email protected]
Disclaimer of Liability: Repair or replacement of a defective product or the issuance of a refund or credit
(as determined by Hollywood Racks) is a purchaser’s exclusive remedy under this warranty. Damage to a
purchaser’s vehicle, cargo, bicycles and or to any other person is excluded. This warranty is expressly
made in lieu of any and all other express warranties, whether oral or written.
Hollywood Racks shall not be liable for any direct, indirect, consequential, incidental, special, punitive or
any other damages in connection with the purchase, use or handling of this product.
Some states do not allow the exclusion or limitation of consequential or incidental damages and the above
limitation may not apply to you. This warranty gives you specific legal rights and you have other rights, which
vary from state to state. Hollywood Racks
12812 South Spring Street Los Angeles, CA 90061
(800) 747-4085 (310) 516-8600 Fax (310) 516-8955
Customer Service Hours: 8:00 AM- 3:00 PM Pacific Time M-F
www.hollywoodracks.com [email protected]
made in Taiwan 12-9-11
4
Double check before driving off:
Knobs are tight on all four wheel trays and both frame hooks.
All three retaining pins are properly inserted and secure
Wheel straps are fastened
Hitch pin is secure and hitch pin clip is installed
Drive slowly on bumpy or dirt roads

Other Hollywood Racks Automobile Accessories manuals

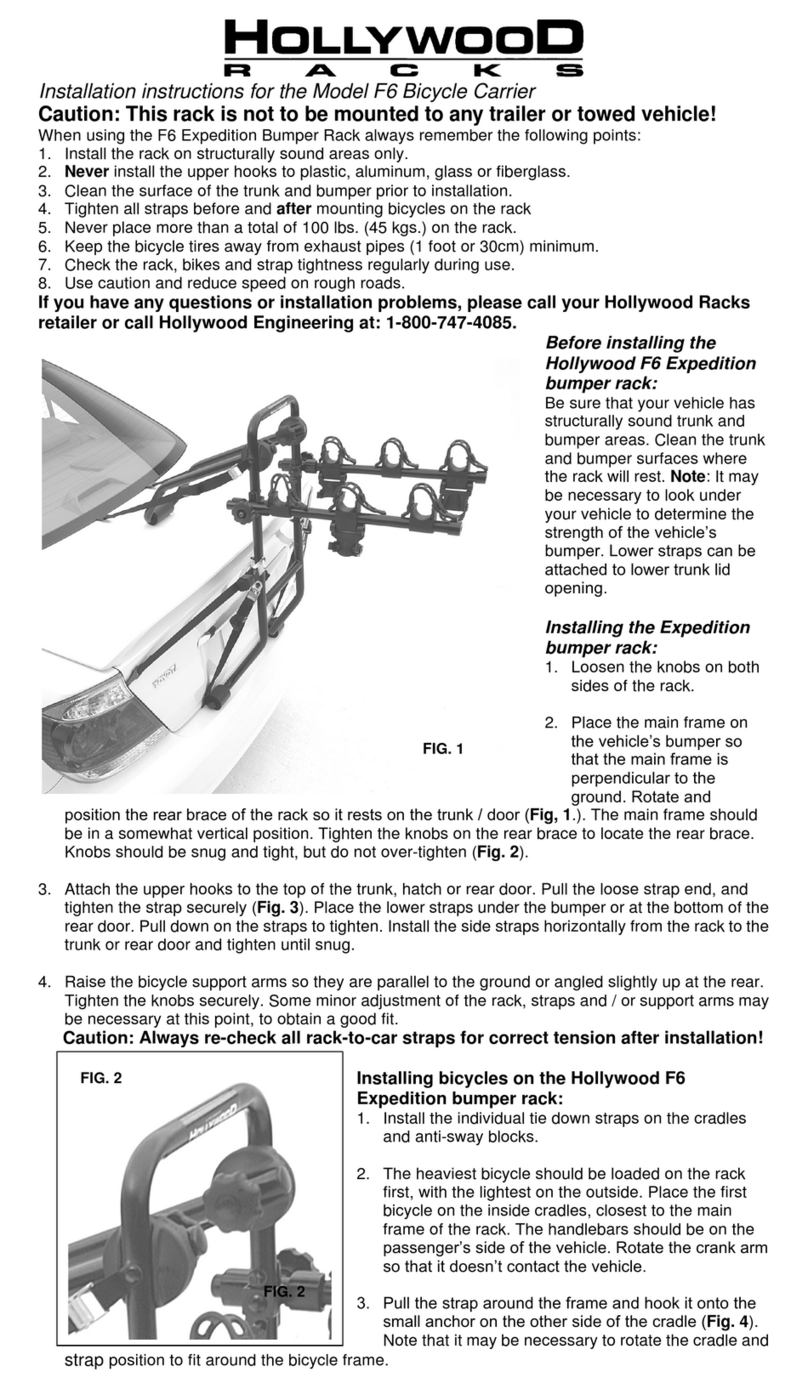
Hollywood Racks F6 User manual

Hollywood Racks

Hollywood Racks F6 User manual

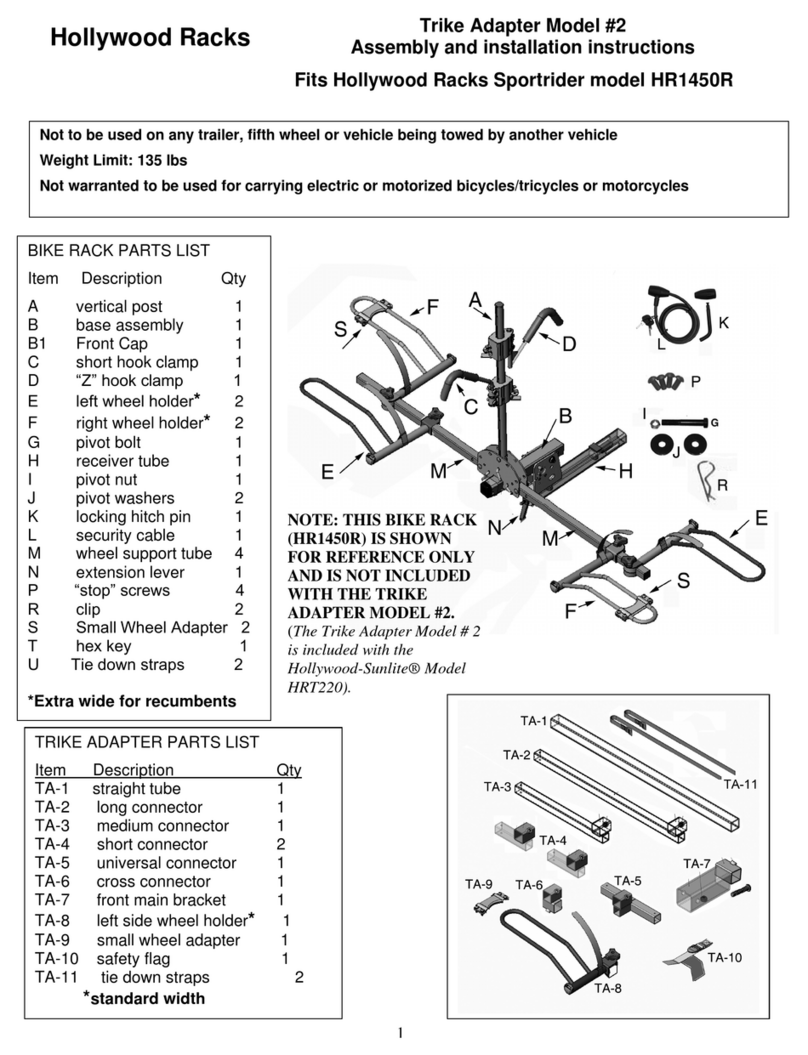
Hollywood Racks Trike Adapter 2 Instruction manual

Hollywood Racks

Hollywood Racks Trike Adapter 2 Instruction manual

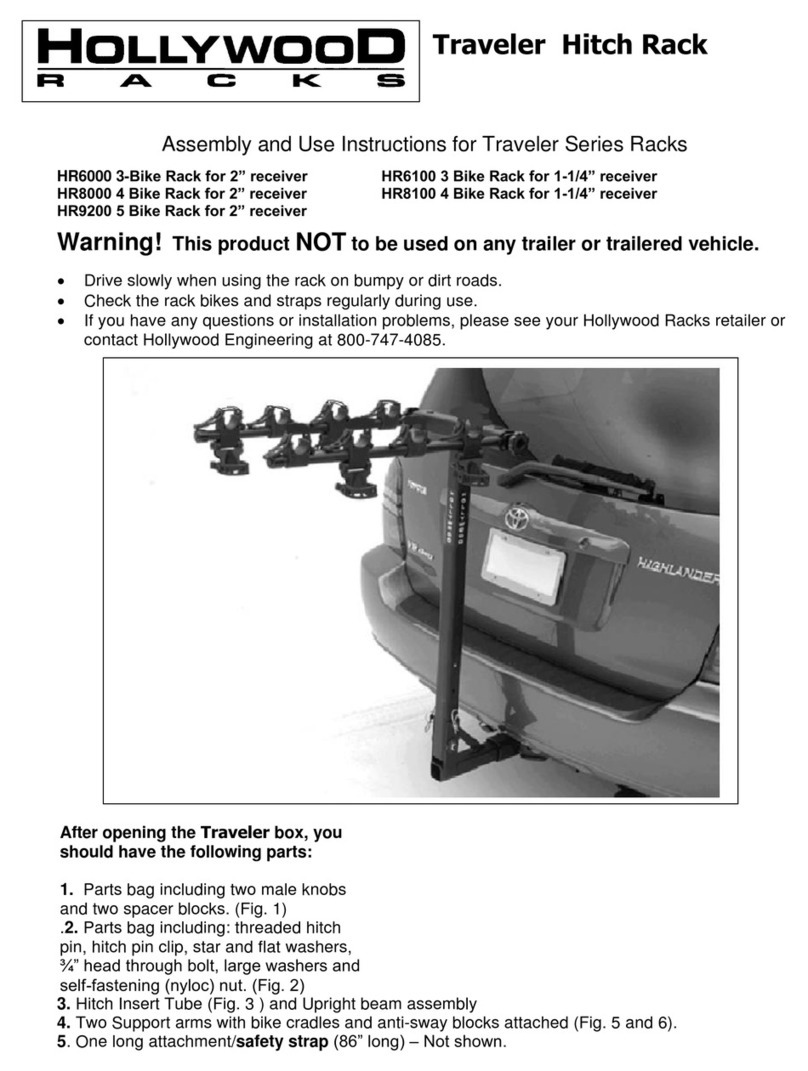
Hollywood Racks HR6000 Quick setup guide

Hollywood Racks

Hollywood Racks HR6000 Quick setup guide

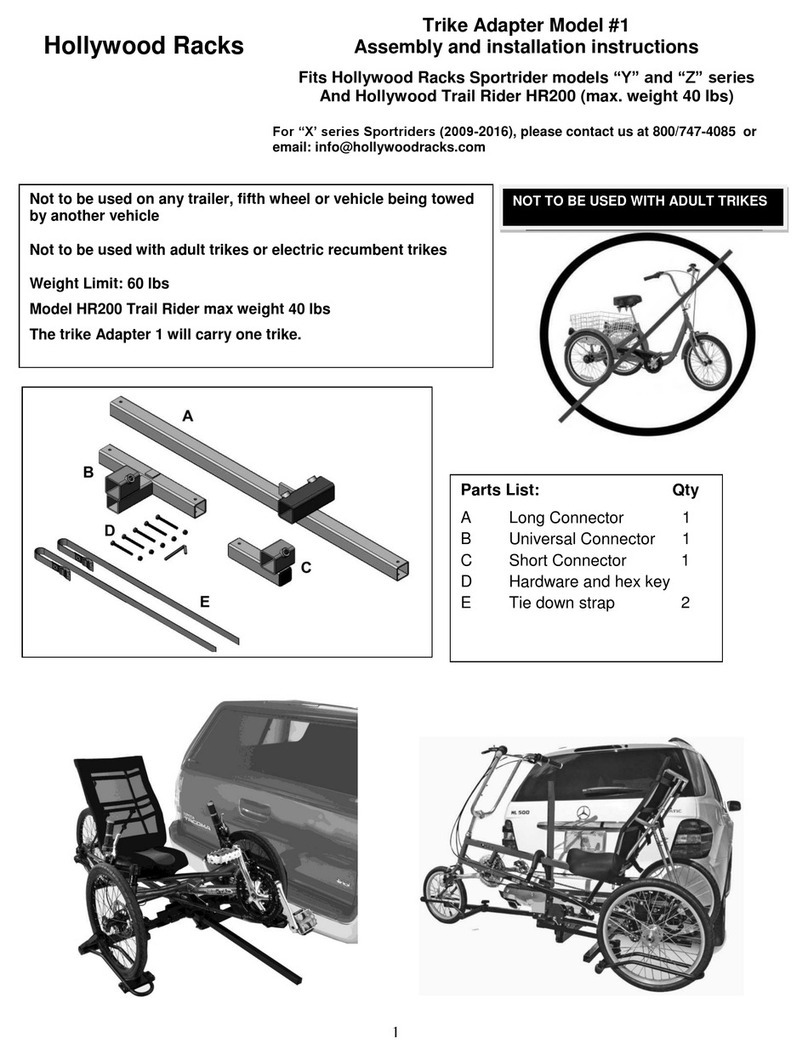
Hollywood Racks 1 Instruction manual

Hollywood Racks

Hollywood Racks 1 Instruction manual

Hollywood Racks HR1200 User manual

Hollywood Racks

Hollywood Racks HR1200 User manual

Hollywood Racks HR3000-E User manual

Hollywood Racks

Hollywood Racks HR3000-E User manual

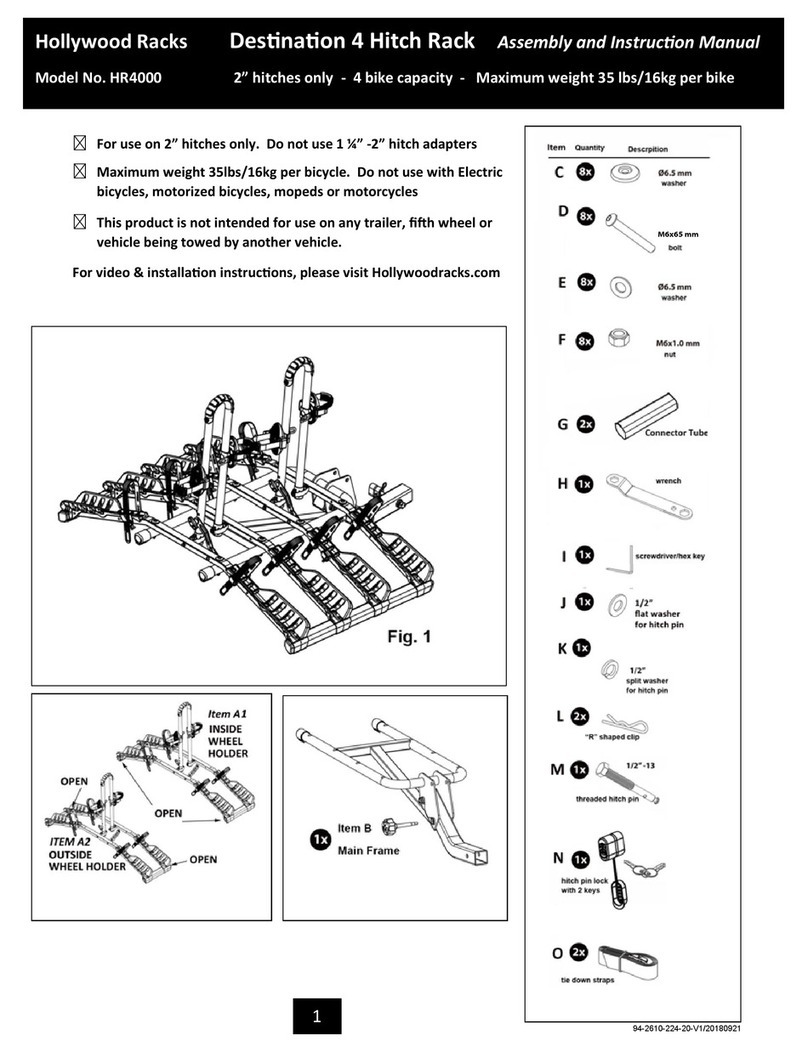
Hollywood Racks HR4000 User guide

Hollywood Racks

Hollywood Racks HR4000 User guide

Hollywood Racks HR3000 User manual

Hollywood Racks

Hollywood Racks HR3000 User manual

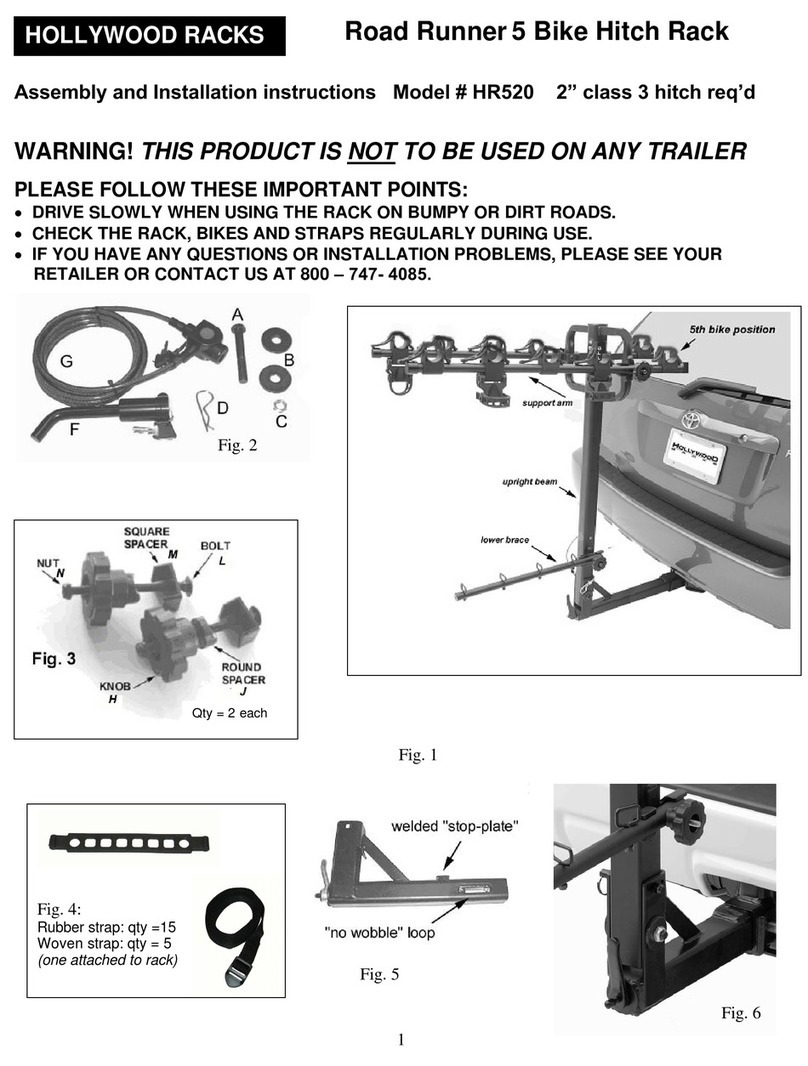
Hollywood Racks Road Runner 5 Bike Hitch Rack Instruction manual

Hollywood Racks

Hollywood Racks Road Runner 5 Bike Hitch Rack Instruction manual

Hollywood Racks Road Runner 3 Series Instruction manual

Hollywood Racks

Hollywood Racks Road Runner 3 Series Instruction manual

Hollywood Racks HR150 User manual

Hollywood Racks

Hollywood Racks HR150 User manual

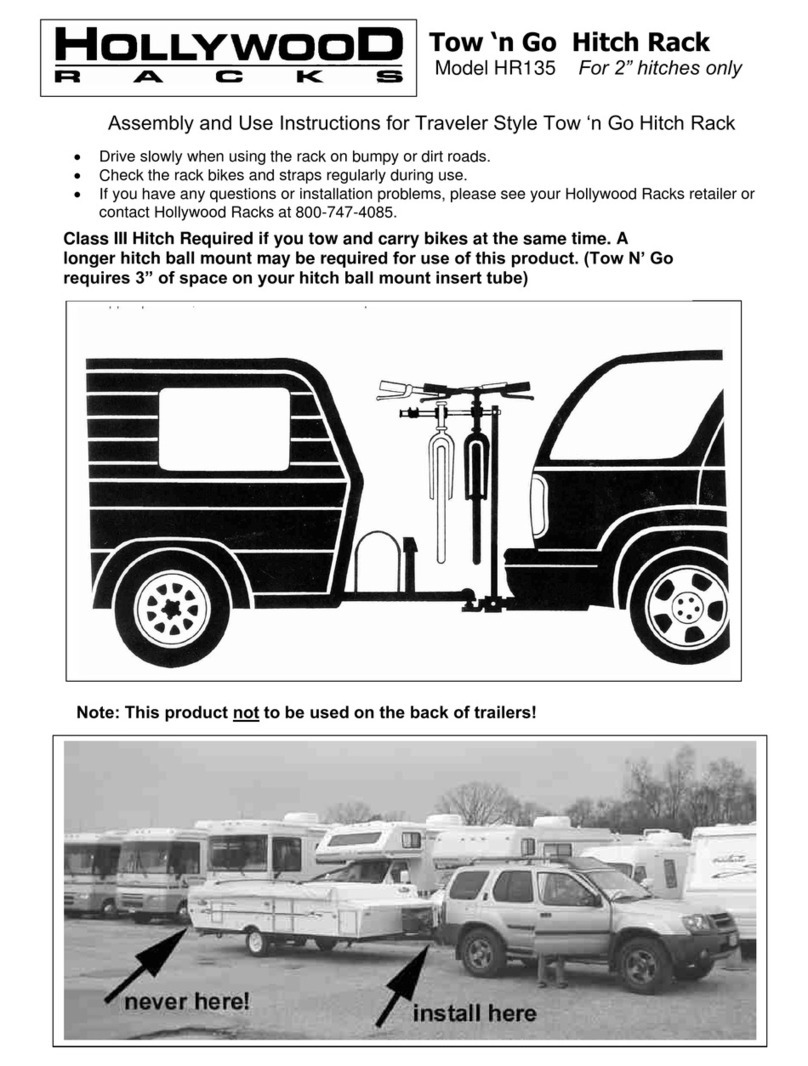
Hollywood Racks HR135 Quick setup guide

Hollywood Racks

Hollywood Racks HR135 Quick setup guide

Hollywood Racks Sportrider HR1500 Instruction manual

Hollywood Racks

Hollywood Racks Sportrider HR1500 Instruction manual

Popular Automobile Accessories manuals by other brands

WIX WP6978 Installation instruction

WIX

WIX WP6978 Installation instruction

Lippert Stargazer Spirit XTR Skylight installation manual

Lippert

Lippert Stargazer Spirit XTR Skylight installation manual

Prorack EXP360U instructions

Prorack

Prorack EXP360U instructions

Front Runner FAJK010 Read me first

Front Runner

Front Runner FAJK010 Read me first

Audi SPORTBACK 05 8P9 071 126 Fitting instructions

Audi

Audi SPORTBACK 05 8P9 071 126 Fitting instructions

Westin 22-1125 instructions

Westin

Westin 22-1125 instructions

Fiamma RAFTER LED VAN installation instructions

Fiamma

Fiamma RAFTER LED VAN installation instructions

Carscop CC-688 manual

Carscop

Carscop CC-688 manual

Xhorse Ford KM Tool manual

Xhorse

Xhorse Ford KM Tool manual

BMW 5 Series Saloon Installation instuctions

BMW

BMW 5 Series Saloon Installation instuctions

Durite 0-441-50 manual

Durite

Durite 0-441-50 manual

HHO Plus DC2000 installation manual

HHO Plus

HHO Plus DC2000 installation manual

Kolpin Outdoors FRONT-CONNECT PLOW MOUNT KIT Assembly & installation manual

Kolpin Outdoors

Kolpin Outdoors FRONT-CONNECT PLOW MOUNT KIT Assembly & installation manual

Tessera4x4 SOT-ROLL Series installation manual

Tessera4x4

Tessera4x4 SOT-ROLL Series installation manual

Whispbar K377W Fitting Instructions for Basic Carrier

Whispbar

Whispbar K377W Fitting Instructions for Basic Carrier

Prorack K133 Fitting Instructions for Basic Carrier

Prorack

Prorack K133 Fitting Instructions for Basic Carrier

SSV Works RG4-US10 quick guide

SSV Works

SSV Works RG4-US10 quick guide

SVC GROUP VTZ 001-497 manual

SVC GROUP

SVC GROUP VTZ 001-497 manual

manuals.online logo
manuals.online logoBrands
  • About & Mission
  • Contact us
  • Privacy Policy
  • Terms and Conditions

Copyright 2025 Manuals.Online. All Rights Reserved.