manuals.online logo
Brands
  1. Home
  2. •
  3. Brands
  4. •
  5. Hologic
  6. •
  7. Medical Equipment
  8. •
  9. Hologic Brevera Product information sheet

Hologic Brevera Product information sheet

Other manuals for Brevera

1

Other Hologic Medical Equipment manuals

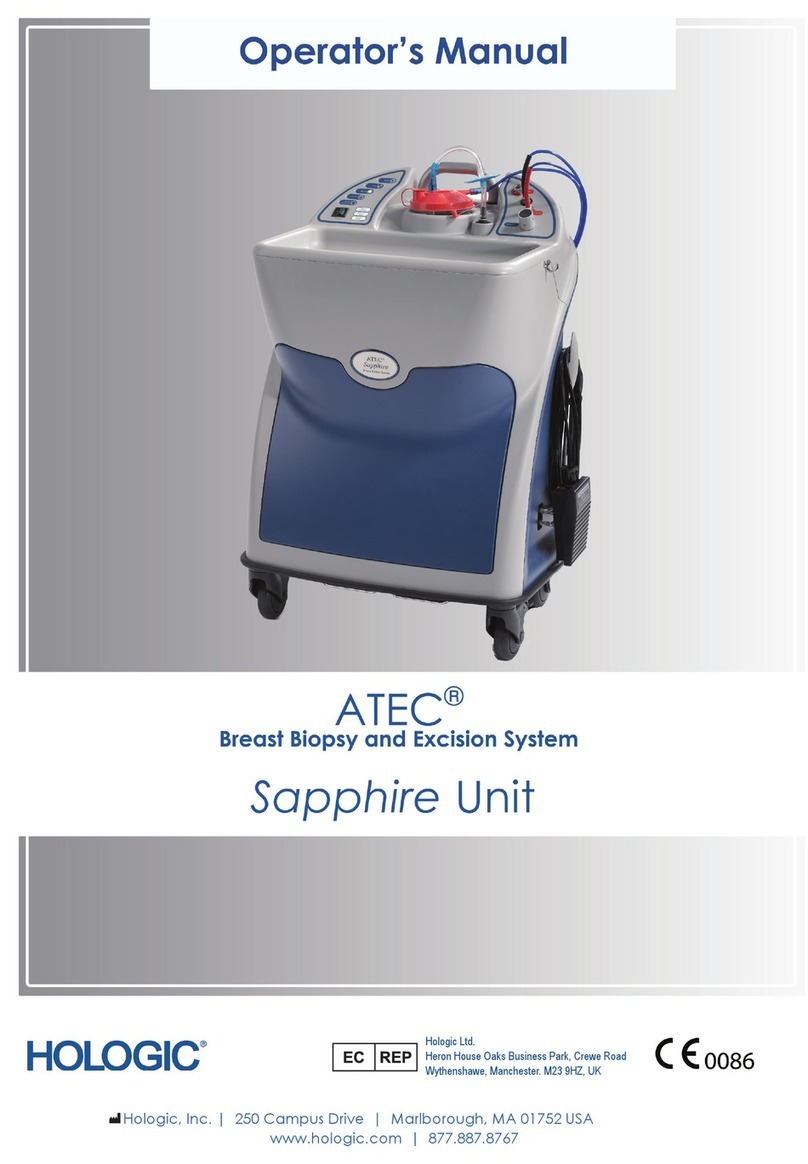
Hologic ATEC SAPPHIRE User manual

Hologic

Hologic ATEC SAPPHIRE User manual

Hologic Fluoroscan InSight FD Mini C-arm User manual

Hologic

Hologic Fluoroscan InSight FD Mini C-arm User manual

Hologic Trident User manual

Hologic

Hologic Trident User manual

Hologic ATEC SAPPHIRE User manual

Hologic

Hologic ATEC SAPPHIRE User manual

Hologic Aquilex User manual

Hologic

Hologic Aquilex User manual

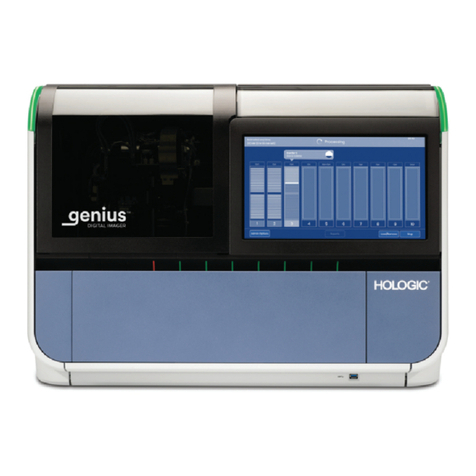
Hologic Genius User manual

Hologic

Hologic Genius User manual

Hologic Faxitron Path User manual

Hologic

Hologic Faxitron Path User manual

Hologic R2 DM User manual

Hologic

Hologic R2 DM User manual

Hologic TruNode User manual

Hologic

Hologic TruNode User manual

Hologic Affirm User manual

Hologic

Hologic Affirm User manual

Hologic Affirm User manual

Hologic

Hologic Affirm User manual

Hologic ThinPrep 5000 User manual

Hologic

Hologic ThinPrep 5000 User manual

Hologic TruNode S-10 User manual

Hologic

Hologic TruNode S-10 User manual

Hologic MAN-07611 User manual

Hologic

Hologic MAN-07611 User manual

Hologic OMNI User manual

Hologic

Hologic OMNI User manual

Hologic Aquilex User manual

Hologic

Hologic Aquilex User manual

Hologic MyoSure XL User manual

Hologic

Hologic MyoSure XL User manual

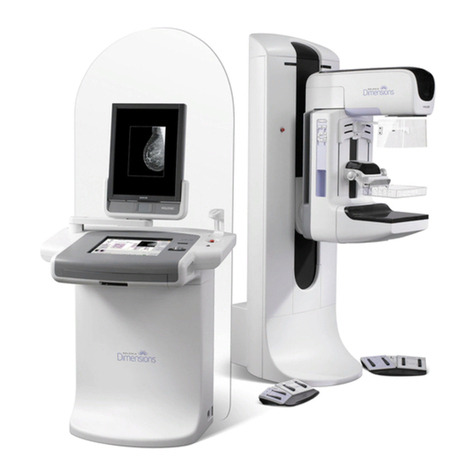
Hologic 3Dimensions User manual

Hologic

Hologic 3Dimensions User manual

Hologic ThinPrep Imager Duo User manual

Hologic

Hologic ThinPrep Imager Duo User manual

Hologic Aquilex User manual

Hologic

Hologic Aquilex User manual

Hologic selenia dimensions Technical manual

Hologic

Hologic selenia dimensions Technical manual

Hologic SUPERSONIC IMAGINE AIXPLORER MultiWave Configuration guide

Hologic

Hologic SUPERSONIC IMAGINE AIXPLORER MultiWave Configuration guide

Hologic Trident User manual

Hologic

Hologic Trident User manual

Hologic Omni 4K User manual

Hologic

Hologic Omni 4K User manual

Popular Medical Equipment manuals by other brands

Itamar Medical WatchPAT Operation manual

Itamar Medical

Itamar Medical WatchPAT Operation manual

PROTEOR 1P650 KNEE Assembling and adjustment instructions

PROTEOR

PROTEOR 1P650 KNEE Assembling and adjustment instructions

Liberate Medical VentFree user manual

Liberate Medical

Liberate Medical VentFree user manual

Dicarre DA20 user guide

Dicarre

Dicarre DA20 user guide

Stryker Medical M Series Operation manual

Stryker Medical

Stryker Medical M Series Operation manual

Invacare ScanBed 750 user manual

Invacare

Invacare ScanBed 750 user manual

Getinge Arjohuntleigh Nimbus 3 Professional Instructions for use

Getinge

Getinge Arjohuntleigh Nimbus 3 Professional Instructions for use

Mettler Electronics Sonicator 730 Maintenance manual

Mettler Electronics

Mettler Electronics Sonicator 730 Maintenance manual

Pressalit Care R1100 Mounting instruction

Pressalit Care

Pressalit Care R1100 Mounting instruction

Denas MS DENAS-T operating manual

Denas MS

Denas MS DENAS-T operating manual

bort medical ActiveColor quick guide

bort medical

bort medical ActiveColor quick guide

AccuVein AV400 user manual

AccuVein

AccuVein AV400 user manual

agiliti NP Trio user manual

agiliti

agiliti NP Trio user manual

Rocket Medical Rocket Digital Oocyte Aspiration Pump Service manual

Rocket Medical

Rocket Medical Rocket Digital Oocyte Aspiration Pump Service manual

Monteris Medical Neuroblate Instructions for use

Monteris Medical

Monteris Medical Neuroblate Instructions for use

Otto Block 8E33 7 manual

Otto Block

Otto Block 8E33 7 manual

ADVANCED HOME CARE Helios Guide

ADVANCED HOME CARE

ADVANCED HOME CARE Helios Guide

NeuLog NUL-208 Guide

NeuLog

NeuLog NUL-208 Guide

manuals.online logo
manuals.online logoBrands
  • About & Mission
  • Contact us
  • Privacy Policy
  • Terms and Conditions

Copyright 2025 Manuals.Online. All Rights Reserved.

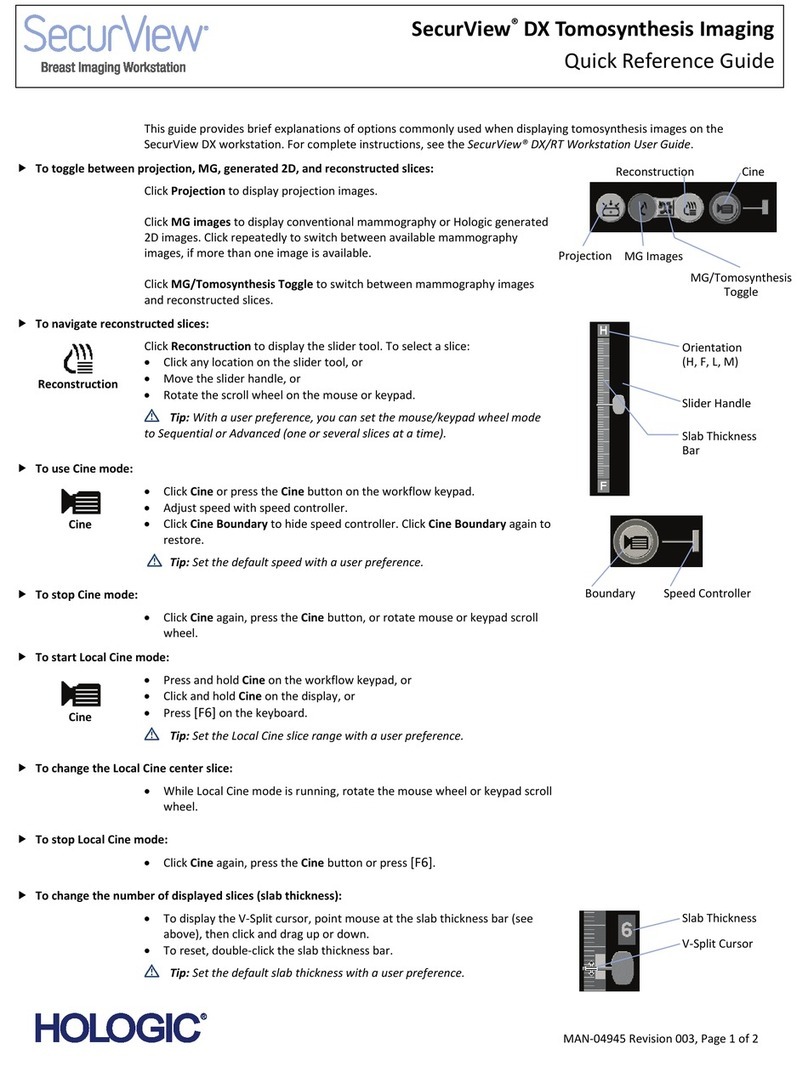
Brevera™Breast Biopsy System
User Reference Guide
Plug biopsy driver into console.
Place the biopsy needle package into the
tray on the top of the console and open
the sterile pack.
Guide saline tubing counter-clockwise
around the tubing management plate
and insert clear section of saline tubing
into the saline pinch valve. Place gray
vacuum tubing into the tubing guide.
To complete set up follow on screen
prompts on the smaller technologist
display screen.
Power the system on.
Ensure biopsy needle and driver are in
the ready position before assembly. To
reset driver (if needed), disconnect and
plug into the console. To reset biopsy
needle, manually slide white gear
forward until it clicks into place.
Connect the biopsy needle vacuum line
to the “PATIENT” port of the canister lid.
Once the “Test” cycle is complete, the
user may follow prompts to test “Arm”
and “Fire” the device or proceed to
“Standby”.
Place the assembled canister into the
holder with the “PATIENT” port facing the
right side.
Open the drawer and click the tissue
filter assembly into place, routing the
tubing through the guides. Ensure tissue
filter cap is secure. Close the drawer.
OPTIONAL: To “Arm” press and hold Arm
button. To “Fire” press and hold Fire
button. System will default to “Standby”
when complete.
Securely connect the blue fitting of the
Vacuum Line Assembly to the “VACUUM”
port.
Spike the saline bag, gently squeeze to
ensure unobstructed flow, and hang the
bag on the saline hook located on the
side of the console.
Unwind foot switch and place it on the
floor in front of the console.
Set Up and Use
With the biopsy needle lined up over the
driver, carefully move the biopsy needle
straight down matching the notches.
The needle should slide forward
smoothly until it clicks.
On the larger imaging display, select Log
In. Follow the prompts to enter a patient
and procedure.
Brevera™User Reference Guide
Select “Biopsy” mode and “Arm” device.
Confirm appropriate aperture (12mm or
20mm) and needle position is displayed
on both screens. The device will only
“Arm” and “Fire” in “Biopsy” mode.
Attach Brevera adapter to imaging
guidance system. Slide the biopsy device
onto the adapter until it clicks in place.
Confirm appropriate settings on the
imaging system for the chosen biopsy
needle.
Once the biopsy is complete, select
“Lavage” and saline will be introduced
and aspirated to irrigate the biopsy cavity.
Select “Aspirate” to vacuum the biopsy
cavity.
Open drawer. Twist off the tissue filter
assembly cover. Place a cap on the
tissue filter. Remove filter and place in
a formalin jar. Replace the tissue filter
assembly cover.
Once the procedure is complete, press
“Close Procedure” on the console.
Remove the silicone tubing section of the
biopsy needle saline line and the vacuum
tubing from the canister lid.
Remove the saline bag from the hook.
Press and hold “Fire” to advance
the needle to target. To begin tissue
acquisition, press down and hold
footswitch.
Symbols Legend
Clean Up and Disposal
To begin biopsy, place introducer onto
needle in the 20mm or 12mm aperture
position. System will not function if
introducer is not installed.
Press “Standby” to close the aperture.
To deploy a site marker slide the biopsy
device from the adapter while leaving
the introducer in place and insert the
marker into the introducer.
Dial introducer/marker out of the breast.
To remove introducer/marker assembly
from adapter, pinch tabs to release.
Pinch tabs on biopsy needle and slide to
remove from driver.
If the needle is removed in “Standby”,
the driver will automatically reset to a
ready state for a new needle.
Disconnect the Vacuum Line Assembly
from the canister lid and seal all ports.
Dispose of all consumables per your
facility’s protocol. Consumables include:
• Biopsy needle and tubing
• Saline bag
• Suction canister and lid
• Stereotactic needle guide
Needle Armed
Needle Fired
12mm Aperture
20mm Aperture
12 mm
20 mm
www.hologic.com | 800-442-9892
© 2016-2017 Hologic, Inc.
MAN-04310-001 Rev 004
2/2017
Vacuum is off and aperture of biopsy needle is closed. The device cannot
be fired and images cannot be taken.
Confirms vacuum, initiates saline flow and tests the cutting cycle.
Depressing footswitch activates a cutting cycle and releasing footswitch
stops the device after the cycle is complete. Aperture is open.
Vacuum is on and saline is used to irrigate the cavity. Aperture is open.
Vacuum is on and the cavity is aspirated without saline.
Aperture is open.
Aspirate
Lavage
Test
Biopsy
Standby
Clean top of console and biopsy driver with
a mild detergent and disinfect per your
facility’s protocol. Refer to Brevera User
Manual for detailed cleaning instructions.