Honeywell RAE Systems BioHarness 3 User manual

BioHarness 3
QUICK REFERENCE
1
By Honeywell
IMPORTANT! Follow all instructions here before operating the BioHarness 3. Make sure your strap is
the correct size before using it (available in two sizes, Small XS-M or Large M-XL). For more details,
refer to the BioHarness 3, RAELink3 (or RAELink3 Z1, which has the same functions), and ProRAE
Guardian User’s Guides or Quick References.
The BioHarness 3 measures the following parameters:
Sensor
Unit
Range
Definition
Breath Rate
Bth/m (breaths per minute)
0 to 120
Heart Rate
Bts/m (beats per minute)
0 to 240
Activity
VMU (Vector Magnitude
Units)
±16
<0.2 = Low Activity
<0.8 = Walking/Jogging
>0.8 = Running
Posture
Degrees
0 to 180
0 = Vertical
90 = Horizontal
180 = Inverted
Temperature
Degrees F or C
50° to 140° F
10° to 60° C
Operation
1. Moisten the gray sensor pads on the back of the strap with water.
2. Snapthe BioHarnessEcho Module ontothe BioHarness3byclicking thebottomin firstandthenthetop.
3. Poweronthe BioHarnessEcho Modulebypressingthe buttoninthecenteruntilall fourLEDsflash.
4. Link the BioHarness Echo Module to the RAELink3.
Note: It links automatically after the initial Bluetooth pairing.
5. Attach the shoulder strap with Velcro in the back and fit the clasp to the loop in the front, and
then do the same with the clasp and loop in the front.
Note: BioHarness Echo Module should be under the left armpit when properly positioned.

BioHarness 3
QUICK REFERENCE
2
By Honeywell
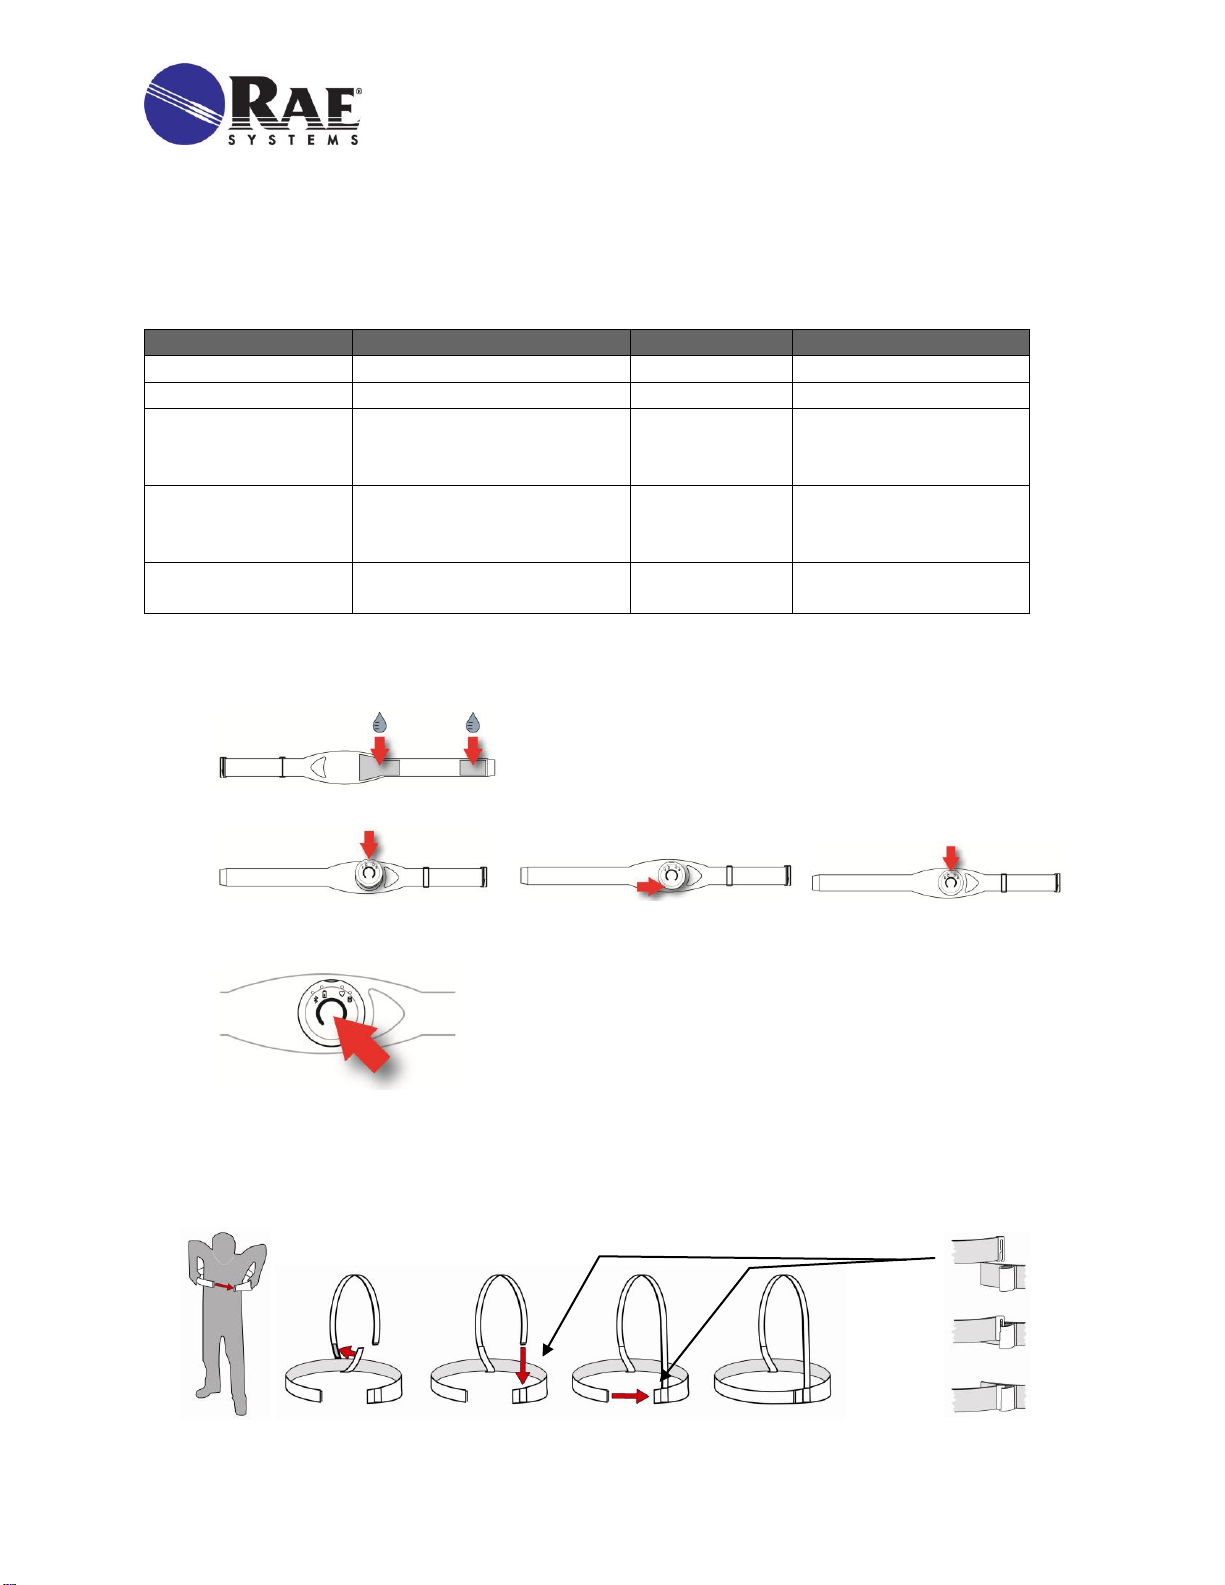
6. Adjust the shoulder strap and main strap tension by increasing or decreasing
the length of the loop behind the tensioners.
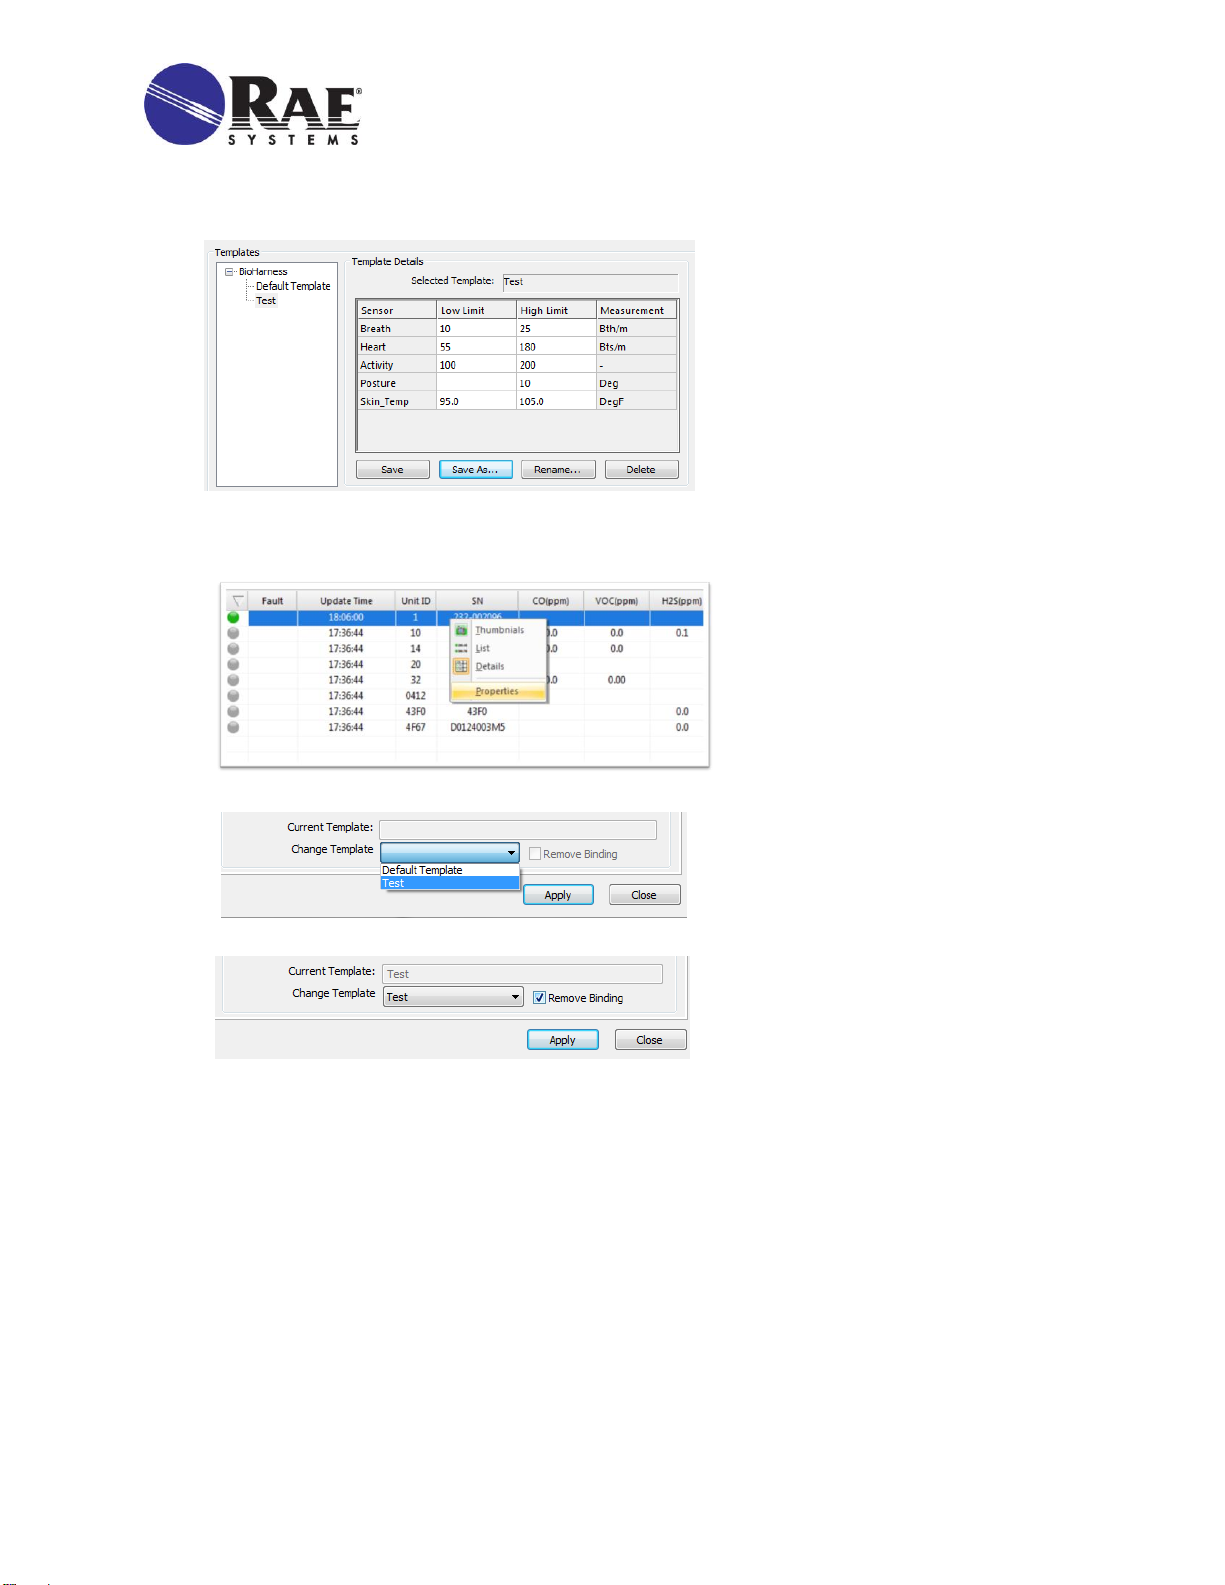
7. Launch ProRAE Guardian on your computer. Units come online automatically.
Charging The RAELink3
Before usingthe RAELink3, charge its Li-ion battery. For more details, consult the RAELink3 User’s Guide or
Quick Reference.
Charging The BioHarness Echo Module
1. Snap the BioHarness Echo Module into the Charging Cradle and use a USB cable to connect the
Charging Cradle to a computer or the included USB charger.
2. Snap the BioHarness Echo Module into the Charging Cradle and allow it to charge. Typical
charging time for a full charge is 3 hours. A charge of 90% is typically reached in 1 hour. While
charging, the BioHarness Echo Module’s orange LED flashes. When fully charged, the orange
LED glows continuously.
3. Once it is charged, remove the BioHarness Echo Module from the Charging Cradle.
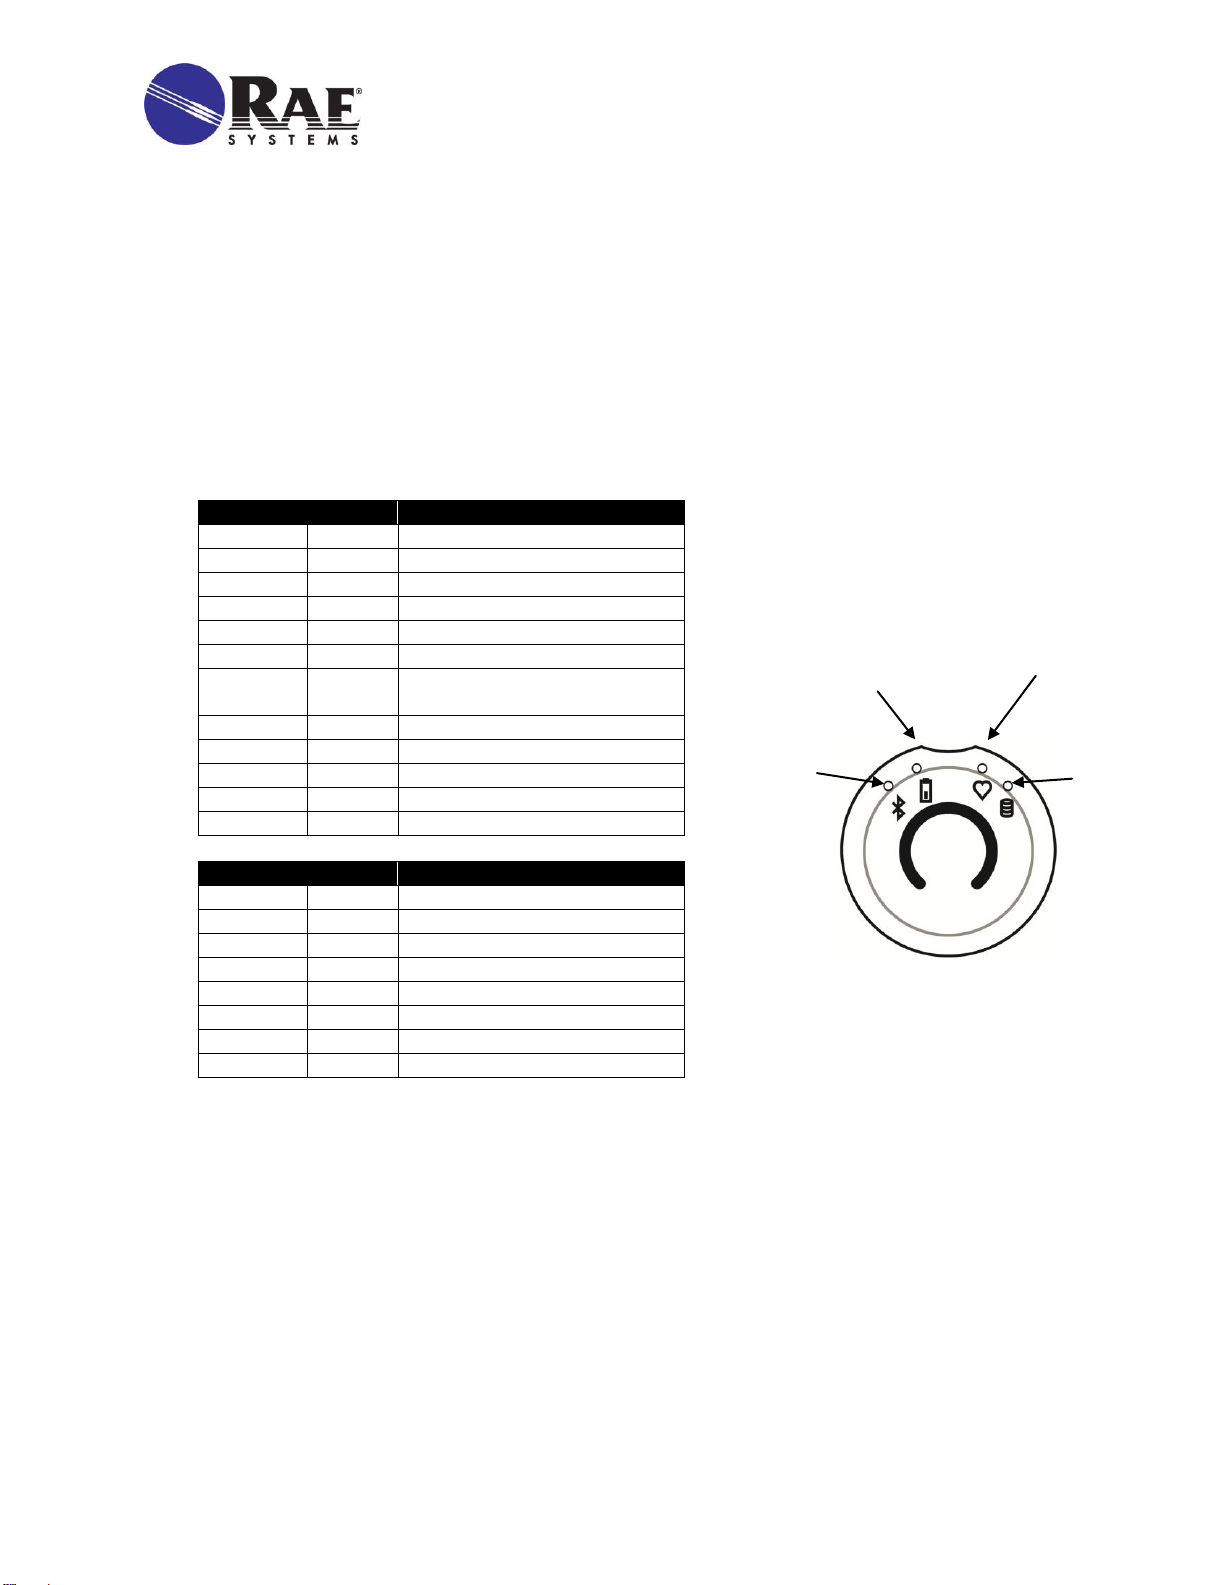
Pairing The BioHarness Echo Module And The RAELink3 Via
Bluetooth
After an initial pairing of the BioHarness Echo Module with the RAELink3, the two will automatically
find each other every time they are turned on. For initial pairing, follow the instructions below.
Note: When doing initial pairing, never turn on more than one BioHarness Echo Module and one
RAELink3 at the same time.
1. Enter Programming Mode on the RAELink3 by holding the [N/-] and [MODE] keys together.
Press [N/-] twice until you see “OP Mode” (Operation Mode).
Set the mode of operation to Remote.
Set the BT (Bluetooth) to BioHarness 3.
Press [N/-] until you confirm BT (Bluetooth) power is on.
Pull tighter or add slack to change length
of strap
Tensioner

BioHarness 3
QUICK REFERENCE
3
By Honeywell
2. Power on the BioHarness Echo Module. Press and hold its Power switch until the all four LEDs
flash.
3. Perform a BT search using the RAELink3.
Press [N/-] until you see “Start Bluetooth Search?”
Press [Y/+] to initiate a search.
Once the units sync, the serial number of the BioHarness Echo Module is shown in the
RAELink3 display with an asterisk next to it.
4. Click [MODE] to enter regular operation, and the RAELink3 automatically finds the BioHarness 3.
When the units link, the blue Bluetooth LED on the BioHarness 3 flashes.
The RAELink3 LCD indicates that it is linked to the BioHarness 3 by showing the link and
the serial number of the BioHarness 3.
Setting The Unit ID
The Unit ID distinguishes between different wireless units within the ProRAE Guardian software. If the
Unit ID has not been set to a unique identification number, you must set it.
1. Enter Programming Mode on the RAELink3 by holding the [N/-] and [MODE] keys together.
2. Press [N/-] until you can set the UNIT ID.
3. Select a number between 01 and 64.
4. Press and hold [MODE] for two seconds and save it.
Defining Alarm Levels
Important!Alarmlimits should only be setafter consulting trained medical professionals and getting stress test
resultsfor each individual who will be wearing the BioHarness 3.
The default alarm template in ProRAE Guardian uses these alarm values:
Sensor
Low
High
Breath Rate (breaths per minute)
≤ 10
≥ 25
Heart Rate (beats per minute)
≤55
≥ 180
Activity
100
200
Posture (degrees)
NA
≥ 10
Device Temperature (°F or °C)
≤ 95° F (35° C)
≥ 105° F (46.6° C)
Setting Alarm Levels
Follow these steps to set alarms in ProRAE Guardian for each individual based on the stress test results.
1. Under “Options,” choose “Device Templates”:

BioHarness 3
QUICK REFERENCE
4
By Honeywell
2. Click “Save As” and give a name to the new alarm template.
Typically, the name of the person who will wear BioHarness 3 (“Test,” in this case).
3. Input the alarm levels for the individual, click “Save,” and close the dialog box.
4. Within the Device Pane of ProRAE Guardian, right-click on the BioHarness 3 unit that you want
to assign alarms to, and then select “Properties.”
5. Choose the saved alarm template from the drop-down menu and then click “Apply.”
6. To remove alarm levels from a BioHarness 3, choose “Remove Binding” and then click “Apply.”
BioHarness 3 Strap Care
The strap can be hand-washed or machine laundered, following these steps:
1. Detach the BioHarness Echo Module.
2. Hand wash using a mild soap or detergent or machine wash:
Cool temperature (40° C/104° F maximum)
Delicate setting
Wash pouch recommended
Spin dry or hang to dry out of direct sunlight
IMPORTANT! Do not use bleach or disinfectant. Do not tumble dry. Do not iron. Do not dry-clean.

BioHarness 3
QUICK REFERENCE
5
By Honeywell
Troubleshooting
BioHarness 3 not linking to RAELink3:
Make sure the BioHarness Echo Module is charged and turned on.
Make sure the Bluetooth Power is on for the RAELink3.
Make sure RAELink3 is set to Remote and BT: BioHarness 3.
Confirm that the initial pairing has occurred between RAELink3 and BioHarness Echo Module.
Make sure other BioHarness Echo Modules are not trying to establish a Bluetooth link at the
same time.
LED indicators:
LED
State
On Subject
Orange
Off
<10% battery remaining
Flash
>30% battery remaining
Solid
<30% battery remaining
Blue
Off
Disconnected or disabled
Flash
Bluetooth connection
Solid
Bluetooth error
Red
Off
Heart rate not locked or
device is not being worn
Flash
Heart rate locked
Solid
Error
Green
Solid
Logging error
Flash
Logging
Off
Not logging
LED
State
In Cradle
Orange
Off
No power or not fully in cradle
Solid
Charged
Flash
Charging
Blue
Off
Should be off at all times
Red
Should be off at all times
Green
Solid
Logging error
Off
No logs/finished downloading
Flash
Downloading
RAELink3 Remote not communicating with ProRAE Guardian software:
Confirm that both the HOST RAELink3 modem and the RAELink3 modem connected to the
BioHarness 3 have the same NETWORK ID.
Confirm the correct communication port (COM port) for the RAELink3 Host modem is selected
within ProRAE Guardian software.
Make sure the RAELink3 is assigned a unique Unit ID.
Confirm that the RAELink3 is not low on power.
Blue LED
Bluetooth
Indicator
Orange LED
Battery Indicator
Red LED
Heart Rate Indicator
Green LED
Logging
Indicator
Rev. C May 2014
PN 039-4007-001
Table of contents
Other Honeywell Medical Equipment manuals