manuals.online logo
Brands
  1. Home
  2. •
  3. Brands
  4. •
  5. Honeywell
  6. •
  7. Security Camera
  8. •
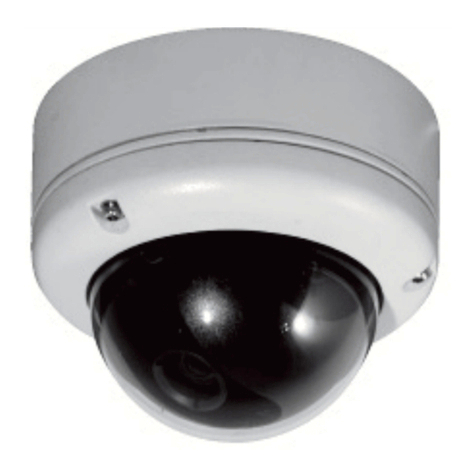
  9. Honeywell HD2FC1X User manual

Honeywell HD2FC1X User manual

This manual suits for next models

3

Other Honeywell Security Camera manuals

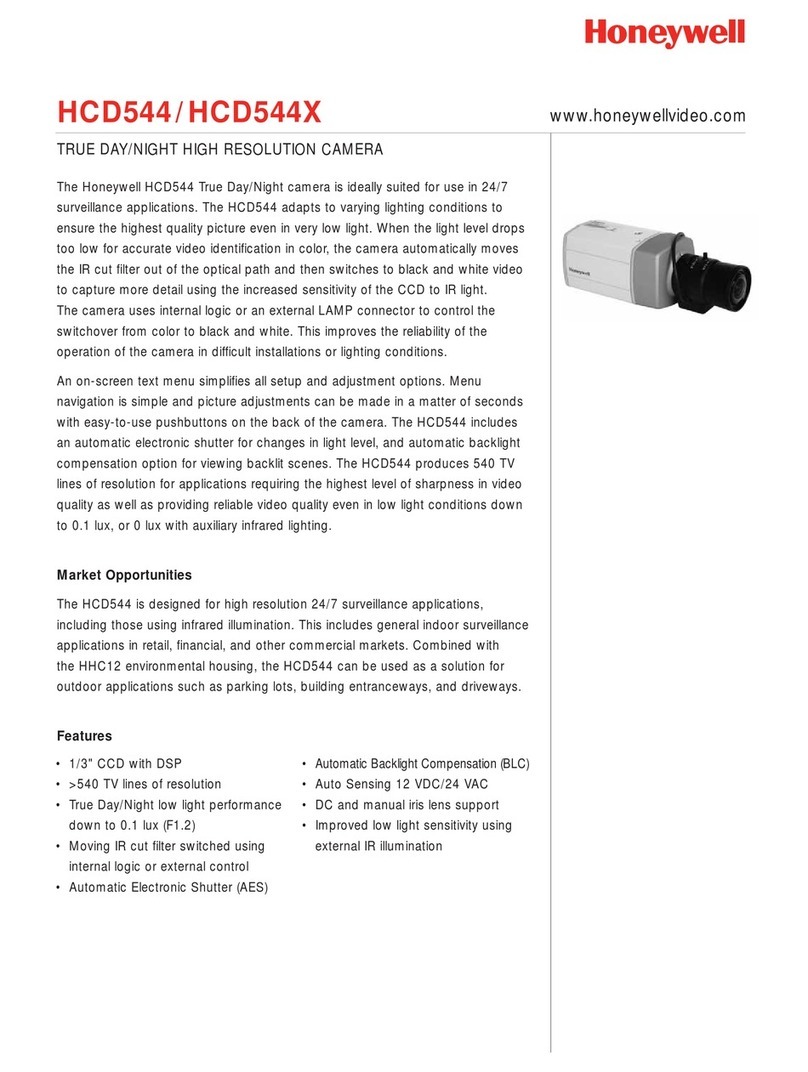
Honeywell HD54IP User manual

Honeywell

Honeywell HD54IP User manual

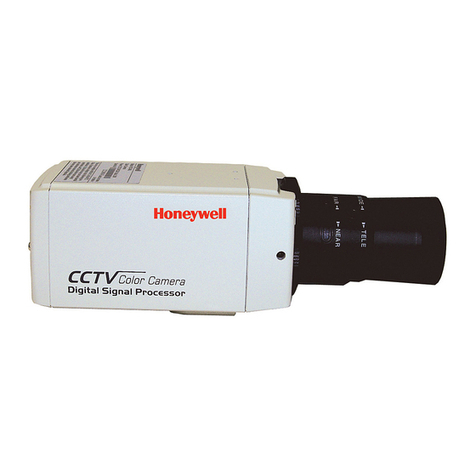
Honeywell HCC10 User manual

Honeywell

Honeywell HCC10 User manual

Honeywell HCC485LX User manual

Honeywell

Honeywell HCC485LX User manual

Honeywell HD4DIR User manual

Honeywell

Honeywell HD4DIR User manual

Honeywell HB73SPX User manual

Honeywell

Honeywell HB73SPX User manual

Honeywell HD251 User manual

Honeywell

Honeywell HD251 User manual

Honeywell HSGN502 User manual

Honeywell

Honeywell HSGN502 User manual

Honeywell HB273 User manual

Honeywell

Honeywell HB273 User manual

Honeywell VISTA VBC-800PI User manual

Honeywell

Honeywell VISTA VBC-800PI User manual

Honeywell Lyric C1 User manual

Honeywell

Honeywell Lyric C1 User manual

Honeywell HISD-1181W User manual

Honeywell

Honeywell HISD-1181W User manual

Honeywell HD3VC4SHR User manual

Honeywell

Honeywell HD3VC4SHR User manual

Honeywell HD41 User manual

Honeywell

Honeywell HD41 User manual

Honeywell HD3CHS User manual

Honeywell

Honeywell HD3CHS User manual

Honeywell HD4U User manual

Honeywell

Honeywell HD4U User manual

Honeywell HD3DS User manual

Honeywell

Honeywell HD3DS User manual

Honeywell 2450Cm Series User manual

Honeywell

Honeywell 2450Cm Series User manual

Honeywell 2450Cm Series User manual

Honeywell

Honeywell 2450Cm Series User manual

Honeywell HCX13M Manual

Honeywell

Honeywell HCX13M Manual

Honeywell HD45IP User manual

Honeywell

Honeywell HD45IP User manual

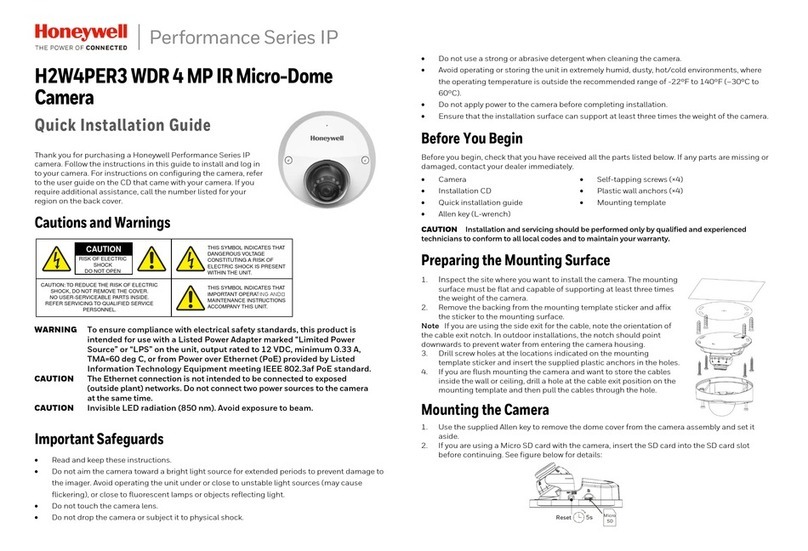
Honeywell H2W2PRV3 User manual

Honeywell

Honeywell H2W2PRV3 User manual

Honeywell HD61 Series User manual

Honeywell

Honeywell HD61 Series User manual

Honeywell Performance HBD1PR1 User manual

Honeywell

Honeywell Performance HBD1PR1 User manual

Honeywell NightHawk HCD82484 User manual

Honeywell

Honeywell NightHawk HCD82484 User manual

Popular Security Camera manuals by other brands

ADEMCO RapidDome Owners Operating & Installation Guide

ADEMCO

ADEMCO RapidDome Owners Operating & Installation Guide

EverFocus EBA2880 user manual

EverFocus

EverFocus EBA2880 user manual

Uniq UC-600 user manual

Uniq

Uniq UC-600 user manual

OPTICOM NVD-120-S datasheet

OPTICOM

OPTICOM NVD-120-S datasheet

Steren CCTV-221 instruction manual

Steren

Steren CCTV-221 instruction manual

Arm Electronics C420BCDNVFIR Features

Arm Electronics

Arm Electronics C420BCDNVFIR Features

Eneo PLD-2036PTZ installation guide

Eneo

Eneo PLD-2036PTZ installation guide

Axis AXIS M20 Series installation guide

Axis

Axis AXIS M20 Series installation guide

Panasonic KX-HCM230 operating instructions

Panasonic

Panasonic KX-HCM230 operating instructions

COP-USA CC15NV-SL Specifications

COP-USA

COP-USA CC15NV-SL Specifications

Active Silicon HARRIER H.264 quick start guide

Active Silicon

Active Silicon HARRIER H.264 quick start guide

Motorola Avigilon 1.3C-H5SL-BO1-IR installation guide

Motorola

Motorola Avigilon 1.3C-H5SL-BO1-IR installation guide

INSTEON 2864-232 user manual

INSTEON

INSTEON 2864-232 user manual

Wisenet XNB-6002 quick start guide

Wisenet

Wisenet XNB-6002 quick start guide

Axis M5525-E user manual

Axis

Axis M5525-E user manual

Vitek VTC-IR62NZ922 user guide

Vitek

Vitek VTC-IR62NZ922 user guide

Panasonic WV-SF342 Specifications

Panasonic

Panasonic WV-SF342 Specifications

SECO-LARM Dummy Camera VD-10PL Specifications

SECO-LARM

SECO-LARM Dummy Camera VD-10PL Specifications

manuals.online logo
manuals.online logoBrands
  • About & Mission
  • Contact us
  • Privacy Policy
  • Terms and Conditions

Copyright 2025 Manuals.Online. All Rights Reserved.

Rev. A 5 HDMU000932 Rev. A 6 HDMU000932 Rev A. 1 HDMU000932
CAMERA SPECIFICATIONS
Model No. HD2FC1X HD2FM1BX HD2FC1 HD2FM1
Scanning
Element
2:1Interlance
H : 15.625KHz / V:50Hz
2:1Interlance
H : 15.734KHz / V:59.9Hz
Image Picture
Element
1/4” High
Sensitivity
CCD
1/3” High
Sensitivity
CCD
1/4” High
Sensitivity
CCD
1/3” High
Sensitivity
CCD
Effective Picture
Element 500 (H) x 582 (V) 510 (H) x 492 (V)
Resolution >330 Horizontal
TV Lines
>380 Horizontal
TV Lines
>330 Horizontal
TV Lines
>380 Horizontal
TV Lines
Minimum
Illumination
1.2 Lux @F1.2/
3.2 Lux @F2.0
0.3 Lux @F1.2/
0.8 Lux @F2.0
1.2 Lux @F1.2/
3.2 Lux @F2.0
0.3 Lux @F1.2/
0.8 Lux @F2.0
S/N Ratio >46 dB
(AGC OFF)
>48 dB
(AGC OFF)
>46 dB
(AGC OFF)
>48 dB
(AGC OFF)
Backlight
Compensation
Center
weighted
Lower
weighted
Center
weighted
Lower
weighted
Sync System Internal
AGC Auto
Gamma
Compensation 0.45
Video Output
Signal 1.0 Vpp, 75 ohm Unbalance
White Balance Automatic
White Balance ----- Automatic
White Balance ------
ATW Range 2700K –9100K ------ 2700K –9100K ------
Power Supply 12 VDC
Power
Consumption 1.5 W (max) 1.3 W (max) 1.5 W (max) 1.3 W (max)
Operation
Temperature
23°F ~ 113°F , (-5°C to ~ +45°C)
Less than 80% R.H.
Camera
Dimensions Diameter: 3.15” (80 mm) Height: 2.28” (58 mm)
Weights 2.83 ounces (80g) net
LENS
Fixed Length 3 mm : F2.0 3.8 mm : F2.0 3 mm : F2.0 3.8 mm : F2.0
Supplied
Lens Option N/A 6.0 mm : F2.0 8.0 mm : F2.0
Video Systems
www.honeywellvideo.com
1-800-796-CCTV
© 2004 Honeywell International Inc.
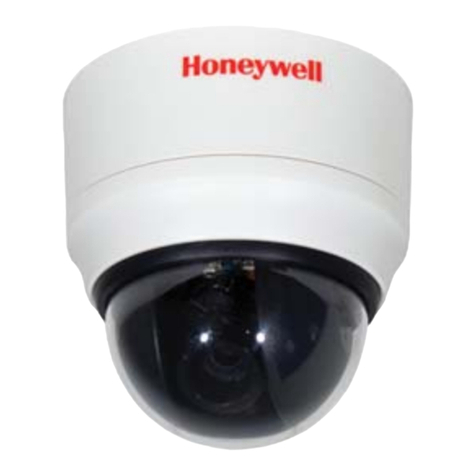
HD2FC1X / HD2FM1BX/ HD2FC1/ HD2FM1
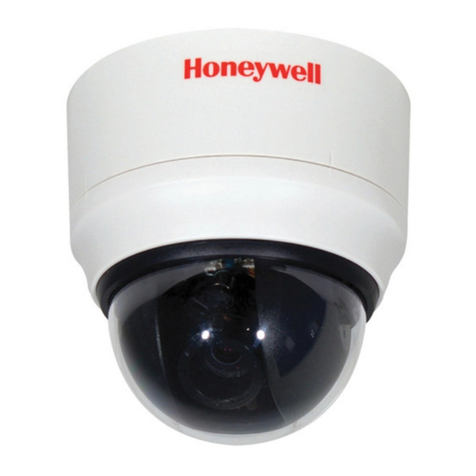
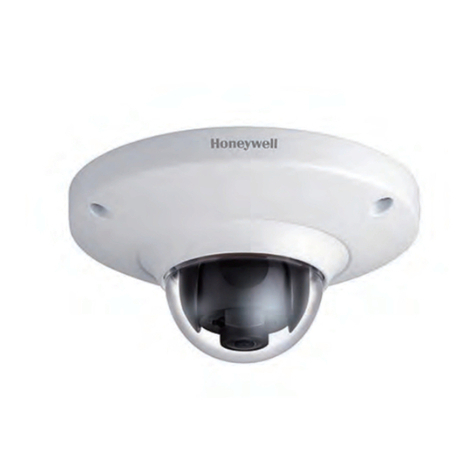
FIXED MINI DOME
2” Dome with Fixed Lenses
INSTRUCTION MANUAL
HD2FM1BX 1/3” Mini Dome MR Mono (CCIR) 12V
HD2FM1 1/3” Mini Dome MR Mono (EIA) 12V
HD2FC1X 1/4” Mini Dome MR COL (PAL) 12V
HD2FC1 1/4” Mini Dome MR COL (NTSC) 12V
FEATURES
•Compact and lightweight design
•DSP controls for Back Light Compensation,
White Balance, and Gain Control (Color versions)
•Thin optical distortion free bubble
•Manual pan/tilt/360 rotation mechanism
•Can be installed on a wall or a ceiling
•Video cable with BNC included
•Lens options supplied with EIA/NTSC units
Rev. A 2 HDMU000932 Rev. A 3 HDMU000932 Rev A. 4 HDMU000932
PRECAUTIONS
•Do not attempt to disassemble the camera. To prevent
electric shock, do not remove screws or cover. There are
no user-serviceable parts inside. Refer servicing to
qualified service personnel.
•Handle the camera with care. Do not abuse the camera.
Avoid striking or shaking it. Improper handling or storage
could damage the camera.
•Do not exposure the camera to rain or moisture, or try to
operate it in wet areas. Take immediate action should the
camera become wet. Turn power off and refer servicing
to qualified service personnel. Moisture can damage the
camera and also create the danger of electric shock.
•Whether the camera is in use or not, never face it
towards the sun. Use caution when operating the camera
in the vicinity of spotlights or other bright lights and light
reflecting objects.
•Do not operate the camera beyond its temperature,
humidity, or power source ratings. Use the camera under
conditions where temperatures are within 23ºF ~ 113ºF
(–5ºC ~ +45º), and relative humidity is below 80% (non
condensing).
•Do not touch the CCD sensor directly with your fingers. If
necessary, use a soft cloth moistened with alcohol to
wipe off any dust.
•Remove the internal bubble packing foam before use.
INSTALLATION
1. Creating a hole in the ceiling or
wall.
a. Use the supplied template to mark
the appropriate mounting position
on the ceiling or the wall.
b. Make three holes for the screws
affixing the camera body, and an
additional hole for the power cord
and video cables.
c. For hard ceiling mount, remove
the “knock-out” on the base on the
opposite side to the logo.
2. Connecting the cables.
Please refer to the diagrams above:
1. If required, use the supplied flying lead 3.
2. The center pin of the power connector is +12 VDC and
the sheath is 0 VDC 1. Connect +12 VDC to the red
wire and 0 VDC to the black wire 3.
3. Connect the video cable to the dome at connector 2.
ATTENTION
1. Check that power is off before handling power cable.
2. Check 12 VDC polarity before connecting to the PSU.
Wrong polarity will damage the camera.
3. Mounting the camera
Remove the bubble from the body and remove transit packing
foam. Align the housing to the holes you have made and use
three screws to mount the camera body to the ceiling or wall.
Choose screws suitable for the type of ceiling or wall material.
Screws with a diameter of 4 to 5 mm are recommended.
ADJUSTMENT
1. Adjusting the camera direction
Camera body moves in three ways: Pan, Tilt, and
Rotate. Adjust the direction so that the lens is aiming at
the target.
2. Fitting optional lenses (EIA/NTSC only)
a. Carefully unscrew the attached lens assembly.
b. Taking care not to touch the optic of the lens or the
camera CCD, carefully screw the optional lens
assembly in place.
c. Take care not to cross-thread or over-tighten the
lens.
3. Adjusting the view angle and focus
Turn the front of the lens assembly clockwise or
counterclockwise for optimum focus.
4. Completing the adjustment and installation
a. Carefully attach the dome cover.
b. Check connections are secure and the field of view
and focus are correct.
PACKING LIST
•Dome camera with fixed lens x 1
•Instruction manual x 1
•Drilling template x 1
•Optional lens (EIA/NTSC only) x 1
•Flying lead x 1