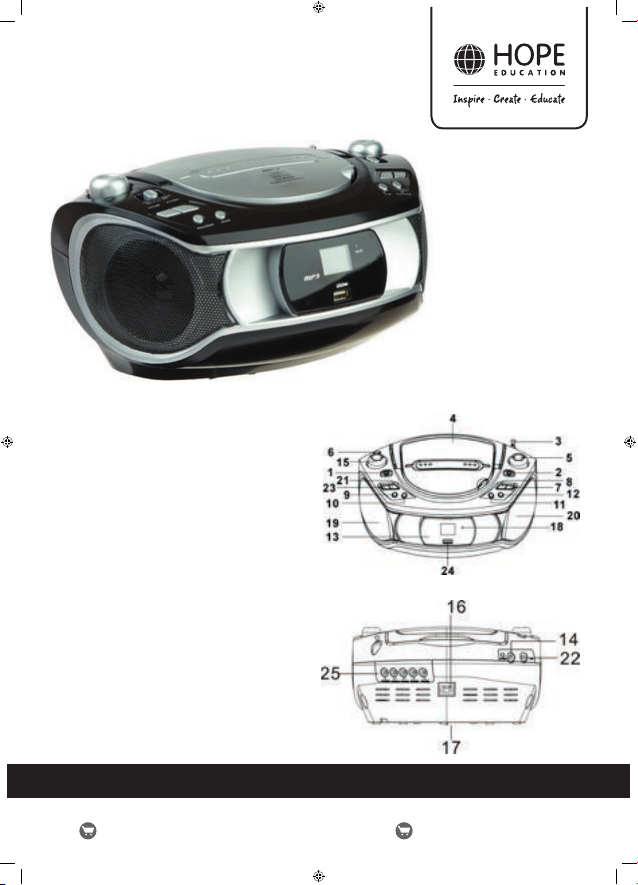
The home of inspirational and innovative resources for Primary & Early Years
www.Ƨ ndel-international.co.ukwww.hope-education.co.uk
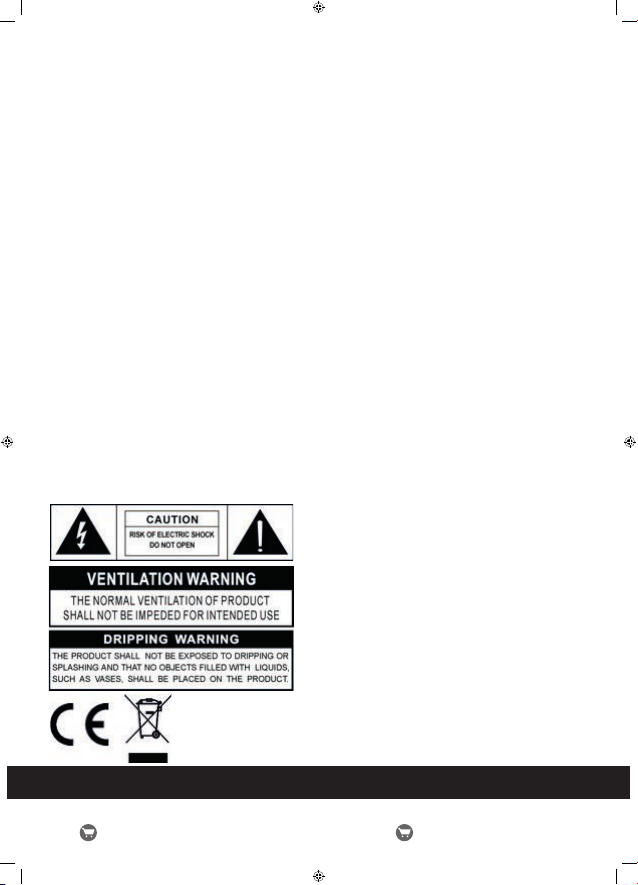
UK : Non-UK :
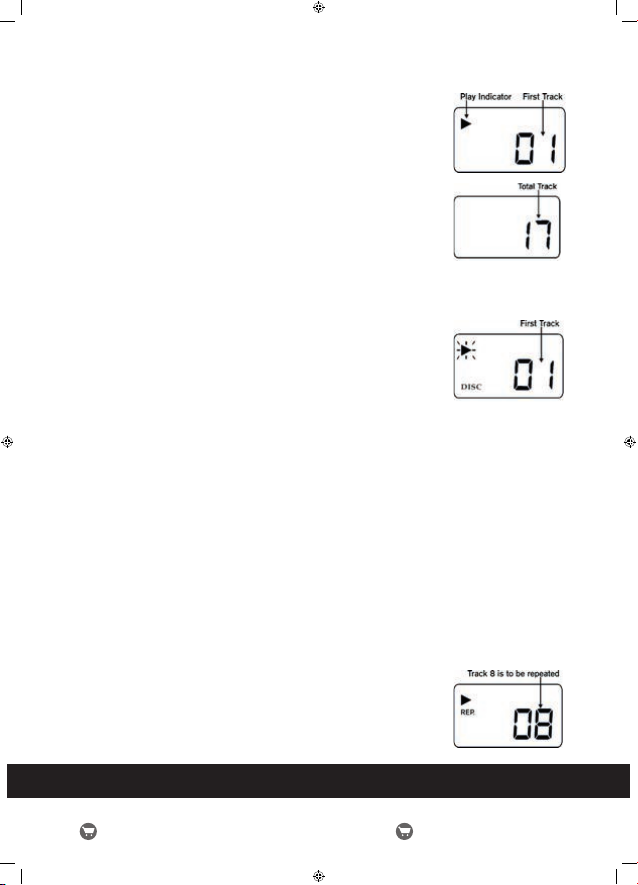
To check the program you have stored after complete programming, press program button once during CD stop
mode; LCD display will show P01 and blink continuously.
Press FOLDER BUTTON to read album number; press CD skip/search forward or backward button to read the
speciƧ c track number of said album.
Press program button again, LCD display will show P02 and blink continuously. Repeat above procedure to check all
programs being stored.
To cancel programmed memory:
During CD stop mode, press CD stop button once OR Open CD Door during CD stop mode.
The PROGRAM indicator will disappear from LCD DISPLAY.
Repeat all:
When CD MODE button is pressed twice, repeat all indicator will be shown on
LCD Display. The whole disc can be played continuously.
To cancel repeat function press CD mode button repeatedly until repeat indicator
disappears from LCD display.
Random play mode:
This feature allows tracks on the disc to be played in a random order.
During CD stop mode, press CD mode button three times, RANDOM indicator will be
shown on LCD display and all music will be played in random order automatically.
To cancel random play function, press CD mode button again, RANDOM indicator will
disappear from LCD display.
Program mode
During CD stop mode, press Program button once. The PROGRAM indicator and
number of Program to be memorized starts from the Ƨ rst program P01 will light up
and blink continuously.
Press cd skip/search forward or backward button to your desired musical track, LCD
display will show this appropriate track number. Press the program button to
store this track in memory.
Repeat above procedure until all desired tracks have been programmed. A total of 20
tracks can be stored into memory.
Whenever CD skip/search forward or backward button is pressed, it will always show
the last programmed track Ƨ rst to recall your memory.
After complete programming, LCD DISPLAY will show PROGRAM_ _ _ and fl ash
continuously.
Press cd play/pause button once to start program playback; CD Play indicator will
light up.
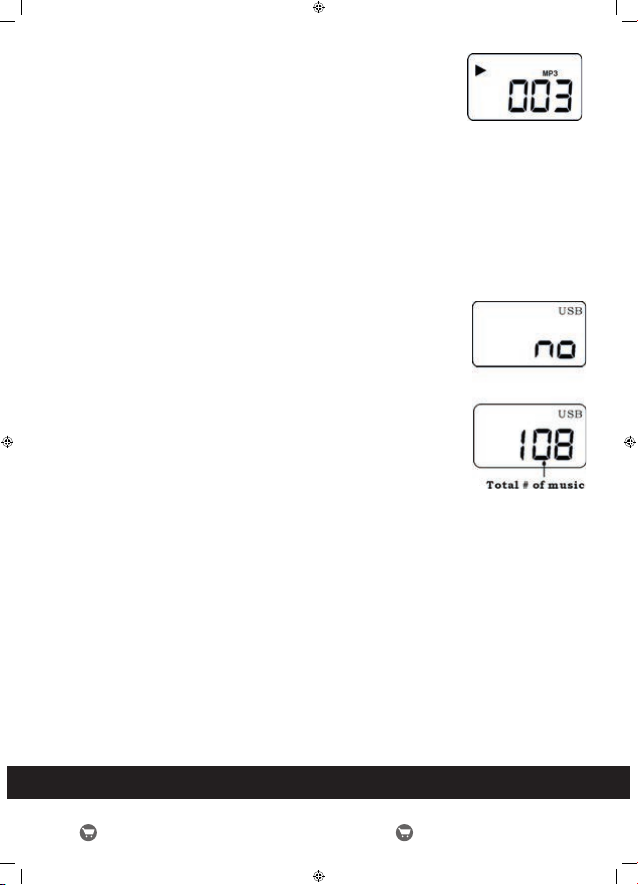
Example: Album # 3, Track # 2