horiba ISFET 0040-10D User manual

CODE:GZ0000245920G
January, 2017
© 2017 HORIBA Advanced Techno Co., Ltd.
〒601-8306 京都市南区吉祥院宮の西町 31 番地
http://www.horiba-adt.jp
製品に関する技術的なお問い合わせやご相談は、
カスタマーサポートセンターまでお願いいたします。
フリーダイヤル 0120-37-6045
受付時間 9:00 ~12:00、13:00 ~17:00(祝祭日を除く月曜日~金曜日)
ISFET pH 電極
0040-10D 取扱説明書
お買い上げいただきありがとうございます。ISFET pH 電極
はpH 応答部が半導体センサのため、ガラス pH 電極に比べ
て割れにくく、取り扱いが容易です。この ISFET pH 電極
は、pH メータ(D-10、D-20、D-50、D-70、F-10、F-20、F-
50、F-70 シリーズ)に接続して使用できます。ご使用にな
る前にこの取扱説明書をお読みください。
本書は、日本語で作成された原文です。
保証と責任の範囲
保証期間内(お買い上げ日より 1年間)に、正常な使用状態
において万一故障した場合には、無償で交換または修理いた
します。その際はお買い上げの販売店にご連絡ください(た
だし変換器のみ、センサ部については新品不良のみ無償交換
いたします)。
本保証には、事故、災害、誤用、不注意、および弊社以外の
者による分解、改造により生じた損傷の修理サービスは含ま
れません。
製品が良好な稼動状態でない場合のお客様に対する救済手
段は、弊社による製品の修理または製品の交換に限られるも
のとします。弊社はいかなる場合にも、お客様の逸失利益お
よび第三者からお客様に対してなされた賠償請求に基づく
損害については責任は負わないものとします。
安全のための注意
製品取り扱い上の注意
この製品は工業環境以外で使用することを想定した製
品です。工業環境においては、電磁環境の影響により誤
動作を引き起こす可能性があり、その場合には使用者が
適切な対策を講ずることが必要になることがあります。
測定サンプルや長時間の測定によって、センサ部材が溶
出するおそれがあります。食品などのサンプルを測定し
た場合、測定したサンプル全体または電極が接触した部
分は食用に使用しないでください。
また使用後のサンプルが皮膚に付いた場合は、水および
石鹸か皮膚用の洗剤で十分洗い流してください。
故障の原因となりますので、本書で指示していない部分
を分解しないでください。
応答部やセンサ部端子に触れないでください。静電気で
故障する可能性があります。
保管は高温多湿や直射日光が当たる場所を避け、乾燥状
態で保管してください。
電極を落としたり、センサ部や変換器に無理な力を加え
たりしないでください。
電極コネクタやセンサ部端子は、ぬらさないようにして
ください。
高温や0.01 mol/L以上の濃度の酸またはアルカリのサン
プル中での連続測定はセンサ部の寿命を低下させます
ので、注意してください。
酸性チオ尿素などの強い還元物質が共存するサンプル
は、応答部の劣化を早めますので注意してください。
使用温度範囲(センサ部:液温 0~60C、変換器:周囲
温度 0~40C)で、使用してください。
センサ部は消耗品です。センサ部を破損したり、性能が
劣化した場合は、新品のセンサ部に交換してください。
センサ部の修理はできません。
注 意
電極先端がとがっていますので、けがをしないよう取り扱いに注
意してください。
校正に用いる標準液が皮膚に付いた場合は十分水洗いをしてくだ
さい。万一目に入った場合は、ただちに 15 分以上洗眼を行い医
師にご相談ください。
比較電極内部液の滲み出しにより、液絡部に白い粉や液
が生じることがありますが、異常ではありません。イオ
ン交換水などで洗浄してお使いください。
比較電極内部液が皮膚に付いた場合は十分水洗いをし
てください。万一目に入った場合は、ただちに洗眼を行
い医師にご相談ください。
測定上の注意
液体サンプルの測定において、応答部に気泡が付着する
と測定誤差の原因になります。気泡が付着した場合は、
電極を軽く振ったり、センサ部をサンプルからいったん
引き上げたのち再浸漬したりして、気泡を取り除いてく
ださい。
直射日光下や窓際での測定は避けてください。
窓際で測定した場合、測定値は 0.1 pH 程度変動するこ
とがあります。
応答部や液絡部が汚れていると測定誤差の原因となり
ます。汚れている場合は、「6.1 応答部の洗浄」(4ペー
ジ)を参照して洗浄してください。
電池取り扱いの注意
電池寿命は、約 500 時間です。付属の電池は、寿命が短
い場合があります。
電池の使い方を誤ると、液漏れ、破損のおそれがありま
す。以下のことを守ってください。
充電はできません。
長時間ご使用にならないときは、電池を取り出して
おいてください。
液が漏れた場合は、新しい電池に交換する前に、バッ
テリーケース内に付着した液をよくふき取ってくだ
さい。
電池を子供の手の届くところに置かないでください。万
一飲み込んだときはただちに吐かせ医師にご相談くだ
さい。
取りはずした電池を火中に投げたりしないでください。
1製品の概要
1.1 内容物
1.2 各部の名称
センサ部(0141)
品名 数量
センサ部(0141)1本
変換器 1台
電池 CR2032 2 個
3.33 mol/L KCl 溶液(形式 300、ポリ容器) 1個
取扱説明書(本書) 1部
ドライバー 1本
応答部 /液絡部 センサ部端子
エンドキャップ
Oリング

2
変換器
1.3 仕様
2準備
はじめて使用する場合、以下の手順で ISFET pH 電極の準備
を行ってください。
2.1 電池のセット
1. 変換器カバーを、裏面のツメを軽く浮かせて、ゆっくり
と引き抜いてください。
2. 電池(CR2032)を、バッテリーケースの +側の金具に
電池の端を滑り込ませるようにしてセットします。2 個
とも +側を上にしてください。
3. 変換器カバーを取り付けます。変換器カバー裏面 のツメ
の穴 aに突起 Aがはまるようにしてください。
製品形式 0040-10D
センサ部形式 0141
測定範囲 pH 0 ~14
使用温度範囲 0~60C(センサ部)、0~40C(変換器)
保存温度範囲 0~40C
電極長さ 190 mm(リード部は除く)
応答部 ISFET(イオン感応性電界効果トランジスタ)
内部電極 銀 /塩化銀電極
比較電極内部液 CMC(カルボキシメチルセルロース)、グリセリン、
飽和 KCl
液絡部材質 多孔性ポリエチレン焼結体
センサ部材質 五酸化タンタル、液晶ポリマー、エポキシ樹脂、ポリ
エチレン樹脂、金、チタン
応答部高さ 1 mm(電極先端からの位置)
適用 pH メータ
機種
D-10、D-20、D-50、D-70、F-10、F-20、F-50、F-70
シリーズ
電源 DC 6 V CR2032 2
オートパワー OFF 機能付き(1時間)
表示 Meas. LED(電源 ON 時緑色点滅)、
Low Batt. LED(電池電圧低下時赤色点滅)
リード線長さ 1 m
電源スイッチ
ナット
Meas. LED
変換器カバー Low Batt. LED
電極コネクタ コネクタカバー
温度コネクタ
リード線
ゼロ調整ボリューム
+金具
+金具 電池
a
A
2.2 センサ部のセット
注
記
応答部やセンサ部端子に触れないでください。静電気で故障す
る可能性があります。
ナットは隙間なく締めてください。締め方がゆるいと内部に水
が入り故障します。
1. センサ部のエンドキャップをはずし、液絡部シールをは
がしてください。センサ部に Oリングが付いていること
を確認してください。
2. 変換器のナットを左に回して取りはずしてください。
3. センサ部と変換器の△マークを合わせ、Oリングがよじ
れないように注意しながら、センサ部を変換器にゆっく
りと差しこみます。ナットを右に回してセンサ部を固定
します。
2.3 pH メータへの接続
校正 /測定を行う前に、以下の手順で ISFET pH 電極の準備
を行ってください。
1. pH メータ本体のコネクタ受け口のピンに合わせて電極
コネクタの溝を差し込んでください。溝に合わないうち
に無理に押し込まないでください。
2. 電極コネクタの金属部を持ち、溝に従って右に回しなが
ら押し込んでください。
3. コネクタカバーを電極コネクタにかぶせ、pH メータの
ケース部に軽くあたるところまでまっすぐ押し込んで
ください。けっして回したりしないでください。
4. pH メータ本体のジャック部に温度コネクタを、奥に突
き当たるまでしっかりと差し込んでください。
3 ISFET のゼロ調整
ISFET では標準液による電極校正の前に、ISFET のゼロ調
整が必要です。
1. 応答部と液絡部が完全に浸かるように 3.33 mol/L KCl 溶
液(形式 300)に 10 分以上浸漬してください。
注
記
初めて使用する場合や長期間(1週間以上)使用しなかった場合、
3.33 mol/L KCl 溶液(形式 300)に 30 分程度浸漬してから使用して
ください。
2. 浸漬後は応答部と液絡部をイオン交換水で十分に洗浄
し、ろ紙などで軽くたたくようにふき取ってください。
3. 電源スイッチを押して、電源 ON にしてください。
Meas. LED が緑色に点滅します。
センサ部端子
エンドキャップ
Oリング
液絡部シール
ナット
△マーク
ナット
Max. 70 mm
ここから上は
浸けないでください
点滅
電源スイッチ

3
注
記
電源 ON の状態で約 1時間経過すると、電源切り忘れ防止のため、自
動的に電源 OFF になります。
4. pH 7 標準液に応答部と液絡部が 完全に浸漬するように
してください。
応答部や液絡部周辺に気泡が付いている場合は、電極を
軽く振ったり、センサ部をサンプルからいったん引き上
げたのち再浸漬したりして、気泡を取り除いてくださ
い。
5. ゼロ調整ボリュームをマイナスドライバで回して、pH
メータの指示値が下記の範囲に入るようにゼロ調整し
てください。
注
記
ゼロ調整ボリュームは可動範囲を超えて回すと、破損する可能
性があります。可動範囲内で調整してください。
pH測定モードでゼロ調整する場合は、ゼロ調整の前にpHメータ
の取扱説明書に従って校正値を消去してください。
6. 標準液による電極校正は、pHメータの取扱説明書に従っ
てください。
4測定の手順
1. 応答部と液絡部をイオン交換水で十分に洗浄し、ろ紙な
どで軽くたたくようにふき取ってください。
2. 下記のサンプルに応じた操作を行い、pH メータの取扱
説明書に従って、測定を行ってください。
溶液の測定
サンプルに応答部と液絡部が完全に浸漬するようにしてく
ださい。
応答部や液絡部周辺に気泡が付いている場合は、電極を軽く
振ったり、センサ部をサンプルからいったん引き上げたのち
再浸漬したりして、気泡を取り除いてください。
寒天などの半固形物の測定
サンプルの中にセンサ部の応答部と液絡部が完全に埋まる
までゆっくり突き刺してください。
Max. 70 mm
ここから上は
浸けないでください
ゼロ調整ボリューム
・mV 測定モードの場合
・pH 測定モードの場合
0 ±10 mV
pH 7 標準液の pH 値に対し ±0.2 pH
可動範囲
250
Max. 70 mm
ここから上は
浸けないでください
良い 良くない
応答部 /液絡部 応答部 /液絡部
サンプル サンプル
肉などの固形物の測定
1. センサ部先端サンプルに軽く押し当ててください
2. 応答部と液絡部がサンプルに接触するようにゆっくり
倒してください。このときサンプルと応答部、液絡部の
間にすきまができないように軽く押し当ててください。
固体表面の液滴の測定
固形物の測定と同様に行ってください。
注
記
測定サンプルや長時間の測定によって、センサ部材が溶出するおそ
れがあります。食品などのサンプルを測定した場合、測定したサン
プル全体または電極が接触した部分は食用に使用しないでくださ
い。
また使用後のサンプルが皮膚に付いた場合は、水および石鹸か皮膚
用の洗剤で十分洗い流してください。
より正確な測定のために(推奨条件)
精密な測定を行うときには、以下の項目に注意してくださ
い。
測定/校正時はサンプルをスターラで、液が波立たない程
度にゆっくり撹拌してください。
校正に用いる標準液と測定サンプルの温度を同じにし
てください。温度差が 10Cの場合、測定値は 0.5 pH 程
度変動することがあります。
測定前に電極をサンプルで共洗いするなど、電極とサン
プルをなじませておいてください。
校正は測定前に測定ごとに行ってください。
校正前に 3.33 mol/L KCl 溶液(形式 300)に 30 分程度浸
けてからお使いください。
5保管
1. 電源スイッチを OFF にしてください。
Meas. LED が消灯します。
2. 電極に付着したサンプルなどをイオン交換水で十分に
洗浄し、ろ紙などでふき取り、乾燥状態で保管してくだ
さい。
注
記
高温多湿や直射日光があたる場所を避け、乾燥状態で保管してくだ
さい。
応答部 /液絡部
サンプル
応答部 /液絡部
サンプル
消灯
電源スイッチ

4
6保守
6.1 応答部の洗浄
応答部が汚れていると、応答速度や感度の低下、測定誤差の
原因になります。汚れがひどくイオン交換水で洗っても落ち
ない場合は、以下の方法で応答部を洗浄してください。
1. 汚れの種類に応じた洗浄液(下表参照)を用いて、セン
サ部の応答部と液絡部を洗浄してください。
注
記
有機溶媒、0.01 mol/L 以上の濃度の酸やアルカリを用いての洗
浄は避けてください。センサ部の寿命を低下させる可能性があ
ります。
ガラス電極用の洗浄液(形式 220)は使わないでください。応
答部が劣化します。
2. 洗浄後は応答部と液絡部をイオン交換水で十分にすす
ぎ洗いをしてください。
注
記
洗浄後は必ず校正を行ってください。
6.2 センサ部の交換
センサ部は消耗品です。応答部を洗浄しても以下の現象とな
る場合には、新品のセンサ部に交換してください。
感度や応答速度が復帰しない
「3 ISFET のゼロ調整」(2ページ)の方法でゼロ調整がで
きない
標準液での校正ができない
1. 電源スイッチを OFF にしてください。
2. ナットを左に回して取りはずし、センサ部を変換器から
ゆっくりと引き抜いてください。
3. 「2.2 センサ部のセット」(2ページ)に従って、新しい
センサ部を取り付けてください。
注
記
センサ部端子には触れないでください。静電気で故障する可能性が
あります。
汚れの種類 洗浄液の種類 洗浄方法
一般的な汚れ、
油分の汚れ
薄めた
中性洗剤
洗浄液を含ませたガーゼなどでふき
とる。
洗浄液を含ませた柔らかめの歯ブラ
シでこする。
弱アルカリ性
洗浄液
洗浄液に浸け置きする。浸け置き時間
は汚れの状況に応じて適宜決めてくだ
さい。その他、洗浄液の使いかたは、
各メーカの説明書に従ってください。
たんぱく質など
の有機物の汚れ
洗浄液
(形式 250)
洗浄液に浸け置きする。浸け置き時間
などは洗浄液の取扱説明書を参照くだ
さい。
塩化銀の汚れ 5% アンモニ
ア水 30 分程度浸け置きする。
無機成分の汚れ 0.01 mol/L 未
満の塩酸 1時間程度浸け置きする。
ナット
6.3 電池の交換
電池寿命は、約 500 時間です。
電池の残量が少なくなると、Low Batt. LED が赤色に点滅し
ます。(完全に電池切れの時は点滅しません。)以下の方法
で、電池を交換してください。
1. 「6.2 センサ部の交換」(4ページ)に従って、センサ部
を変換器からゆっくりと 引き抜いてください。
2. 「2.1 電池のセット」(2ページ)に従って、新しい電池
に交換してください。
古い電池は、ボールペンの先などを利用して取りはずし
てください。
3. 「2.2 センサ部のセット」(2ページ)に従って、センサ
部を取り付けてください。
注
記
電池は 2個同時に新品の CR2032 と交換してください。
センサ部端子には触れないでください。静電気で故障する可能
性があります。
センサ部を付けたまま変換器カバーを取りはずすと故障の原因
となります。必ずセンサ部を先に取りはずしてください。

For any questions regarding this product, please contact your local agency,
or inquire from the following website.
http://global.horiba.com/contact_e/index.htm
http://www.horiba-adt.jp
31, Miyanonishi-cho, Kisshoin Minami-ku, Kyoto, 601-8306, Japan
CODE:GZ0000245920G
January, 2017
© 2017 HORIBA Advanced Techno Co., Ltd.
ISFET pH Electrode
0040-10D Instruction Manual
Thank you for purchasing a HORIBA ISFET pH electrode.
This product is less fragile and more easy to handle than
existing glass pH electrodes because of semiconductor, and
can be used with pH meters (D-10, D-20, D-50, D-70, F-10,
F-20, F-50 and F-70 series). Read this manual carefully
before use.
This is the English translation of an original Japanese
document.
Warranty and responsibility
The product (the converter excluding batteries, sensor, and
accessories) shall be repaired or replaced free of charge
should any malfunction occur during the course of normal
use if returned within the warranty period (12 months from
date of purchase). Return the converter with proof of
purchase date.
This warranty does not cover damages caused by
accidents, disasters, misuse, carelessness, and
unauthorized disassemble and remodeling.
The sole and exclusive remedy of HORIBA Advanced
Techno Co., Ltd. under this limited warranty shall be repair
or replacement of the product within a commercially
reasonable time from notification.
In any case, HORIBA Advanced Techno Co., Ltd. shall not
be responsible for customer’s passive damages, or
damages which may arise from claims instituted by a third
party against customers.
EU regulations
Conformable standards
This equipment conforms to the following standards:
Information on disposal of electrical and electronic
equipment and disposal of batteries and accumulators
The crossed out wheeled bin symbol with underbar shown
on the product or accompanying documents indicates the
product requires appropriate treatment, collection and
recycle for waste electrical and electronic equipment
(WEEE) under the Directive 2012/19/EU, and/or waste
batteries and accumulators under the Directive 2006/66/EC
in the European Union.
The symbol might be put with one of the chemical symbols
below. In this case, it satisfies the requirements of the
Directive 2006/66/EC for the object chemical.
This product should not be disposed of as unsorted
household waste.
Your correct disposal of WEEE, waste batteries and
accumulators will contribute to reducing wasteful
consumption of natural resources, and protecting human
health and the environment from potential negative effects
caused by hazardous substance in products.
Contact your supplier for information on applicable disposal
methods.
EMC: EN61326-1
Class B, Basic electromagnetic environment
RoHS: EN50581
9. Monitoring and control instruments
Warning: This product is not intended for use in industrial
environments. In an industrial environment,
electromagnetic environmental effects may cause the
incorrect performance of the product in which case
the user may be required to take adequate measures.
Authorised Representative in EU
HORIBA UK Limited
2 Dalston Gardens, Stanmore, Middx HA7 1BQ, UK
FCC Warning
This equipment has been tested and found to comply with
the limits for a Class A digital device, pursuant to part 15 of
the FCC Rules. These limits are designed to provide
reasonable protection against harmful interference when the
equipment is operated in a commercial environment. This
equipment generates, uses, and can radiate radio frequency
energy and, if not installed and used in accordance with the
instruction manual, may cause harmful interference to radio
communications. Operation of this equipment in a
residential area is likely to cause harmful interference in
which case the user will be required to correct the
interference at his own expense.
Safety precautions
Points of concern
Only use the product including accessories for their
intended purpose.
The materials used of the electrode may dissolve in the
sample depending on the specified sample or lengthy
measurement. Do not eat the whole, or the part around
where the electrode sensor touched, of measured
samples.
If measured sample gets on the skin, wash off it com-
pletely with soap and water.
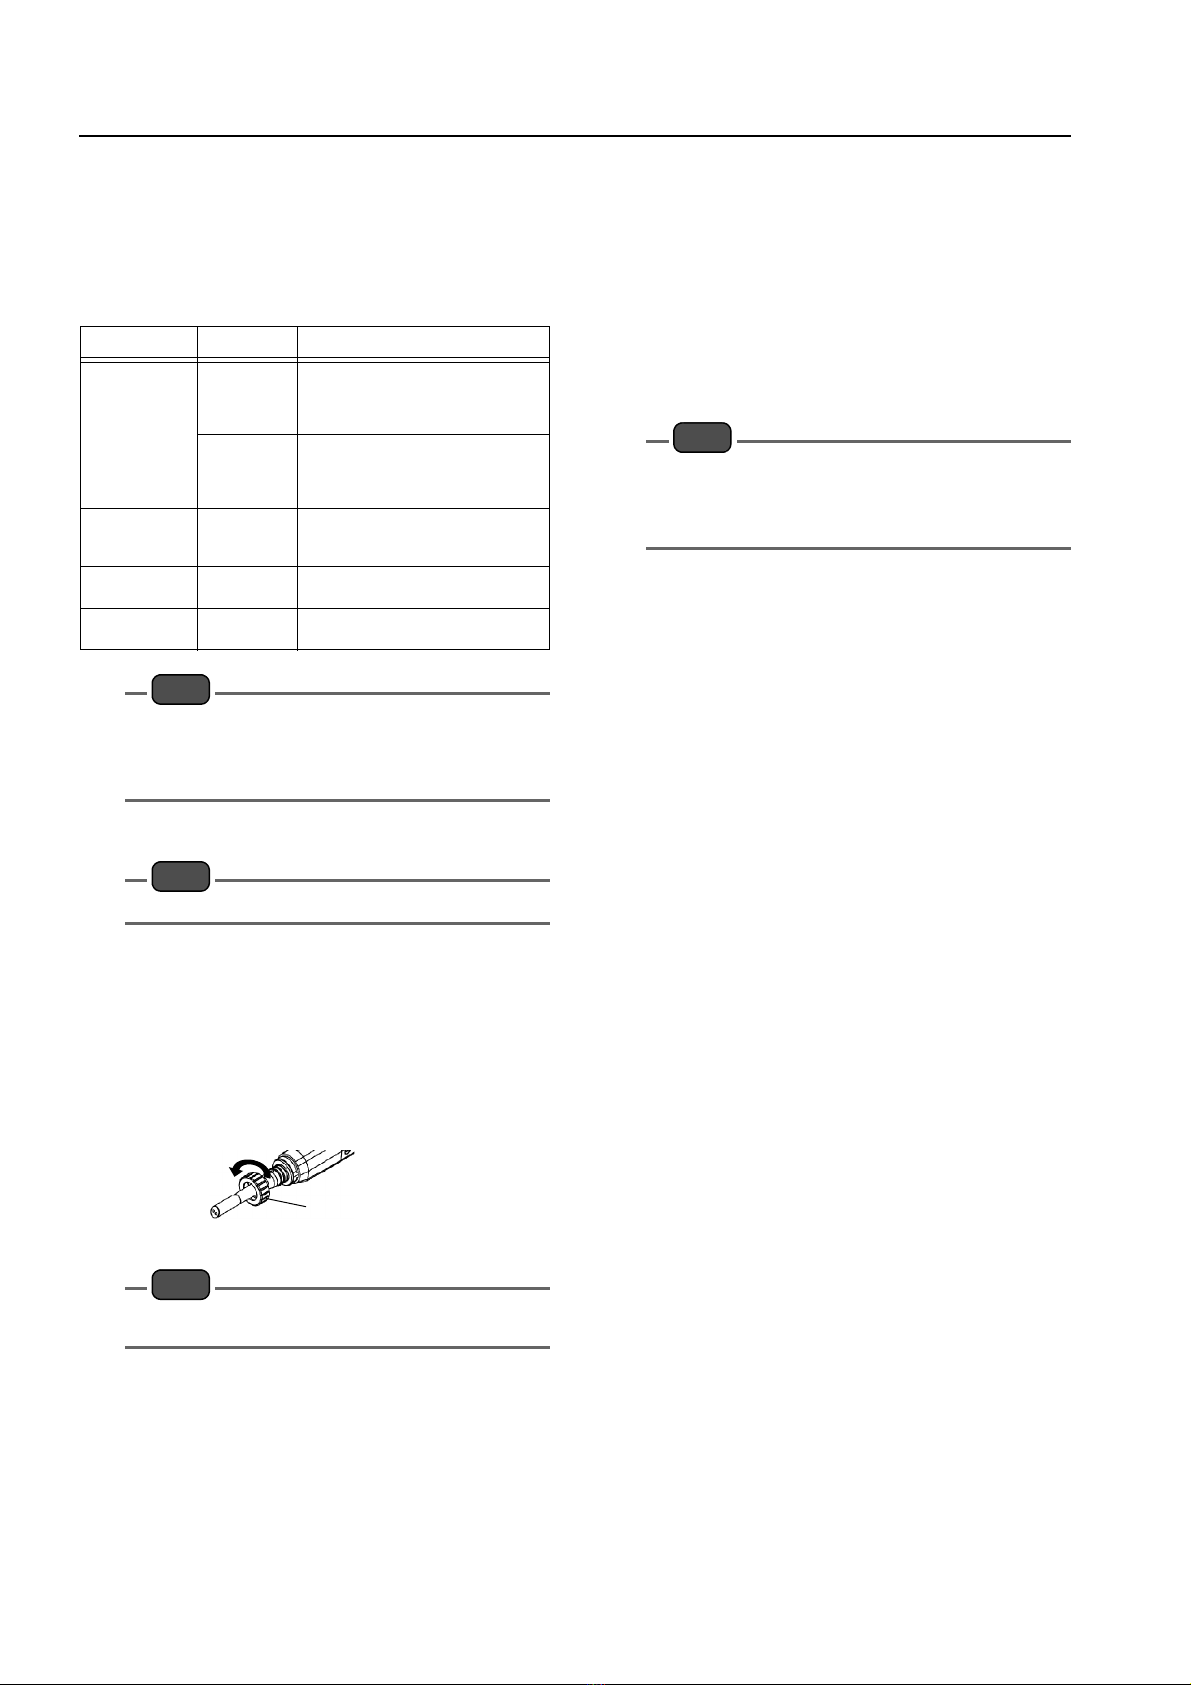
Do not disassemble any parts not specified in this
manual. This may cause malfunction.
Do not touch the sensing part and sensor terminal, or It
may be damaged by static electricity.
Store the product in dry conditions. Storage area should
be kept away from high temperature, high humidity, and
direct sunlight.
Do not drop the electrode. And do not apply excessive
force to the sensor and converter.
Avoid continuous use in high temperature, acids or alkali
sample of 0.01 mol/L or thicker. Failure to comply may
cause decline life period of the sensor.
Samples containing strong reducing agents including
acidic thiourea may deteriorate the sensing part of the
sensor.
Make sure to use the electrode at a temperature within
the specified usable range (sensor: 0C to 60C,
converter: 0C to 40C).
The sensor is a consumable. If it is damaged or
deteriorated, replace a new sensor. The sensor cannot
be repaired.
White powder or solution may be generated at the liquid
junction. This is leaked internal solution of the reference
electrode, and not a symptom of trouble. Rinse the
sensor with ion-exchange water before use.
CAUTION
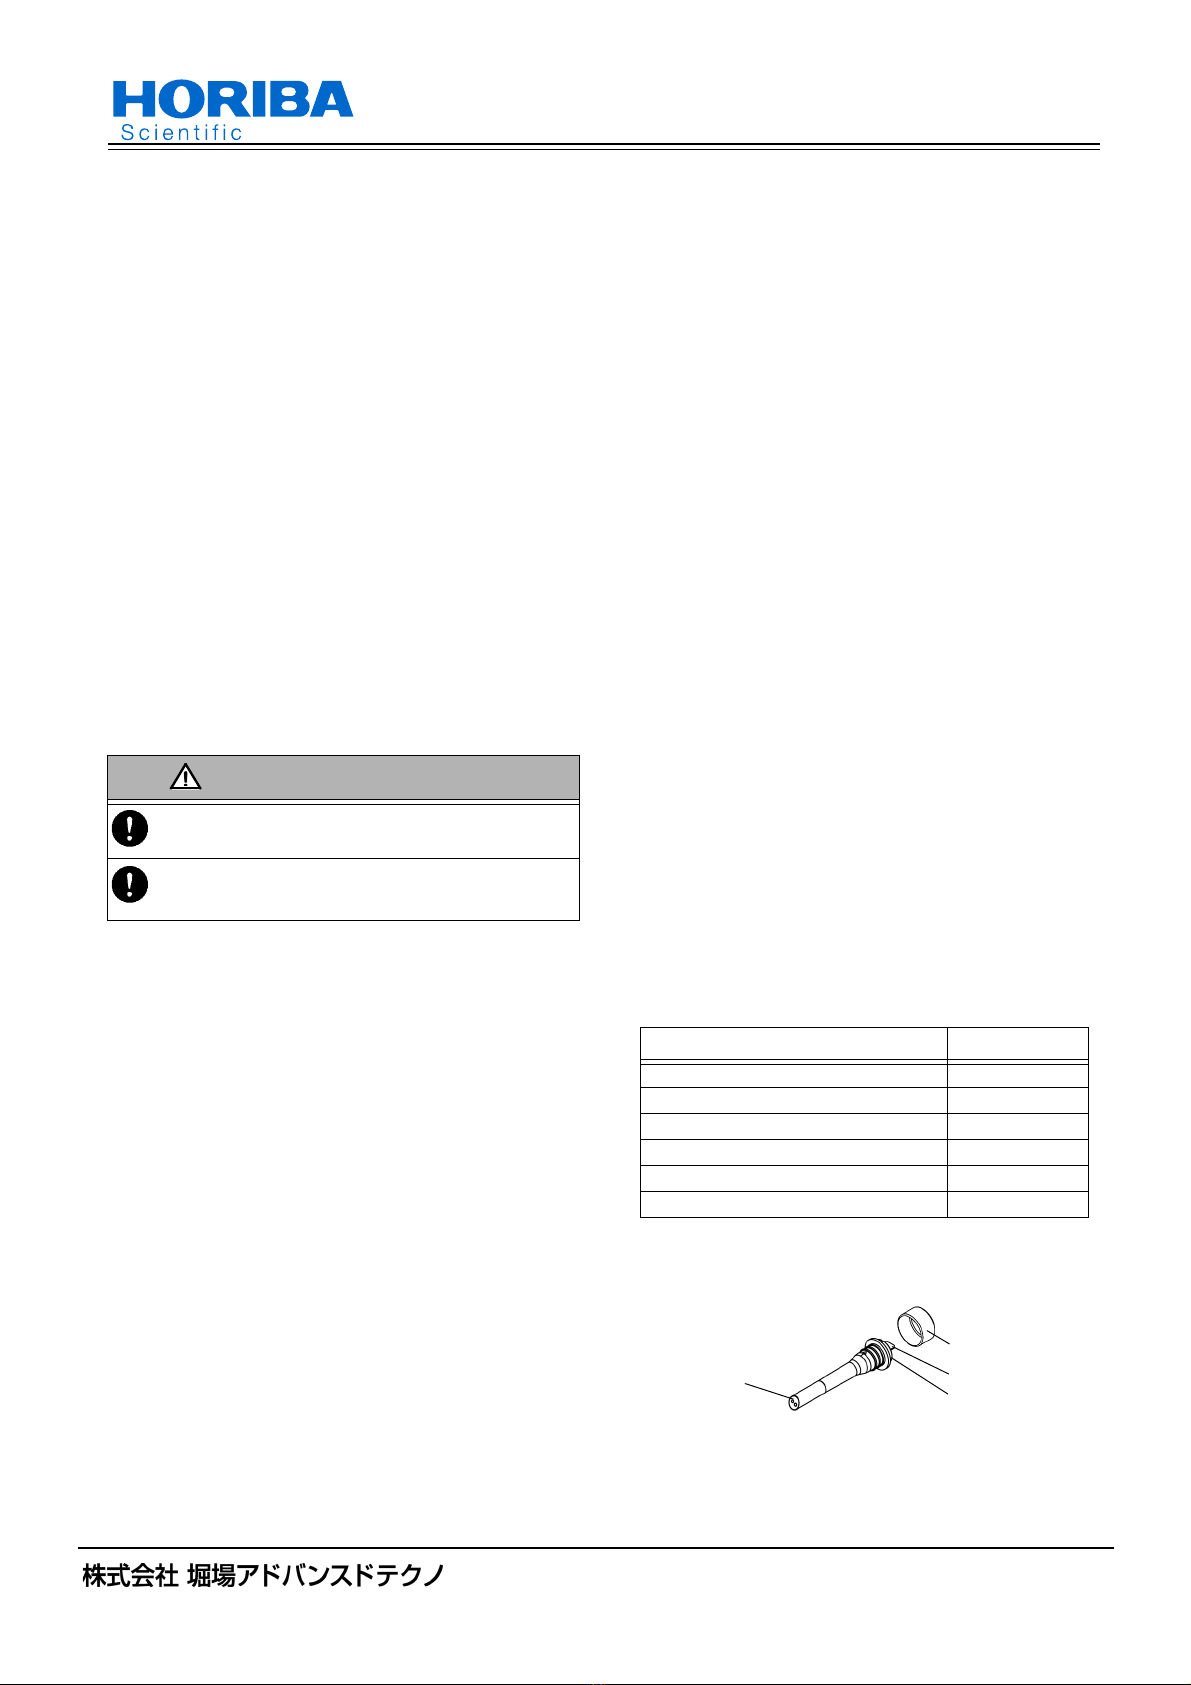
Handle carefully the sharp electrode tip to not get hurt.
If calibration standard solution gets on the skin, wash off it
completely. In case that the solution gets into the eyes, continue to
flush the eyes with running water for at least 15 minutes. And after
washing the eyes thoroughly, get medical help immediately.

2
If internal solution of the reference electrode gets on the
skin, wash off it completely. In case that the solution gets
into the eyes, continue to flush the eyes with running
water. And after washing the eyes thoroughly, get
medical help immediately.
Precautions in measurements
In the measurement of liquid sample, if the sample has
bubbles, the bubbles may adhere to the sensing part.
Bubbles on the sensing part may affect a measurement
precision.
If necessary, swing the sensor gently in the solution or
lift the sensor from the solution and immerse it again to
remove bubbles near the sensing part and liquid
junction.
Measure in a place avoiding direct sunlight and not by
the window. If measurement is performed by the win-
dow, the measurement value may differ 0.1 pH.
Dirt on the sensing part or liquid junction will affect
accuracy adversely. Keep the sensor clean referring to “
Cleansing the sensing part ” (page 4)".
Battery management
The battery life is about 500 hours. The attached
batteries may be shorter in life than new ones.
Misusing batteries may cause an internal solution leak
or a damage of the batteries. Follow the instruction
below.
CR2032 batteries are not rechargeable.
Remove the batteries from the converter before
prolonged nonuse.
If the battery solution leaks, wipe away the spilled
solution from the battery case before replacing the
batteries.
For child’s safety, keep batteries away from children. If
your child does swallow a battery, take him or her to the
emergency room immediately.
Do not throw batteries into fire.
1 Specifications and Components
1.1 Packaged Contents
1.2 Components
Sensor (0141)
Converter
Name Q’ty
Sensor (0141) 1 pc
Converter 1 pc
Battery CR2032 2 pcs
3.33 mol/L KCl solution (model 300, polyeth-
ylene container)
1 pc
Instruction manual (this book) 1 booklet
Screw driver 1 pc
Sensor terminal
End cap
O-ring
Sensing part
/Liquid junction
Power switch
Nut Meas. LED
Converter cover Low Batt. LED
Electrode connector Connector cover
Temperature connector
Cable
Zero adjustment volume
1.3 Specifications
2 Preparation
For the first use, prepare the ISFET pH electrode as follows:
2.1 Setting batteries
1. Unhook and draw the converter cover slowly.
2. Set two new batteries (CR2032) by slide them under the
positive contacts with the positive poles of the batteries
up.
3. Attach and hook the converter cover to the converter by
making the projection (A) fit in the hole (a) on the hook.
2.2 Assembling sensor and converter
Note
Do not touch the sensing part and sensor terminal, or It may
be damaged by static electricity.
When tightening the nut, no gap should be left between the
nut and the sensor. If the nut is not tightened enough, water
may enter the inside of the sensor and the sensor may be
damaged.
1. Remove the end cap from the sensor, and the seal from
the liquid junction. Make sure that the O-ring is attached
to the sensor.
Electrode model 0040-10D
Sensor model 0141
Measurement range pH 0 to 14
Usable temperature
range
[Sensor] 0C to 60C, [Converter] 0C to 40C
Storage temperature
range
0C to 40C
Electrode length 190 mm (excluding cable)
Sensing device ISFET (Ion-sensitive field-effect transistor)
Internal electrode Silver/ silver chloride electrode
Reference electrode
internal solution
Carboxymethyl cellulose (CMC), glycerin,
saturated KCl
Liquid junction material Porous sintered polyethylene
Sensor material Tantalum pentoxide, LCP, epoxy resin,
polyethylene resin, gold, titanium
Height of sensing part 1 mm (from the tip of electrode)
Application D-10, D-20, D-50, D-70, F-10, F-20, F-50, F-70
series
Power 6 V DC CR2032 2, Auto power OFF (1 h)
LED indicator Meas. LED (green blink while the power is ON),
Low Batt. LED (red blink when the battery
voltage is low)
Cable length 1 m
Positive contacts
Battery
contacts
Positive
a
A

3
2. Turn the nut to the left to remove it from the converter.
3. Insert the sensor to the converter slowly checking that
the O-ring is untwisted, and match the △marks on the
sensor and converter. Then turn the nut to the right to fix
the sensor.
2.3 Connecting to pH meter
Before calibration or measurement, prepare the ISFET pH
electrode as follows:
1. Insert the electrode connector into the connector port on
the meter, after aligning with the pin. Do not insert the
connector unless it is aligned properly with the port.
2. Press the electrode connector into the port on the meter,
while turning the connector to the right.
3. Slide the connector cover over the electrode connector.
Then, push the cover in straight until it comes in light
contact with the meter case. Do not turn the cover.
4. Insert the temperature connector securely into the jack
on the meter.
3 Zero adjustment of the ISFET
ISFET needs the zero adjustment procedures before
calibration with standard solution.
1. Immerse the sensing part and liquid junction completely
into 3.33 mol/L KCl solution (model 300) for 10 minutes
or longer.
Note
For the first use, or use after a long interval (one week or
longer), immerse the sensor tip in 3.33 mol/L KCl solution
(model 300) for approximately 30 minutes before use.
2. After that, rise them with ion-exchange water and wipe
them by patting the electrode dry with filter paper.
3. Press the power switch to turn ON the power.
The Meas. LED blinks green.
Note
Automatic power OFF works in approximately 1 hour after
power ON.
4. Keep the electrode in pH7 standard solution, with the
sensing part and liquid junction completely immersed.
If necessary, swing the sensor gently in the solution or
lift the sensor from the solution and immerse it again to
Sensor terminal
End cap
O-ring
Liquid junction seal
Nut
△mark
Nut
Do not immerse
Up to 70 mm
Blinking
Power switch
remove bubbles near the sensing part and liquid
junction.
5. Adjust the zero point of the ISFET pH electrode by turn
the zero adjustment volume with a slot driver, to keep
pH meter readings within the range shown below.
Note
Do not turn the zero adjust volume over the range of move-
ment, or damage the volume.
Zero adjustment volume has a 250-degree range of
movement.
Before zero adjustment in pH measurement mode, clear the
existing calibration values. See the instruction manual of
the pH meter for the details.
6. Calibrate the ISFET pH electrode according to the
instruction manual of the pH meter you use.
4 Measurement
1. Wash the sensing part and liquid junction with ion-
exchange water and dry them by patting the electrode
dry with filter paper, prior to every immersion into
standard/sample solution.
2. Perform the following handling specified by sample, and
measure the sample according to the instruction manual
of the pH meter you use.
For liquid samples
Keep the electrode in the solution, with the sensing part and
liquid junction completely immersed.
If necessary, swing the electrode gently in the solution or lift
the sensor from the solution and immerse it again to remove
bubbles near the sensing part and liquid junction.
For semisolid sample such as agar
Stab the electrode in the sample until the sensing part and
liquid junction are buried fully.
For solid sample such as meat
3. Press the electrode tip into the sample slowly.
Do not immerse
Up to 70 mm
Zero adjustment volume
In mV measurement mode:
In pH measurement mode:
0 mV ±10 mV
±0.2 pH for the pH value of
250 degree range
pH 7 standard solution
of movement
Do not immerse
Up to 70 mm
Correct Incorrect
Sensing part/Liquid junction Sensing part/Liquid junction
Sample
Sample
Sensing part/Liquid junction
Sample

4
4. Lean the electrode slowly to contact the sensing part
and liquid junction with the sample. Make sure to keep
the sensing part close to the sample without a gap.
For droplet on the surface of solid
Perform in the same manner for solid sample.
Note
The materials used of the electrode may dissolve in the sample
depending on the specified sample or lengthy measurement. Do
not eat the whole, or the part around where the electrode sensor
touched, of measured samples.
If measured sample gets on the skin, wash off it completely with
soap and water.
Recommended conditions for accurate
measurement
For accurate measurement, note the items below.
Stir the sample gently with a stirrer during measurement
or calibration.
Standard solutions for calibration and measurement
samples should be the same in temperature. If tempera-
ture difference between them is 10C measured value
may differ 0.5 pH.
Rinse the electrode with the sample before
measurement.
Calibrate the electrode before every measurement.
Before use, immerse the sensor into 3.33 mol/L KCl
solution (model 300) for 30 minutes or longer.
5Storage
1. Turn OFF the power switch.
The Meas. LED turns OFF.
2. Wash the electrode well with ion-exchange water to
remove sample completely and wipe it with filter paper,
and store it in dry conditions.
Note
Avoid storing the electrode in a high temperature and humidity
place. Keep the electrode dry and out of direct sunlight.
6 Maintenance
6.1 Cleansing the sensing part
Dirt on the sensing part may affect the electrode response,
sensitivity, or a measurement precision. If the electrode is
very dirty and cannot be washed clean using ion-exchange
water, clean it as follows.
1. Clean the sensing part and liquid junction with cleansing
agent matched to its particular dirt.
Sensing part/Liquid junction
Sample
Turning OFF
Power switch
Type of dirt Cleansing
agent Cleaning procedure
General, Oily Diluted neutral
cleansing agent
Wipe off with gauze soaked in cleas-
ing agent.
Scrape with a tooth brush soaked in
cleasing agent.
General, Oily Alkalescent
cleansing agent
Immerse the electrode in the
cleansing agent.
Set the immersing time accordingly
depending on the dirt condition. Fol-
low the instruction manual of each
cleasing agent company how to use it.
Note
Do not use organic solvent (e.g. acetone, THF), acids or
alkali of 0.01 mol/L or more. Using these chemicals may
cause decline life period of the sensor.
Do not use the cleansing agent (model 220) for glass
electrode. It may deteriorare the sensing part.
2. Rinse the sensing part and liquid junction with ion-
exchange water completely.
Note
Be sure to calibrate the electrode after cleansing the sensing
part.
6.2 Replacing the sensor
“”The sensor is a consumable. If any of the following
symptoms is found after responsive-part cleaning, replace
the sensor in the procedures below.
Sensitivity or response speeds do not recover.
The electrode can not be adjusted in the way mentioned
in “ 3 Zero adjustment of the ISFET ” (page 3).
The electrode can not be calibrated with standard
solutions.
1. Turn OFF the power switch.
2. Turn the nut to the left to remove it. And pull out the
sensor from the converter.
3. Attach a new sensor referring to "2.2 Assembling sensor
and converter" (page 2).
Note
Do not touch the sensor terminal. It may be damaged by static
electricity.
6.3 Replacing batteries
The battery life is about 500 hours.
When battery voltage is low, the Low Batt. LED blinks red.
(The LED is off during battery shutoff.) In this case, replace
batteries as follows:
1. Pull out the sensor from the converter referring to "6.2
Replacing the sensor" (page 4).
2. Replace batteries with new ones referring to "2.1 Setting
batteries" (page 2). If used batteries are set, remove it
by using a ball-point pen or the like.
3. Attach the sensor referring to "2.2 Assembling sensor
and converter" (page 2).
Note
Replace two batteries (CR2032) with new ones at once.
Do not touch the sensor terminal. It may be damaged by
static electricity.
Make sure to remove the sensor prior to the converter
cover. Removing the cover with the sensor attached causes
malfunction.
Organic
substance such
as protein
Cleansing
agent
(model 250)
Immerse the electrode in the
cleansing agent. See the instruction
manual for cleasing agent for more
information about immersing time, etc.
Silver chloride 5% ammonia
water
Immerse the electrode in the
cleansing agent for 30 minutes.
Inorganic
substance
Hydrochloric
acid less than
0.01 mol/L
Immerse the electrode in the
cleansing agent for an hour.
Type of dirt Cleansing
agent Cleaning procedure
Nut
Table of contents
Other horiba Measuring Instrument manuals

horiba
horiba U-50 Series User manual

horiba
horiba F-7X BW Installation manual

horiba
horiba LAQUAact ES-71G User manual

horiba
horiba LAQUA WQ-310 User manual

horiba
horiba LAQUAact-DO120 User manual

horiba
horiba DO Tip 7541 User manual

horiba
horiba 9681-10D User manual

horiba
horiba 9681S-10D User manual

horiba
horiba HU-200TB SS-120 User manual

horiba
horiba 9615-10D User manual

horiba
horiba HR-200 User manual

horiba
horiba D-73 User manual

horiba
horiba APNA-370 User manual

horiba
horiba X-51 User manual

horiba
horiba 9618-10D User manual

horiba
horiba LAQUA F-71G User manual

horiba
horiba ihr550 Owner's manual

horiba
horiba 6377-10d User manual

horiba
horiba DS-51 User manual

horiba
horiba CFO-ONE User manual