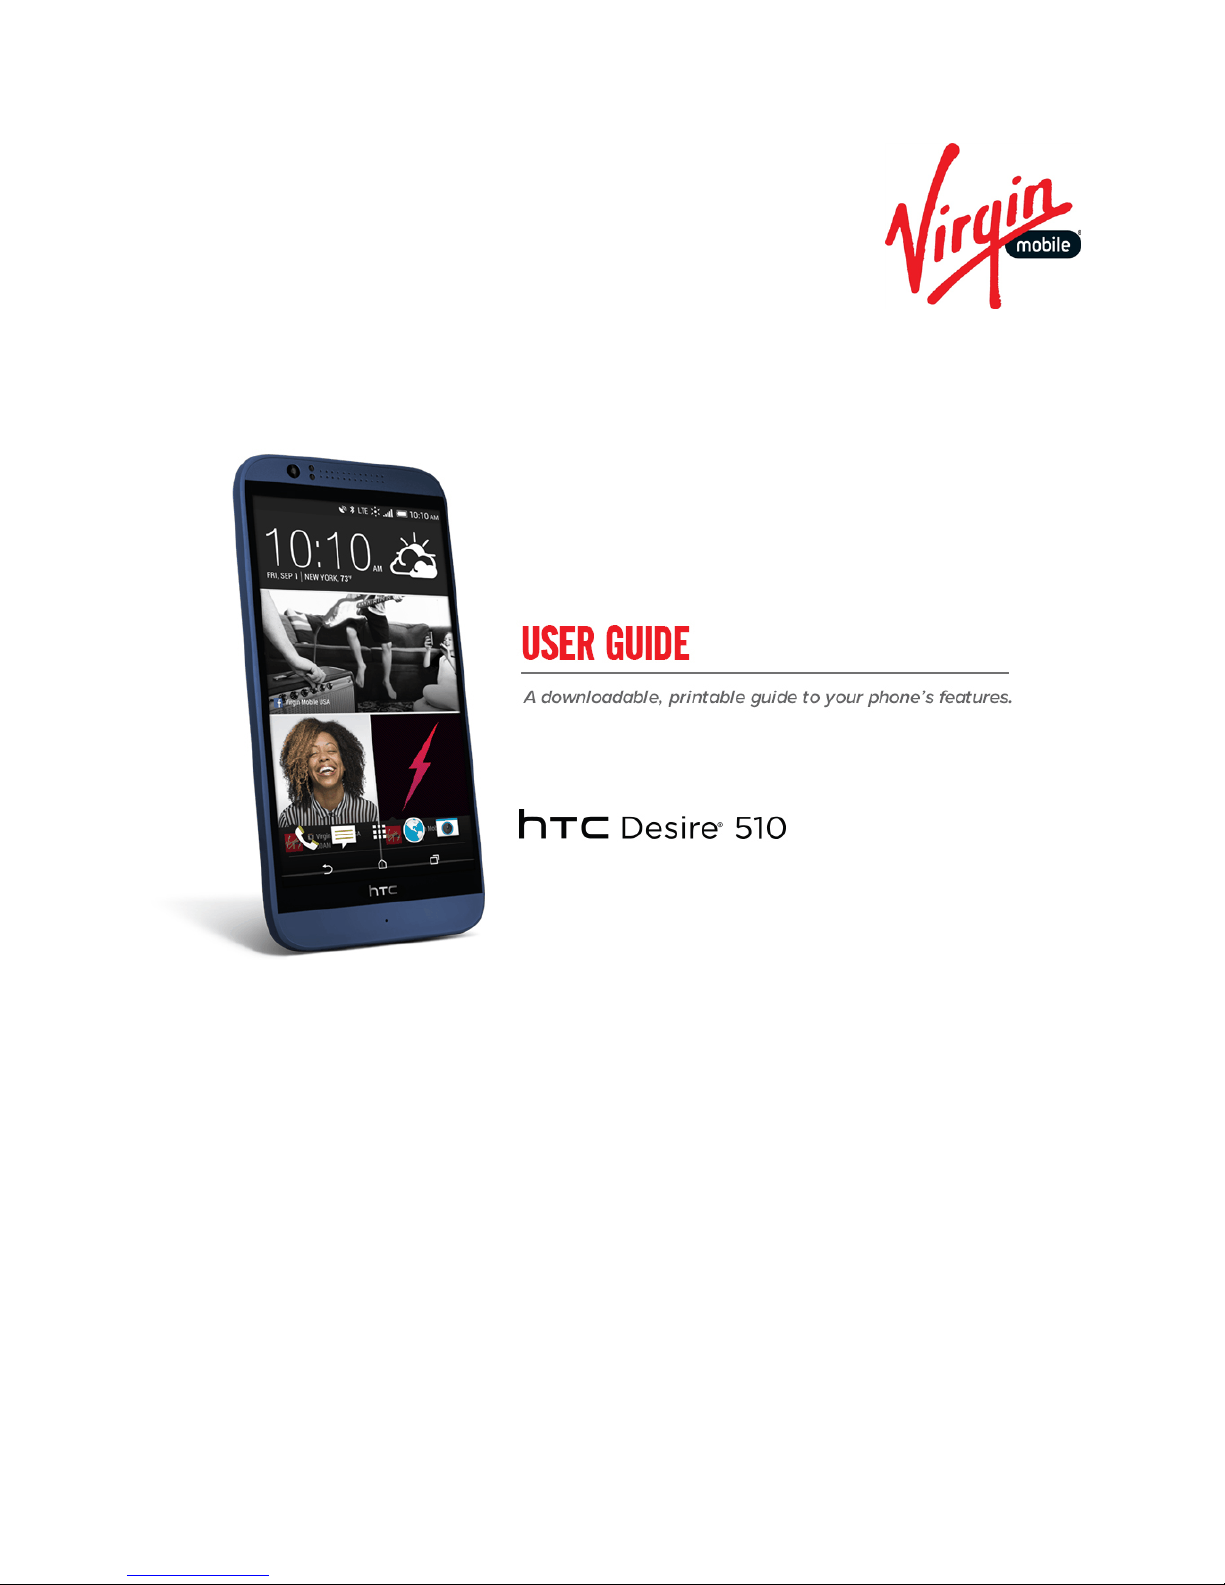
HTC Desire 510 User manual
Other HTC Cell Phone manuals

HTC
HTC Hero Android 2.1 Owner's manual

HTC
HTC ONE M8 EYE User manual
 User manual")
HTC
HTC One (M8) User manual

HTC
HTC Desire 820s dual sim User manual

HTC
HTC HTC Status User manual

HTC
HTC Dash 3G HS S200 User manual

HTC
HTC Desire 700 User manual

HTC
HTC HTC Status User manual

HTC
HTC HTC Legend Assembly instructions

HTC
HTC U11 life User manual

HTC
HTC Merge User manual

HTC
HTC Desire 816G User manual

HTC
HTC One M9 User manual

HTC
HTC PDA Phone User manual

HTC
HTC HTC One X User manual

HTC
HTC HTC Evo View 4G User manual

HTC
HTC Touch Pro RAPH500 User manual

HTC
HTC Desire XC User manual

HTC
HTC HTC Touch Diamond User manual

HTC
HTC Touch Pro US Cellular User manual