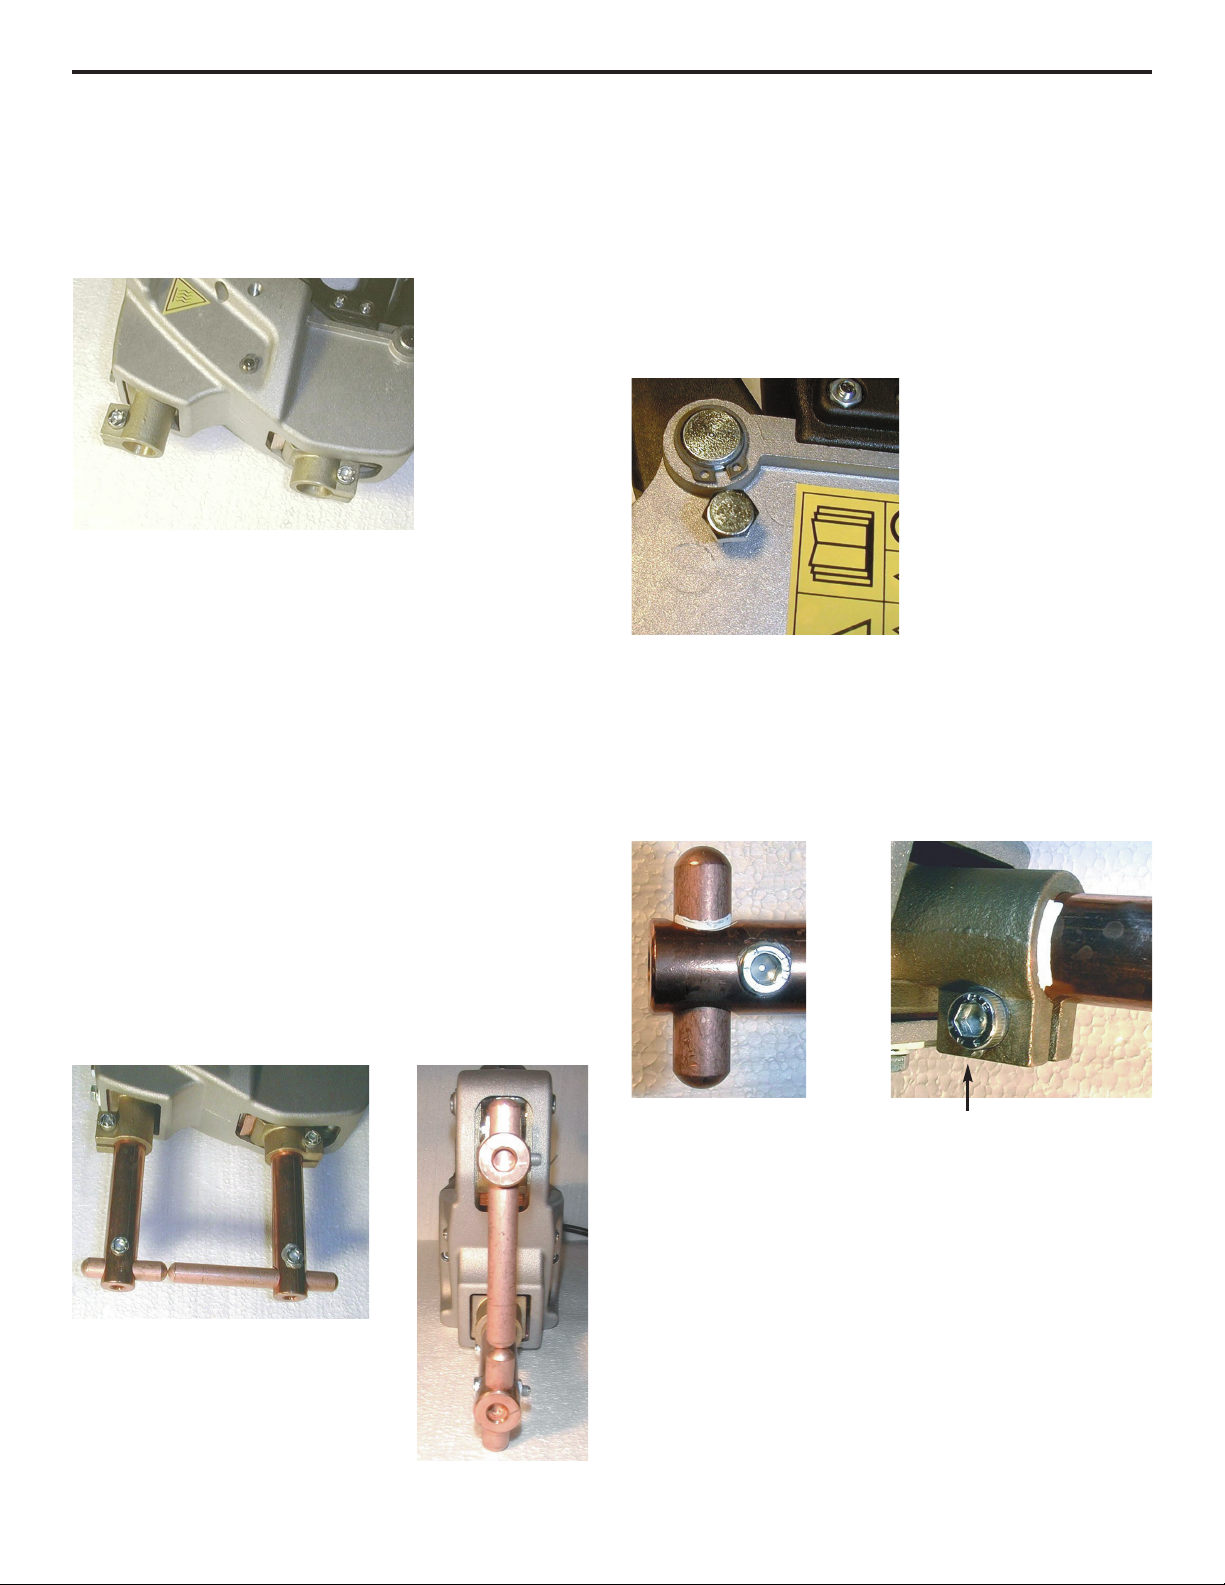
7
Fig 13 shows a typical rear quarter panel, with 5 main areas for
spot welding. As mentioned above, paint is an electrical
insulator. Each main spot weld area has one spot weld circled.
It is necessary to have FOUR CLEAN SIDES OF METAL in
each circled area. The first spot weld in each area should be
where you have four clean sides of metal. Once that spot
weld is in place, it is only necessary to remove paint from
panel/vehicle in the area where the electrodes will contact.
Paint or weld through primer can be present on the mating
surfaces of the panel/vehicle, since the welder will now
establish a ground through the first spot weld, which was made
through the four clean sides of metal. However, for optimum
results it is storngly advised to remove the any paint, under-
coating, or sealant from between the two panels. These
contaminents could effect the quality of the weld nugget.
A good tool for paint removal is a fibertex abrasive pad.
The second spot weld should be placed next to the first as
opposed to the other end of the panel. This way, the electricity
has to flow a shorter distance to the first weld which is
providing the ground. The third spot weld should be placed
close to the second, and so on. However, the welds should not
be placed closer than 3/4” together.
In the “REST” Position, the welding lever is fully up, and the
spot welding arms are completely open. As you compress the
welding lever, the jaws begin to close. When the electrodes
touch, the compression cycle begins, however, the welding
current has not yet started. Further compression of the welding
lever will force the end of the welding lever to contact the micro
switch and start the welding current. You will hear the
transformer hum and feel your Quick-Spot vibrate as the
welding current is activated. The timer will automatically stop
the welding process. Maintain pressure on the Welding lever
for 1 to 2 seconds more to allow the welding nugget to solidify.
In order to operate properly, your Quick-Spot must transfer the
welding current from the bottom spot welding tong, into the
bottom side of the lower panel, through the lower panel, into the
top of the lower panel, into the bottom of the upper panel,
through the upper panel, into top of the upper panel, and finally
into the top spot welding tong, completing the electrical circuit.
What this means is BOTH SIDES OF BOTH PANELS MUST
BE CLEAN TO ALLOW THE WELDING CURRENT TO
PASS THROUGH THEM. If they are not clean, then your
Quick-Spot will not work correctly.
We always advise you make sample spot welds to test the
strength of the spot weld. When pulling the two spot welds
apart, one should always tear a hole in one of the panels if the
spot weld is good and strong.
Testing the Welds
We recommend testing the spot welds with either scrap panels
from the vehicle which you are working on, or using test panels
which HTP has available. The test panels are 1" wide x 3" long
18-gauge steel and are available 25 pieces at a time.
Fabricate a weld tester from the drawing below, or purchase a
67000-WT from HTP America. Mounting one of the panels in a
vice, and bend the other panel, so the weld tester can be rolled
around the panel like a sardine can. When rolled, a hole must
be pulled in one of the panels.
67000-WT HTP Spot Weld Tester