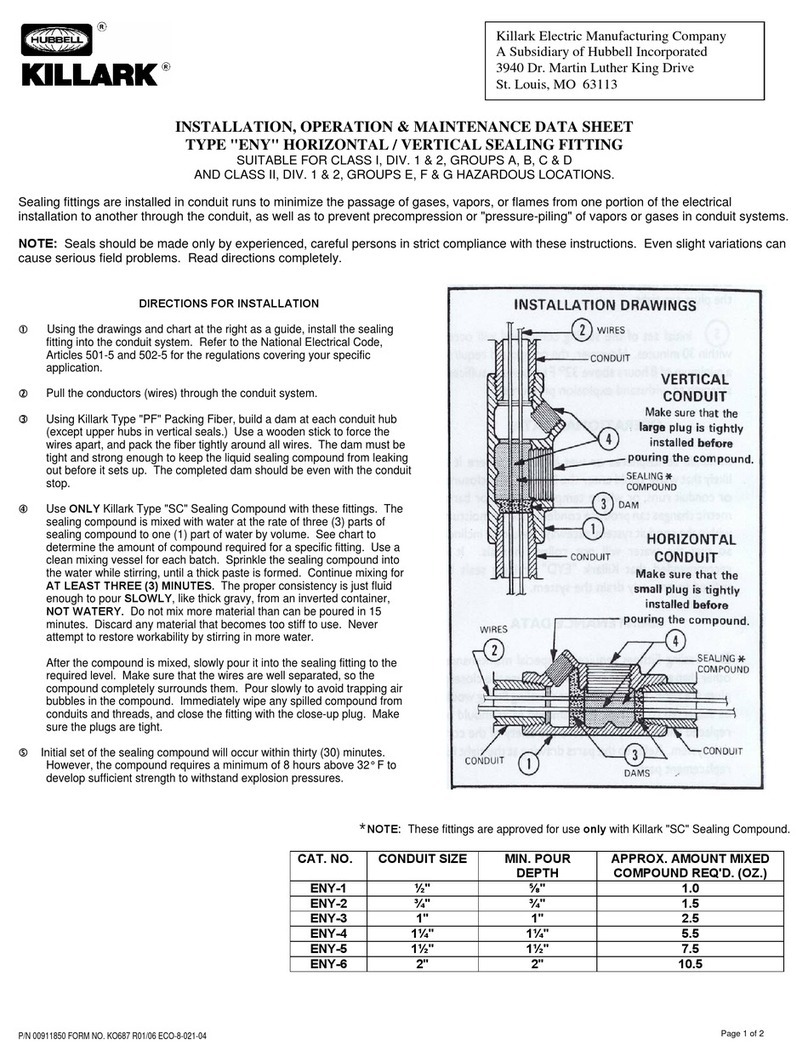
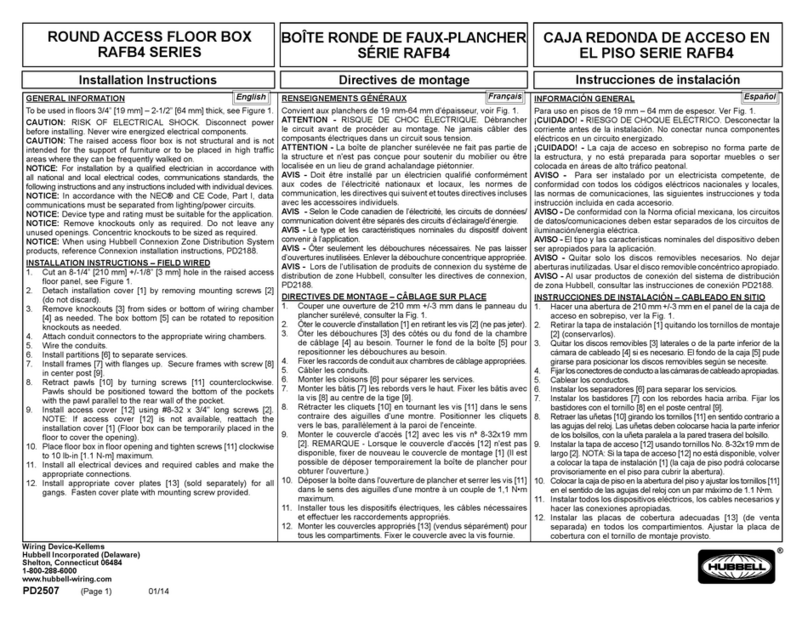
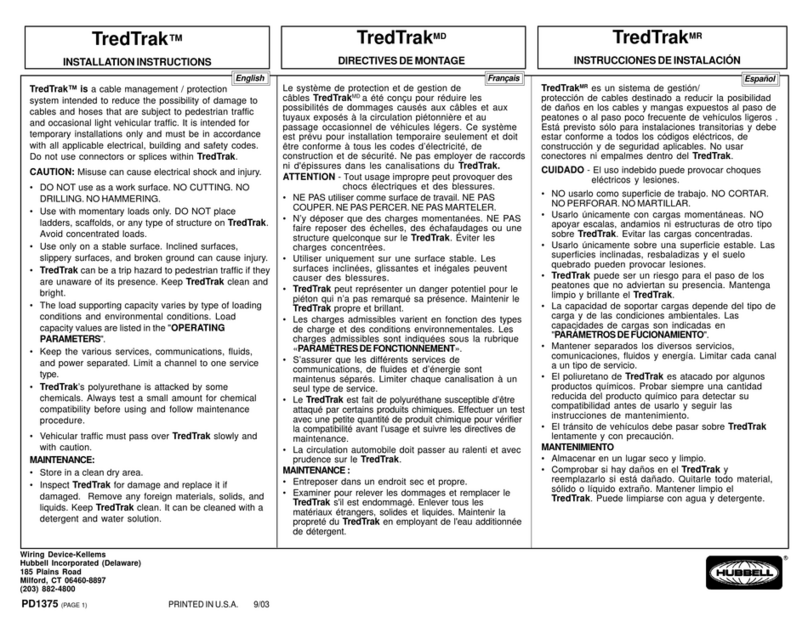
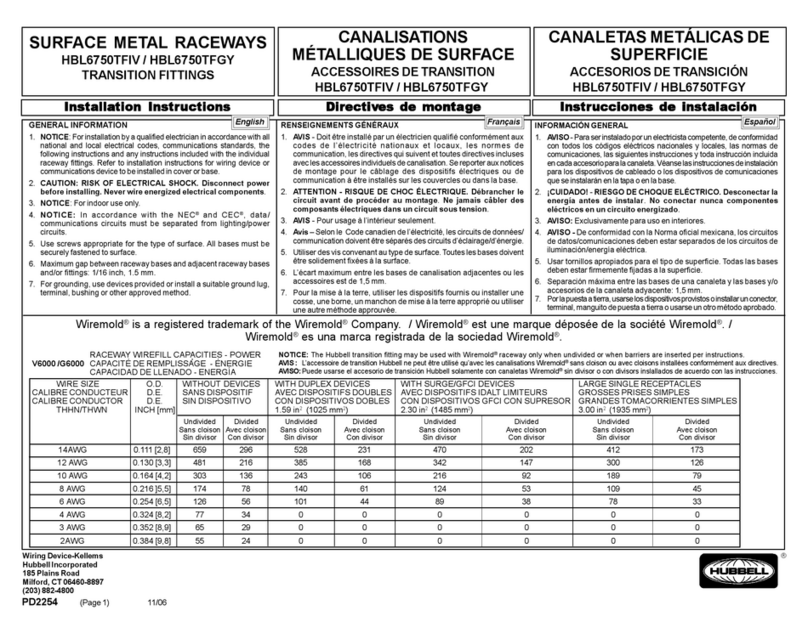
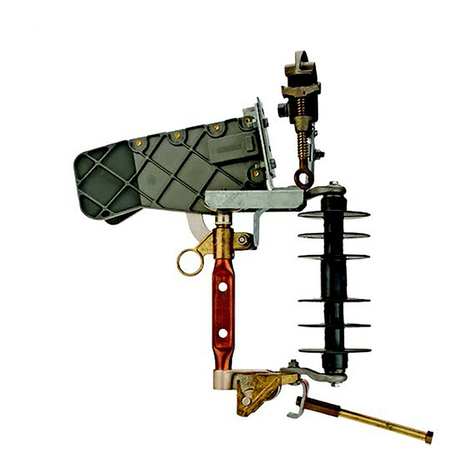
Hubbell CHANCE PSC3090323CE User manual

CHANCE® NYLON STRAP HOISTS
Operating & Servicing Instructions:
¼ ton (500 lbs. / 227 kg) Nylon Strap Hoist (Cat. No. PSC3090323CE)
1 ton (2000 lbs. / 907 kg) Nylon Strap Hoist (Cat. No. PSC3090323)
1 ton (2000 lbs. / 907 kg) Nylon Strap Hoist with Hot Stick Handle (Cat. No. PSC3090467)
PSP3090357 Rev. Q
PSC3090323CE PSC3090467PSC3090323
Introduction
Thank you for purchasing a CHANCE® Strap Hoist.
Your safety, and the safety of others, is very important.
The warnings and instructions contained in this manual
are for your safety. Failure to follow safety warnings and
instructions could result in serious injury or death.
All information in this publication is based on the latest
product information available at the time of printing.
Hubbell Power Systems reserves the right to make changes
at any time without notice and without incurring any
obligation.
This Owner’s Manual must always be kept with the hoist
and should remain with the hoist if it is transferred or sold.
These instructions neither cover all details or possible
situations in which you may use a strap hoist, nor do they
provide for every possible contingency to be encountered
in relation to installation, operation or maintenance. Before
each use, think through each use, your safety and the safety
of others.
Should additional information and details be desired or if
situations arise which are not covered adequately for your
purpose, please contact Hubbell Power Systems.
Hubbell Power Systems, Inc.
210 N. Allen St
Centralia, MO 65240
(573) 682-5521
www.hubbellpowersystems.com

2
PSP3090357 Rev. Q
TABLE OF CONTENTS:
Introduction 1
Table of Contents 2
Important safety information 3
Load ratings 6
Operating Instructions 7
Care Storage and Maintenance 9
Disassembly Instructions 10
Inspection 11
Assembly 12
Testing 12
Parts Diagram 13
Replacement Parts List 14
CE Declaration of Conformity 15
PAGE NO.

3
PSP3090357 Rev. Q
IMPORTANT SAFETY INFORMATION
Read and Understand Owner’s Manual Before Use
This Owner’s Manual contains important information for protecting yourself and others and
preventing equipment problems. Failure to follow these safety instructions and precautions can
lead to property damage, serious injuries or death. Always read this entire manual before operating
the strap hoist.
The employer or hoist owner is responsible for compliance with all applicable federal, state and
local regulations/codes, including NFPA 70E, Standard for Electrical Safety in the Workplace
available from the National Fire Protection Association (NFPA) and OSHA regulations. The
instructions in the manual are not intended as a substitute for property training or experience in
the safe operation of the product. Only competent technicians familiar with the product should
install, operate or service it.
!
!
! DANGER ! CAUTION
! WARNING ! NOTICE
DANGER: Indicates a hazardous situation that, if not
avoided, will result in death or serious injury.
CAUTION: Indicates a hazardous situation that, if not
avoided, could result in minor or moderate injury.
WARNING: Indicates a hazardous situation that, if not
avoided, could result in death or serious injury.
NOTICE: Indicates a hazardous situation that, if not
avoided, could result in property damage.
Always keep this manual in a safe, accessible location near the strap hoist during operation and maintenance.
This is the safety alert symbol. It is used to alert you to potential personal injury hazards. Obey all
safety messages that follow this symbol to avoid possible serious injury or death. It may also have
one of the following signal words.
Safety Messages
Throughout this manual DANGER, WARNING, CAUTION,
NOTICE and the SAFETY ALERT SYMBOL will be used.

4
PSP3090357 Rev. Q
SYMBOL INDEX
NEVER use hoist to
lift or move persons.
NEVER walk or stand under
a suspended load.
Entanglement
Hazard
Electrical Shock
Hazard
Crush Hazard
Wear Protective
Gloves
ALWAYS wear head
and eye protection.
Wear Eye Protection
Read, understand and follow
the warnings and instructions in
this manual and on the hoist.
SAFETY PRECAUTIONS
! CAUTION
The equipment covered in this instruction guide must be installed, used, and serviced only by competent
personnel familiar with and following good work and safety practices. This equipment is for use by such
personnel and is not intended as a substitute for adequate training and experience in safe procedures for
this type of equipment.
The information contained in this instruction guide has been compiled as a result of review of the product;
its intended application and use considerations. However, this instruction guide does not cover all details or
situations in equipment use nor does it provide for every possible contingency to be encountered in relation
to installation, operation or maintenance. Should additional information and details be desired or specific
situations arise which are not covered adequately for the user’s purpose, consult your supervisor and the
appropriate rules for safe work practices. If further information is desired, contact Hubbell Power Systems.

5
PSP3090357 Rev. Q
ALWAYS be aware of and comply with all federal, state, and local safety regulations, industry
standards, and internal safety guidelines.
WORK AREA SAFETY
a. DO NOT allow hoist to come in contact with an electrical source. Tool is not insulated, and
contact will cause electrical shock.
b. Keep work area clean and well lit. Cluttered or dark areas can lead to accidents.
c. Keep bystanders, children and visitors away from the strap hoist and the load. Distractions
can cause you to lose control. Always protect others from overhead loads.
d. NEVER walk or stand under a suspended load.
e. NEVER operate this hoist if you are not familiar with how the hoist works.
f. NEVER use a hoist as a load binder.
g. NEVER use a hoist beyond rated capacity.
h. NEVER use replacement parts other than those supplied by Hubbell/ CHANCE® or Bevins.
i. NEVER use a cheater or extend the handle on the hoist.
This entire book is filled with important safety information–please read it carefully.
Before mounting and using your strap hoist, read and follow all mounting
instructions and safety messages.
NEVER use hoist to lift or move persons.
Strap hoists are NOT designed to lift personnel.
! DANGER
This hoist is not an insulated hot line tool. This hoist must be used with appropriate length insulating
link sticks if used in energized line work (see CHANCE® catalog for insulated link sticks that can be
used with this hoist).

6
PSP3090357 Rev. Q
WORK AREA SAFETY (cont.)
j. NEVER allow the strap to come in contact with any object.
k. NEVER use the hoist if the pull is not hook-to-hook straight line.
l. NEVER leave a load suspended in the air.
m. NEVER use a hoist as a tow line.
n. NEVER use a hoist that is worn or malfunctioning.
o. ONLY use hoist in ambient temperature range of -10°C to +50°C (14°F to 122°F).
p. ALWAYS wear personal protective gear when using hoist.
q. NEVER use hotstick ring to bear load. Ring is only rated to support load of the tool.
You should ALWAYS operate the hoist from
a safe position when lifting a load.
The safe positions are BESIDE the hoist and
NEVER under the load. These safe positions
will help prevent the load from striking you if
the load falls.
Refer to A.S.M.E. Standard 30.21 for more information
on operation, maintenance, and testing of this hoist.
MAXIMUM LOAD RATINGS
PSC3090323CE - 1/4 Ton (500 lbs. / 227 kg)
PSC3090323 - 1 Ton (2000 lbs. / 907 kg)
PSC3090467 - 1 Ton (2000 lbs. / 907 kg)

7
PSP3090357 Rev. Q
OPERATING INSTRUCTIONS
Considering the Work Area:
Based on the job to be accomplished, the structure to which the hoist is to be attached, and
the type and weight of the load to be moved, determined the position and how the hoist is to
be attached.
The strap may be quickly extended to hook to a load by operating the "RELEASE LEVER" on the
handle with the "SHIFT KEY" in the "DOWN" position.
The handle may be operated in one of two positions on this hoist. To move the handle from
one side to the other, with no load on the hoist, operate and hold the "RELEASE LEVER" while
swinging the handle through the "6 o'clock" position to the other side.
The strap is painted red near the spool end.
If accessories, such as slings, wire grips, or link sticks are used with the hoist, the rated working
load of these items must be equal to or greater than the load.
Lifting Loads:
Based on the job to be accomplished, the structure to which the hoist is to be attached, and
the type and weight of the load to be moved, determine the position and how the hoist is to
be attached.
! CAUTION
Once the load is lifted into position, the “SHIFT KEY” must be in the “UP” position for holding the load. This will
help prevent accidental lowering of the load.
! WARNING
• Never load the hoist when the red paint on the strap can be seen.
• Always inspect the hoist for wear, damage, and proper operation before each use.
! WARNING
The hoist must be positioned so the load hook and the housing hook are in a straight line pull. The strap and/
or housing must not be forced out of line, which could cause binding or damage to equipment. The handle and
controls of the hoist must be free to operate and must not contact objects which could cause the controls to move
or damage the hoist.
The load must seat in the hook so the load is in line with the shank of the hook and centerline of the strap. DO
NOT LOAD HOOKS ON THE POINT.
The safety latches must be closed to secure the hook and prevent accidental loss of the load. NEVER ALLOW THE
LOAD TO BEAR ON THE SAFETY LATCHES.

8
PSP3090357 Rev. Q
The hand wheel, located on the side of the hoist, may be used to quickly take up the slack strap
prior to lifting the load. Move the "SHIFT LEVER" to the "UP" position and rotate the wheel.
Holding onto the handle, set the "SHIFT KEY" to the "DOWN" position. Operate the handle until
the "WORKING DOG" engages the ratchet wheel tooth. Additional pressure on the handle in
the same direction will release the "HOLDING DOG". While maintaining control, slowly move the
handle in the opposite direction; lowering the load until the "HOLDING DOG" engages the ratchet
wheel. The "WORKING DOG" will then release, allowing the operator to repeat this movement to
lower the load.
When the load is completely o the hoist, the "RELEASE LEVER" may be operated to extend the
strap for unhooking.
Lift the load by moving the handle in full,
even strokes. Do not slam or jerk the handle. If
excessive force (more than 124 lbs (556 N) for
PSC3090323CE, or more than 150 lbs (667 N)
for PSC3090323 or PSC3090467) is required
to operate the handle, the hoist is probably
overloaded. Check the load and/or rigging before
proceeding. If the load is greater than the rating of
the hoist, DO NOT LIFT THE LOAD.
! WARNING
• The hoist is intended for industrial or utility use and is NEVER to be used for lifting people or loads over
people.
• Make sure the work area is clear of all unnecessary equipment and personnel before moving a load. Personnel
and equipment should be moved clear of the area in case the load falls.
! WARNING
Never overload the hoist. Never use a cheater or extend
the handle.
! CAUTION
Never let the hoist self-ratchet or the handle fly loose. The quickly moving handle can cause injury, and self-
ratcheting will damage the hoist and can cause injury.
! WARNING
Never operate the “RELEASE LEVER” while the hoist is loaded.
Lowering Loads:

9
PSP3090357 Rev. Q
CARE STORAGE & MAINTENANCE
CHANCE® hoists will give many years of satisfactory performance if used and maintained properly.
Always hang the hoist freely with a straight line between the housing hook and the load hook. DO
NOT JAM THE HOIST OR STRAP AGAINST ANY OBJECT.
The CHANCE® hoist is easy to maintain. Years of life will be added to the hoist by applying the
following recommendations.
1. DO NOT use the hoist if it does not operate properly or is damaged in any way.
2. DO NOT allow the strap to be pulled over any sharp edge or wrapped around a pole or crossarm. Always
use a sling or other means of attachment.
3. Stop pulling before the load hook is pulled tight to the housing. Continued pulling into the housing may
damage the hoist.
4. NEVER allow the handle to fly free or the hoist to self-ratchet.
5. NEVER throw or drop the hoist.
6. Keep the strap clean. Inspect the strap and hoist before each and every use. Do not use a hoist if the strap
is frayed, cut, or damaged.
7. All hoists must be periodically cleaned, inspected, and re-lubricated. Intervals will depend on usage and
operating conditions. The oilite bearings must be lubricated with 30 wt. oil. All other moving parts must be
lubricated with a film of light grease.
8. Extra care must be used when lowering a light or "bouncing" load such as a span of conductor. If the
handle is "flipped", the hoist can self-ratchet which causes severe wear on the dogs, ratchet teeth, and stop
areas of the hoist.
9. When operating the handle, do not "slam" the handle. A smooth, steady pressure in each direction moves
the load eciently and does not cause damage to the equipment.
10. Store in clean and dry location out of direct sunlight. Avoid areas where extreme temperatures are present.
DO NOT store where moisture, oil, caustic chemicals or their vapors or other degrading material may be
present. Equipment that is damaged or awaiting inspection by a trained individual should not be stored
with in-use strap hoists. Heavily soiled, wet, or contaminated hoists should be cleaned and dried before
storage and each use.

10
PSP3090357 Rev. Q
DISASSEMBLY INSTRUCTIONS
In order to best visualize these instructions, study and refer to the exploded view of the hoist and parts list.
1. Remove snap ring from shaft.
2. Push "Release Key" located in the indented area of the handle in the direction marked "Release" to
disengage the working pawl from the unloader plate and lift handle o the shaft. This will expose the
mechanism.
3. The working pawl, in the handle, may be removed by first removing the screw and washer from the post
supporting the pawl. The torsion spring may be removed after the pawl has been removed.
4. When reassembling working pawl and spring, place the short leg of the spring against the pin on the pawl,
and the long leg of the spring against the handle housing. This should move the pawl towards the center of
the housing.
5. If necessary to replace the pawl post or release key, remove nut, press the pawl post out of housing with
a careful and steady force. When replacing the new pawl post, be certain it is pressed in straight, using an
even pressure, and that the release key is in position before pressing post into housing. Install nut, tighten
securely.
6. The holding pawl on the main body can be removed by unhooking the two extension springs from the
unloader plate and from screw in the housing. Remove snap ring and slide unloader plate o shaft after
which pawl can be lifted o post.
7. When replacing the holding pawl, make sure the pin which is permanently secured to the pawl is faced to
the outside, so that it projects through the hole in the unloader plate.
8. To remove ratchet shaft, remove hand wheel roll pin, hand wheel and snap ring. Then remove two web
anchor screws, web clamp and nylon web assembly. Next, remove the spool by driving out pin. Shaft will
now slide out of the housing.
9. If the top hook or safety latch is damaged, the hook/housing must be replaced as a unit. The new housing
has all required bearings installed.
10. The Up & down lever (shift key) is removed by removing the roll pin holding the reversing rod to the shift
key.
11. The oilite bearings can be replaced in the accepted practice of pressing them out and pressing the new
ones in, using appropriately sized bushing drivers.
! WARNING
• Do not attempt to clean the strap. If the strap is dirty or contaminated, it must be replaced.
• Always wear safety glasses and other appropriate protective equipment during the following
procedures. Use the correct tools for the operations being performed.

11
PSP3090357 Rev. Q
Recommended Inspection Frequency
Item Before Each Use Daily-Weekly Weekly-Monthly Monthly- Annually
Web strap *
Handle for bends, cracks,
or other damage *
Hook Safety latch operation *
Hooks for cracks,
deformation, and wear *
Operating function,
raising, lowering. *
All metal parts for wear,
corrosion or deformation. **** *** **
Spool for strap **** *** **
Springs for stretching,
bent hooks or wear **** *** **
Bronze bearings for wear or
elongation. **** *** **
Casting for cracks or
other signs of damage. **** *** **
Ratchet teeth for
chipping or rounding **** *** **
Dog assembly for bent pin or
chipping/rounding of the tooth. **** *** **
* Need to inspect item before each use
** Normal use - weekly usage
*** Heavy use - daily usage
**** Severe use - daily usage and/or usage in severe weather
conditions or usage under sever loading.
INSPECTION
• Thoroughly clean all metal parts with solvent and dry. The Epoxiglas® handle can be cleaned and refinished
as any CHANCE® hot line tool. Refer to CHANCE® catalog for supplies.
• Inspect the strap for any signs of wear, torn threads, or torn stitching, frayed edges, or cuts. Discoloration
is a sign that the strap should be replaced. If there is any doubt about the integrity of the strap, replace it.
• Inspect all metal parts for wear. This includes rounded edges, elongated holes, worn pins, or battered areas
caused by impacts. All castings should be inspected closely for cracks or other signs of damage. Replace
any parts that do not appear normal.
• Look carefully at the spool where the strap winds for signs of crushing caused by severe overloading.
• Inspect the hooks for bending or opening of the hook throat. Safety latches must be in place and working
properly.
• Look at springs for stretching, bent hooks, or wear. Inspect the ratchet teeth for chipping or rounding.
• Inspect the oilite bearings in the housing for wear or elongation. Replace any questionable bushings; or if
desired, replace the housing assembly.
• Inspect both the working dog assembly and the holding dog assembly for damage. Make sure the
permanently attached pin is not bent or damaged in any way. This indicates the the hoist has been
overloaded or allowed to self-ratchet.
• If any component of the hoist fails inspection, the hoist needs to be tagged “DO NOT USE” and removed
from service until repairs and testing have been accomplished.

12
PSP3090357 Rev. Q
ASSEMBLY
After all worn or damaged parts have been identified and replaced; the hoist may be reassembled
in reverse order of disassembly. All oilite bearings must be lubricated with 30 wt. oil. All sliding or
moving parts must be lubricated with a film of light grease.
The hoist should not require great force to assemble, with the exception of installing pins. If parts
will not fit together easily, it is likely that something is bent or damaged. Identify the problem
before proceeding.
TESTING
After assembly, the hoist must be checked for proper operation and load tested.
Suspend the hoist from a support that can hold the test loads. With a load of 100 lbs. on the hoist,
carefully raise and lower the load. The handle should be operated to rotate the spool at least one
complete revolution, (ten teeth) in one tooth increments to ensure all teeth are tested.
A load equal to the rating of the hoist should then be raised and lowered in a similar manner.
Attention to the operation of all controls and the action of the hoist during testing is essential to
make sure the hoist is safe to return to duty. If the hoist passes the above tests, the hoist may be
returned to service.
It is recommended that the user establish a procedure for the routine inspection, repair, and testing
of this hoist, based on usage, to ensure a safe working environment.
Refer any questions about the use,
application or testing of this hoist to:
Hubbell / Chance,
210 N. Allen St.,
Centralia, MO 65240,
Phone: +1 573-682-5521
For repair or repair
parts, contact:
M.W. Bevins Co.,
9903 E. 54th,
Tulsa, OK 74145,
+1 918-627-1273
www.bevinsco.com

13
PSP3090357 Rev. Q
REPAIR PARTS LIST FOR CHANCE NYLON RATCHET HOIST
NOTE:
Because Hubbell has a policy of continuous product improvement,
we reserve the right to change design and specifications without notice.
E3090069P
PS056011P
058614P
056748P
P0010178P
P3090054P
P3090307P
019673P
P3090346P
056010P
019486P
E3090354P
056014P
056013P
PSE3090957P
P3090687P
P3090528P
P3090531P
P3090539P
P3090057P
P3090271P
P3090066P
P3090260P
E3090262P
P3090062P
P0010177P
P3090272P
P3090523P
P3090444P
056689P
P3090058P
E3090070P
PS05011P
058613P
P3090445P
059036P
056016P
P3090347P
P3090347P
P3090259P
E3090354P
E3090356P
PS056011P
P3090818P
E3090855P
019305P
056009P
P3090352P
PSE3090027P
E3090470P
HOT STICK HANDLE

14
PSP3090357 Rev. Q
REPAIR PARTS LIST FOR CHANCE NYLON RATCHET HOIST
HANDLE BODY
SUBASSEMBLY E3090069P #
Handle Body P3090054P
Oilite Bearing 058614P Δ
Release Key P3090346P +
Pin 019486P +
Spring 056010P +
Handle Dog Subassembly E3090354P +
Washer 056014P +
Screw 056013P +
Stop Bolt 019673P +
Spring P3090307P +
Jam Nut 056748P +
Handle Bolt P0010178P
HOUSING SUBASSEMBLY
W/HOOK E3090070P
Oilite Bearing** 058613P Δ
Oilite Bearing** 019305P Δ
Pin 056016P
REMAINING PARTS
Strap Guide P3090271P
Strap Idler P3090057P
Strap Idler Pin P3090058P
Pin* P3090347P +
Strap w/Web Anchor E3090262P
Spool P3090260P
Split Rings P3090539P
Loop Pin P3090528P
Screw (Strap Anchor) P0010177P
Strap Clamp for Spool P3090062P
Yoke Spool P3090531P
Roll Pin P3090272P
Hand Wheel P3090523P
Snap Rings PS056011P +
Up & Down Lever (Shift Key
Lever) P3090444P +
Spring Washer 056689P +
Reversing Rod (Shift Key) P3090445P
Pin 059036P +
Screw 056163P +
Body Dog Assembly E3090354P +
Main Shaft Pin P3090066P
Main Shaft Assembly P3090259P
Unloader Plate Subassembly E3090356P +
Spring 056009P +
Spring P3090352P +
Plastic Wear Strip P3090818P +
Lower Hook Assembly E3090855P
HANDLE SUBASSEMBLY
Handle (for CE marked hoist
only, PSC3090323CE HOIST
only)
PSE3090957P
Handle ( for standard hoist,
PSC3090323 HOIST only) PSE3090027P
Handle (with butt swivel,
for use with hotsticks,
PSC3090467 HOIST only)
PSE3090470P
+ Included in C3090349 Repair Kit
** Included in Housing Subassembly.
ΔParts require lubrication with 30 wt. oil.
# All parts inside dashed line box are part of handle body assembly.

15
PSP3090357 Rev. Q
DECLARATION OF CONFORMITY
Hubbell Power Systems, Inc.
210 North Allen Street
Centralia, MO 65202
United States
Tel: (573) 682-5521
Declare that this Product:
Nylon Strap Hoist (500 lbs./227kg rating)
Catalog Number: PSC3090323CE
Fulfills all relevant provisions of Machinery Directive 2006/42/EC and also fulfills all relevant
provisions of:
• EN 13157 – Cranes – Safety – Hand Powered Cranes
The undersigned herby declares, on behalf of Hubbell Power Systems, Inc. of Centralia, Mo, that
the above-referenced product, to which the declaration relates, is in conformity with the above
mentioned Directive and Safety Standard.
Signed by:
Name: Larry Bereswill
Position: Product Engineering Manager, Safety Products
Date: 04/03/2019
We of:

PSP3090357 Rev. Q
©2019 Hubbell Incorporated.
Because Hubbell has a policy of continuous product improvement,
we reserve the right to change design and specifications without notice.
Printed in the U.S.A. | TD_09_173_E
For product inquiries, please contact your local sales
representative or customer service representative.
hubbellpowersystems.com
DISCLAIMER
These products should only be installed, used, or serviced by adequately trained personnel. These
instructions are not a substitute for adequate training in the safe use of these products, and they
do not address all situations that may be encountered when using these products. When using
any product, always read and follow the installation and operating instructions and warnings for
the product, all applicable federal, state, and local safety regulations, industry standards, and your
employer’s internal safety guidelines and operating instructions. Failure to follow applicable safety
rules and instructions may result in serious injury, death, and property damage.
The user is responsible for the safe installation and use of any product, and must evaluate the
conditions at the time of use and consult with their employer’s internal safety guidelines or safety
experts hired by your employer, as needed.
Hubbell Power Systems, Inc. is not liable for death, serious injury, or property damage resulting
from the use of these products in any manner that is inconsistent with the product installation and
operating instructions, your employer’s internal safety guidelines, or recommendations from safety
experts hired by your company.
If further information is desired or if particular problems are encountered which are not suciently
covered in these instructions, contact Hubbell Power Systems, Inc. for additional information.
Operating and installation instructions are available on the Hubbell Power Systems, Inc. website:
hubbellpowersytems.com
This manual suits for next models
2
Table of contents
Other Hubbell Industrial Equipment manuals

Hubbell
Hubbell PSC2080579 User manual

Hubbell
Hubbell Killark ENY Series Instruction Manual

Hubbell
Hubbell Chance PSC6010348 User manual

Hubbell
Hubbell Killark UGFI Series Instruction Manual

Hubbell
Hubbell GFP20FWM User manual

Hubbell
Hubbell HBL985 User manual

Hubbell
Hubbell HBL6750TFIV User manual

Hubbell
Hubbell CFBS1R8CVR User manual

Hubbell
Hubbell KILLARK UGFI 2P Series Instruction Manual

Hubbell
Hubbell VERSA-TECH I User manual