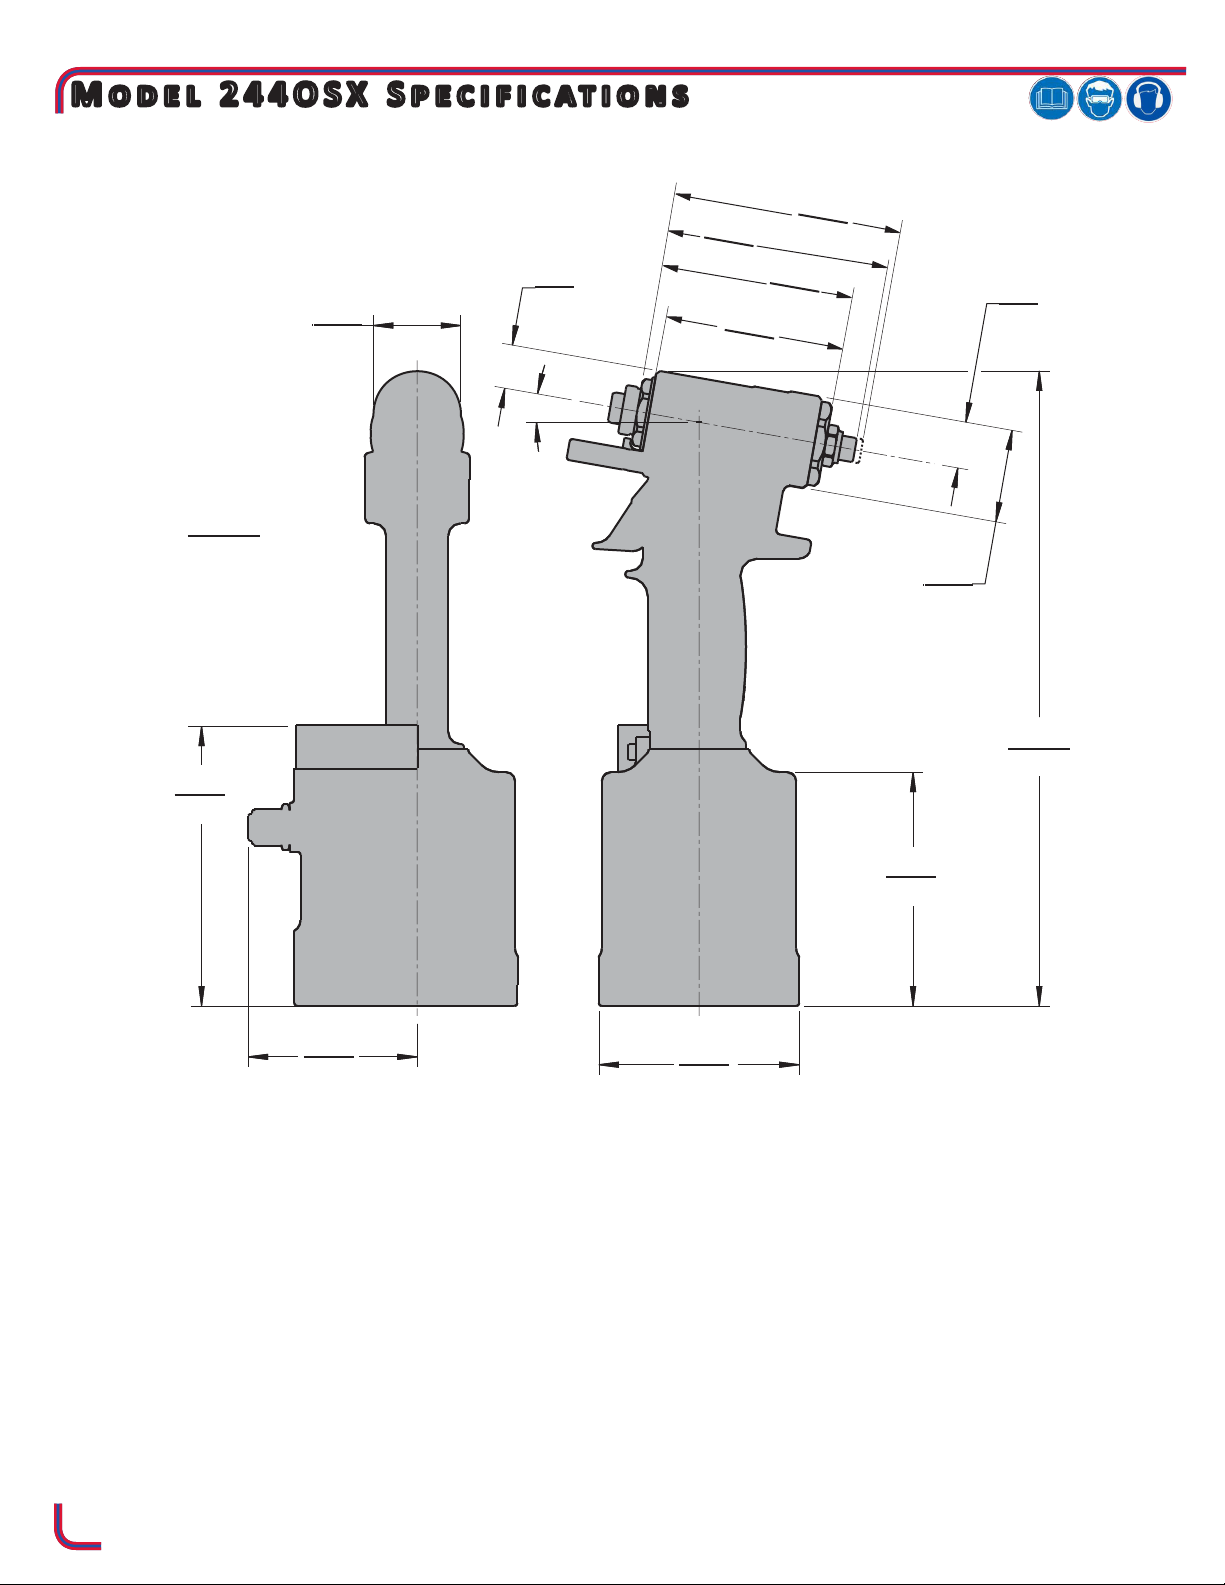
4
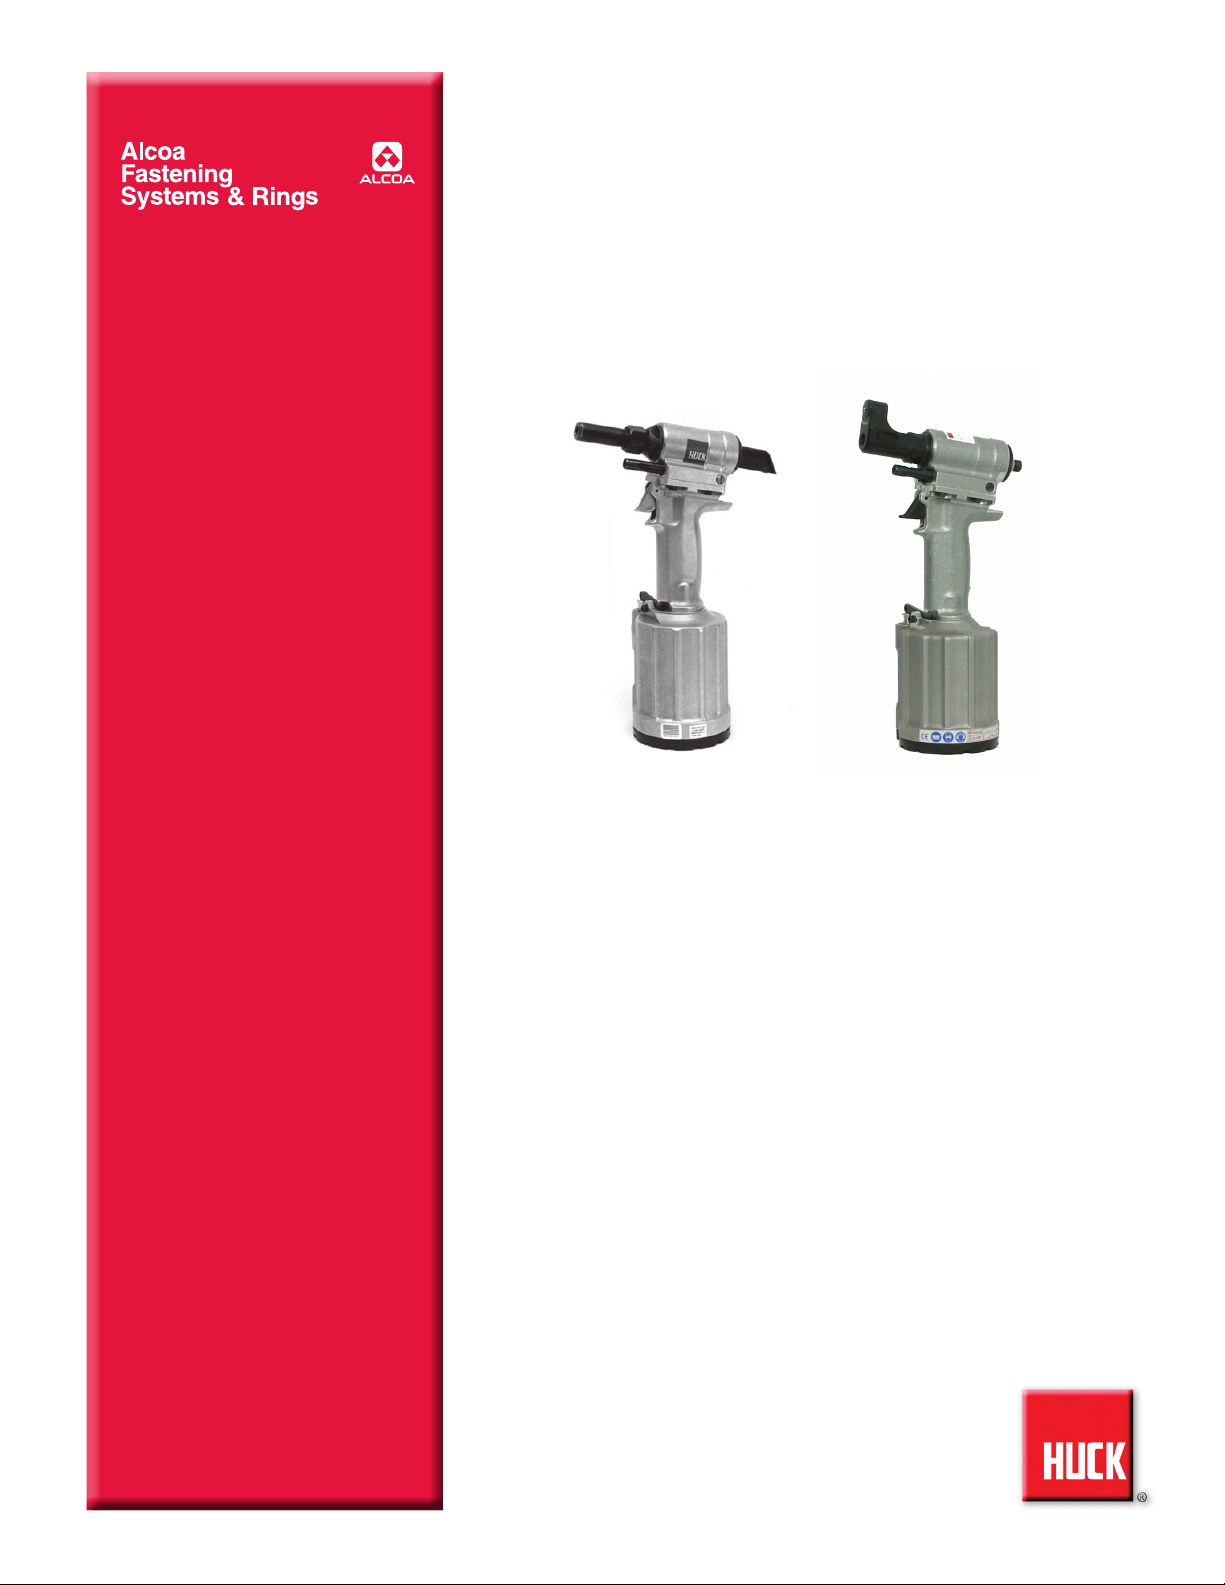
244 series Pneudraulic Installation Tools (HK989) Alcoa Fastening Systems & Rings
I. GENERAL SAFETY RULES:
1.Ahalfhourlonghands-ontrainingsessionwithqualiedpersonnelis
recommendedbeforeusingHuckequipment.
2.Huckequipmentmustbemaintainedinasafeworkingconditionatall
times.Toolsandhosesshouldbeinspectedatthebeginningofeach
shift/dayfordamageorwear.Anyrepairshouldbedonebyaqualied
repairmantrainedonHuckprocedures.
3.Formultiplehazards,readandunderstandthesafetyinstructionsbe-
foreinstalling,operating,repairing,maintaining,changingaccessories
on,orworkingneartheassemblypowertool.Failuretodosocanresult
in serious bodily injury.
4.Onlyqualiedandtrainedoperatorsshouldinstall,adjustorusethe
assemblypowertool.
5.Donotmodifythisassemblypowertool.Thiscanreduceeffectiveness
ofsafetymeasuresandincreaseoperatorrisk.
6.Donotdiscardsafetyinstructions;givethemtotheoperator.
7.Donotuseassemblypowertoolifithasbeendamaged.
8.Toolsshallbeinspectedperiodicallytoverifyallratingsandmarkings
required,andlistedinthemanual,arelegiblymarkedonthetool.The
employer/operatorshallcontactthemanufacturertoobtainreplacement
markinglabelswhennecessary.Refertoassemblydrawingandparts
listforreplacement.
9.Toolisonlytobeusedasstatedinthismanual.Anyotheruseispro-
hibited.
10.ReadMSDSSpecicationsbeforeservicingthetool.MSDSspeci-
cationsareavailablefromtheproductmanufactureroryourHuck
representative.
11.OnlygenuineHuckpartsshallbeusedforreplacementsorspares.
Useofanyotherpartscanresultintoolingdamageorpersonalinjury.
12.Neverremoveanysafetyguardsorpintaildeectors.
13.Neverinstallafastenerinfreeair.Personalinjuryfromfastenereject-
ing may occur.
14.Whereapplicable,alwaysclearspentpintailoutofnoseassembly
before installing the next fastener.
15.Checkclearancebetweentriggerandworkpiecetoensurethereisno
pinchpointwhentoolisactivated.Remotetriggersareavailablefor
hydraulictoolingifpinchpointisunavoidable.
16.Donotabusetoolbydroppingorusingitasahammer.Neveruse
hydraulicorairlinesasahandleortobendorprythetool.Reason-
ablecareofinstallationtoolsbyoperatorsisanimportantfactorin
maintainingtoolefciency,eliminatingdowntime,andpreventingan
accidentwhichmaycauseseverepersonalinjury.
17.Neverplacehandsbetweennoseassemblyandworkpiece.Keep
hands clear from front of tool.
18.Toolswithejectorrodsshouldneverbecycledwithoutnoseassembly
installed.
19.Whentwopiecelockboltsarebeingusedalwaysmakesurethecollar
orientationiscorrect.Seefastenerdatasheetforcorrectpositioning.
II. PROJECTILE HAZARDS:
1.Riskofwhippingcompressedairhoseiftoolispneudraulicorpneu-
matic.
2.Disconnecttheassemblypowertoolfromenergysourcewhenchang-
ing inserted tools or accessories.
3.Beawarethatfailureoftheworkpiece,accessories,ortheinsertedtool
itselfcangeneratehighvelocityprojectiles.
4.Alwayswearimpactresistanteyeprotectionduringtooloperation.The
gradeofprotectionrequiredshouldbeassessedforeachuse.
5. The risk of others should also be assessed at this time.
6.Ensurethattheworkpieceissecurelyxed.
7.Checkthatthemeansofprotectionfromejectionoffastenerorpintailis
inplaceandoperative.
8.Thereispossibilityofforcibleejectionofpintailsorspentmandrelsfrom
front of tool.
III. OPERATING HAZARDS:
1.Useoftoolcanexposetheoperator’shandstohazardsincluding:
crushing,impacts,cuts,abrasionsandheat.Wearsuitableglovesto
protecthands.
2.Operatorsandmaintenancepersonnelshallbephysicallyableto
handlethebulk,weightandpowerofthetool.
3. Hold the tool correctly and be ready to counteract normal or sudden
movementswithbothhandsavailable.
4.Maintainabalancedbodypositionandsecurefooting.
5.Releasetriggerorstopstartdeviceincaseofinterruptionofenergy
supply.
6.Useonlyuidsandlubricantsrecommendedbythemanufacturer.
7.Avoidunsuitablepostures,asitislikelyforthesenottoallowcounter-
actingofnormalorunexpectedtoolmovement.
8.Iftheassemblypowertoolisxedtoasuspensiondevice,makesure
thatxationissecure.
9.Bewareoftheriskofcrushingorpinchingifnoseequipmentisnott-
ted.
IV. REPETITIVE MOTION HAZARDS:
1.Whenusingassemblypowertool,theoperatorcanexperiencediscom-
fortinthehands,arms,shoulders,neckorotherpartsofthebody.
2.Whenusingtool,theoperatorshouldadoptacomfortableposture
whilemaintainingasecurefootingandavoidawkwardoroffbalanced
postures.
3.Theoperatorshouldchangepostureduringextendedtaskstohelp
avoiddiscomfortandfatigue.
4.Iftheoperatorexperiencessymptomssuchaspersistentorrecurring
discomfort,pain,throbbing,aching,tingling,numbness,burningsensa-
tionsorstiffness,thesewarningsshouldnotbeignored.Theoperator
shouldtelltheemployerandconsultaqualiedhealthprofessional.
V. ACCESSORIES HAZARDS:
1.Disconnecttoolfromenergysupplybeforechanginginsertedtoolor
accessory.
2.Useonlysizesandtypesofaccessoriesandconsumablesthatare
recommended.Donotuseothertypesorsizesofaccessoriesorcon-
sumables.
VI. WORKPLACE HAZARDS:
1.Beawareofslipperysurfacescausedbyuseofthetoolandoftrip
hazardscausedbytheairlineorhydraulichose.
2.Proceedwithcautionwhileinunfamiliarsurroundings;therecouldbe
hiddenhazardssuchaselectricityorotherutilitylines.
3.Theassemblypowertoolisnotintendedforuseinpotentiallyexplosive
environments.
4.Toolisnotinsulatedagainstcontactwithelectricalpower.
5.Ensuretherearenoelectricalcables,gaspipes,etc.,whichcancause
ahazardifdamagedbyuseofthetool.
VII. NOISE HAZARDS:
1.Exposuretohighnoiselevelscancausepermanent,disablinghearing
lossandotherproblemssuchastinnitus,thereforeriskassessment
andtheimplementationofpropercontrolsisessential.
2.Appropriatecontrolstoreducetheriskmayincludeactionssuchas
dampingmaterialstopreventworkpiecefrom‘ringing’.
3.Usehearingprotectioninaccordancewithemployer’sinstructionsand
asrequiredbyoccupationalhealthandsafetyregulations.
4.Operateandmaintaintoolasrecommendedintheinstructionhand-
booktopreventanunnecessaryincreaseinthenoiselevel.
5.Select,maintainandreplacetheconsumable/insertedtoolasrecom-
mendedtopreventanunnecessaryincreaseinnoise.
6.Ifthepowertoolhasasilencer,alwaysensurethatitisinplaceandin
goodworkingorderwhenthetoolisbeingoperated.
VIII. VIBRATION HAZARDS:
1.Exposuretovibrationcancausedisablingdamagetothenervesand
bloodsupplytothehandsandarms.
2.Wearwarmclothingwhenworkingincoldconditionsandkeephands
warm and dry.
3.Ifnumbness,tingling,painorwhiteningoftheskininthengersor
hands,stopusingthetool,tellyouremployerandconsultaphysician.
4.Supporttheweightofthetoolinastand,tensionerorbalancerinorder
tohavealightergriponthetool.
IX. PNEUMATIC / PNEUDRAULIC TOOL SAFETY INSTRUCTIONS:
1.Airunderpressurecancausesevereinjury.
2.Alwaysshutoffairsupply,drainhoseofairpressureanddisconnect
toolfromairsupplywhennotinuse,beforechangingaccessoriesor
whenmakingrepairs.
3.Neverdirectairatyourselforanyoneelse.
4.Whippinghosescancausesevereinjury,alwayscheckfordamagedor
loosehosesandttings.
5. Cold air should be directed away from hands.
6.Wheneveruniversaltwistcouplings(clawcouplings)areused,lockpins
shallbeinstalledandwhipchecksafetycablesshallbeusedtosafe-
guardagainstpossiblehosetohoseorhosetotoolconnectionfailure.
7.Donotexceedmaximumairpressurestatedontool.
8.Nevercarryanairtoolbythehose.
GLOSSARY OF TERMS AND SYMBOLS:
- Product complies with requirements set forth by
the relevant European directives.
- Read manual prior to using this equipment.
- Eye protection is required while using this
equipment.
- Hearing protection is required while using this
equipment.
Notes: are reminders of required procedures.
Bold, Italic type and underlining: emphasizes a specic
instruction.
WARNINGS: Must be understood to avoid se-
vere personal injury.
CAUTIONS: Show conditions that will damage
equipment or structure.