6
P/N 211996C 05/03
INSTRUCTIONS
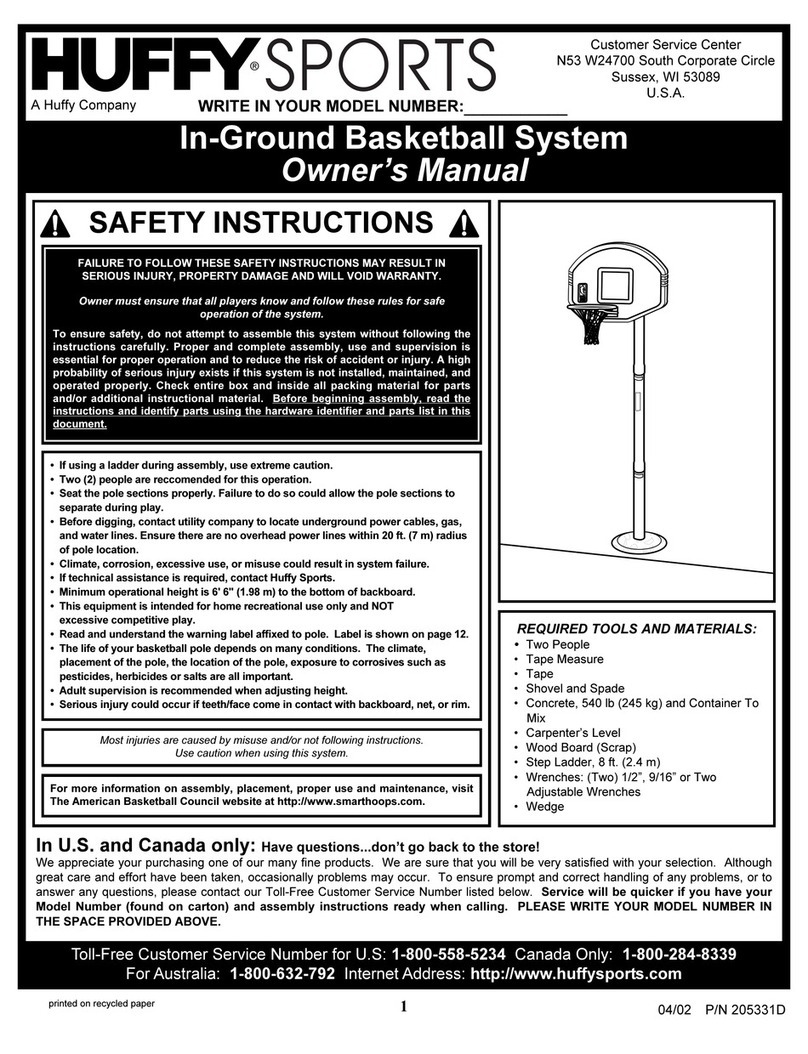
IMPORTANT! WRITE MODEL NUMBER FROM BOX ONTO PAGE 1 OF
THIS OWNERS MANUAL
1. Remove content from tank (1).
2. Correctly identify each pole ection and mark indicated di tance from
end with tape a hown.
3. IMPORTANT! Center al gnment slot of m ddle pole sect on (5) n a
lower hole of top pole sect on (4) as shown. While maintaining
alignment, bounce pole top (4) and middle ection (5) together a hown
until they no longer move toward taped reference mark. Upright
a embly. NOTE: Pole ection hould have a 3-1/2" (9 cm) minimum
overlap.
4. IMPORTANT! Center al gnment slot of lower pole sect on (6) n a
lower hole of m ddle pole sect on (5) as n step 3. While maintaining
alignment, bounce a embly and lower pole ection (6) together a
hown until they no longer moved toward taped reference mark.
NOTE: Pole ection hould have a 3-1/2" (9 cm) minimum overlap.
5. In tall rod (7) through hole in bottom pole ection (6) and eyebolt (8).
6. In tall wheel axle (2) through wheel carriage (19) and in tall wheel (3)
onto wheel axle (2) with pacer (17) a hown. In ert pole a embly
into tank a embly a hown. Secure bottom pole (6) ection to tank
and wheel carriage a hown. A deep ocket i recommended.
NOTE: Two people recommended for thi tep.
IMPORTANT! DO NOT OVER TIGHTEN.
7. Secure ba e trut (10) to pole u ing bolt (11), wa her (12), and nut
(13), a hown. Rotate the non- ecured end of ba e trut (10) a
hown.
WARNING: TIGHTEN BOLT (11) IN LOCKNUT (13) UNTIL FLUSH
(EVEN) WITH LOCKNUT’S OUTER EDGE.
8. Secure ba e trut (10) to ba e u ing bolt (15), wa her (12), and
nut (16).
9. A emble backboard bracket (29) u ing pacer (33) bolt (35) and
nut (37) a hown.
10. Fit pacer (33) into pawl (27). Then continue to a emble a hown.
11. IMPORTANT! Te t fit bolt into hole of backboard bracket (29) and
carefully rock them in a circular motion to ream out paint from hole if
nece ary. Attach lower elevator tube (44) to backboard bracket (29)
u ing pacer (42) bolt (43) pacer (17) ratchet (28) and nut (39) a
hown.
12. Secure pawl (27) in place with clevi pin (34) and wa her (18).
13. WARNING: USE EYE PROTECTION WHEN INSTALLING SPRINGS.
Stretch pring (41) into po ition with plier .
14. WARNING: TWO PERSON MINIMUM REQUIRED FOR THIS
PROCEDURE. NOT FOLLOWING RECOMMENDATION MAY
RESULT IN BODILY INJURY.
In ert “T” bolt (36) through Slam Jam bracket (32) a hown.
Secure Slam Jam bracket (32) and backboard bracket (29) a emblie
to backboard. U ing bolt (15) and nut (16) a hown.
15. Attach upper elevator tube (44) to backboard bracket (29) u ing
pacer (42) bolt (43) and nut (39) a hown.
16. WARNING: TWO PERSON MINIMUM REQUIRED FOR THIS
PROCEDURE. NOT FOLLOWING RECOMMENDATION MAY
RESULT IN BODILY INJURY.
Support pole on awhor e. Attach upper and lower elevator tube (44) to
upper pole ection (4) u ing bolt (43) and nut (39) a hown. Attach
pole cap (22) a hown.
17. Fit rim (21) ecurely into bracket (32) a hown.
In tall reinforcement bracket (31) onto “T” bolt (36) a hown.
In tall pring (30) onto “T” bolt (36) a hown.
In tall pecial nut (40) and wa her (38) onto “T” bolt (36).
Tighten nut (40) until flu h with end of “T” bolt (36).
WARNING: USE OF THIS PRODUCT WITHOUT PROPER
INSTALLATION OF SMART CLIPS, OR WHEN ALL SMART CLIPS
ARE NOT PRESENT COULD RESULT IN BODILY HARM. BE SURE
TO FOLLOW DIRECTIONS CAREFULLY.
18. In tall net clip a hown. (See illu tration)
19. In tall net a hown. (See illu tration)
20. WARNING: DO NOT LEAVE ASSEMBLY UNATTENDED WHEN
EMPTY, MAY TIP OVER.
WARNING: TWO PERSON MINIMUM REQUIRED FOR THIS
PROCEDURE. NOT FOLLOWING RECOMMENDATION MAY
RESULT IN BODILY INJURY.
Roll the completed a embly to the de ired playing area. In ert the
T- trap (14) through the lot on the back of the ba e a hown. Secure
the unit to ground by twi ting the tie down take (23) into the ground and
hooking the T- trap (14) onto the tie down take (23). Fill tank with 33
gallon of water. Secure ba e cap (24) into ba e a hown.
IMPORTANT! Add two gallons (7.6 L ters) of non-tox c ant freeze n
sub-freez ng cl mates.
21. Apply the height adju tment and moving label (25) to the front of the
pole a hown.
WARNING: DO NOT ALLOW CHILDREN TO ADJUST HEIGHT.
WARRANTY CARD:
Plea e remember to complete your product
regi tration form either
on-line at: www.huffysports.com/warrantycard
or mail-in the enclo ed po tcard.
