SR30-M2-D1 manual v2203 7/83
SR30 offers several advantages over competing pyranometers:
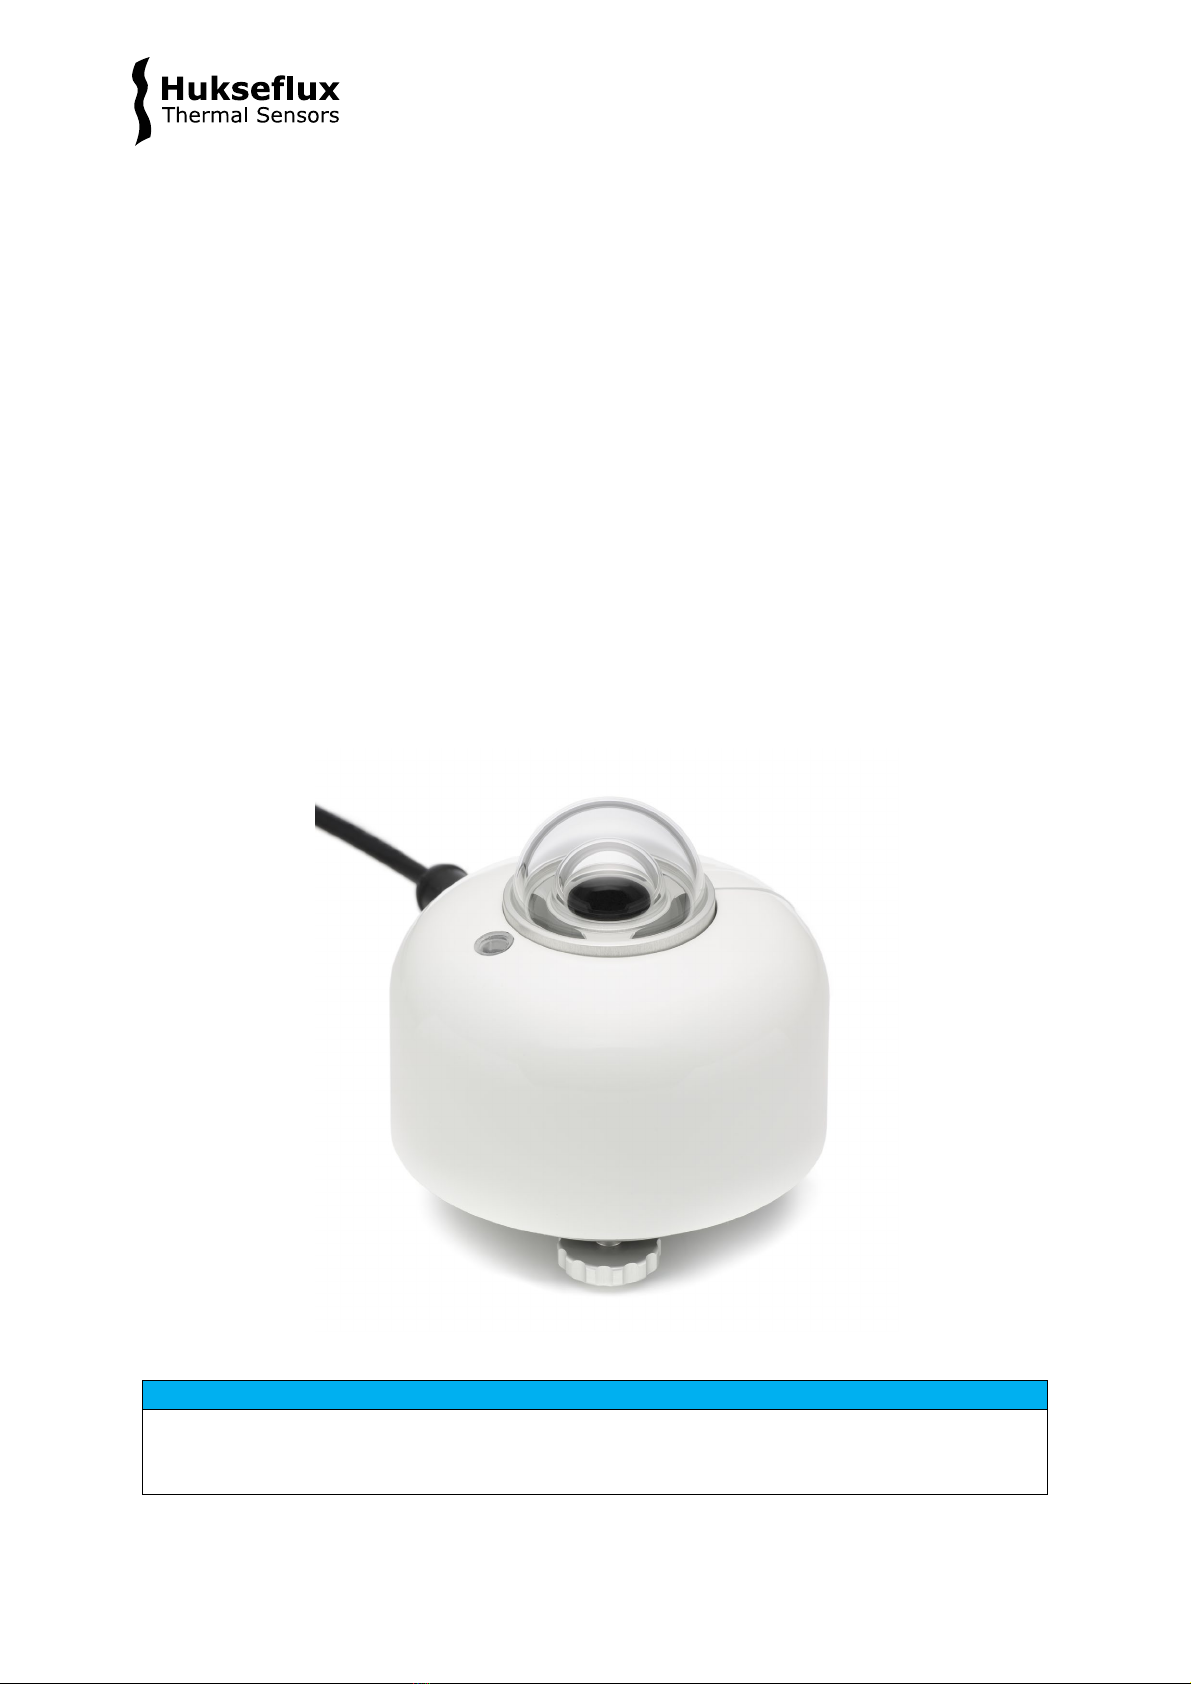
Heated for high data availability, featuring RVH
TM technology
High data availability is attained by heating of the outer dome using ventilation between
the inner and outer dome. This space forms a closed circuit together with the instrument
body; ventilated air is not in contact with ambient air. RVHTM – Recirculating Ventilation
and Heating – technology, developed by Hukseflux, suppresses dew and frost deposition
and is as effective as traditional ventilation systems, without the maintenance hassle and
large footprint.
•low power consumption: SR30-M2-D1 requires less than 3 W, compared to 10 W for
traditional ventilation systems
•low maintenance: SR30-M2-D1 does not require filter cleaning
RVHTM uses SR30’s built-in heater and ventilator. The dome of SR30 pyranometer is
heated by ventilating the space between the inner and outer dome. RVH TM is much more
efficient than traditional ventilation, where most of the heat is carried away with the
ventilation air. Recirculating ventilation is as effective in suppressing dew and frost
deposition at less than 3 W as traditional ventilation is at 10 W. RVHTM technology keeps
domes and sensor in perfect thermal equilibrium, which Plane of Array leads to a reduction
of zero offsets.
Compliant with IEC 61724-1:2017, Class A and B
IEC 61724-1: Photovoltaic System Performance Monitoring – Guidelines for
Measurement, Data Exchange and Analysis – requires ventilation and heating for Class A
monitoring. Only SR30 offers both, without the need for additional accessories. Most
competing pyranometers do not even comply with Class B, which requires heating.
“Spectrally flat” as required for PV monitoring and meteorology
The new ISO 9060:2018 version defines pyranometer classes A, B and C. The standard
also adds a new subclass, called “spectrally flat”. The vast majority of users needs to use
instruments of the spectrally flat subclass; only spectrally flat instruments measure with
high accuracy, also when a cloud obscures the sun, or when the irradiance includes
reflected radiation. These situations occur for example when you measure Global
Horizontal irradiance (GHI) under partly or fully cloudy skies, when you measure Plane of
Array (POA), albedo or net-radiation. Normal instruments, just of class A, B or C, and not
spectrally flat, only measure accurately under clear sunny skies.
Using "spectrally flat" instruments is essential because this ensures:
•you can measure accurately not only horizontally under clear-blue-sky but also
general GHI, POA, albedo and net radiation
•you comply with WMO requirements
•you can use the normal standardised ISO and WMO calibration procedures
•you can also measure separately the diffuse component only (creating a
diffusometer) with a shadow ring or shading ball, using the same instrument model.
•you can perform uncertainty evaluations with negligible (zero) spectral errors
See Section 2.1 in this manual for a more detailed explanation.