manuals.online logo
Brands
  1. Home
  2. •
  3. Brands
  4. •
  5. Hurricane
  6. •
  7. Fan
  8. •
  9. Hurricane Super 8 Manual

Hurricane Super 8 Manual

www.hurricane-fans.com
™
16” Super 8
Programmable Oscillating Wall Fan
Instruction Guide
Supreme Series
D
E
L
A
S
E
R
I
E
S
U
P
R
E
M
O
KEYS (Fig. 13)
• ’ON\SPEED’ button
Press this button and the fan will started on medium. After 2 seconds
the fan will automatically go to the low speed setting. When button is
pressed repeatedly, it will turn to ‘Speed’ setting, the lights on the
display indicate what the speed level is, L-M-H. When speed is at
‘H’ level, press again for fan to shut off.
MAINTENANCE INSTRUCTION
This fan requires little maintenance. DO NOT try to fix it by yourself.
Bring fan a to qualified electrician if service is needed.
1. Before cleaning and assembling, fan must be unplugged.
2. To ensure adequate air circulation to the motor, keep vents at the rear
of the motor free of dust. DO NOT disassemble the fan to remove dust.
3. Please wipe the exterior parts with a soft cloth soaking a mild detergent.
4. DO NOT use any abrasive detergent or solvents to avoid scratching the surface.
DO NOT use any of the following as a cleaner: gasoline, thinner, benzine.
5. DO NOT allow water or any other liquid into the motor housing or interior parts.
USER SERVICING INSTRUCTIONS (UL)
1. Grasp plug and remove from the receptacle or other outlet device.
DO NOT unplug by pulling on cord.
2. Open fuse cover. Slide open fuse access cover on top of attachment plug towards blades.
3. Remove fuse carefully. Insert the tip of your tool into fuse slot (close with the terminal),
then pry the fuse gradually and slowly, but not overexert. If fuse feels tight, you can try
again to carefully pry it out little by little. After one side of the fuse has been pried out,
you can remove the fuse entirely.
4. Risk of fire. Replace fuse only with 2.5 Amp, 125 Volt fuse.
5. Close fuse cover. Slide the fuse access cover on top of the plug
until it is closed.
6. Risk of fire. DO NOT replace attachment plug. Contains a safety device
(fuse) that should not be removed. Discard product if the attachment plug is damaged.
Note:
1. When you replace the fuse, please don’t operate suddenly or overexert, or else the
product may become damaged or cause accident.
2. If the plug does not go into the outlet easily, please make sure you have the plug turned
the right way.
CLEANING
1. Be sure to unplug the power cord from the outlet before cleaning.
2. Plastic parts should be cleaned with mild soap and damp cloth or sponge.
Thoroughly remove soap film with clean water.
3. Be sure not to get water or other liquid enter the inside
of the motors.
Remote control
allows the Hurricane
Super 8 fan to be
programmed easily
CAUTION: Read Rules for Safe Operation and Instructions Carefully.
WARNING
1. This appliance has a polarized plug (one blade is wider than the other). To reduce the risk
of electric shock, this plug is intended to fit in a polarized outlet only one way. If plug
does not fit fully in the outlet, reverse the plug. If it still does not fit, contact a qualified
electrician. DO NOT attempt to defeat this safely feature.
2. Suitable for use with solid-state speed controls.
RULES FOR SAFETY OPERATION
1. Never insert fingers, pencils, or any other object through the grille when fan is running.
2. Disconnect fan when moving from one location to another.
3. Disconnect fan when removing grilles for cleaning.
4. Be sure fan is on a stable surface when operating to avoid overturning.
5. DO NOT use fan in window. Rain may create electrical hazard.
6. Ensure that the fan is switched off from the supply mains before removing the grill.
Fig. 13
Speed
Control
Rear Grill
Fan Blade
Motor
Shaft
Spindle
Grill Lock
Nut
Blade Cap
Motor
Power Cord
120 VAC
Polarized
Plug
120 VAC
Read these rules about using the cord and plug below:
This product employs overload protection (fuse). A blown fuse indicates an overload or short-
circuit situation. If the fuse blows, unplug the product from the outlet. Replace the fuse as
per the user servicing instructions (follow product marking for proper fuse rating) and check
the products. If the replacement fuse blows, a short-circuit may be present and the product
should be discarded or returned to an authorized service facility for examination and/or repair.
DO NOT operate any fan with a damaged cord or plug. Discard fan or return to an authorized
service facility for examination and/or repair.
DO NOT run cord under carpeting. DO NOT cover cord with throw rugs, runners, or similar
coverings. DO NOT route cord under furniture or appliances. Arrange cord away from traffic
area and where it will not be tripped over.
Fan parts:
HOW TO ASSEMBLE THE BLADE GRILLS
1. Remove the blade cap and the grill lock nut from the front side of the motor. Fix the rear
grill to the motor then tighten the grill lock nut again. (Fig.1)
2. Discard PVC sleeve on shaft. Insert the blade onto shaft, make sure the stopper pin is fitted
into groove of the blade. Turn the blade cap counter clockwise to tighten the blade. (Fig.2)
3. Fix both grills with plastic rim and then use screwdriver to tighten the locking screw. (Fig.3)
Remote Control (Fig. 10)
1. Control key
• “ ” ON key
This key is for switching on the fan. The fan will be started at medium.
After 2 seconds it will automatically go to low setting.
• “ ” stand-by key
When the fan is running, press this key to turn off the fan.
• “ ” TIMER key
When this key is pressed repeatedly or kept in pressed state, the time the fan is on increases
in 30 minute increments up to a maximum of 7-1/2 hours in 15 steps. For instance, if you
want the fan to run for 5-1/2 hours, this key must be pressed repeatedly so that the 30
minute, 1 hour and 4 hour light up together in the timer display on the fan. It means that the
set time is 30 minutes + 1+ 4 = 5-1/2 hours. The time setting indicated by the timer display
lights will decrease gradually by 30 minutes. Don’t press the TIMER key when the fan is set to
operate continuously. At the moment all timer display lights don’t light.
• Wind “” SPEED key
After the fan has started, this key serves as a speed selector in the sequence from
“low-medium-high-low” when this key being touched repeated or continuously.
• Wind “ ” MODE key
This key is a selector key for wind type. The wind type changes in the sequence from
NORMAL---NATURAL---SLEEP---NORMAL---NATURAL wind when this key being
touched repeatedly or kept in.
The features of 3 wind types are as follows:
NORMAL WIND:
The fan delivers air constantly with high, medium or low speed set by the SPEED key.
NATURAL WIND:
The fan delivers air according to the program preset in advance and simulating the natural
wind. The wind varies from low to high or vice-versa for more natural air circulation.
SLEEP WIND:
The wind decreases incrementally during on this setting until fan automatically shuts off
for comfortable sleep.
• “ ” OSC key
After the fan starts, press this key repeatedly to oscillate and deliver wind in the sequence of
“Left/Right – Up/Down – ‘8’ shape – fixed direction”.
2. How to use the remote control
(1) When using the remote control, align the “eye” at the front of the remote control with the
base of the fan receiving window.
(2) The remote control works well up to a distance of about 16 feet away from the front of the
fan and either side of the fan at an angle of 30 degrees.
(3) Direct sunlight should be avoided, as this may affect the effectiveness of the receiver.
(4) If the remote control is not in use for a long time or when batteries run out of power,
remove the batteries for proper disposal.
3. Replacement of batteries in remote control
When using the remote control, put in batteries. The remote
control uses two 1.5V AAA batteries. For installation. (Fig. 12)
(1) Open the battery cover.
(2) Put in new batteries, and pay attention to the polarity
(+ and -) of the batteries.
(3) Carefully out the battery cover back on.
OPERATING INSTRUCTION
MOUNTING ON THE WALL
Fan should be installed on solid wood or a pillar which stands vertically to floor.
CAUTION: To prevent the fan from falling off, DO NOT install it on walls less
then 4 inches thick or made of materials that are easily damaged.
1. Installing the mounting bracket. Fix the supplied
mounting bracket firmly to the wall using the two screws.
NOTE: The bracket should be placed at least 12 inches
below the ceiling and at least 12 inches from adjoining wall.
2. Installing the stand. Mount the stand on the bracket by
inserting the bracket catch into the slot on the stand.
Fig. 10
Blade Cap
Fig. 1
Grill lock nut
Tighten
Loosen
Fig. 2 Fig. 3
Blade Cap Tighten
Blade
Slot
Retaining
Pin
Plastic Rim
Front Grill
Locking Screw
Remote control
Battery
Battery pack cover
Fig. 12

Other Hurricane Fan manuals

Hurricane Supreme series User manual

Hurricane

Hurricane Supreme series User manual

Hurricane PRO 736474 User manual

Hurricane

Hurricane PRO 736474 User manual

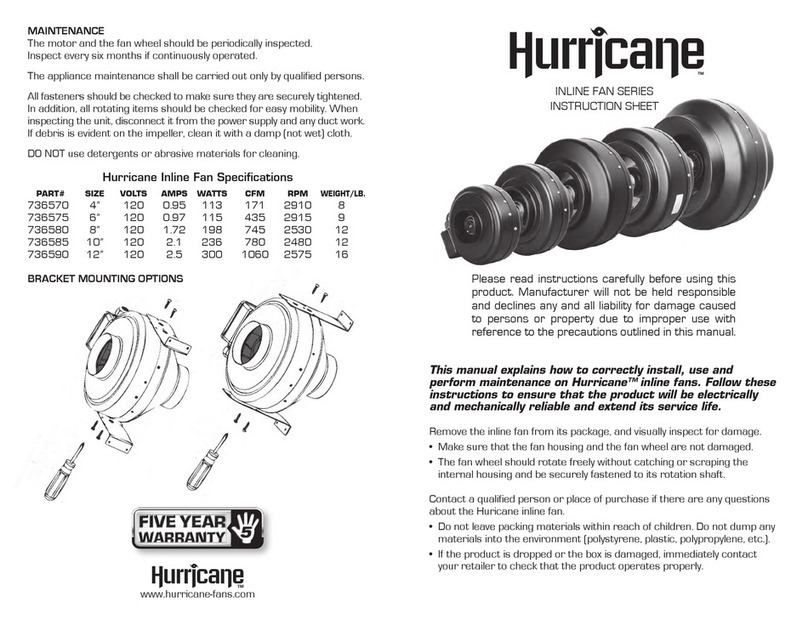
Hurricane INLINE Series User manual

Hurricane

Hurricane INLINE Series User manual

Hurricane W Manual

Hurricane

Hurricane W Manual

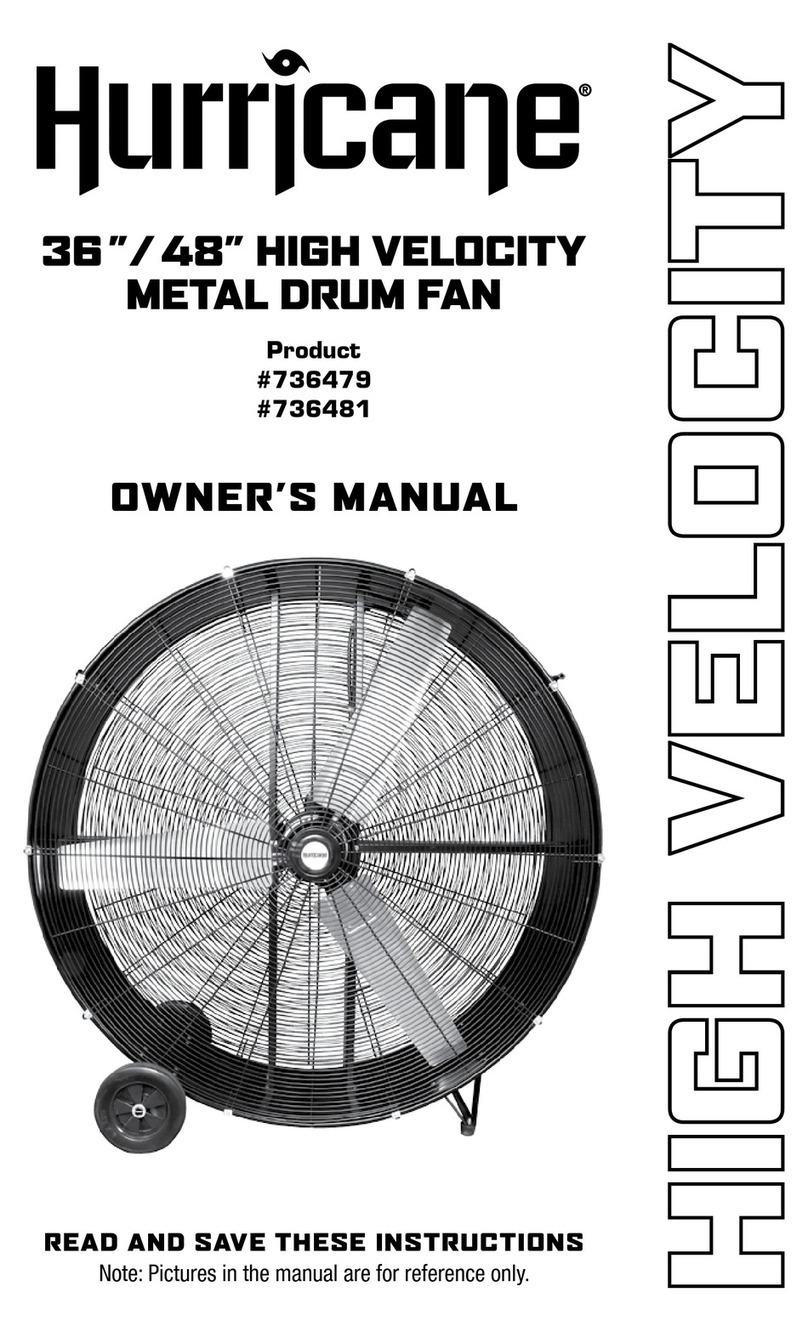
Hurricane 736479 User manual

Hurricane

Hurricane 736479 User manual

Hurricane 736530 Manual

Hurricane

Hurricane 736530 Manual

Hurricane Afterburner Manual

Hurricane

Hurricane Afterburner Manual

Hurricane Supreme Series User manual

Hurricane

Hurricane Supreme Series User manual

Hurricane 736503 User manual

Hurricane

Hurricane 736503 User manual

Hurricane Supreme Series User manual

Hurricane

Hurricane Supreme Series User manual

Hurricane 736505 User manual

Hurricane

Hurricane 736505 User manual

Hurricane Super 8 Manual

Hurricane

Hurricane Super 8 Manual

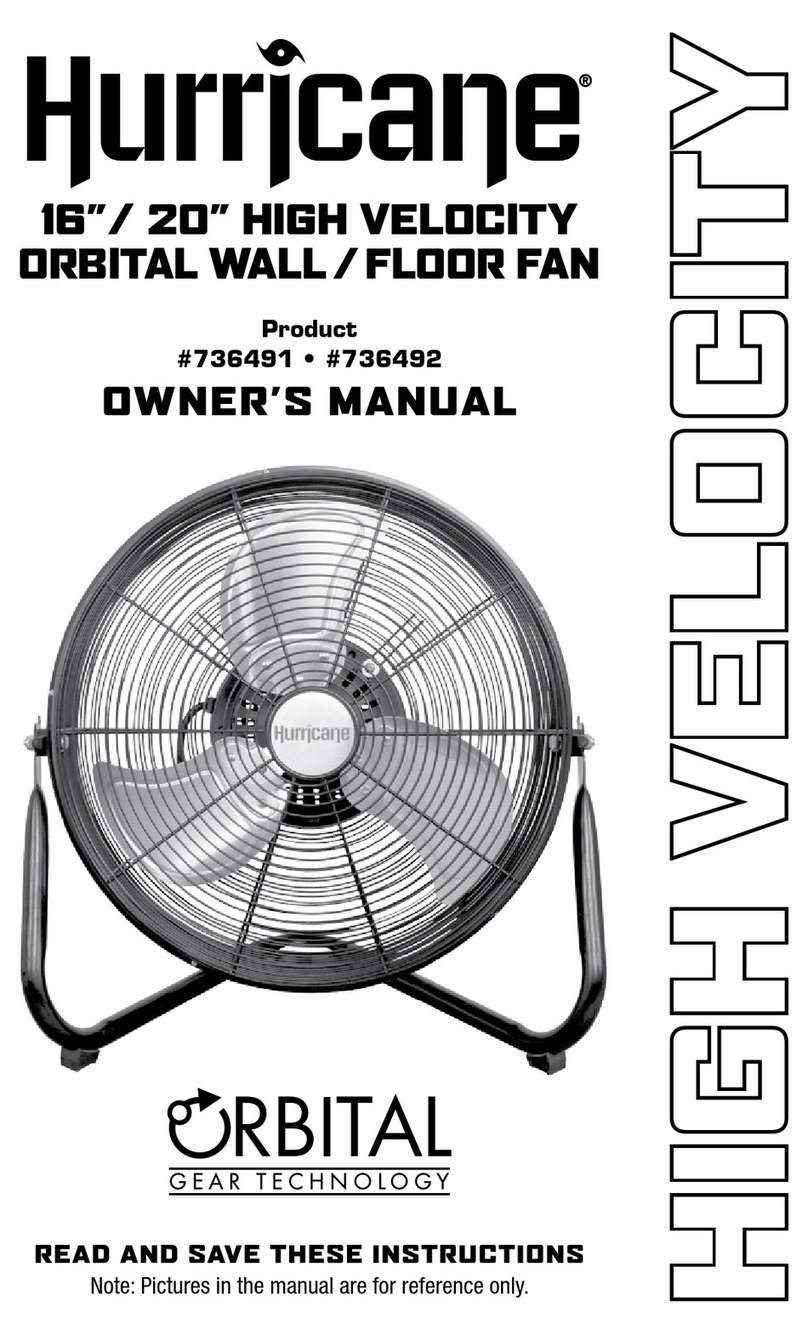
Hurricane 736491 User manual

Hurricane

Hurricane 736491 User manual

Hurricane Supreme 736507 User manual

Hurricane

Hurricane Supreme 736507 User manual

Hurricane 850 DMX User manual

Hurricane

Hurricane 850 DMX User manual

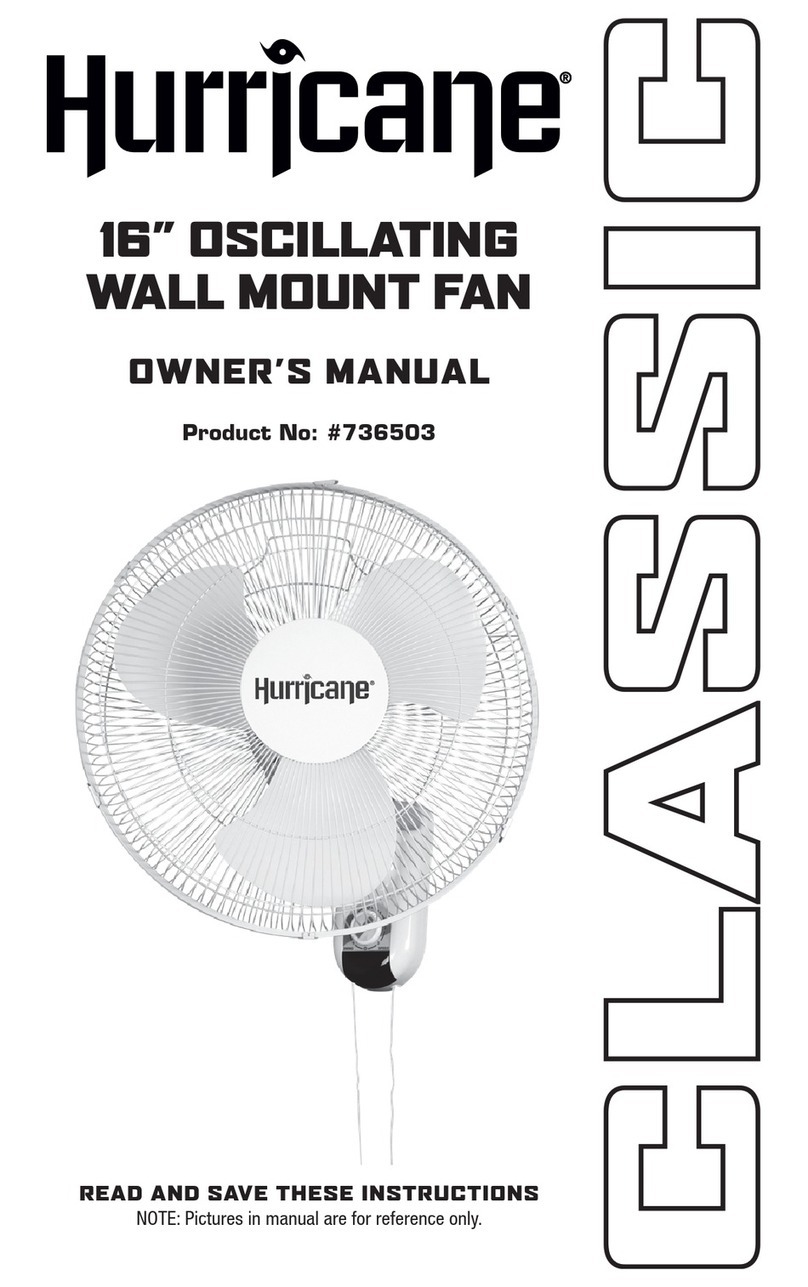
Hurricane CLASSIC 16" OSCILLATING WALL MOUNT FAN User manual

Hurricane

Hurricane CLASSIC 16" OSCILLATING WALL MOUNT FAN User manual

Hurricane PRO HGC736489 User manual

Hurricane

Hurricane PRO HGC736489 User manual

Hurricane 736565 Manual

Hurricane

Hurricane 736565 Manual

Popular Fan manuals by other brands

Swegon ADAPT Extract d Installation, commissioning maintenance

Swegon

Swegon ADAPT Extract d Installation, commissioning maintenance

Addvent AVX100EZS Installation and wiring instructions

Addvent

Addvent AVX100EZS Installation and wiring instructions

Click CSEF200S Installation, Use and Care Instructions

Click

Click CSEF200S Installation, Use and Care Instructions

QuietCool QC 1000 installation manual

QuietCool

QuietCool QC 1000 installation manual

KDK M48SG Operating and installation instructions

KDK

KDK M48SG Operating and installation instructions

Craftmade Cavallo CVL100 installation guide

Craftmade

Craftmade Cavallo CVL100 installation guide

ElectrIQ TF13OSCW user manual

ElectrIQ

ElectrIQ TF13OSCW user manual

Broan ChromaComfort installation guide

Broan

Broan ChromaComfort installation guide

Micron Sprayers Turbofan Installation and instruction manual

Micron Sprayers

Micron Sprayers Turbofan Installation and instruction manual

Vent-Axia LuminAir Turbo Series Installation and wiring instructions

Vent-Axia

Vent-Axia LuminAir Turbo Series Installation and wiring instructions

Vent-Axia Lo-Carbon Quadra SELV Series Installation and wiring instructions

Vent-Axia

Vent-Axia Lo-Carbon Quadra SELV Series Installation and wiring instructions

Lifebreath Air Purifier 200ERV Operation and installation manual

Lifebreath

Lifebreath Air Purifier 200ERV Operation and installation manual

AirMotion Sciences AltAir user manual

AirMotion Sciences

AirMotion Sciences AltAir user manual

Outwell CHRISTIANOS instruction manual

Outwell

Outwell CHRISTIANOS instruction manual

Unold 86820 Instructions for use

Unold

Unold 86820 Instructions for use

Heinner HMF-16WH instruction manual

Heinner

Heinner HMF-16WH instruction manual

Fanimation The Odyn owner's manual

Fanimation

Fanimation The Odyn owner's manual

NSA DF-5110 instruction manual

NSA

NSA DF-5110 instruction manual

manuals.online logo
manuals.online logoBrands
  • About & Mission
  • Contact us
  • Privacy Policy
  • Terms and Conditions

Copyright 2025 Manuals.Online. All Rights Reserved.