manuals.online logo
Brands
  1. Home
  2. •
  3. Brands
  4. •
  5. I-Tech
  6. •
  7. LCD Drawer
  8. •
  9. I-Tech ELD115m Manual

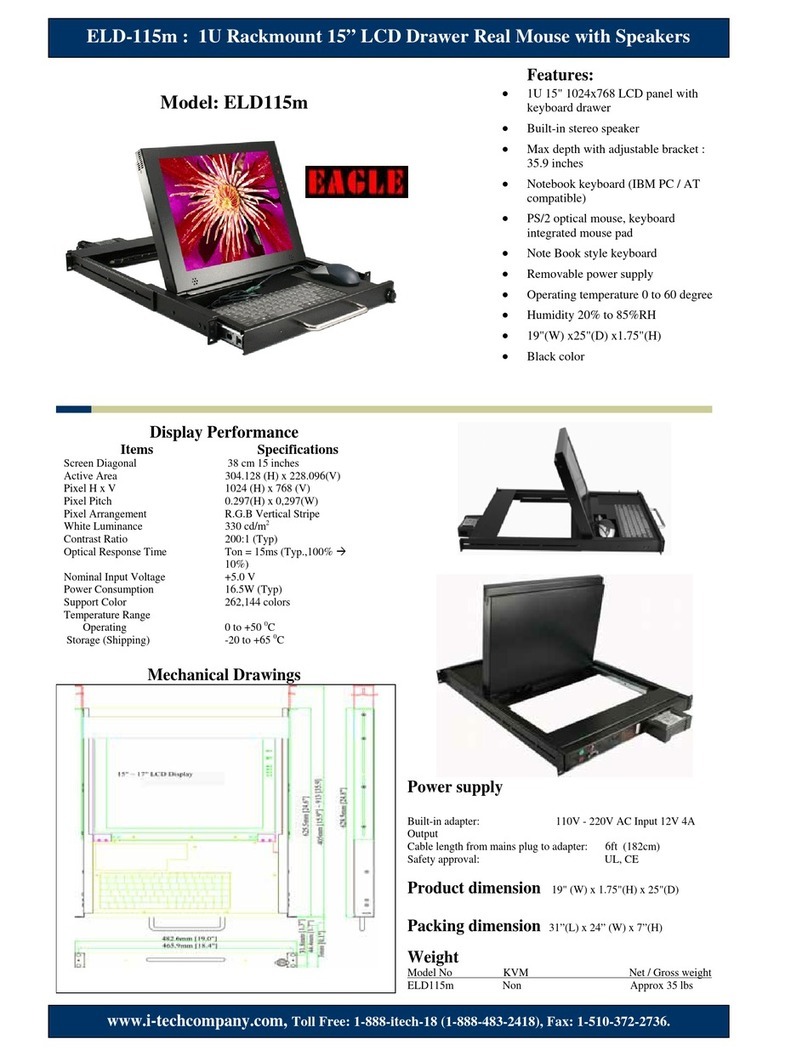
I-Tech ELD115m Manual

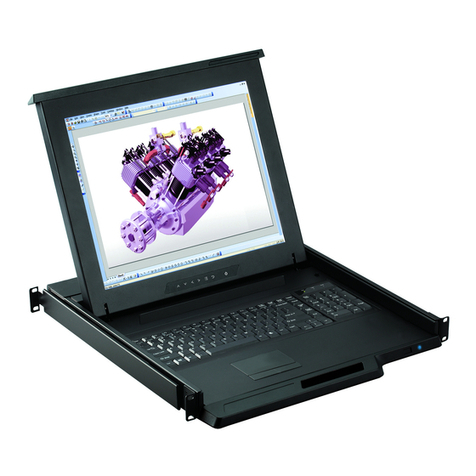
Rack Mount
LCD-Keyboard Drawer
1U Model Setup and Operating Guide
A Technical Guide for System Integrators
and Service Technicians
The information contained in this document is believed to be
accurate. However, no responsibility is assumed for its use,
nor for any infringements of patents or other rights of third
parties which may result from its use. This information is
subject to change without any notice.
CONTENTS
Introduction ........................................................... 1
Safety Guidelines .................................................. 2
Unpac ing ............................................................. 4
External Views ...................................................... 5
Front View ........................................................................... 5
Side ViewOSD Controls ................................................... 6
Top ViewAudio Components ........................................... 7
Bac ViewConnectors ..................................................... 8
System Requirements .......................................... 9
Rac Installation ................................................. 10
Mounting Procedure ......................................................... 10
OSD Controls ...................................................... 14
Using the OSD .................................................................. 15
OSD Menu System ........................................................... 16
Troubleshooting Techniques ............................... 18
Technical Specifications ..................................... 19
Setup and Operating Guide
1
Setup and Operating Guide
Introduction
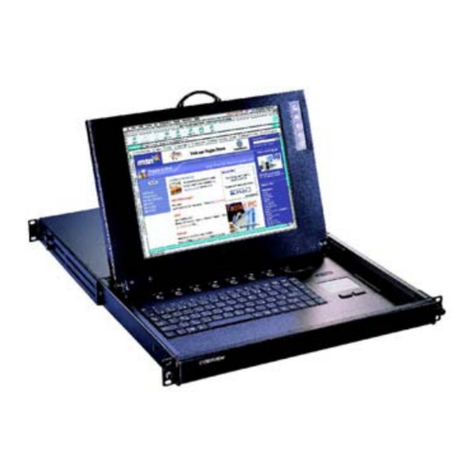
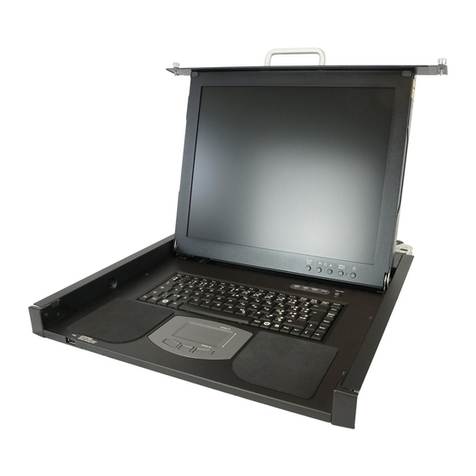
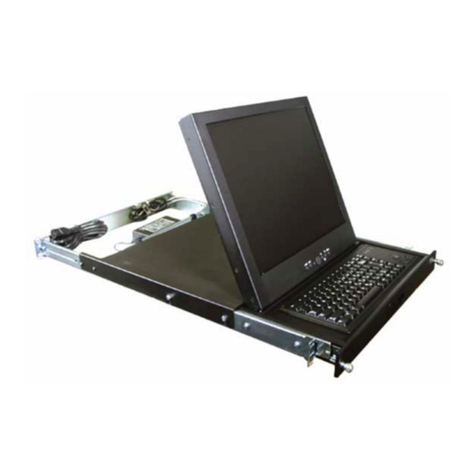
Your Flat Panel Monitor Keyboard Drawer is an integrated
monitor keyboard assembly designed for use with rack
mounted servers. It can be easily set up in a standard 19
equipment rack or cabinet. The monitor keyboard is
mounted on slide rails. The retractable assembly occupies
only 1U space, and its fold down design makes storage and
access a real convenience.
The monitor keyboard consists of a 14 (or 15 depending
on the model you purchased) TFT active matrix LCD
monitor, LCD controller designed to automatically work with
any standard analog video signal from a computer, a
keyboard with built in touchpad mouse, and power supply.
An optional waterproof, sealed membrane keyboard is also
available.
This guide provides step by step instructions for installation
and use of your monitor keyboard drawer.
Setup and Operating Guide
2
Safety Guidelines
Before you setup your monitor keyboard drawer, it is
important to follow certain basic safety precautions to
prevent damage to the product and to ensure your own
personal safety.
Handling the Drawer Assembly
The monitor keyboard drawer is constructed of heavy gauge
metal and can weight up to 30 lbs. To avoid injury during
installation watch for edges and corners on the assembly.
*
To prevent the drawer from accidentally sliding out and cause
bodily injury, the unit is shipped with a metal strap installed
across the front bezel. It is recommended that you do not
remove it until the unit is installed in the rack, or when the
unit is set down on a level work area.
Power Connections
The monitor is shipped with a power cord compatible with
the AC wall outlet in your region. Use the supplied power
cord.
Do not remove any of the covers over the power supply and
LCD controller. High voltages are present. Only qualified,
authorized electronics service personnel should access the
electronics components.
3
Setup and Operating Guide
Care for the LCD
The monitor is an active matrix LCD. Liquid crystal displays
are made of glass which will break or crack if mishandled.
entilation
The ambient temperature within a densely filled rack cabinet
may exceed that of the room temperature. It is important
that nothing blocks the ventilation openings of the power
supply.
Setup and Operating Guide
4
Unpacking
As you unpack your unit check the packing material to
ensure that you have found all of the proper cables and
accessories. Save all of the shipping material in case you
need it for transporting the unit in the future.
The monitor keyboard comes completely assembled. You
should find these items in your package:
w14 or 15 monitor keyboard assembly.
wCombo cable for video, keyboard and mouse.
wPower cord.
wKeys for the key lock.
5
Setup and Operating Guide
External iews
Front iew
The monitor keyboard drawer includes a flip up LCD.
Unlock the flip up LCD and use the handle to lift the LCD up.
Facing the unit youll find these components:
Slide rail LCD Touchpad
mouse
Keyboard
Rack mounting
bracket
Setup and Operating Guide
6
Side iewOSD Controls
On the left side of the LCD youll find four push buttons. You
use them to adjust the display properties through an OSD
(On Screen Display) menu system (see page 16 for a
description of the OSD).
Power supply OSD controls
7
Setup and Operating Guide
Top iewAudio Components
Left speaker Volume and
Tone controls
Right speaker
Setup and Operating Guide
8
Back iewConnectors
Audio input jack
Keyboard, video, mouse connectors Power ON/OFF switch and AC
power connector
9
Setup and Operating Guide
System Requirements
Your monitor keyboard drawer connects to the video,
keyboard and mouse ports of a computer system. Your
computer system is required to have the following:
wA standard video card with an analog 15 pin video
output connector. You are also responsible to have the
video card and its driver already installed.
wPS/2 ports for both the keyboard and mouse.
wAn audio out jack if you will be using the audio compo
nents of the unit.
Setup and Operating Guide
10
Rack Installation
Mounting Procedure
The monitor keyboard drawer is designed to be mounted in
a 19" equipment rack or cabinet. The unit has mounting
brackets that let you install it in racks ranging from 19 to 23
in depth.
Youll find the unit fully assembled on slide rails and func
tional. Use the following steps to install the unit, connect the
cables and its ready to use.
Step 1. Determine the height that you want to install the
unit and locate it on the rac posts.
Step 2. Adjust the rear mounting brac et if necessary.
Loosen two screws to adjust the rear bracket
11
Setup and Operating Guide
Step 3. Carefully insert the unit into the rac enclosure.
Align the front and rear mounting brac ets with
the screw holes along the rac posts.
Step 4. Install the mounting screws. Tighten down all of
the mounting bolts.
Step 5. Once the unit has been installed and secured,
remove the metal strap.
Removing the metal strap used to prevent the drawer from sliding out
during transportation and installation.
Setup and Operating Guide
12
Step 6. Turn OFF your computer and then ma e all of the
cable connections. The eyboard and mouse port
connectors are color coded purple colored
connector for the eyboard and green colored
connector for the mouse.
13
Setup and Operating Guide
Step 7. Unloc the flip-up LCD.
Step 8. Power up your system and turn on the unit by
pressing the AC power switch on the bac of the
unit to the ON position. Grasp the handle and pull
the drawer forward. This will disengage the
momentary on/off switch and the unit should
power on.
Turn the key counter-clowise to unlock the
retractable drawer.
ON/OFF switch
Setup and Operating Guide
14
OSD Controls
The LCD is driven by a conversion board that converts the
analog video signal into a digital video format that is ac
cepted by the LCD monitors driver circuit. The conversion
board includes an integrated RAM based OSD (On Screen
Display) menu. The OSD uses four push buttons to let you
access menu system and make adjustments to the display
for optimum performance.
The front panel push buttons are arranged and labeled as
follows:
wPressing M toggles the OSD on or off.
wPressing S steps through the menu items.
wPressing ~ or  increases or decreases the selected
menu items numerical value.
15
Setup and Operating Guide
Using the OSD
Follow these steps to activate the on screen display:
Step 1. Power up the computer system and then turn on
the LCD.
Step 2. Press M to invo e the on-screen menu.
Step 3. Press S to step through the main options.
Step 4. Press either ~ or  button to bring up sub-menus
of the highlighted option.
Step 5. Press M to step through the sub-menu options.
Step 6. Press either ~ or  to modify the selected
parameter value. Pressing a button once in-
creases or decreases the numerical value by a
single digit. Holding down a button increases the
rate of change. Press M to return to the previous
screen.
Step 7. After youve made your adjustments press M
repeatedly until the OSD is turned off.
Setup and Operating Guide
16
OSD Menu System
The OSD menu system consists of a main menu and four
sub menus. The following is a brief description of each of
the menu items:
1. RGB MENU
BRIGHTNESS: Adjusts the black level of the Red, Green
and Blue channels.
COLOR TEMP: The settings are available to set white
point reference.
SHARPNESS: Adjusts image sharpness.
2. GEOMETRY MENU
AUTO ADJUSTMENT: Performs automatic adjustment
of the vertical and horizontal image positions within the
display area of the LCD.
RGB Menu
Geometr
y
Menu
Contrast Menu
Lan
g
ua
g
e Menu
NVRAM Menu
Reset
Save
S 1024 x 768
70.3 / 56.6
Brightness
Red
Green
Blue
Color Tem
p
Shar
p
ness
Auto-Adjustment
H. Position
V. Position
H. Total
Auto Phase
Dela
y
Auto-Balance
Contrast
Red
Green
Blue
Balance
En
g
lish
S
p
anish

Other manuals for ELD115m

1

Other I-Tech LCD Drawer manuals

I-Tech NK-1e User manual

I-Tech

I-Tech NK-1e User manual

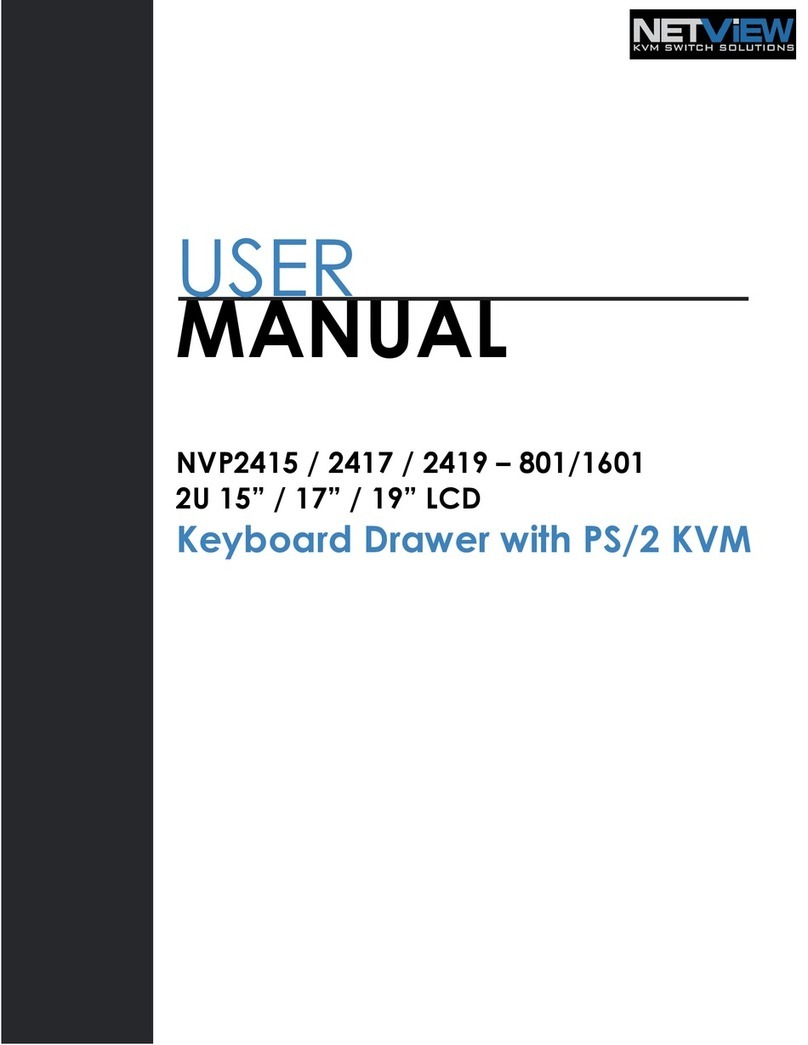
I-Tech NETVIEW NVP Series User manual

I-Tech

I-Tech NETVIEW NVP Series User manual

I-Tech RKP2415 User manual

I-Tech

I-Tech RKP2415 User manual

I-Tech RKP115 User manual

I-Tech

I-Tech RKP115 User manual

I-Tech HRKP115 User manual

I-Tech

I-Tech HRKP115 User manual

I-Tech NVP117 User manual

I-Tech

I-Tech NVP117 User manual

I-Tech RKP1015-1602 User manual

I-Tech

I-Tech RKP1015-1602 User manual

I-Tech RKP215-1601 User manual

I-Tech

I-Tech RKP215-1601 User manual
I-Tech RV1-KVM17/SM User manual

I-Tech

I-Tech RV1-KVM17/SM User manual

I-Tech DR117 Series User manual

I-Tech

I-Tech DR117 Series User manual

I-Tech DKP-115 Series User manual

I-Tech

I-Tech DKP-115 Series User manual

I-Tech NVP2415 User manual

I-Tech

I-Tech NVP2415 User manual

I-Tech RKP1017 User manual

I-Tech

I-Tech RKP1017 User manual

I-Tech NVP700 User manual

I-Tech

I-Tech NVP700 User manual

I-Tech NW117Xe User manual

I-Tech

I-Tech NW117Xe User manual

I-Tech RKP215 User manual

I-Tech

I-Tech RKP215 User manual

I-Tech RKP2415-1602 User manual

I-Tech

I-Tech RKP2415-1602 User manual

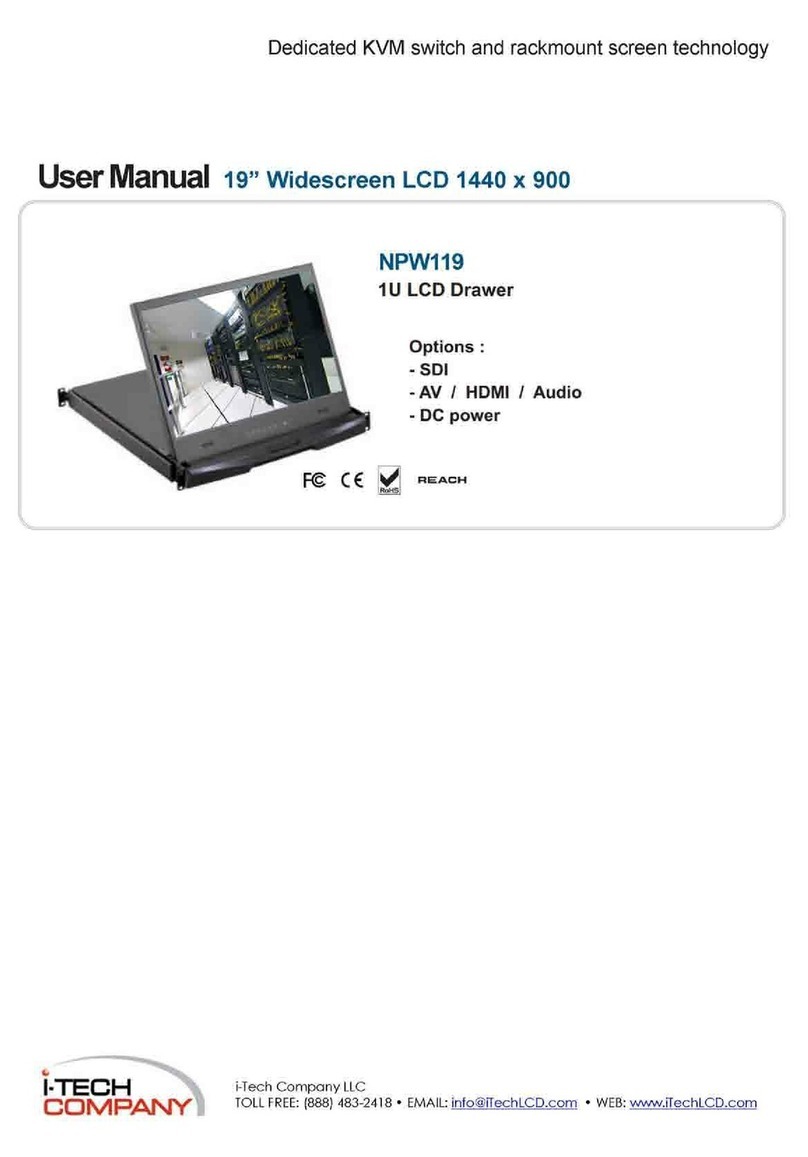
I-Tech NPW119 User manual

I-Tech

I-Tech NPW119 User manual

I-Tech NP117 User manual

I-Tech

I-Tech NP117 User manual

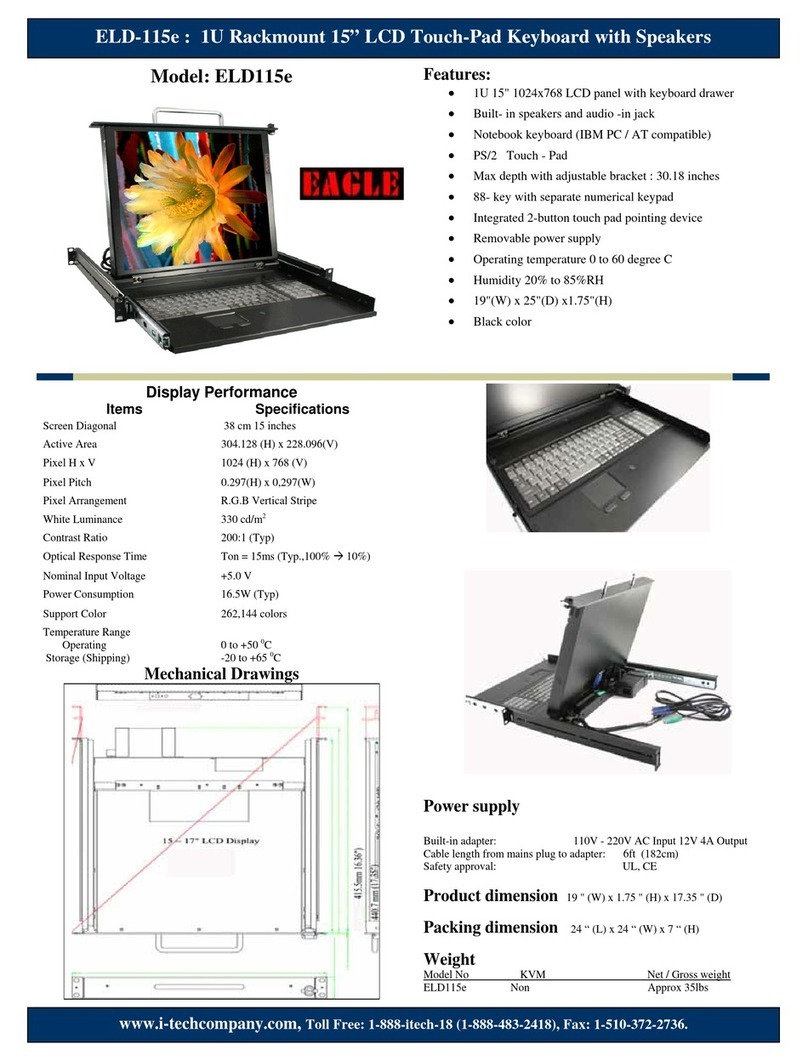
I-Tech XELD115e User manual

I-Tech

I-Tech XELD115e User manual

I-Tech NVP2417 User manual

I-Tech

I-Tech NVP2417 User manual
I-Tech ELD117e User manual

I-Tech

I-Tech ELD117e User manual

I-Tech BHK-117-16e User manual

I-Tech

I-Tech BHK-117-16e User manual

I-Tech RKP1415 User manual

I-Tech

I-Tech RKP1415 User manual

Popular LCD Drawer manuals by other brands

Daxten RACKACCESS 16IP brochure

Daxten

Daxten RACKACCESS 16IP brochure

Austin Hughes Electronics Cyberview D-117 Specifications

Austin Hughes Electronics

Austin Hughes Electronics Cyberview D-117 Specifications

Network Technologies 2907 Installation and operation manual

Network Technologies

Network Technologies 2907 Installation and operation manual

Bosch HWD57 use and care manual

Bosch

Bosch HWD57 use and care manual

Acnodes MKD9172 user manual

Acnodes

Acnodes MKD9172 user manual

Acnodes KD 81716 Specifications

Acnodes

Acnodes KD 81716 Specifications

Crystal Image Technologies RM-111-17A-MIL user manual

Crystal Image Technologies

Crystal Image Technologies RM-111-17A-MIL user manual

Emerson Avocent 18.5" Local Rack Access LCD Console Installer/user guide

Emerson

Emerson Avocent 18.5" Local Rack Access LCD Console Installer/user guide

CDA SVW141 Manual for installation, use and maintenance

CDA

CDA SVW141 Manual for installation, use and maintenance

Sealey PTB91505 instructions

Sealey

Sealey PTB91505 instructions

caramia furniture MADDOX STORAGE Assembly instructions

caramia furniture

caramia furniture MADDOX STORAGE Assembly instructions

Crystal Image Technologies RM-X24 user manual

Crystal Image Technologies

Crystal Image Technologies RM-X24 user manual

Minicom SmartRack Quick installation guide

Minicom

Minicom SmartRack Quick installation guide

IKEA RATIONELL manual

IKEA

IKEA RATIONELL manual

SmartVM KVM-RKM-15-1RU-SD user manual

SmartVM

SmartVM KVM-RKM-15-1RU-SD user manual

Unihopper MAGICBOX H80 Installation instruction

Unihopper

Unihopper MAGICBOX H80 Installation instruction

ATEN Slideaway CL1000 user manual

ATEN

ATEN Slideaway CL1000 user manual

Kensington SmartFit quick start guide

Kensington

Kensington SmartFit quick start guide

manuals.online logo
manuals.online logoBrands
  • About & Mission
  • Contact us
  • Privacy Policy
  • Terms and Conditions

Copyright 2025 Manuals.Online. All Rights Reserved.