manuals.online logo
Brands
  1. Home
  2. •
  3. Brands
  4. •
  5. I-Tech
  6. •
  7. Medical Equipment
  8. •
  9. I-Tech FOX-350 User manual

I-Tech FOX-350 User manual

FINGER PULSE OXIMETER FOX-350
USER’S MANUAL
Date: March, 2020 Rev.0
Section 1 Intended Use and Safety
1.1 Intended Use
This product is suitable for the hospital (including surgey, anedthesiology,
paediatrics, and clinical use), oxygen bar, sports health(using them before or
after sports, do not advise using them during the movement), and community
health care, ect.
1.2 Instructions for the Safe Operation and Use of the Pulse Oximeter
⚫Do not attempt to service the pulse oximeter. Only qualified service
personnel should attempt any needed internal servicing.
⚫Do not use the oximeter in situations where alarms are required.
⚫Prolonged use or the user’s condition may require changing the
sensor site periodically. Change sensor site and check skin integrity,
circulatory status and correct alignment every hour.
⚫SpO2 measurements may be adversely affected in the presence of
high ambient light. Shield the sensor area if necessary.
⚫The following reasons will cause interference.
◼Improper placement or alignment.
◼Placement of a sensor on an extremity with a high pressure cuff.
◼Extremely low perfusion.
◼The user has hypotension severe vasoconstriction severe anemia or
hypothermia.
◼Excessive motion.
◼Fingernail polish or false fingernails may cause inaccurate SpO2
readings.
1.3 Warnings
WARNING: EXPLOSION HAZARD —Do not use the oximeter in a
flammable atmosphere where concentrations of flammable anesthetics or
other materials may occur.
WARNING: Do not throw batteries in fire as this may causes them to
explode.
WARNING: Do not use the pulse oximeter in an MRI or CT environment.
WARNING: This oximeter is not a Apnea monitor, should not be used for
arrhythmia analysis.
CAUTION: Keep the operating environment free of dust, vibrations,
corrosive, or flammable materials, and extremes of temperature and
humidity.
CAUTION: Do not operate the unit if it is damp or wet because of
condensation or spills. Avoid using the equipment immediately after moving
it from a cold environment to a warm, humid location.
WARNING: Do not attempt to recharge normal dry-cell batteries, they may
leak. And may cause a fire or even explode.
CAUTION: Never use sharp or pointed objects to operate the front-panel
switches.
CAUTION: The battery must be taken out from the battery compartment if
the device will not be used for a long time.
CAUTION: The device shall only be used if the battery cover is closed.
CAUTION: The battery must be proper disposed according to local
regulation after their use.
1.4 Definitions and Symbols
Symbol
Description
Symbol
Description
Type BF
Equipment
Information of
manufacture, including
name and address
Refer to the
instruction
manual /booklet
When the end-user wishes
to discard this product, it
must be sent to separate
collection facilities for
recovery and recycling
Serial NO*
Warning:
The information you
should know to protect
users from possible injury
Caution:
The information
you should know
to protect the
equipment from
possible
Note:
The important information
you should know
Section 2 Introduction
2.1 Display Parameter and Brief Device Description
(Functional oxygen saturation), is the amout of oxyhemoglobin expressed
as a percentage of the Functioning Hemoglobin. Functioning Hemoglobin is
capable of carrying oxygen and includes oxygenated hemoglobin (HbO2)
and deoxygenated hemoglobin (Hb).
PR(Pulse Rate), measured in beats per minute(bpm), is the frequency of
heart beats.
PI(Perfusion Index) is the ratio of the pulsatile blood flow to the
non-pulsatile static blood in peripheral perfusion. Perfusion index is an
indication of the pulse strength at the sensor site.
Plethysmogram The amount of light absorbed by the varying quantities
of arterial blood changes with the pulse beats, the waveform is named
Plethysmogram , This waveform and its variation is used for assigning signal
integrity, physiological and artifactual changes such as perfusion changes,
dysrhythmia, motion artifact, and electrical interference.
The Pulse Oximeter, based on all digital technology, is intended for
noninvasive spot-check measurement of functional oxygen saturation of
arterial hemoglobin (SpO2). Advanced DSP algorithm can reduce the
influence of motion artifact and improve measurement accuracy of low
perfusion.
Section 3 Installation, Setup, and Operation
3.1 Description of the Front and Back Panel (as Figure 3.1.1 and
Table 3.1.1)
Table 3.1.1 Part Definition and Description
Figure 3.1.1 Parts of front
& back panel
3.2Install battery
Installing two AAA batteries into battery cassette in
correct polarities and cover it(as Figure 3.2.1).
3.3 Turn the Pulse Oximeter on
Put one of fingers into rubber hole of the
oximeter (it is best to put the finger thoroughly)
with nail surface upward(as Figure 3.3.1 ), then
releasing the clamp.
Press the button, oximeter will go into the
working state. Figure 3.3.1
3.4 Read data from display screen
Figure 3.4.1 OLED display
The main screen can rotate four display directions after short press the
button as shown below:
F
Figure 3.4.2
Note: when battery power is at lowest level, the battery capacity indicates
symbol of “ ”in OLED, remind users of replacement of battery.
3.5 Operate the Menu
There are two ways to operate the button according to the pressing time:
long-press is longer than half a second and short-press is shorter than half
a second.
Short-press is used to select a item by moving a * to the line of this item,
long-press is used to change the item’s value, status, open a new page or
make it take effect.
From the main screen, long-press on the button will make the oximeter
display Settings Pages as shown in Figure 3.5.1 or Figure 3.5.2. Selecting
“Page 1/2”or “Page 2/2”and long press will make this two pages display
alternately.
Item
Name
Description
1
Button
Start the working state
and set parameters
2
OLED
Panel
Display the SPO2/PR
& Bargraph,
Plethysmogram, PI
3
Battery
Compart-
ment
2xAAA 1.5VAlkaline
battery
WARNING: Do not attempt to
recharge normal alkaline batteries,
they may leak and may cause a fire or
even explode.
Figure 3.2.1
0123
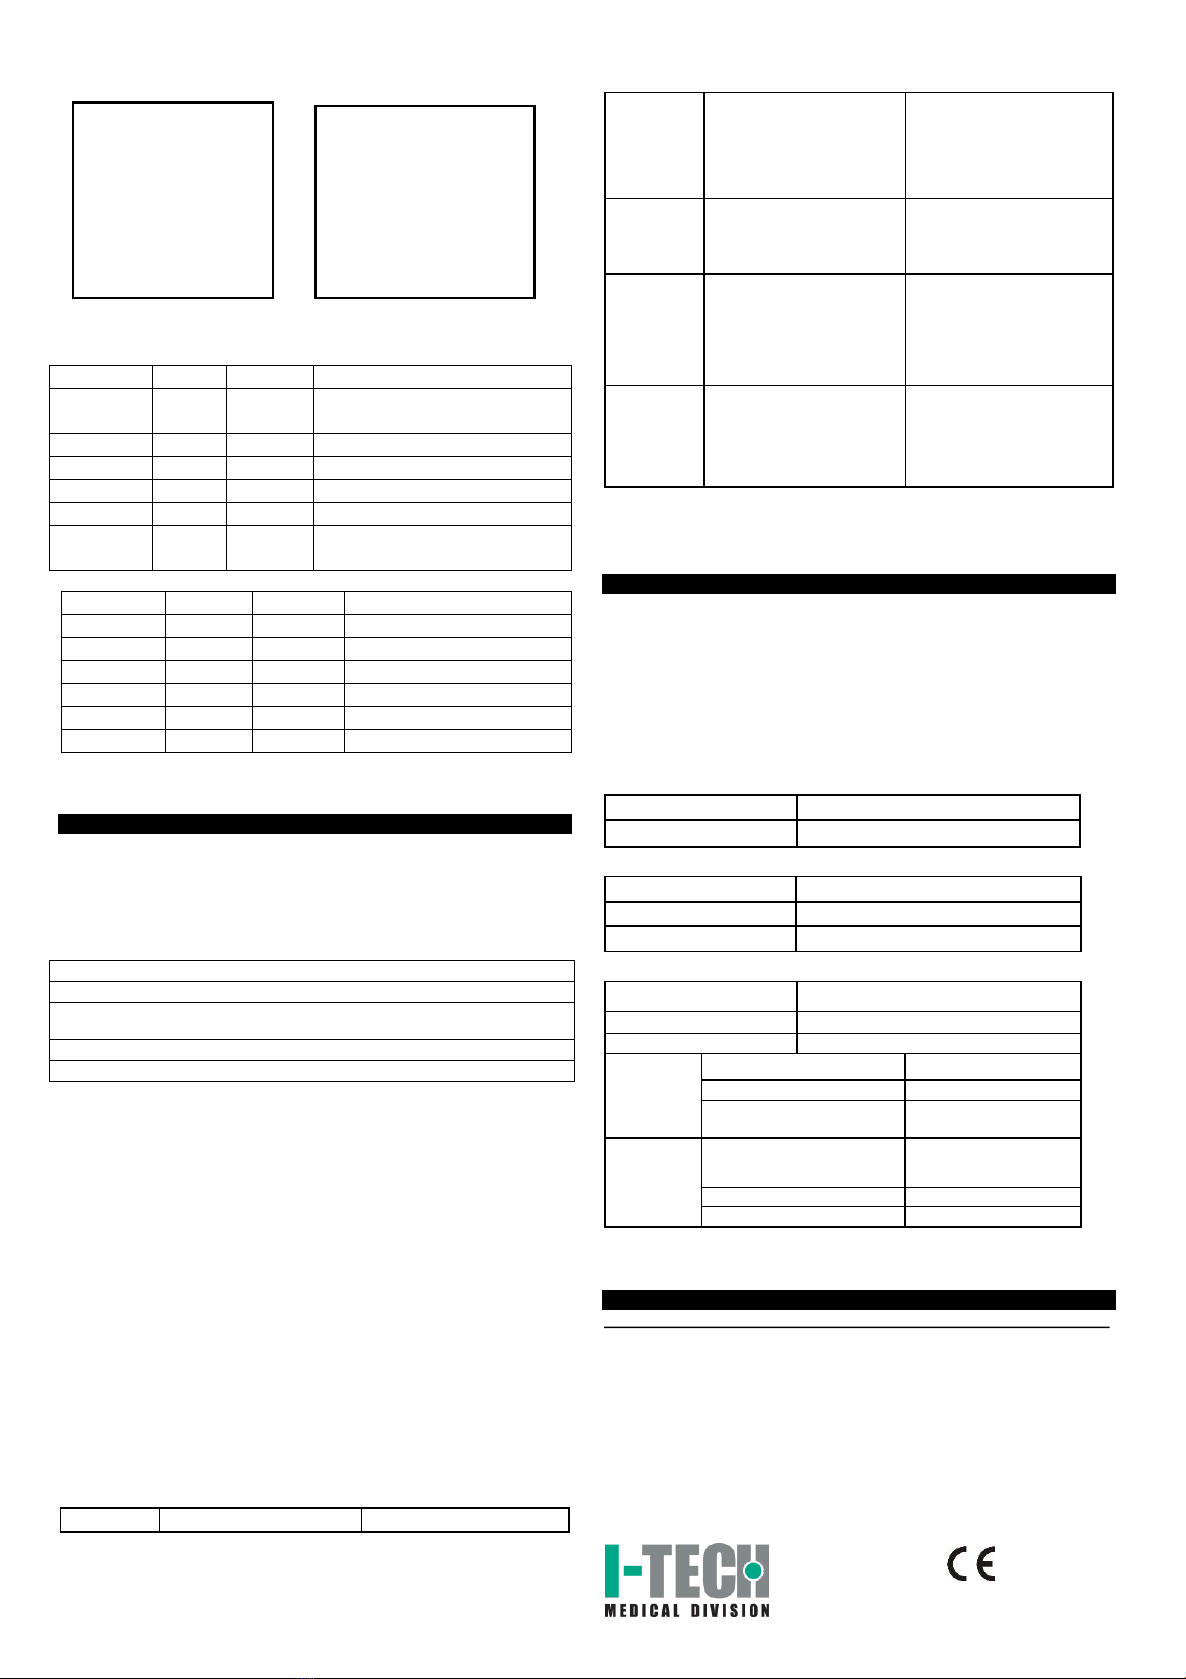
Figure 3.5.1 Figure 3.5.2
The Items in Page1 are:
Items
Default
Options
Description
Alm
on
on, off
Turn on or off the sounds when the value
if out of the limit set in page 2.
Beep
off
on, off
Set Pulse Beep on or off.
Demo
off
on, off
Enter Demo mode, long press to quit it.
Reset
OK
OK, Blank
Reset all settings as default value.
Brightness
4
1-5
Set the screen’s brightness.
Exit
N/A
N/A
Return to the Main Screen or Enter
Demo mode when it is selected as ‘on’.
The Items in Page2 are:
Items
Default
Options
Description
SpO2 Alm Hi
100
50-100
The upper limit of SpO2.
SpO2 Alm Lo
94
50-100
The lower limit of SpO2.
PR Alm Hi
130
25-250
The upper limit of PR.
PR Alm Lo
50
25-250
The lower limit of PR.
+/-
+
+, -
Increase or decrease the number.
Exit
N/A
N/A
Return to the Main Screen.
3.6 Turn off the Oximeter
The oximeter will turn off automatically after 8 seconds after removing the
finger out of the device.
Section 4 Maintenance
4.1 Cleaning
Switch off the power and take out the batteries before cleaning, Cleaning
exterior surface (OLED display screen included) of the unit with a dry and
soft cloth. Use 75% density of medical alcohol to clean the surface and use
dry fabric with little alcohol to avoid alcohol permeates into the device.
4.2 Disinfection
Use 75% density of medical alcohol to clean the surface that contacting
with the user.
CAUTION: Don’t use strong solvent. For example, acetone.
CAUTION: Never use an abrasive such as steel wool or metal polish.
CAUTION: Do not allow any liquid into the product, and do not immerse any
parts of the device into any liquids.
CAUTION: Avoid pouring liquids on the device while cleaning.
CAUTION: Don’t remain any cleaning solution on the surface of the device.
4.3 Warranty
The host product’design life is 2 years, and 1 years warranty. Under
normal circumstances, the malfunction of the product during the warranty
period (from the date of purchase) should be sent back to the company for
maintenance, and our company is responsible for all maintenance costs
(users should cover the freight themselves). Outside the warranty period, our
company shall charge some maintenance fee (users should cover the freight
themselves) if the product has broken down and is sent back for
maintenance. The battery is beyond the scope of the warranty. If you have
the purchase and sale contract, the costs of the maintenance shall be in
accordance with the purchase and sale contract execution. Besides, it is
recommended that users should use them no more than five years. And over
the using life, the using risks may increase due to the equipment’s aging.
4.4 Maintenance
⚫Replace the batteries timely when battery indication is low. Clean
surface of thеPulse Oximeter before it is used in diagnosis for users.
⚫Remove the batteries inside the battery cassette if the Oximeter will not
be operated for a long time.
⚫It is better to preserve the product in a place where ambient
temperature is -20 - 55℃and humidity is 10%-95%.
⚫Regular inspection to make sure that no obvious damage existed to
affect the safety and performance of device.
⚫No flammable substance, overtop or lower temperature and humidity
existed in operation conditions.
4.5 Troubleshooting
Table 4.5 troubleshooting
Problems
Possible Reason
Resolutions
Oxyhemoglobin
or heart rate
can not be
shown
normally.
1. Finger is not plugged correctly.
2. User’s perfusion is too low to
be measured.
1. Retry by plugging the finger.
2. Try some more times, if you can
make sure about no problem
existing in the product, Please go
to a hospital timely for exact
diagnosis.
Oxyhemoglobin
or heart rate is
shown
unstably.
1. Finger might not be plugged
deep enough.
2. Finger is trembling or user's
body is in movement status.
1. Retry by plugging the finger.
2. Try not to move, Let the user
keep calm.
The oximeter
can’t go into the
working state.
1. Power of batteries might be
inadequate or not be there at all.
2. Batteries might be installed
incorrectly.
3. The Oximeter might be
damaged.
1. Please replace batteries.
2. Please reinstall the batteries.
3. Please contact with local
customer service center.
The screen are
suddenly off.
1. The product is automatically
standby or sleep when no signal
is detected longer than 8
seconds.
2. Power quantity of the batteries
is exhausted.
1. Normal.
2. Replace the batteries.
4.6 Disposal
To avoid contaminating or infecting personnel, the environment or other
equipment, make sure you disinfect or decontaminate the device
appropriately before disposing of it in accordance with your country’s law for
equipment containing electrical and electronic parts.
Section 5 Specification
Physical Characteristics
Machine Dimensions: 57mm (L) x 31mm (W) x 30.5mm (D)
Machine Weight -approx: 54 g ( including 2xAAA battery )
Classification
Anti-electric Shock Type: Internally powered equipment
Anti-electric Shock Degree: Type BF equipment
EMC: Group 1 Class B
Mode of operation: Continuous Operation
Enclosure Degree of ingress protection: IP22
※IP22 means shell of this product can withstand the water dropping to
the surface when the shell deviate 15 degree from horizontal surface.
Power
Internal:
2xAAA 1.5V alkaline battery
Power Consumption:
30mA(Normal)
Environmental:
Operating Temperature:
5°C to 40°C
Storage Temperature:
–20°C to 55°C
Relative Humidity:
15% to 85% non-condensing
Electronics Parameters:
Parameter
Value
SpO2(Oxygen saturation)
35-100%
PR (Pulse Rate)
25-250 bpm
Resolution
SpO2 (Oxygen saturation)
1%
PR (Pulse Rate)
1 bpm
PI (Perfusion Index)
0.1% (<10%)
1% (10% - 20%)
Measure
Accuracy:
Arms *
SpO2(Oxygen saturation)
2% (80% - 100%)
3% (70% - 80%)
Unspecified (<70%)
PR (Pulse Rate)
2 bpm
PI (Perfusion Index)
1%
* Arms accuracy is a statistical calculation of the difference between device
measurements and reference measurements. Approximately two-thirds of
the device measurements fell within +/- Arms of the reference measurements
in a controlled study.
Applicable models
Technical information is subject to change without notification to allow for updates.
⚫This device complies with EU Directive 93/42/EEC concerning medical devices, and
the DIN EN ISO 13485:2016 standard.
⚫This device complies with IEC 60601-1-2: 2014, ISO 80601-2-61: 2011 Clause 202,
IEC 60601-1-11: 2010 Clause 12.
⚫Manufacturer: Promise Technology Co., Ltd.
3/F, East-Asia Building, Jida Jiuzhou Avenue, 519015 Zhuhai, Guangdong,
PEOPLE’S REPUBLIC OF CHINA
⚫EC-Representative: Shanghai International Holding Corp. Gmbh (Europe)
Eiffestraβe 80 20537 Hamburg GERMANY
Distribuited by: I.A.C.E.R Srl Via S.Pertini 24/a –30030 Martellago (VE) Italy
Settings
Page 1/2 *
Alm on
Beep off
Demo off
Reset OK
Brightness 4
Exit
Settings
Page 2/2 *
SpO2Alm Hi 100
SpO2Alm Lo 94
PR Alm Hi 130
PR Alm Lo 50
+/- +
Exit

Other I-Tech Medical Equipment manuals

I-Tech MIO CARE PRO User manual

I-Tech

I-Tech MIO CARE PRO User manual

I-Tech MIO-IONOTENS User manual

I-Tech

I-Tech MIO-IONOTENS User manual

I-Tech Power-Q1000 Premium User manual

I-Tech

I-Tech Power-Q1000 Premium User manual

I-Tech MAG 1000 User manual

I-Tech

I-Tech MAG 1000 User manual

I-Tech LA500 User manual

I-Tech

I-Tech LA500 User manual

I-Tech Mio-Sonic User manual

I-Tech

I-Tech Mio-Sonic User manual

I-Tech I-Press User manual

I-Tech

I-Tech I-Press User manual

I-Tech FOX-200 Instruction Manual

I-Tech

I-Tech FOX-200 Instruction Manual

I-Tech UT1 User manual

I-Tech

I-Tech UT1 User manual

I-Tech Electra S4 ANTI-SPASM User manual

I-Tech

I-Tech Electra S4 ANTI-SPASM User manual

I-Tech ORTHOMAG User manual

I-Tech

I-Tech ORTHOMAG User manual

I-Tech MIO-PERISTIM User manual

I-Tech

I-Tech MIO-PERISTIM User manual

I-Tech Mio-Sonic User manual

I-Tech

I-Tech Mio-Sonic User manual

I-Tech PHYSIO 4 User manual

I-Tech

I-Tech PHYSIO 4 User manual

I-Tech WonJin Power Q-6000 User manual

I-Tech

I-Tech WonJin Power Q-6000 User manual

I-Tech Power Q-6000 Plus User manual

I-Tech

I-Tech Power Q-6000 Plus User manual

I-Tech MIO-CARE Tens User manual

I-Tech

I-Tech MIO-CARE Tens User manual

I-Tech MAG700 User manual

I-Tech

I-Tech MAG700 User manual

I-Tech LaMagneto Pro User manual

I-Tech

I-Tech LaMagneto Pro User manual

I-Tech LaMagneto User manual

I-Tech

I-Tech LaMagneto User manual

I-Tech MAG 1000 User manual

I-Tech

I-Tech MAG 1000 User manual

I-Tech MIO-IONOTENS User manual

I-Tech

I-Tech MIO-IONOTENS User manual

I-Tech MAG 1000 User manual

I-Tech

I-Tech MAG 1000 User manual

I-Tech Mio-Sonic User manual

I-Tech

I-Tech Mio-Sonic User manual

Popular Medical Equipment manuals by other brands

Mediroyal NRX Strap Series quick start guide

Mediroyal

Mediroyal NRX Strap Series quick start guide

Choice Electronics MD300CF3 Operator's manual

Choice Electronics

Choice Electronics MD300CF3 Operator's manual

Microlife OXY500 BT manual

Microlife

Microlife OXY500 BT manual

Fluke Biomedical Index 2MF user manual

Fluke

Fluke Biomedical Index 2MF user manual

Bayer HealthCare MEDRAD MRXperion XP 65/115VS Instructions for use

Bayer HealthCare

Bayer HealthCare MEDRAD MRXperion XP 65/115VS Instructions for use

Boston Scientific Precision SCS System Series Directions for use

Boston Scientific

Boston Scientific Precision SCS System Series Directions for use

ChM CHARFIX system Instructions for use

ChM

ChM CHARFIX system Instructions for use

Drive Medical Bonsai OM-812CE PRODUCT INFORMATION AND INSTRUCTIONS

Drive Medical

Drive Medical Bonsai OM-812CE PRODUCT INFORMATION AND INSTRUCTIONS

ATsens AT-Patch user manual

ATsens

ATsens AT-Patch user manual

Nidek Medical Mark 5 Nuvo Lite Series Service manual

Nidek Medical

Nidek Medical Mark 5 Nuvo Lite Series Service manual

Wissner-Bosserhoff SafeLift instruction manual

Wissner-Bosserhoff

Wissner-Bosserhoff SafeLift instruction manual

Terumo Crosperio RX Instructions for use

Terumo

Terumo Crosperio RX Instructions for use

Arjo Alpha Active 3 Instructions for use

Arjo

Arjo Alpha Active 3 Instructions for use

Gima 27448 user manual

Gima

Gima 27448 user manual

Allegion Normbau NY.347 Series Fixing instructions

Allegion

Allegion Normbau NY.347 Series Fixing instructions

Ossur PROPRIO FOOT Instructions for use

Ossur

Ossur PROPRIO FOOT Instructions for use

Bistos BT-350 Operation manual

Bistos

Bistos BT-350 Operation manual

bcf easi-scan instruction manual

bcf

bcf easi-scan instruction manual

manuals.online logo
manuals.online logoBrands
  • About & Mission
  • Contact us
  • Privacy Policy
  • Terms and Conditions

Copyright 2025 Manuals.Online. All Rights Reserved.