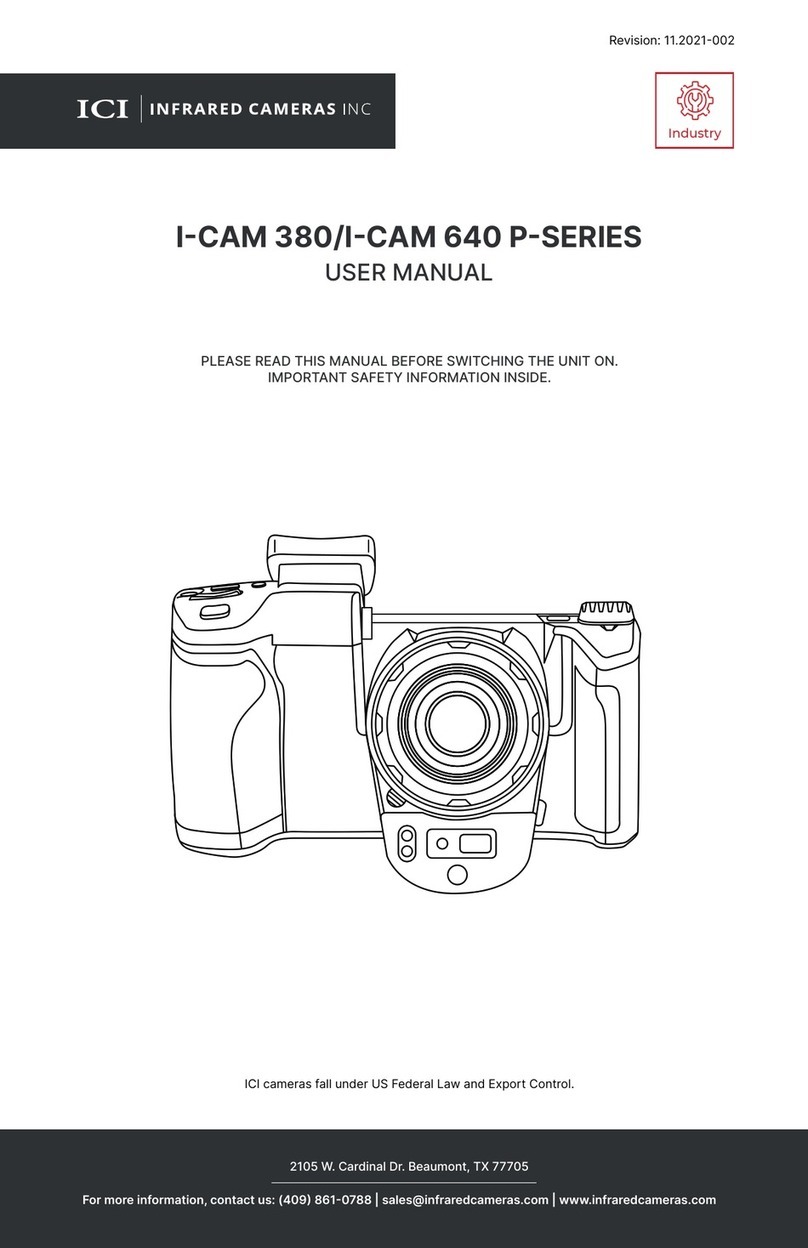
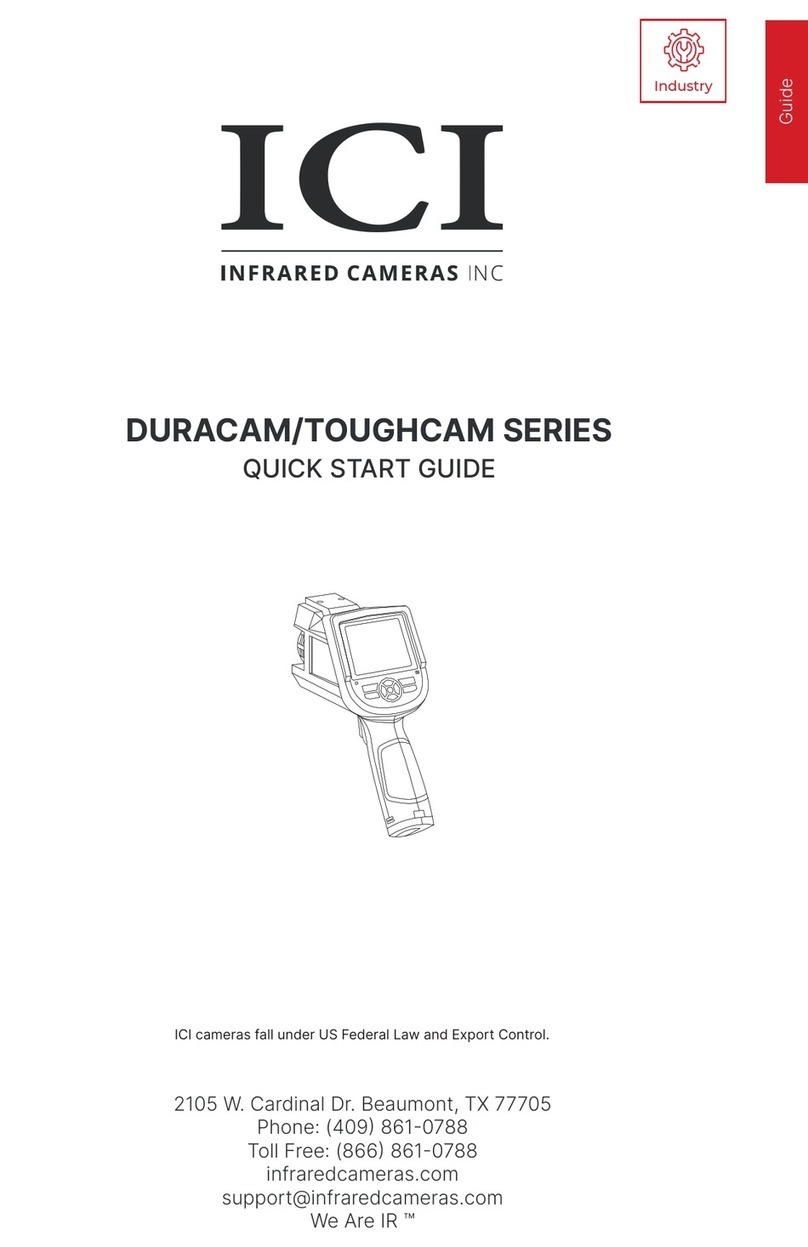
ICI T-CAM 380 Series User manual

Guide
2105 W. Cardinal Dr. Beaumont, TX 77705
Phone: (409) 861-0788
Toll Free: (866) 861-0788
infraredcameras.com
suppor[email protected]
We Are IR ™
ICI cameras fall under US Federal Law and Export Control.
T-CAM 380/T-CAM 600 P-SERIES
QUICK START GUIDE
Edit Text Outlines
IndustryIndustry

2
©Copyright 2021, Infrared Cameras, Inc. - All rights reserved. The
contents of this document may not be reproduced in whole or in parts
without the written consent of the copyright owner.
Printed in the United States of America.
2105 W. Cardinal Dr.
Beaumont, TX 77705
(866) 861-0788
www.infraredcameras.com
THE MANUFACTURER RESERVES THE RIGHT TO ALTER THE
SPECIFICATIONS OF THE PRODUCT WITHOUT PRIOR NOTIFICATION. THE
MANUFACTURER ALLOWS HIMSELF THE RIGHT TO MODIFY WITHOUT
ANY PRELIMINARY OPINION THE TECHNICAL SPECIFICATIONS OF THE
PRODUCT. THIS MANUAL MAY CONTAIN TECHNICAL INACCURACIES OR
TYPOGRAPHICAL ERRORS.
NOTICE ALL STATEMENTS, INFORMATION, AND RECOMMENDATIONS IN
THIS MANUAL ARE BELIEVED TO BE ACCURATE BUT ARE PRESENTED
WITHOUT WARRANTY OF ANY KIND. NOTWITHSTANDING ANY OTHER
WARRANTY HEREIN, ALL DOCUMENT FILES AND SOFTWARE ARE
PROVIDED “AS IS” WITH ALL FAULTS. ICI DISCLAIMS ALL WARRANTIES,
EXPRESSED OR IMPLIED, INCLUDING, WITHOUT LIMITATION, THOSE
OF MERCHANTABILITY, FITNESS FOR A PARTICULAR PURPOSE AND
NONINFRINGEMENT OR ARISING FROM A COURSE OF DEALING, USAGE,
OR TRADE PRACTICE.
THE SOFTWARE LICENSE AND LIMITED WARRANTY FOR THE
ACCOMPANYING PRODUCT ARE SET FORTH IN THE INFORMATION
PACKET THAT SHIPPED WITH THE PRODUCT AND ARE INCORPORATED
HEREIN BY THIS REFERENCE. IF YOU ARE UNABLE TO LOCATE THE
SOFTWARE LICENSE OR LIMITED WARRANTY, CONTACT YOUR ICI
REPRESENTATIVE FOR A COPY.
IN NO EVENT SHALL ICI BE LIABLE FOR ANY INDIRECT, SPECIAL,
CONSEQUENTIAL, OR INCIDENTAL DAMAGES, INCLUDING, WITHOUT
LIMITATION, LOST PROFITS OR LOSS OR DAMAGE TO DATA ARISING
OUT OF THE USE OR INABILITY TO USE THIS MANUAL, EVEN IF ICI HAS
BEEN ADVISED OF THE POSSIBILITY OF SUCH DAMAGES.

3
Package Includes
T-Cam device USB to Type-C Cable
Battery ChargerBattery x2
Power Adapter
ENSURE ALL SYSTEM EQUIPMENT AND COMPONENT ITEMS ARE
PRESENT BEFORE BEGINNING INSTALLATION
Micro-Sd Card

4
Set Up
or
Mount the fully charged T-Cam
to a tripod using the ¼-20
mount located on the bottom of
the device handle.
The T-Cam can be used
as a handheld device.
A.
MAKE SURE TRIPODS DO NOT BLOCK THE DIRECT PATH OF
PERSON(S) TO BE IMAGED TO ENSURE THE EQUIPMENT WILL NOT
BE MOVED OR KNOCKED DOWN. USING A DIVIDING BARRIER WILL
HELP KEEP TRIPODS SEPARATE FROM THE PATH.

5
B.
Power on device.
TURN ON THE CAMERA BY PRESSING AND HOLDING THE POWER
BUTTON FOR AT LEAST TWO SECONDS.
PRESS AND HOLD THE POWER BUTTON FOR MORE THAN 5
SECONDS TO SHUT DOWN THE CAMERA.
THE THERMAL IMAGER NEEDS SUFFICIENT WARM-UP TIME
FOR THE MOST ACCURATE TEMPERATURE MEASUREMENTS
AND BEST IMAGE QUALITY. THIS TIME CAN OFTEN VARY BY
ENVIRONMENTAL CONDITIONS. IT IS BEST TO WAIT A MINIMUM
OF 10 MINUTES FOR THE DEVICE TO COMPLETELY WARM-UP.

6
A.
C.
B.
D.
Hold the camera firmly in both hands
placing a thumb on the grip lines.
Keep pressing the grip lines and
pull battery cover up to remove it.
Press the grip lines firmly
to create a gap.
Ensure metal contacts are aligned,
then push battery into battery bay.
MAKE SURE TO HOLD THE CAMERA FIRMLY IN BOTH HANDS
WHEN REMOVING OR REPLACING BATTERY OR ATTACHING OR
REMOVING THE BATTERY BAY COVER.
DO NOT FORCE THE BATTERY INTO THE BATTERY BAY. IF USER
FEELS SIGNIFICANT RESISTANCE REMOVE THE BATTERY AND
ENSURE METAL CONTACTS ARE ALIGNED BEFORE TRYING TO
PLACE BATTERY INTO THE BATTERY BAY.
Battery Installation

7
F.
G.
E.
Pressing the grip lines, align
battery cover to battery bay and
press the cover toward the device.
Close gap by releasing the battery cover.
To replace a battery held in the
battery bay push the battery
buckle. Battery will be ejected.
MAKE SURE TO HOLD THE CAMERA FIRMLY IN BOTH HANDS
WHEN REMOVING OR REPLACING BATTERY OR ATTACHING OR
REMOVING THE BATTERY BAY COVER.
ENSURE BATTERY COVER IS PROPERLY ATTACHED. IMPROPER
ATTACHMENT OF BATTERY COVER MAY EXPOSE THE BATTERY
AND INTERNAL ELECTRONICS TO ELEMENTAL DAMAGE.

8
Memory Card
A.
Insert the Micro-SD Card into the
top of the T-Cam device until a
clicking sound is heard.
DO NOT FORCE MICRO-SD CARD INTO THE SLOT. THE SIDE OF
THE CARD WITH CONTACT PINS MUST BE INSERTED FIRST. IF
THERE IS RESISTANCE FLIP THE CARD AROUND AND TRY AGAIN.
TO EJECT THE MEMORY CARD PRESS UNTIL A CLICK IS HEARD
AND THEN RELEASE. MEMORY CARD WILL BE EJECTED.

9
Charging Instructions: Option 1
A.
While a battery is inside the
device, plug the USB Type-C
end of the USB cable into the
top of the T-Cam device.
B.
Plug the other end of the
USB cable into an available
USB port on a computer.
WHEN USING A COMPUTER FOR CHARGING THE COMPUTER
SHOULD BE POWERED ON. CHARGE THE BATTERY FOR A
MINIMUM OF 3 HOURS BEFORE USING.
ICI DOES NOT RECOMMEND CHARGING THE DEVICE WHILE IT IS
ON A TRIPOD. LAY DEVICE FACE DOWN ON A FLAT AND STABLE
DESK OR TABLE WHILE CHARGING.
ENSURE THE IMAGER IS NEAR ROOM TEMPERATURE BEFORE
CHARGING THE DEVICE. DO NOT CHARGE IN EXTREMELY HOT OR
COLD AREAS. THE BATTERY CAPACITY MAY BE DECREASED IF
CHARGED IN AN EXTREME TEMPERATURE ENVIRONMENT.
IF YOU DO NOT USE THE IMAGER FOR A LONG PERIOD OF TIME,
PUT THE DEVICE IN A COOL AND DRY ENVIRONMENT. THE
BATTERY WILL DISCHARGE OVER TIME; THEREFORE, THE IMAGER
SHOULD BE CHARGED OCCASIONALLY TO PREVENT DAMAGE TO
THE BATTERY OR THE DEVICE.

10
Charging Instructions: Option 2
A.
C.
Plug the USB Type-C end of the USB
cable into the battery charger.
Insert batteries into battery charger.
B.
D.
Plug the other end of the USB
cable the power adapter.
Plug power adapter into a
110/120V electrical outlet.
REMOVE THE BATTERIES FROM THE DEVICE TO FOLLOW THIS
METHOD OF CHARGING.
WHEN THE BATTERY IS NOT PLACED IN THE CHARGER THE
INDICATOR LIGHT FLASHES. THE LIGHT TURNS RED WHEN THE
BATTERY IS PLACED AND CHARGING. WHEN THE BATTERY IS
FULLY CHARGED THE LIGHT TURNS GREEN.

11
Infrared Cameras, Inc.
2105 W. Cardinal Dr.
Beaumont, TX 77705
Phone: Toll Free: International:
Website: www.infraredcameras.com
ICI manufactures complete systems and software. We can provide complete
engineering, software, and OEM solutions. Our Fortune 500 clients rely on us
for infrared equipment and thermography training (which we offer through the
Infrared Training Institute).
In addition to providing custom germanium, silica, and sapphire optics, we also
build windows for enclosures, as well as custom pan and tilt units. We can even
provide customizable explosion-proof systems.
Our knowledge and experience stems from years of using infrared imaging
and temperature measurement instruments to provide solutions to: managers,
engineers, scientists, inspectors and operators in space, power companies,
medical, pulp and paper, food industry, research and development, and various
process industries. You can see our products and services used in industrial,
commercial, and government applications worldwide. Originally named Texas
Thank you for your dedicated and continued support.
About ICI / Contact
This manual suits for next models
1
Table of contents
Other ICI Thermographic Camera manuals

ICI
ICI T-CAM 300 P Series User manual

ICI
ICI 8320 User manual

ICI
ICI CORONA CAMERA User manual

ICI
ICI 8000 Series User manual

ICI
ICI DURACAM Series User manual

ICI
ICI APEX 200 User manual

ICI
ICI IR-PAD Series User manual

ICI
ICI FMX 640 Series User manual

ICI
ICI FMX 400 Series User manual

ICI
ICI TRACE IR 25 Series User manual