Icom iM710 User manual

INSTRUCTION MANUAL
HF MARINE TRANSCEIVER
iM710

i
IMPORTANT
READ THIS INSTRUCTION MANUAL CAREFULLY
before attempting to operate the transceiver.
SAVE THIS INSTRUCTION MANUAL—This instruc-
tion manual contains important safety and operating
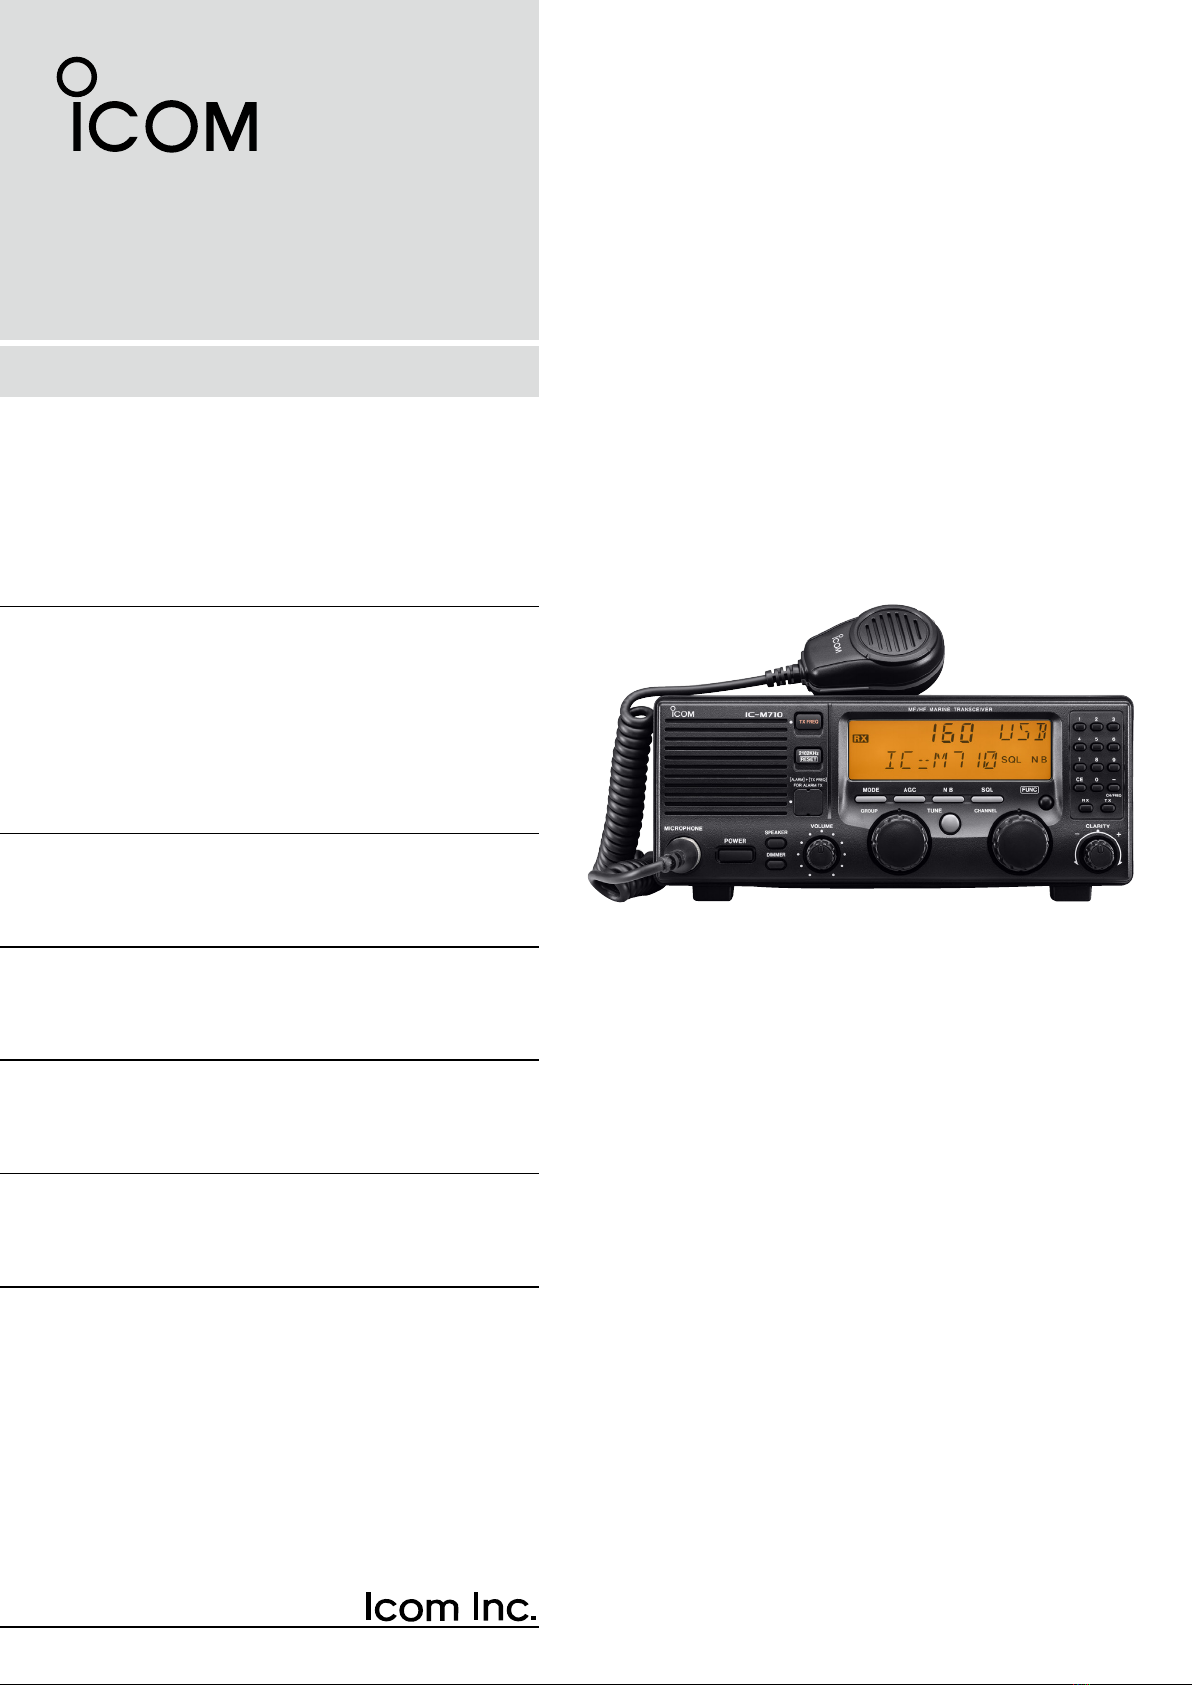
instructions for the IC-M710.
PRECAUTIONS
EXPLICIT DEFINITIONS
The explicit definitions described below apply to this
instruction manual.
WORD DEFINITION
RWARNING Personal injury, fire hazard or electric
shock may occur.
CAUTION Equipment damage may occur.
NOTE If disregarded, inconvenience only. No risk
of personal injury, fire or electric shock.
RWARNING! NEVER connect the transceiver di-
rectly to an AC outlet. This may pose a fire hazard or
result in an electric shock.
RWARNING! NEVER mount the transceiver over-
head. The weight of the transceiver is approximately
7.8 kg. (17.4 lb), but its apparent weight will increase
several fold due to wave shocks and vibration. The
transceiver must be mounted on a flat hard surface
only.
NEVER connect a power source of more than 16 V
DC, such as a 24 volt battery. This connection will ruin
the transceiver.
NEVER place the transceiver where normal opera-
tion of the ship or vehicle may be hindered or where it
could cause bodily injury.
NEVER allow children to play with equipment contain-
ing a radio transmitter.
NEVER expose the transceiver to rain, snow or any
liquids.
NEVER install the IC-M710 into a positive-grounding
ship. Such a connection might blow fuses, and is not
usable.
DO NOT use chemical agents such as benzene or al-
cohol when cleaning, as they can damage the trans-
ceiver’s surfaces.
In maritime mobile operation, KEEP the transceiver
and microphone as far away as possible (at least 1 m)
from the magnetic navigation compass to prevent er-
roneous indications.
USE an Icom microphone and/or handset only (sup-
plied or optional). Other brands may have different pin
assignments and may damage the transceiver.
DO NOT use or place the transceiver in areas with
temperatures below –20°C (–4°F) or above +60°C
(+140°F).
DO NOT connect the transceiver to a power source
using reverse polarity. This connection will not only
blow fuses but may also damage the transceiver.
DO NOT place the transceiver in excessively dusty en-
vironments, or in direct sunlight.
DO NOT place the transceiver against walls, or putting
anything on top of the transceiver. This will obstruct
heat dissipation.
DISPOSAL
The crossed-out wheeled-bin symbol on
your product, literature, or packaging re-
minds you that in the European Union, all
electrical and electronic products, batter-
ies, and accumulators (rechargeable bat-
teries) must be taken to designated
collection locations at the end of their working life. Do
not dispose of these products as unsorted municipal
waste. Dispose of them according to the laws in your
area.
Icom is not responsible for the destruction, damage to, or
performance of any Icom or non-Icom equipment, if the
malfunction is because of:
• Force majeure, including, but not limited to, fires,
earthquakes, storms, floods, lightning, other natural
disasters, disturbances, riots, war, or radioactive
contamination.
• The use of Icom transceivers with any equipment that is
not manufactured or approved by Icom.
Icom, Icom Inc. and the Icom logo are registered trademarks of
Icom Incorporated (Japan) in Japan, the United States, the United
Kingdom, Germany, France, Spain, Russia, Australia, New Zealand,
and/or other countries.

ii
TABLE OF CONTENTS
IMPORTANT ······························································i
PRECAUTIONS ·························································i
EXPLICIT DEFINITIONS············································i
DISPOSAL ·································································i
TABLE OF CONTENTS············································ii
1 OPERATING RULES AND GUIDELINES ·············1
2 PANEL DESCRIPTION······································2–5
■Front panel ··························································2
■Display ································································5
3 SELECTING A CHANNEL/FREQUENCY ·········6–8
■Selecting a channel·············································6
D Using the channel selector······························6
D Using the keypad ············································7
D Using scan function·········································7
■Selecting a frequency··········································8
D Using the channel selector······························8
D Using the keypad ············································8
4 RECEIVE AND TRANSMIT ·····························9–11
■Basic voice receive and transmit·························9
■Functions for transmit··········································9
D Transmit frequency check·······························9
D Transmit power selection ································9
■Functions for receive·········································10
D Squelch function ···········································10
D Noise blanker ················································10
D AGC OFF function ········································10
D RF gain setting··············································10
D Clarity control ················································10
■CW operation (Depends on versions) ···············11
■FSK operation (Depends on versions) ··············11
5 USER CHANNEL PROGRAMMING····················12
■Programming a frequency·································12
D Receive Frequency ·······································12
D Transmit frequency ·······································12
D Channel name···············································12
6 SET MODE·····················································13–15
■ Set mode operation···········································13
■ Set mode contents ············································13
7 CONNECTIONS AND INSTALLATION·········16–22
■ Connections on the rear panel ··························16
■ Unpacking ·························································16
■ Connector information·······································17
■ Ground connection············································19
■ Power source ····················································19
■Antenna·····························································20
D MN-100/MN-100L ANTENNA MATCHERS 20
D AT-130 AUTOMATIC ANTENNA TUNER·····20
D Non-Icom tuner ·············································20
■Mounting ···························································21
D Mounting location··········································21
D Mounting example·········································21
D Transceiver dimensions ································21
■Disassembling the transceiver ··························22
D Opening the case··········································22
■Fuse replacement ·············································22
D DC power cable fuse·····································22
D Circuitry fuse ·················································22
8 TROUBLESHOOTING·········································23
9 SPECIFICATIONS AND OPTIONS ·····················24
■Specifications ····················································24
D GENERAL·····················································24
D TRANSMITTER ············································24
D RECEIVER····················································24
■Options······························································24

1
1
OPERATING RULES AND GUIDELINES
❑ CALL PROCEDURES
Calls must be properly identified and time limits must
be respected.
qGive your call sign each time you call another ves-
sel or coast station. If you have no call sign, identify
your vessel name and the name of the licensee.
wGive your call sign at the end of each transmission
that lasts more than 3 minutes.
eYou must break and give your call sign at least once
every 15 minutes. during long ship-to-shore calls.
rKeep your unanswered calls short, less than 30
seconds.
Do not repeat a call for 2 minutes.
tUnnecessary transmissions are not allowed.
❑ PRIORITIES
qRead all rules and regulations pertaining to priori-
ties and keep an up-to-date copy handy. Safety and
distress calls take priority over all others.
wFalse or fraudulent distress calls are prohibited and
punishable by law.
❑ PRIVACY
qInformation overheard but not intended for you can-
not be lawfully used in any way.
wIndecent or profane language is prohibited.
❑ LOGS
qAll distress, emergency and safety calls must be re-
corded in complete detail. Log data activity is usu-
ally recorded in 24 hour time. Universal Time (UTC)
is frequently used.
wAdjustments, repairs, channel frequency changes
and authorized modifications affecting electrical
operation of the equipment must be kept in the
maintenance log; entries must be signed by the au-
thorized licensed technician performing or supervis-
ing the work.
❑ RADIO LICENSES
(1) SHIP STATION LICENSE
You must have a current radio station license before
using the transceiver. It is unlawful to operate a ship
station which is not licensed.
Inquire through your dealer or the appropriate govern-
ment agency for a Ship-Radiotelephone license appli-
cation. This government-issued license states the call
sign which is your craft’s identification for radio pur-
poses.
(2) OPERATOR’S LICENSE
A Restricted Radiotelephone Operator Permit is the li-
cense most often held by small vessel radio operators
when a radio is not required for safety purposes.
The Restricted Radiotelephone Operator Permit must
be posted or be kept with the operator. Only a licensed
radio operator may operate a transceiver.
However, non-licensed individuals may talk over a
transceiver if a licensed operator starts, supervises,
and ends the call, and makes the necessary log en-
tries.
Keep a copy of the current government rules and reg-
ulations handy.

2
2
■Front panel
q MICROPHONE CONNECTOR (p. 17)
Accepts the supplied microphone or an optional
handset.
NOTE: No audio is output to the speaker when
the microphone or handset is not connected.
w POWER SWITCH [POWER]
Turns power ON or OFF.
e SPEAKER SWITCH [SPEAKER]
Turns the speaker ON or OFF.
• “è” appears in the display while the speaker is turned
OFF.
• Any external speaker connected to the rear panel is
not turned OFF.
r DISPLAY INTENSITY SWITCH [DIMMER]
➥Turns the display backlighting ON or OFF.
➥
Push [FUNC], and then rotate the channel selector
dial to set the intensity level while pushing and hold-
ing
[DIMMER].
t VOLUME CONTROL [VOLUME]
Adjusts the audio output level.
• No sound is output to the speaker when:
- A microphone is not connected.
- The [SPEAKER] switch is turned ON.
- The [SQL] switch is turned ON and no signal is being
received.
y GROUP CHANNEL SELECTOR [GROUP]
Selects groups in 20 channels steps and ITU ma-
rine channel groups.
NOTE: Some versions have no ITU channels.
u ANTENNA TUNE SWITCH [TUNE] (p. 9)
Tunes the external tuner to the antenna.
• Activates only when an optional antenna tuner such as
Icom’s AT-130 is connected.
NOTE: When selecting “Automatic tuning” in the
set mode, pushing this switch is not necessary
to tune the antenna. (p. 13)
i CHANNEL SELECTOR [CHANNEL] (p. 6)
➥Selects an operating channel within the selected
channel group.
• User channels can be selected from 1 to 160 (max.)
in sequence regardless of the channel group.
➥Changes the operating frequency after [CE] is
pushed (while “►”appears).
• The changed frequency is not programmed in this
way.
o FUNCTION SWITCH [FUNC]
After pushing activates the secondary functions of
these switches:
- [SQL] ········ Starts and stops scan (p. 7).
- [RX]··········· Sets RF gain (p. 10).
- [TX] ··········· Selects transmit power (p. 9).
- [CE]···········
Reprograms the channel name (p. 12).
NOTE:
Function availability depends on vesions.
!0 CLARITY CONTROL [CLARITY] (p. 10)
Shifts the receive frequency ±150 Hz for clear re-
ception of an off frequency signal.
MICROPHONE
POWER
VOLUME
TX FREQ
2182KHz
RESET
MODE
TUNE
SSB RADIO TELEPHONE
AGCSQL
CLARITY
NB
SPEAKER
[ALARM] [TX FREQ]+
FOR ALARM TX
DIMMER
GROUP CHANNEL
123
456
789
CE
RX TX
0
CH/F/REQ
iM 710
FUNC
–
qwer
t
yui!0
o
This function is not installed
in the IC-M710.
PANEL DESCRIPTION

3
PANEL DESCRIPTION
2
■Front panel (Continued)
!1 KEYPAD
• Enters the selected channel number (or fre-
quency) for direct channel selection. (p. 7)
• Stores a receive frequency into a user chan-
nel or ITU simplex channel when:
- pushing [CE] (“►” appears)
- entering the desired frequency via the key-
pad
- pushing and holding [RX] (p. 12)
• Adjusts the RF gain after pushing [FUNC] to
reduce the receiver sensivity. (p. 10)
• Stores a transmit frequency into a user chan-
nel (except General version) when:
- pushing [TX] (“$” blinks)
- pushing [CE] (“►” appears)
- entering the desired frequency via the key-
pad
- pushing and holding [TX] (p. 12)
• Selects the transmit output power after push-
ing [FUNC]. (p. 9)
• Toggles the channel number input or fre-
quency input. (p. 8)
- “►” appears when frequency input is se-
lected.
- The channel selector and keypad changes
the frequency while “►” appears.
• Clears the entered digit and retrieves the pre-
vious channel (or frequency) while entering
numbers. (p. 7)
• Enters the name programming condition after
pushing [FUNC] for changing the channel
name. (p. 12)
• Toggles the channel or frequency indications.
(p. 6)
• Enters “–” for ITU simplex channels. (p. 7)
• Enter channel number with up to 4 or 5 digits
when “►” does not appear. (p. 7)
• Enter the frequency with up to 6 digits when
“►” appears. (p. 8)
CE
RX
TX
−
CH/FREQ
1
0
to
MICROPHONE
POWER
VOLUME
TX FREQ
2182KHz
RESET
MODE
TUNE
SSB RADIO TELEPHONE
AGCSQL
CLARITY
NB
SPEAKER
[ALARM] [TX FREQ]+
FOR ALARM TX
DIMMER
GROUP CHANNEL
123
456
789
CE
RX TX
0
CH/F/REQ
iM 710
FUNC
–
qw
er
t
y
u
i
!0
o
!1
!2!3!4!5!6!7This function is not installed
in the IC-M710.

1-1-32 Kamiminami, Hirano-ku, Osaka 547-0003 Japan
A5483H-1EX-6a
Printed in Japan
© 1997–2017 Icom Inc.
Table of contents
Other Icom Transceiver manuals

Icom
Icom IC-M88 User manual

Icom
Icom iV86 Installation and operating instructions

Icom
Icom IC-F6220D User manual

Icom
Icom IC-4088E User manual

Icom
Icom IC-V8 User manual

Icom
Icom IC-T70A User manual

Icom
Icom IC-7200 User manual

Icom
Icom IC-735 User manual

Icom
Icom IC-M504A User manual

Icom
Icom IC-M1EURO V User manual

Icom
Icom IC-F4029SDR User manual

Icom
Icom IC-728 User manual

Icom
Icom IC-F1000 series User manual

Icom
Icom IC-2200H User manual

Icom
Icom IC-M8 User manual

Icom
Icom IC-F3161 Series User manual

Icom
Icom IC-F6012 User manual

Icom
Icom iF9511S User manual

Icom
Icom IC-80 AD User manual

Icom
Icom ID-50A Installation guide