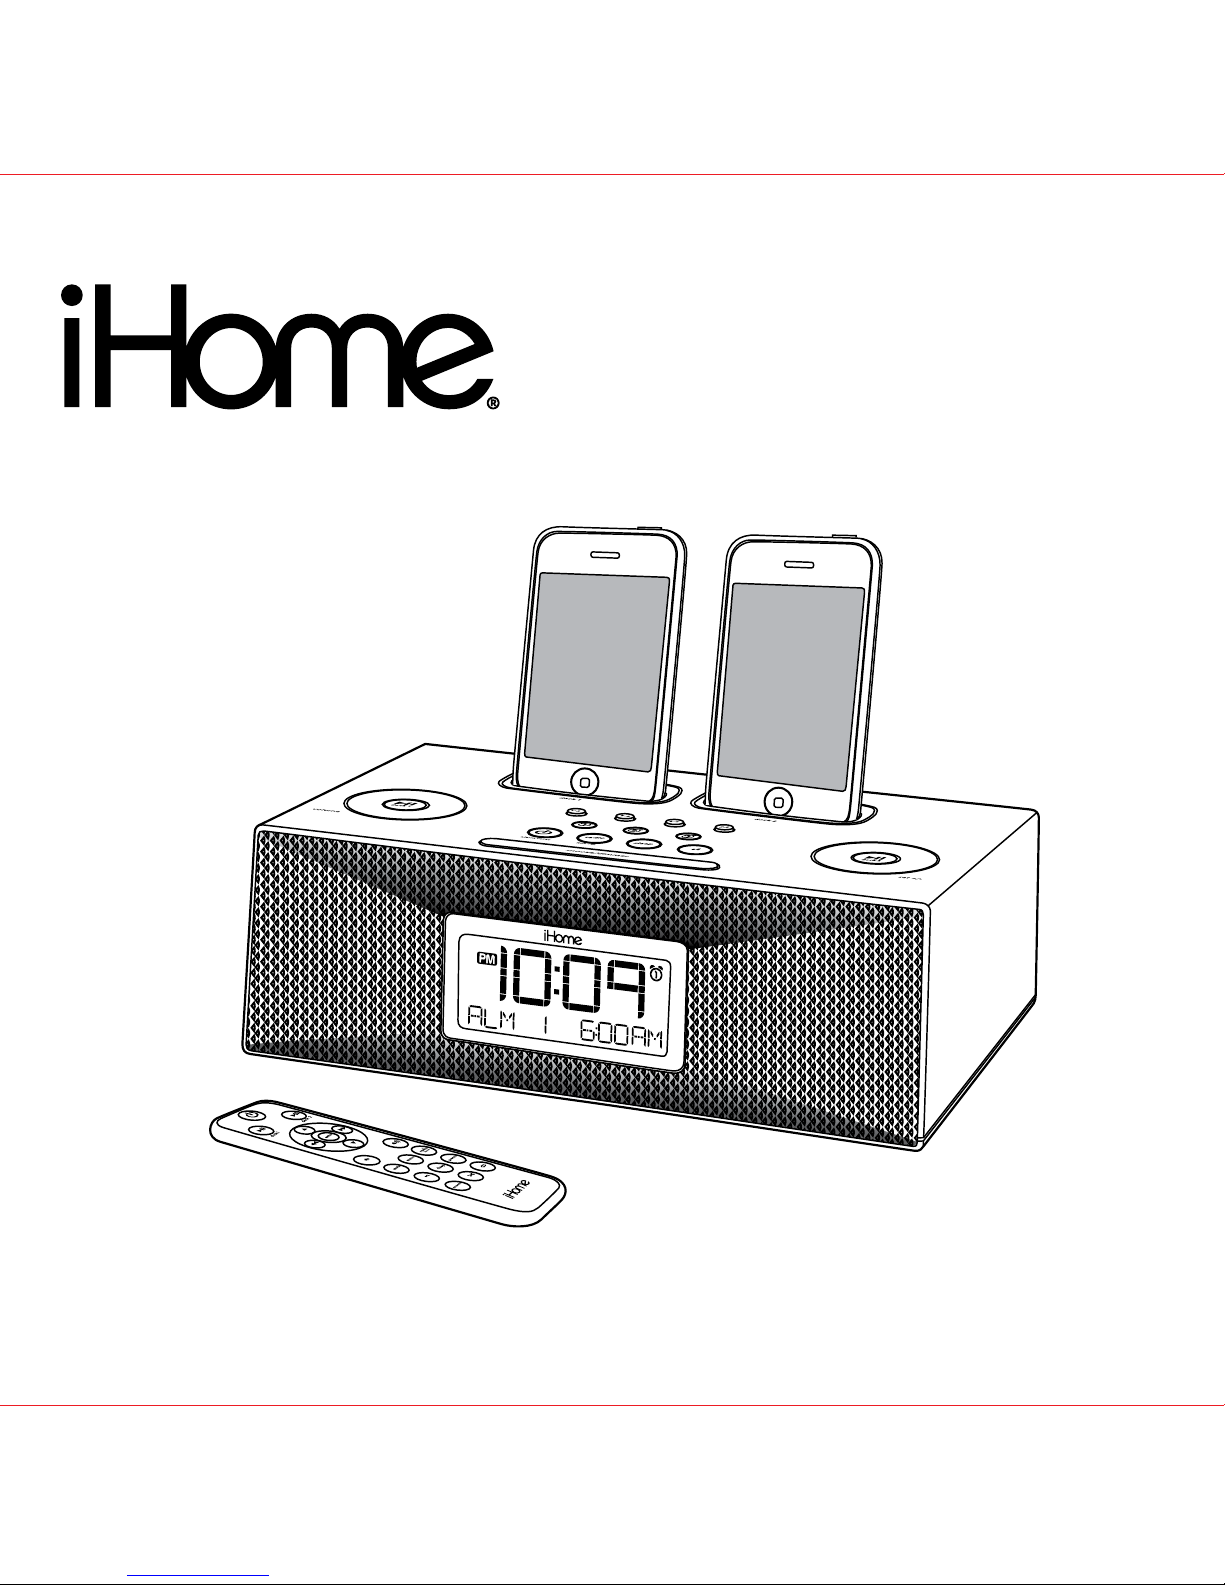
iHome iP88 User manual

Model iP88
The Home System
For Your iPhone®or iPod®
Questions? Visit www.ihomeaudio.com

Table of Contents
Quick Start........................................................................................................................................................................1
Controls and Indicators / iP88 Display..........................................................................................................................2
Setting Up the iP88...........................................................................................................................................................3
Using the iP88...................................................................................................................................................................4
Replacing iP88 Backup Batteries / Battery Warning.....................................................................................................5
Using the Remote Control Unit ......................................................................................................................................6
A Consumer Guide to Product Safety ...........................................................................................................................7
Troubleshooting...............................................................................................................................................................8
Solucionando problemas..............................................................................................................................................10
Warranty Information.....................................................................................................................................................12
A Consumer Guide to Product Safety
Maintenance
• Place the unit on a level surface away from sources of direct sunlight or excessive heat.
• Protect your furniture when placing your unit on a natural wood and lacquered finish. A cloth or other protective material should
be placed between it and the furniture.
• Clean your unit with a soft cloth moistened only with mild soap and water. Stronger cleaning agents, such as Benzene, thinner
or similar materials can damage the surface of the unit.
This device complies with Part 15 of the FCC Rules. Operation is subject to the following two conditions: (1) This device may
not cause harmful interference, and (2) this device must accept any interference received, including interference that may
cause undesired operation.
This equipment complies with the limits for a Class B digital device as specified in Part 15 of FCC Rules. These limits provide reasonable
protection against radio and TV interference in a residential area.
However, your equipment might cause TV or radio interference even when it is operating properly. To eliminate interference you can
try one or more of the following corrective measures:
• Reorient or relocate the receiving antenna.
• Increase the distance between the equipment and the radio or TV.
• Use outlets on different electrical circuits for the equipment and the radio or TV.
• Consult your dealer or an experienced radio/television technician if the problem still exists.
Modifying or tampering with your system’s internal components can cause a malfunction and might invalidate the system’s warranty
and void your FCC authorization to operate it.
This Class B digital apparatus complies with Canadian ICES-003.
Cet appareil numérique de la classe B est conforme à la norme NMB-003 du Canada.

quick start
Attach AC adaptor cable to
DC jack on back of the iP88
and plug the other end into a
wall socket.
Snap AM antenna into provided
stand, then plug antenna cable
into socket on back of iP88.
Move antenna 12” away.
• Move the DST switch on back
of unit to +1 or -1 (adds or
subtracts an hour)
• Press & hold the Time Zone
button on back until the
display flashes
• Turn the Set Wheel to select
your time zone
• Press the Time Zone
button again.
1
4: time zone
5: iPhone/
iPod
Gently dock an iPhone or iPod
into dock 1/dock 2 with proper
insert (iPhone/iPod must not be
in a skin or case). The
iPhone/iPod will charge while
docked. Press the Button for
the matching dock to play your
iPhone/iPod.
Press the Radio button and
press again to select AM/FM
band. Turn the Set Wheel to
tune in a station.See page 4 for
programming presets.
NOTE: If you do not have an insert for
your iPhone/iPod, please visit
www.ihomeaudio.com or call iHome toll
free at 877-446-6301 to purchase one.
Use this insert
For this iPhone / iPod
iPhone 3G
insert 15
iPhone 3G
iPod touch 2G
insert 16
iPod touch 2G
nano 4G
insert 17
nano 4G
2: antenna
1: power
Select the dock insert for your
iPhone or iPod® model from the
table below and place insert in
dock1/dock2. Never dock an
iPhone/ iPod without an insert
in place.
3: inserts
6: radio

2
Controls and Indicators
iP88 Display
AM Loop Antenna socket
AC Adaptor Jack Time Zone Button
Time Sync Button
DST switch
Clock Adjust Button Line-in Jack
FM Antenna
Alarm Indicators
Battery Low Indicator
Time Display
PM Indicator
AM Indicator
NOTE: AM/PM indicators will not appear
when lock is set to 24 hour display mode Radio / Alarm Time / iPod Display
Snooze/Dimmer Button
Alarm 1 Button
Volume Wheel
Radio/line-in Button
Preset Buttons 1-8
Sleep Button
Alarm Reset / Power Button
Set Wheel
EQ Button
Alarm 3 Button
Alarm 2 Button
Dock 1Play/Pause Button
Dock 1 Dock 2
Rear Panel
Top Panel
Dock 2Play/Pause Button

3
Setting Up the iP88
Connect iP88 to Power Source
Plug theAC adaptor cable into the ACAdaptor Jack and the other end into a standard 120V AC wall socket. Adaptor must be plugged in
to operate unit. The iP88 does not operate on batteries (a battery back up system maintains clock settings during power failures).
This unit is a preset Clock: the clock is preset at the factory. It’s simple to match the Time Zone setting to your location (US only).
1. Depending on your location and whether or not Daylight Saving Time (DST) is in effect, manually set the DST Switch located at the
back of the unit to +1 to add an hour or to -1 to subtract an hour. A DST icon will appear on the display when set to +1.
2. Press and hold the Time Zone Button located on the back of the unit until theTime Zone flashes on the lower part of the display. Turn
the Set Wheel to select your time zone. Note: Time Zone is disabled when clock display is set to 24 hours.
3. Press the Time Zone Button again (or no button within 10 seconds) to exit the time zone setting mode.
4. If the displayed time is not correct, please see Setting Time and Calendar below.
Setting Time and Calendar
1. Press and hold the Clock Adjust Button located at the back of the unit until the time flashes on the display.
2. Turn the Set Wheel to the correct time. Remember to set the correct AM or PM time. The AM/PM Indicators appear to the left of the
time display.
3. Press the Clock Adjust Button again. The year will flash. Turn the Set Wheel until the current year is displayed.
4. Press the Clock Adjust Button again. The month and date will flash. Turn the Set Wheel until the current month/date is displayed.
5. During Time set, press either the or button to toggle the clock display format to 12-hours or 24 hours.
6. Press the Clock Adjust Button again (or no button within 10 seconds) to exit the time/calendar setting mode.
Time Sync from iPhone/iPod
The iP88 Time Sync feature allows you to sync the time setting on the iP88 to the time from your iPhone or recent model iPod (iPod
Touch, iPod Nano and iPod Classic; older iPod models such as iPod mini do not support this feature).
1. Press and hold the Time Sync Button located at the back of the unit “Time Sync” flashes on the lower part of the display.
2. The iP88 will sync to the time on your iPhone/iPod. NOTE: If 2 iPhone/iPods are docked, the iP88 will sync with the device in Dock 1.
3. Once sync is completed,“Time Updated” will appear on the display.
4. If sync was not successful, “Sync Failed” will appear on the display. If this happens, please try again with a different iPhone/iPod.
NOTE:An iPhone/iPod cannot sync to exact seconds, so it’s possible to have up to 59 seconds difference between the iP88 and synced
iPhone/iPod.
Selecting Radio Frequency
Different regions of the world use different FM radio frequency steps. You will need to select the one that matches the standards in your
region (USA, EUROPE, JAPAN, AUSTRA,or CHINA).
1. Make sure the iP88 is OFF. Press and hold the Radio Button for about 5 seconds until “Radio xxx” appears in the lower part of display.
Turn the Set Wheel to set the “xxx” to your region.
2. Press the Radio Button again (or no button within 5 seconds) to exit the radio frequency setting mode.
Important: AM radio will only work if the radio frequency range set to USA.
Using the Alarms
iP88 has a triple alarm system so you can set three separate alarms to different alarm times, wake-to sources and frequencies (daily,
weekdays or weekend).
Setting the Alarms
1. Press and hold the , or Button until the alarm time flashes on the lower part of the display. Turn the Set Wheel to set the
alarm time. Remember to set the correct AM or PM time.
2. Press the Alarm Button again to confirm the desired alarm time and then turn the Set Wheel to set the alarm frequency (7 = the whole
week, 5 = weekdays, 2 = weekends only).
3. Press the Alarm Button again to confirm alarm frequency then turn the Set Wheel to select alarm source to wake to: Buzzer, Dock-1’s
iPhone/iPod, Dock-2’s iPhone/iPod or Radio.
4. For wake to iPhone/iPod, you can further select normal wake (wake to playing sound) or wake to playlist. For wake to playlist, you
must create a playlist named “iHome”. The iP88 will play music randomly from within the “iHome” playlist.
If the selected alarm source is dock 1 or dock 2 and no iPhone/iPod is docked/detected, the iP88 will default to a buzzer alarm.
5. For wake to radio, after selecting Radio as wake to source, press the Alarm Button and then turn the Set Wheel to selectAM or FM
band. Press the Alarm Button again and turn the Set Wheel to select a radio station or press one of the preset buttons to wake to a
preset radio station (seeUsing Radio on page 4 for details on setting radio stations and presets).
6. Press the Alarm button again (or no button within 10 seconds) to exit the alarm setting mode. The alarm will be armed once set and
the corresponding alarm icon will light up. The lower part of the display will show the earliest set alarm time.
Table of contents
Other iHome Docking Station manuals

iHome
iHome iDL91 User manual

iHome
iHome iW4 User manual

iHome
iHome iH7 User manual

iHome
iHome iH56 User manual

iHome
iHome IP39 User manual

iHome
iHome iH30 User manual

iHome
iHome iP User manual

iHome
iHome iH8LR Blue USB - iHome iH8 Dock Alarm Clock... User manual

iHome
iHome Studio Series User manual

iHome
iHome IP49 User manual