iiNet BOB2 User manual

Internet and Phone in One
Quick Start
Guide
Start here!


3
Welcome to BoB2™
This guide provides easy, step-by-step
instructions on settings up your new
hardware and getting online.
If you’re just here for a refresher course
on getting connected to your wireless
network, skip to page 18.
If you’re online but still need to get your
VoIP Netphone service set up, head to
page 28.
Need a full User Manual?
Once you’re online with the instructions
in this guide, you can download the
full BoB2™ User Manual or Handset
Manual from http://www.iinet.net.au/
hardware/bob/manuals/.
4
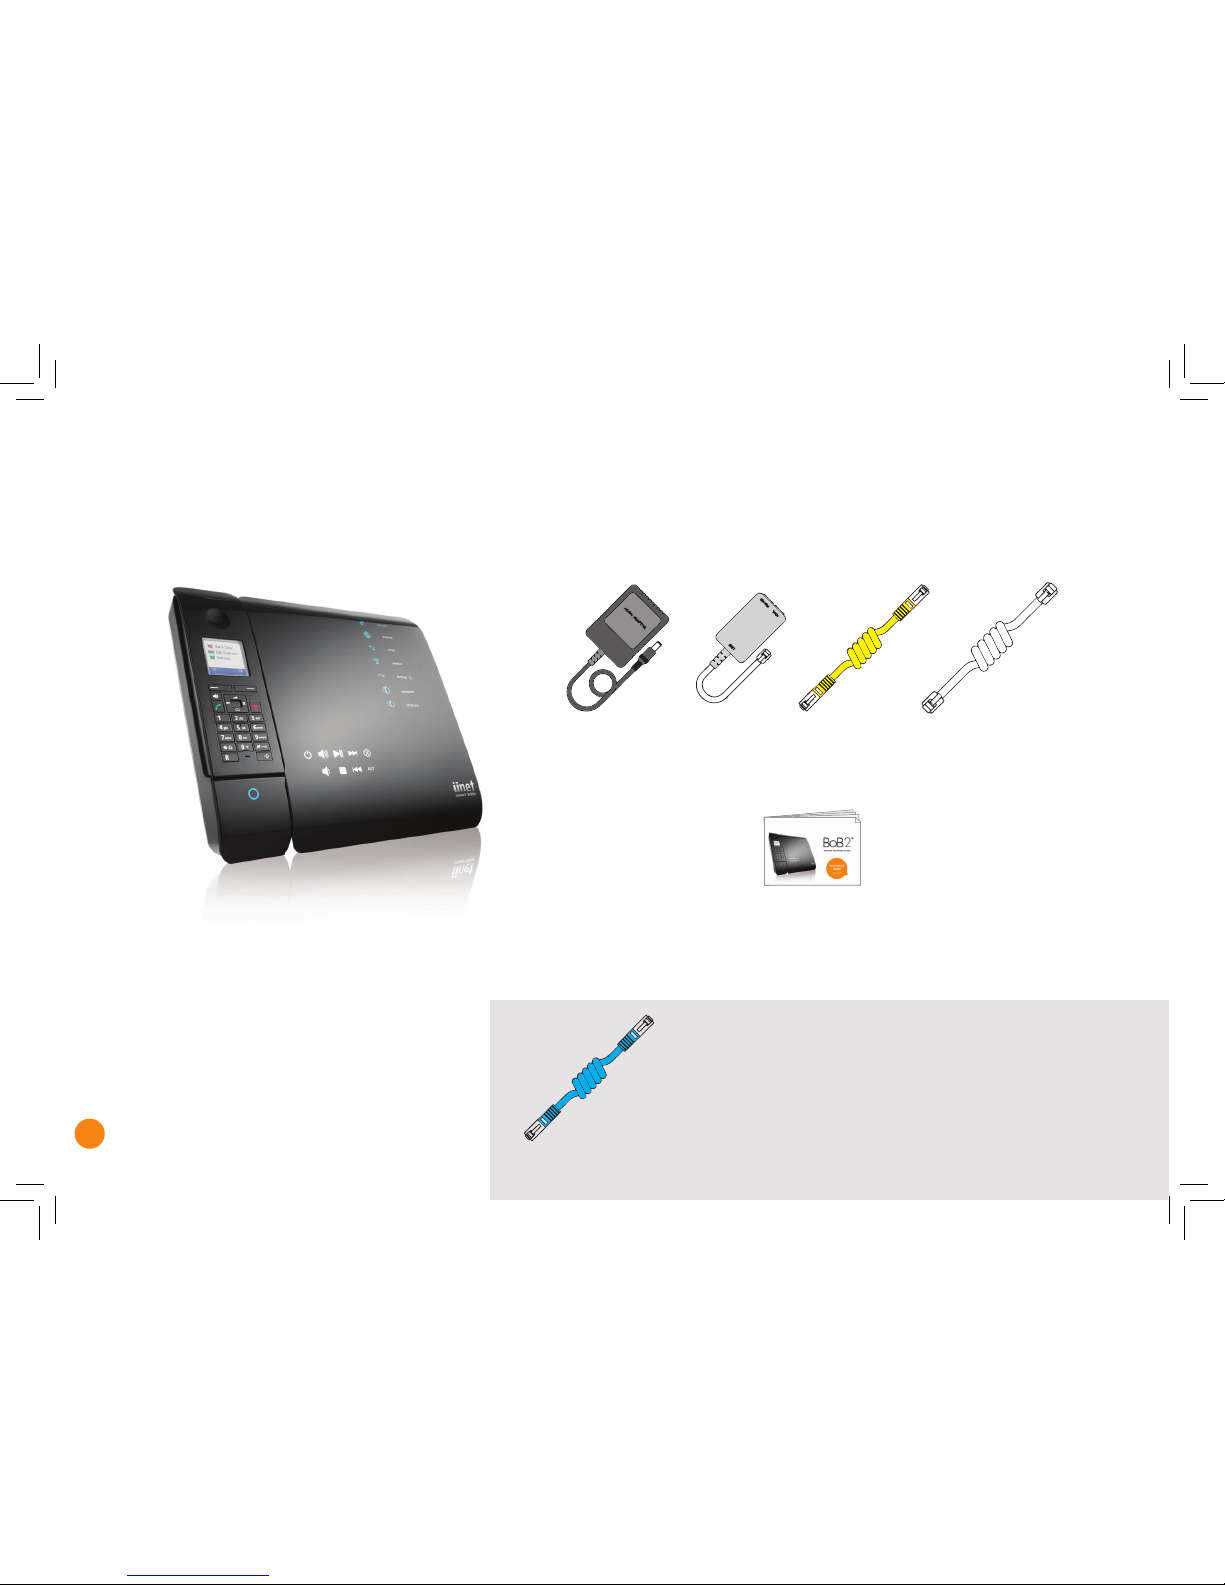
BoB2™ Checklist
Power
Pack
Line
Filter
Phone Cable
x 2
Ethernet
Cable
BoB2™
Before you get started, check that the following items are in your box along with your BoB2™ Handset
and stand.
Got NBN?
If you’ve got any kind of NBN or other fibre
service, then you’ll have an additional blue
ethernet cable instead of 2 x phone cables
and a line filter.
Quick Start
Guide

5
Getting Started
First, you’ll need to get the BoB2™ plugged in. There are a few different ways to do that, depending on which
type of internet service you have.
NBN Satellite
You have a satellite modem, and you
just want BoB2™ to take care of the
wireless internet in your home. Jump
to page 10.
ADSL1/ADSL2+ Broadband
You have a copper landline connected to
your house with an active phone service.
Hop to page 6.
iiNet Naked DSL Broadband
You have a copper landline connected
to your house, but it’s been stripped of
a phone service to function only as an
internet line. Skip to page 8.
NBN or other Fibre Internet
You have a fibre line connected to
your house, with an NBN box or some
other kind of fibre unit or smart wiring
installed in your home that you need to
connect to. Jump to page 10.
Which internet service do you have?

6
ADSL
LINE
PHONE
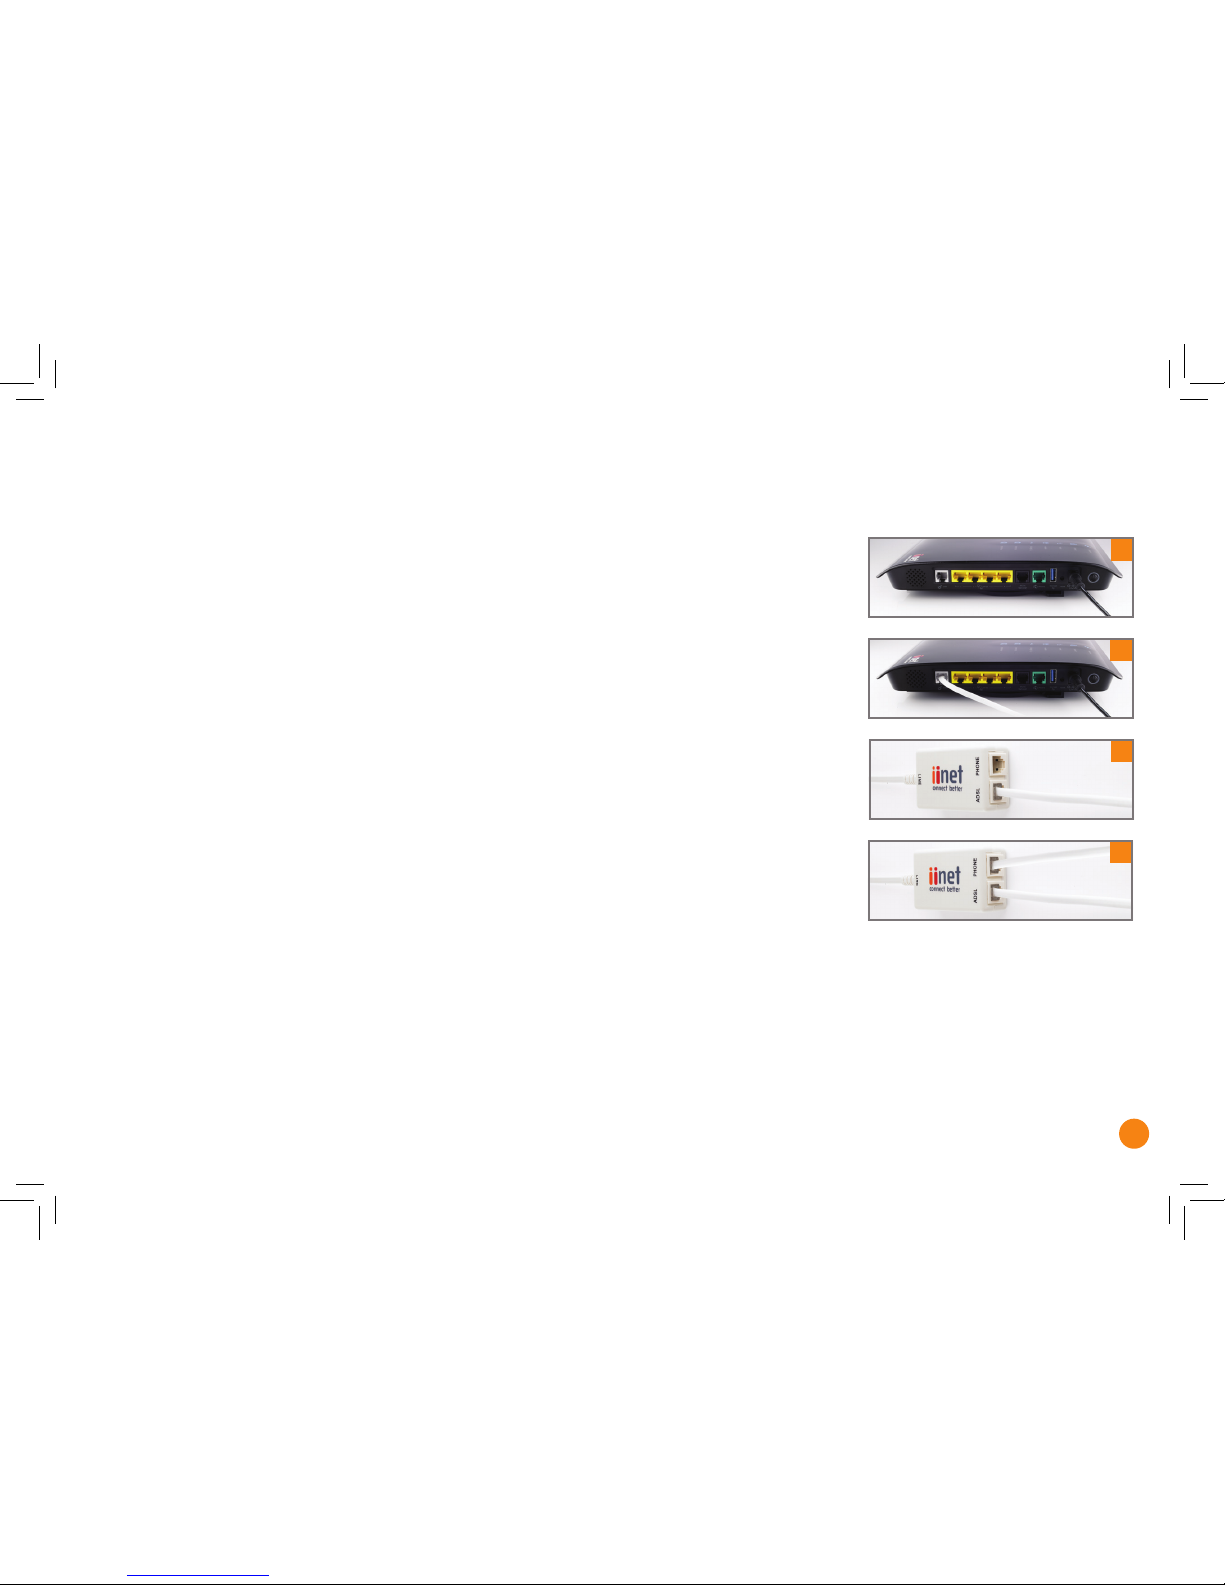
Physical Setup
Setting up BoB2™ for ADSL1/ADSL2+ Broadband
Line Filter
Phone Socket
Phone Cable
Power Cord Phone Cable
7
1. Connect BoB2™ to an electrical outlet with the black power adapter
and turn him on by pressing the button next to the power port. A green
light will illuminate around the edge of the power button.
2. Plug one of the supplied phone cables into the port labelled ‘adsl’,
located to the left of the four yellow sockets. Take your line filter out of
the box, and plug the other end of the phone cable into socket marked
‘adsl’ on the filter.
3. Standard phone services: If your phone is plugged into the phone
socket on your wall, you’ll need to plug it into the socket marked
‘phone’ on the filter.
Netphones (VoIP): Plug your phone into the green port marked ‘phone’
on the side of BoB2™. Then plug one end of a white phone cable into
the black ‘PSTN fail over’ port and the other end into the ‘phone’ socket
on your filter.
4. All done! You can put away any unused cables in a safe place, but you
will need your yellow ethernet cable to connect to a computer for a
wired connection.
Head to page 14 to learn how to get online.
3
2
4
1
8
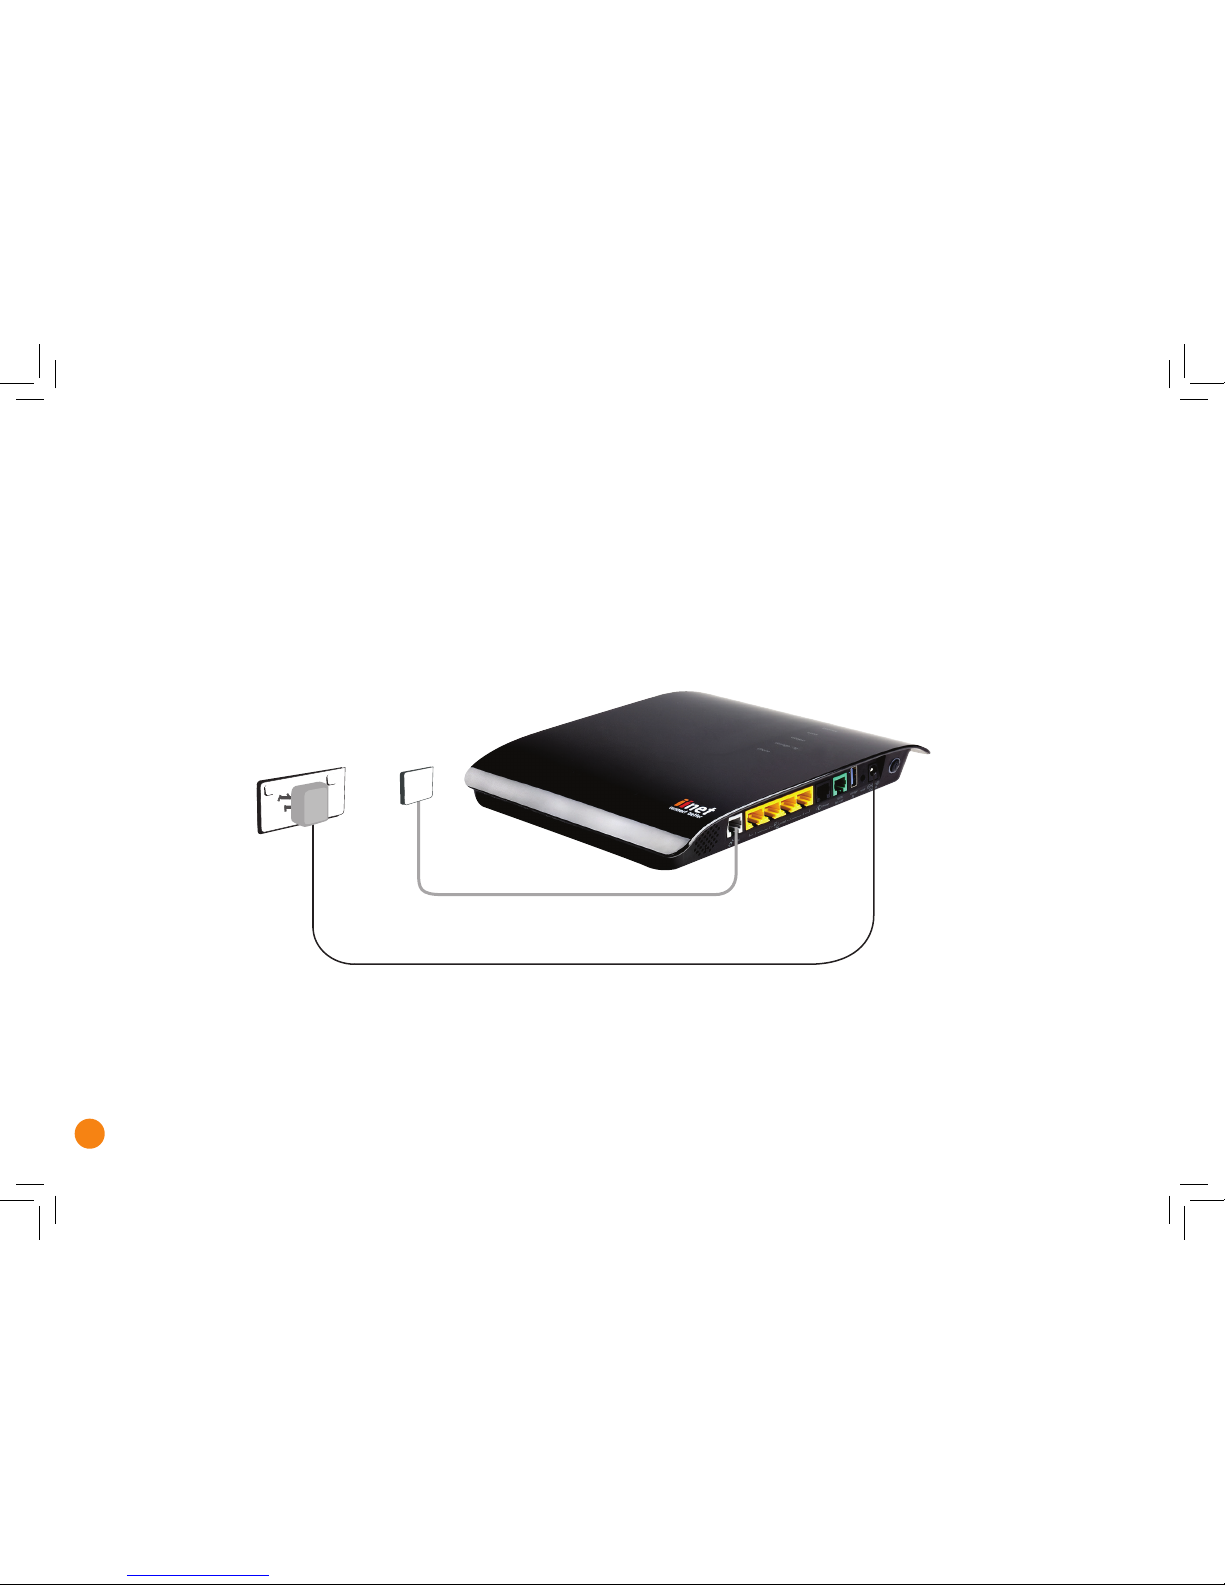
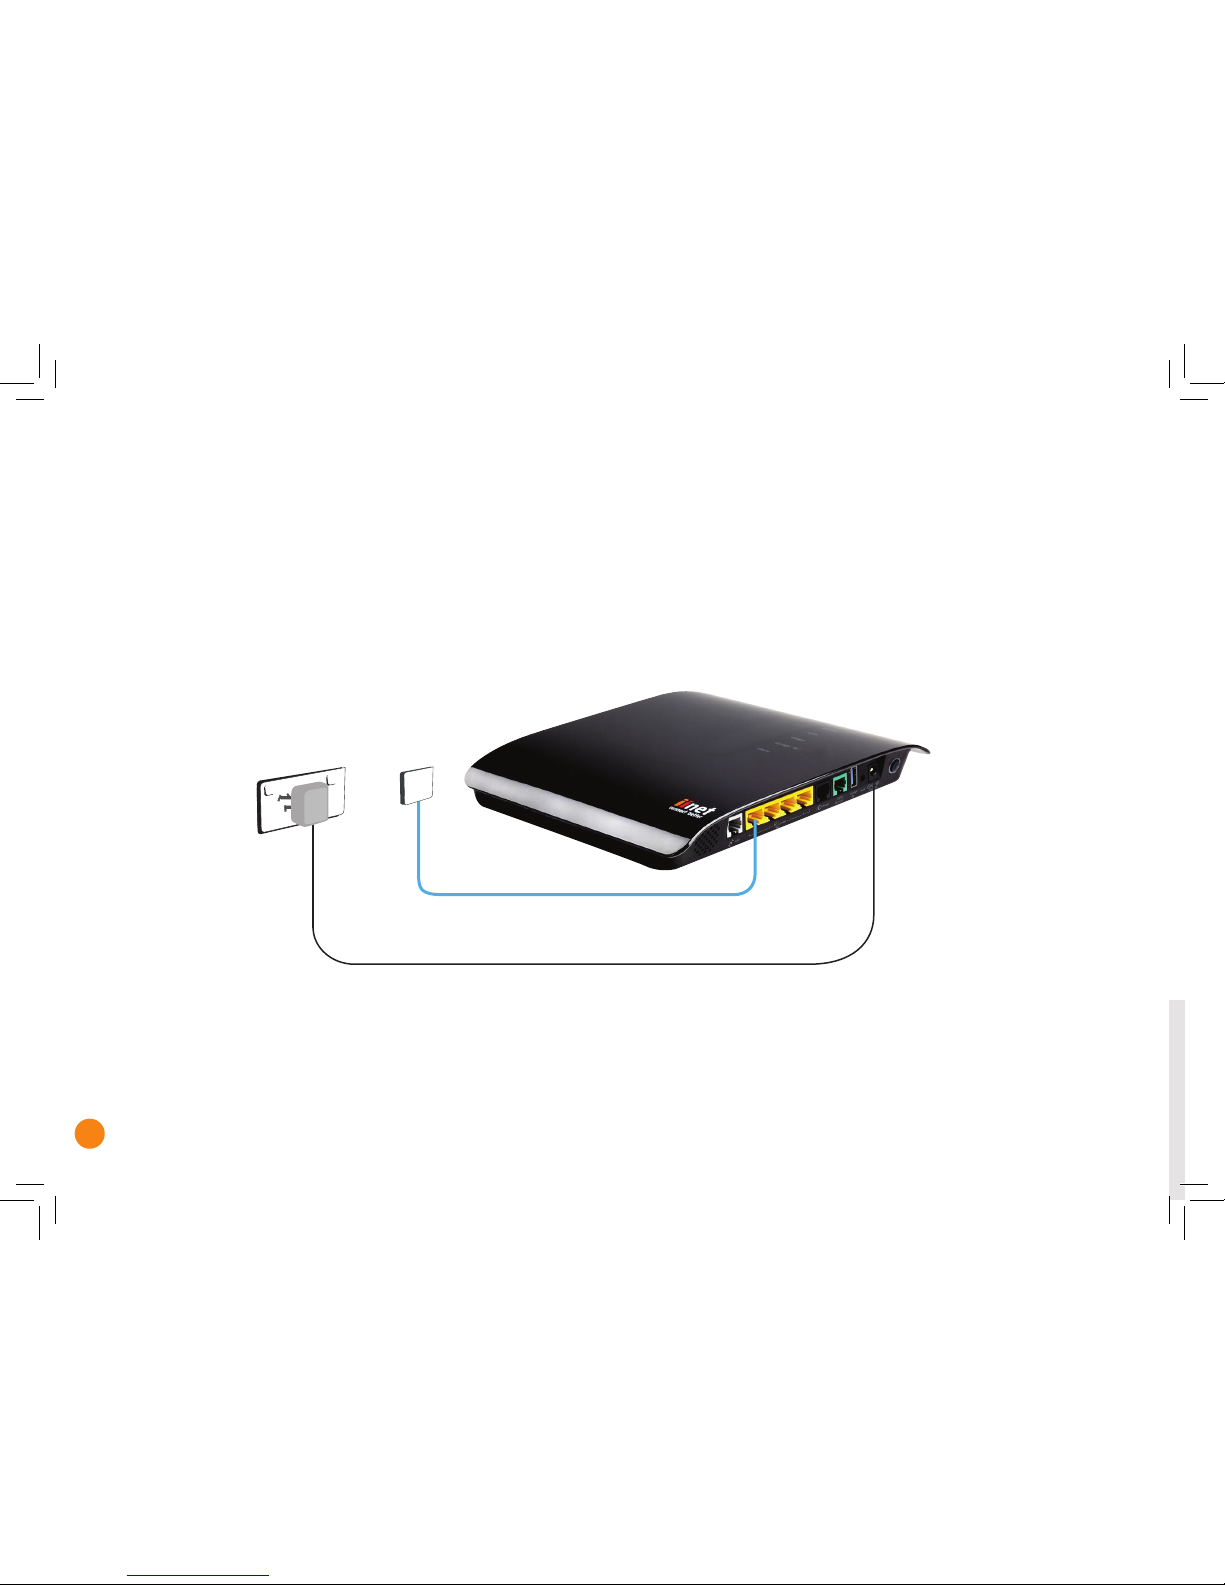
Setting up BoB2™ for Naked DSL
ADSL
LINE
PHONE
Phone Cable
Power Cord
Phone Socket
9
1. Connect BoB2™ to an electrical outlet with the black power adapter
and turn him on by pressing the button next to the power port. A green
light will illuminate around the edge of the power button.
2. Plug one of the supplied phone cables into the port labelled ‘adsl’,
located to the left of the four yellow sockets. Plug the other end of
the phone cable straight into the phone socket on your wall. You won’t
need the line filter that came in the box, so keep it somewhere safe.
3. Almost done! You can put away any unused cables in a safe place,
though you will need your yellow ethernet cable to connect to a
computer for a wired connection.
Head to page 14 to learn how to get online.
2
1
10
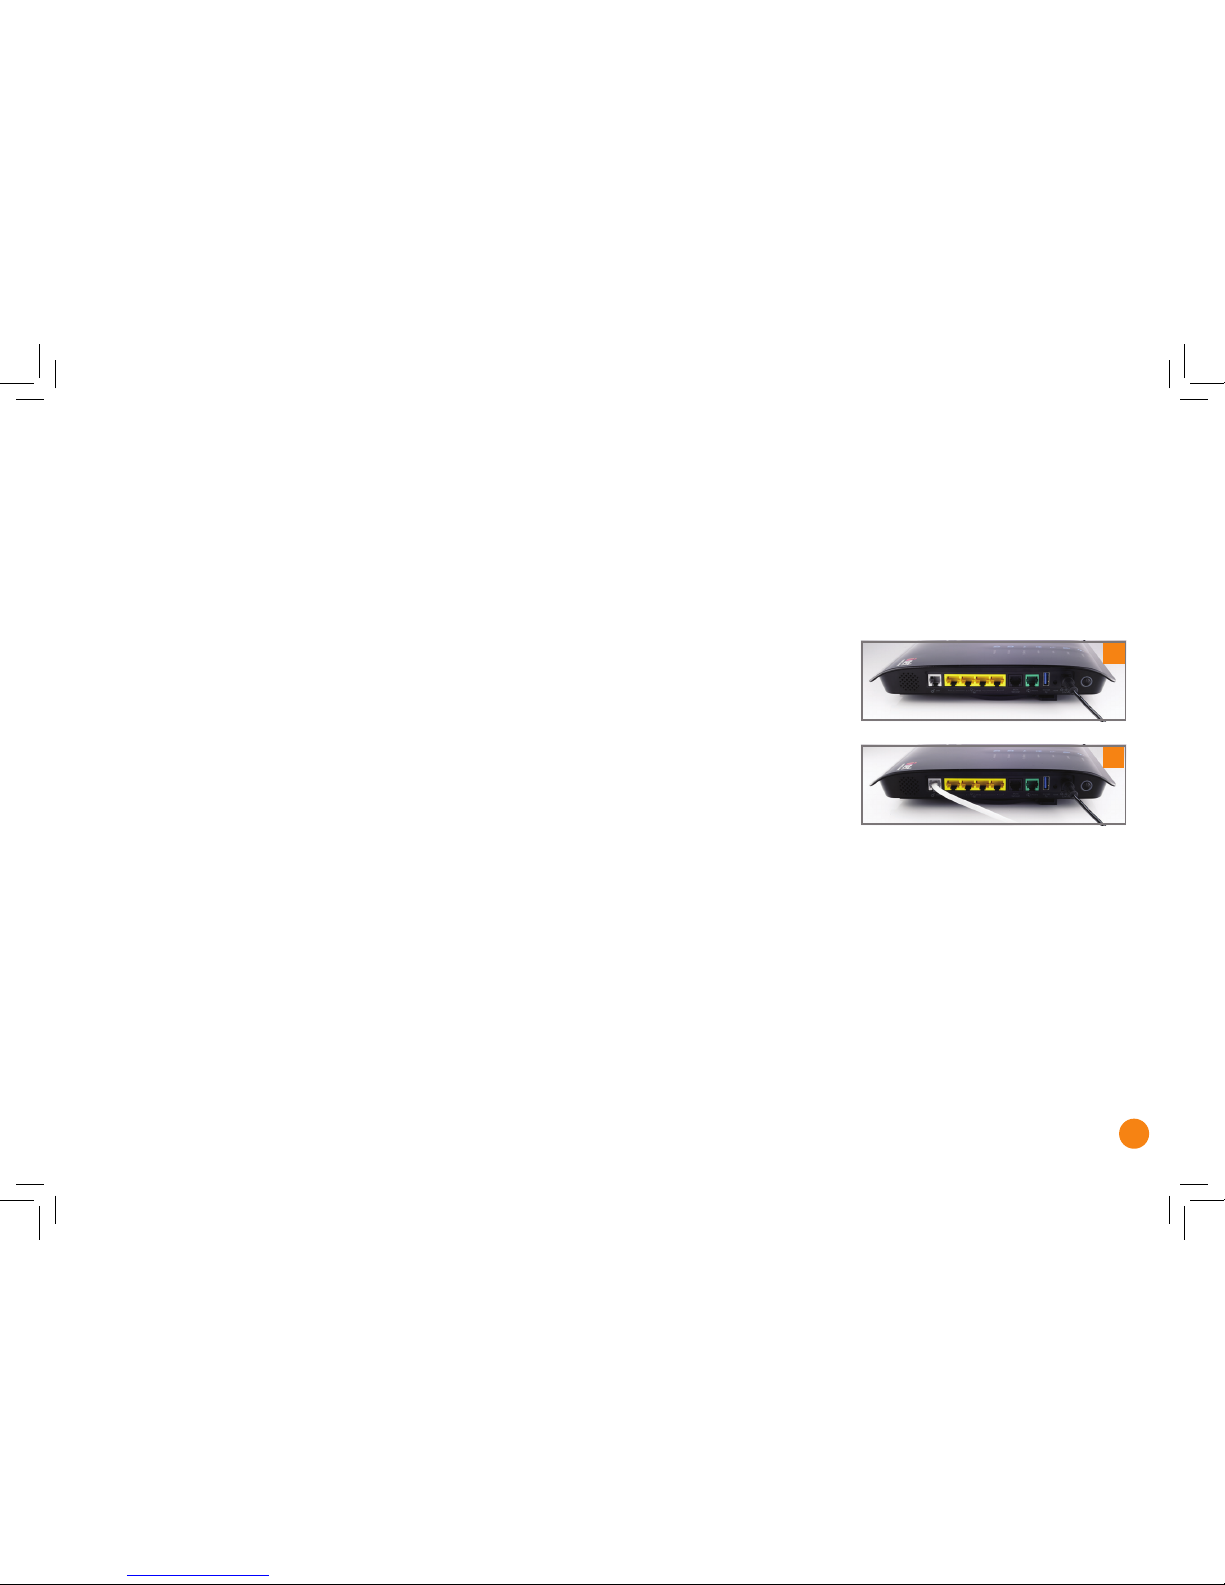
Setting up BoB2™ for NBN or Fibre
ADSL
LINE
PHONE
Fibre unit or
smart socket
Power Cord
Other manuals for BOB2
5
Table of contents
Other iiNet IP Phone manuals


