November 2021
8
LWARNING
Risk of burn, risk of electric shock!
– Allow the appliance to cool
before cleaning or maintenance
process. Switch off the fuse or
pull out the mains plug from the
socket.
– There is risk of damage due to
ingress of moisture in the elec-
tronics. Do not clean the control
components with a wet cloth.
– The surface could be damaged
due to a wrong cleaning
process. Clean stainless steel
surfaces only in their brushing
direction. Do not use a stainless
steel cleaner for the control ele-
ments.
– The surface could be damaged
due to aggressive and abrasive
cleaning agents. Never use
aggressive and abrasive
cleaning agents.
LWARNING
Dangers of fire and physical injury!
In case of repairing that is not per-
formed according to the rules or as
required, turn off the fuse or unplug
the feeder cable of your appliance.
Repairing must be performed only
by the authorized technical service
or authorized experts.
NOTICE
If the appliance is faulty or dam-
aged, turn off the fuse or unplug the
feeder cable of your appliance and
call the authorized service.
NOTICE
If the feeder cable is damaged, it
must be replaced by its manufac-
turer or its authorized technical
service or any other personnel
qualified at the same level, in order
to avoid any dangerous situation.
NOTICE
When the bulbs of the device mal-
function, switch off the circuit
breaker and unplug the device's
power plug from the socket.
Replace the defective bulbs immedi-
ately (leave bulbs to cool down
first), in order to protect the
remaining bulbs against over-
loading.
LCAUTION
Accessible components might be
heated when used with cooking
devices.
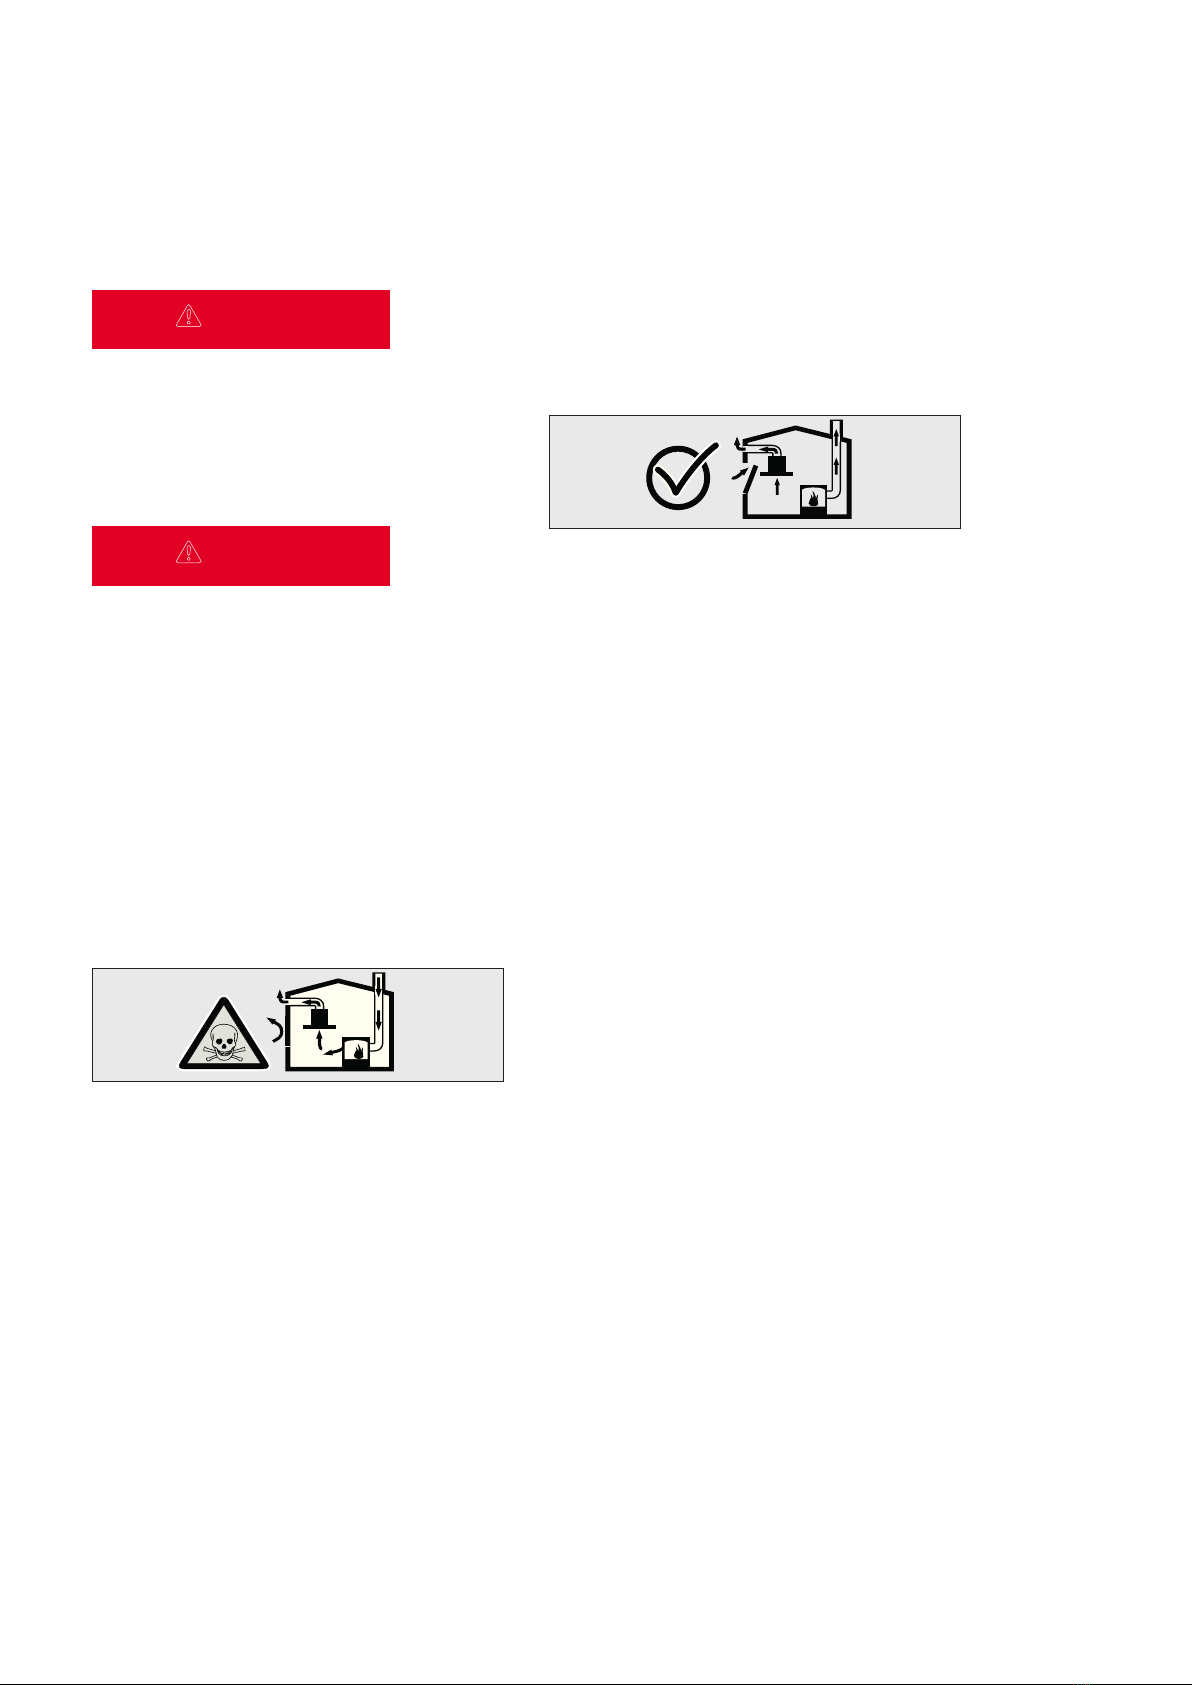
LDANGER
Air outlet pipe of this appliance
mustn't be connected in the flue
used to discharge the fume gener-
ated by devices that use gas or
other fuels.
WARNING AND SAFETY PRECAUTIONS
LETHAL RISK, DANGER OF POISONING
18.11.2021 DOWNDRAFT Hoods 11
LWARNING
Risk of burn, risk of electric shock!
– Allow the appliance to cool
before cleaning or maintenance
process. Switch off the fuse or
pull out the mains plug from the
socket.
– There is risk of damage due to
ingress of moisture in the elec-
tronics. Do not clean the control
components with a wet cloth.
– The surface could be damaged
due to a wrong cleaning
process. Clean stainless steel
surfaces only in their brushing
direction. Do not use a stainless
steel cleaner for the control ele-
ments.
– The surface could be damaged
due to aggressive and abrasive
cleaning agents. Never use
aggressive and abrasive
cleaning agents.
LWARNING
Dangers of fire and physical injury!
In case of repairing that is not per-
formed according to the rules or as
required, turn off the fuse or unplug
the feeder cable of your appliance.
Repairing must be performed only
by the authorized technical service
or authorized experts.
NOTICE
If the appliance is faulty or dam-
aged, turn off the fuse or unplug the
feeder cable of your appliance and
call the authorized service.
NOTICE
If the feeder cable is damaged, it
must be replaced by its manufac-
turer or its authorized technical
service or any other personnel
qualified at the same level, in order
to avoid any dangerous situation.
NOTICE
When the bulbs of the device mal-
function, switch off the circuit
breaker and unplug the device's
power plug from the socket.
Replace the defective bulbs immedi-
ately (leave bulbs to cool down
first), in order to protect the
remaining bulbs against over-
loading.
LCAUTION
Accessible components might be
heated when used with cooking
devices.
LDANGER
Air outlet pipe of this appliance
mustn't be connected in the flue
used to discharge the fume gener-
ated by devices that use gas or
other fuels.
WARNING AND SAFETY PRECAUTIONS
LETHAL RISK, DANGER OF POISONING
18.11.2021 DOWNDRAFT Hoods 11
LCAUTION
Damage hazard due to corrosion.
Always run the appliance to prevent
condensate formation while
cooking. Condensates may cause
corrosion damage. Replace the mal-
functioning lamp right away to pre-
vent overloading of other lamps.
Moisture intrusion in electronic
parts poses a risk of damage. Never
clean the control elements with a
wet cloth. The surface could be
damaged due to a wrong cleaning
process. Clean stainless steel sur-
faces only in their brushing direc-
tion. Do not use a stainless steel
cleaner for the control elements.
The surface could be damaged due
to aggressive and abrasive cleaning
agents. Never use aggressive and
abrasive cleaning agents. There is a
risk of damage due to condensate
liquid backflow. Install the air exit
canal with a small downward incli-
nation (1° inclination) from the appli-
ance.
WARNING AND SAFETY PRECAUTIONS
LETHAL RISK, DANGER OF POISONING
18.11.2021
DOWNDRAFT Hoods
12
appliance