manuals.online logo
Brands
  1. Home
  2. •
  3. Brands
  4. •
  5. IMG STAGE LINE
  6. •
  7. Lighting Equipment
  8. •
  9. IMG STAGE LINE SRL-526/BL User manual

IMG STAGE LINE SRL-526/BL User manual

Rundumleuchte
1 Einsatzmöglichkeiten
Diese Leuchte mit rotierendem Reflektor und farbi-
ger Kuppel (blau bei Modell SRL-526/BL, rot bei
Modell SRL-526/RT) ist sowohl für den professio-
nellen Einsatz (z.B. Diskothek, Schaufenster) als
auch für den privaten Gebrauch (z.B. als Party-
leuchte) geeignet.
Der Einsatz der Leuchte im Straßenverkehr ist
nicht zulässig!
2 Hinweise für den sicheren Gebrauch
Die Leuchte entspricht der Richtlinie für elektro-
magnetische Verträglichkeit 89/336/EWG und der
Niederspannungsrichtlinie 73/23/EWG.
BeachtenSie auchunbedingt diefolgenden Punkte:
●Die Leuchte ist nur zur Verwendung im Innenbe-
reich geeignet. Schützen Sie sie vor Tropf- und
Spritzwasser, hoher Luftfeuchtigkeit und Hitze
(zulässiger Einsatztemperaturbereich 0–40°C).
●Die Leuchte wärmt sich während des Betriebs
sehr stark auf. Um Verbrennungen zu vermeiden,
berühren Sie das Gerät nicht während des Be-
triebes bzw. lassen Sie es nach dem Betrieb
einige Minuten abkühlen, bevor Sie es berühren.
●Aufgrund der hohen Wärmeentwicklung der Lam-
pemussbeiderPlatzierungdesGerätsein Sicher-
Achtung!
DieLeuchte wird mitlebensgefährlicher Netzspan-
nung (230V~) versorgt. Nehmen Sie deshalb nie
selbst Eingriffe im Gerät vor. Durch unsachge-
mäßes Vorgehen besteht die Gefahr eines elek-
trischen Schlages. Lassen Sie das Gerät in einer
Fachwerkstatt reparieren.
heitsabstandvon mindestens 0,5mzu angestrahl-
ten Materialien gewahrt werden.
●Nehmen Sie die Leuchte nicht in Betrieb bzw. zie-
hen Sie sofort den Netzstecker aus der Steck-
dose, wenn:
1.sichtbare Schädenam Gerät oderan der Netz-
anschlussleitung vorhanden sind,
2.nach einem Sturz oder Ähnlichem der Ver-
dacht auf einen Defekt besteht,
3.Funktionsstörungen auftreten.
Geben Sie das Gerät in jedem Fall zur Reparatur
in eine Fachwerkstatt.
●Eine beschädigte Netzanschlussleitung darf nur
durch den Hersteller oder eine autorisierte Fach-
werkstatt ersetzt werden.
●Ziehen Sie den Netzstecker nie an der Zuleitung
aus der Steckdose.
●Verwenden Sie zum Reinigen nur ein trockenes,
weichesTuch,niemalsChemikalienoder Wasser.
●Wird die Leuchte zweckentfremdet, falsch bedient
oder nicht fachgerecht repariert, kann für eventu-
elleSchädenkeine Haftungübernommenwerden.
●Soll die Leuchte endgültig aus dem Betrieb ge-
nommen werden, übergeben Sie sie zur umwelt-
freundlichen Entsorgung einem örtlichen Recyc-
lingbetrieb.
3 Inbetriebnahme
1) Die Leuchte entweder frei aufstellen oder über
die beiden Montagewinkel an der gewünschten
Stelle festschrauben.
2) Zur Inbetriebnahme den Netzstecker in eine
Steckdosestecken (230V~/50Hz).Damit istdas
Gerät eingeschaltet: Der Reflektor rotiert um die
leuchtende Lampe. Für einen besseren Bedien-
komfort das Gerät an eine Steckdose anschlie-
Light with Rotating Reflector
1 Applications
This light with rotating reflector and coloured dome
(blue for model SRL-526/BL, red for model SRL-
526/RT) is suitable both for professional applica-
tions (e.g. disco, shop window) and private applica-
tions (e.g. parties).
The light is not approved for traffic applications!
2 Safety Notes
This light corresponds to the directive for electro-
magnetic compatibility 89/336/EEC and to the low
voltage directive 73/23/EEC.
Please observe the following items in any case:
●The light is suitable for indoor use only. Protect it
against dripping water and splash water, high air
humidity and heat (admissible ambient tempera-
ture range 0–40 °C).
●The light heats up very much during operation. To
prevent burning yourself, do not touch the hous-
ing during operation or let the unit cool down for a
few minutes after switching off before touching it.
●As the lamp generates a lot of heat, place the unit
at a safe distance of at least 0.5m from any sur-
rounding objects illuminated by the light.
●Do not operate the light or immediately discon-
nect the plug from the mains socket
1.if there is visible damage to the unit or to the
mains cable,
2.if a defect might have occurred after the unit
was dropped or suffered a similar accident,
Attention!
The light is supplied with hazardous mains voltage
(230V~). Leaveservicing toskilled personnelonly.
Inexpert handling may cause an electric shock
hazard.
3.if malfunctions occur.
In any case the unit must be repaired by skilled
personnel.
●A damaged mains cable must be replaced by the
manufacturer or skilled personnel only.
●Never pull the mains cable for disconnecting the
mains plug from the socket.
●For cleaning only use a dry, soft cloth, by no
means chemicals or water.
●If the light is used for other purposes than orig-
inally intended, if it is not correctly operated or not
repaired in an expert way, no liability for any dam-
age will be accepted.
●If the light is to be put out of operation definitively,
take it to a local recycling plant for a disposal
which is not harmful to the environment.
●Important for U.K. Customers!
The wires in this mains lead are coloured in ac-
cordance with the following code:
green/yellow = earth,
blue = neutral
brown = live
As the colours of the wires in the mains lead of
this appliance may not correspond with the col-
oured markings identifying the terminals in your
plug, proceed as follows:
1. The wire which is coloured green and yellow
must be connected to the terminal in the plug
whichis markedwiththe letterEor bythe earth
symbol or coloured green or green and
yellow.
2.The wire which is coloured blue must be con-
nected to the terminal which is marked with the
letter Nor coloured black.
3.The wire which is coloured brown must be
connected to the terminal which is marked with
the letter Lor coloured red.
Warning! This unit must be earthed.
3 Operation
1) Placethelight asdesiredorfasten itatthe desired
place by means of the two mounting brackets.
2) For setting the light into operation, connect the
mains plug to a socket (230 V~/50Hz). Thus, the
unit is switched on: The reflector rotates around
the lit lamp. For more convenient operation, con-
nect the unit to a mains socket to be switched on
and off via a light switch.
3) To switch off the light, disconnect the mains plug
from the socket or switch off the corresponding
light switch.
4 Lamp Replacement
1) Release the screws by which the two mounting
brackets are fixed to the housing.
2) Remove the dome.
3) Unscrew the defective lamp from the lampholder.
4) Insert the new lamp into the lampholder. To pre-
vent finger marks on the new lamp, do not touch
it with your fingers, only use a soft cloth.
5) Place the dome, fasten it with the mounting
brackets, and tighten the released screws of the
mounting brackets.
5 Specifications
Power supply: . . . . . . . 230 V~/50 Hz
Power consumption: . . 30VA
Matching lamp: . . . . . . . 220–240V/15W, lamp
base E14
Dimensions: . . . . . . . . . Ø 145mm, height 180mm
According to the manufacturer. Subject to change.
Important!
Always disconnect the light from the mains supply
before replacing the lamp! As the lamp becomes
very hot during operation, let it cool down after
operation of the unit (cooling time at least 5 min-
utes) before replacing it.
GB
Copyright©by MONACOR®International GmbH & Co. KG, Bremen, Germany. All rights reserved. 10.01.01
®
SRL-526/BL
Best.-Nr. 04.1950
wwwwww..iimmggssttaaggeelliinnee..ccoomm
SRL-526/RT
Best.-Nr. 04.1960
D A CH ßen, die sich über einen Lichtschalter ein- und
ausschalten lässt.
3) Zum Ausschalten der Leuchte den Netzstecker
wieder aus der Steckdose ziehen bzw. den zu-
gehörigen Lichtschalter ausschalten.
4 Lampe auswechseln
1) Die Schrauben, mit denen die beiden Montage-
winkel am Gehäuse befestigt sind, lösen.
2) Die Kuppel abnehmen.
3) Die alte Lampe aus der Fassung drehen.
4) Die neue Lampe in die Fassung schrauben. Um
eine Verschmutzung der neuen Lampe durch
Hautfett zu vermeiden, sollte diese nicht mit den
Fingern, sondern mit einem weichen Tuch auf-
genommen werden.
5) Die Kuppel aufsetzen, mit den Montagewinkeln
festklemmen und die gelösten Schrauben der
Montagewinkel wieder fest anziehen.
5 Technische Daten
Stromversorgung: . . . . 230V~/50Hz
Leistungsverbrauch: . . . 30VA
passende Lampe: . . . . 220–240V/15W,
Sockel E14
Abmessungen: . . . . . . . Ø 145mm, Höhe 180mm
Laut Angaben des Herstellers.
Änderungen vorbehalten.
Wichtig!
Trennen Sie vor dem Auswechseln der Lampe die
Leuchte unbedingt vom Netz! Da die Lampe im
Betrieb sehr heiß wird, lassen Sie sie nach Betrieb
desGerätes erst abkühlen(Abkühlzeit mindestens
5 Minuten), bevor Sie sie auswechseln.
Gyrophare
1 Possibilités d’utilisation
Ce gyrophare avec réflecteur rotatif et dôme coloré
(bleu pour modèle SRL-526/BL, rouge pour modèle
SRL-526/RT) est conçu non seulement pour des
utilisations professionnelles (p.ex. discothèques,
vitrines) mais aussi pour des utilisations privées
(p.ex. fêtes).
Il est interdit d’utiliser le gyrophare pour la cir-
culation routière!
2 Conseils de sécurité
Le gyrophare répond à la norme européenne
89/336/CEE relative à la compatibilité électroma-
gnétique et à la norme 73/23/CEE portant sur les
appareils à basse tension.
Respectez scrupuleusement les points suivants:
●Le gyrophare n’est conçu que pour une utilisation
en intérieur. Protégez-le de l’eau d’égouttage,
de l’eau projetée, de l’humidité d’air élevée et de
la chaleur (température d’utilisation admissible
0–40°C).
●Pendantson fonctionnement, legyrophare chauf-
fefortement. Pour évitertout risquede brûlure, ne
touchez jamais l’appareil pendant le fonctionne-
ment,laissez refroidir l’appareilquelques minutes
après son fonctionnement avant de le toucher.
Attention!
Le gyrophare est alimenté par une tension très
dangereuse de 230V~. Ne touchez jamais l’in-
térieur de l’appareil car en cas de mauvaise mani-
pulation, vous pourriez subir un choc électrique.
Faiteseffectuer lesréparations del’appareil par un
technicien spécialisé.
●Acause de la forte chaleur dégagée par la lampe,
placez l’appareil à une distance minimale de
0,5m d’objets éclairés par le gyrophare.
●Ne faites pas fonctionner le gyrophare et débran-
chez-le immédiatement lorsque:
1.des dommages apparaissent sur l’appareil ou
sur le cordon secteur,
2.après une chute ou un cas similaire, vous avez
un doute au sujet de l’état de l’appareil,
3.des défaillances apparaissent.
En tout cas, faites effectuer les réparations de
l’appareil par un technicien spécialisé.
●Tout cordon secteur endommagé ne doit être
remplacé que par le constructeur ou un techni-
cien qualifié.
●Ne débranchez jamais le gyrophare en tirant sur
le cordon secteur.
●Pour le nettoyer, utilisez un chiffon sec et doux,
en aucun cas d’eau ou de produits chimiques.
●Nous déclinons toute responsabilité en cas de
dommage si le gyrophare est utilisé dans un but
autre que celui pour lequel il a été conçu, s’il n’est
pas correctement utilisé ou s’il n’est pas réparé
de manière appropriée.
●Lorsque le gyrophare est définitivement retiré du
service,vous devezle déposerdansune usinede
recyclage adaptée pour une élimination écophile.
3 Fonctionnement
1) Placez le gyrophare comme souhaité ou vissez-
le à l’endroit voulu à l’aide de deux étriers de
montage.
2) Reliez le cordon secteur à une prise secteur
(230V~/50Hz). Le gyrophare est allumé: le ré-
flecteur tourne autour de la lampe allumée. Pour
un meilleur confort d’utilisation, reliez l’appareil à
une prise secteur qui peut être branchée et dé-
branchée à l’aide d’un commutateur d’éclairage.
3) Pour éteindre le gyrophare, déconnectez le cor-
don secteur de la prise secteur ou mettez le com-
mutateur d’éclairage sur “arrêt”.
4 Remplacement de la lampe
1) Dévissez les vis avec lesquelles les deux étriers
de montage sont fixés au boîtier.
2) Retirez le dôme.
3) Dévissez la lampe défectueuse de sa douille.
4) Vissez la nouvelle lampe dans la douille. Pour
éviter toutes traces de doigts sur la nouvelle lam-
pe, utilisez un chiffon doux.
5) Placez le dôme, fixez-le avec les étriers de mon-
tage, et revissez les vis des étriers de montage.
5 Caractéristiques techniques
Alimentation: . . . . . . . . 230V~/50Hz
Puissance consommée: 30VA
Lampe correspondante: 220–240V/15W,
culot E14
Dimensions: . . . . . . . . .Ø 145mm,
hauteur 180 mm
D’après le données du constructeur.
Tout droit de modification réservé.
Important!
Avant tout remplacement de la lampe, débranchez
en tout cas le gyrophare du secteur! Pendant le
fonctionnement, la lampe est très chaude, laissez
la refroidir après le fonctionnement de l’appareil
(temps de refroidissement 5 minutes au moins)
avant de la remplacer.
Lampada circolare
1 Possibilità d’impiego
Questalampadacon riflettore roteantee con cupola
colorata (blu nel modello SRL-526/BL, rossa nel
modello SRL-526/RT) è prevista per impieghi sia
professionali (p.es. in discoteca, in vetrine), che pri-
vati (p.es. per party).
L’impiego per strada non è ammesso!
2 Avvertenze di sicurezza
La lampada è conforme alle direttive CE 89/336/
CEE sulla compatibilità elettromagnetica e 73/23/
CEE per apparecchi a bassa tensione.
Sidevonoosservareassolutamentei seguentipunti:
●La lampada è prevista solo per l’uso all’interno di
locali. Proteggerla dall’acqua gocciolante e dagli
spruzzi d’acqua, dall’umidità e dal calore (tempe-
ratura d’impiego ammessa fra 0°C e 40°C).
●Durante il funzionamento, la lampada si riscalda
moltissimo. Per evitare bruciature, non toccarla
durante il funzionamento e farla raffreddarsi pri-
ma di toccarla dopo il funzionamento.
●Dato il notevole sviluppo di calore, per la siste-
mazione della lampada occorre rispettare una
distanza minima di 0,5m dai materiali toccati dai
raggi di luce.
Attenzione!
La lampada funziona con tensione di rete di
230V~. Non intervenire mai al suo interno; la ma-
nipolazione scorretta può provocare delle scariche
pericolose. Per l’assistenza, rivolgersi ad un labo-
ratorio competente.
●Non mettere in funzione la lampada e staccare
subito la spina rete se:
1. la lampada o il cavo rete presentano dei danni
visibili;
2.dopo una caduta o dopo eventi simili sussiste
il sospetto di un difetto;
3.l’apparecchio non funziona correttamente.
Per la riparazione rivolgersi sempre ad un’officina
competente.
●Il cavo rete, se danneggiato, deve essere sosti-
tuito solo dal costruttore o da un laboratorio au-
torizzato.
●Staccare il cavo rete afferrando la spina, senza
tirare il cavo.
●Perlapulizia usaresoloun pannomorbido,asciut-
to; non impiegare in nessun caso prodotti chimici
o acqua.
●Nel caso d’uso improprio, di collegamenti sba-
gliati o di riparazione scorretta non si assume
nessuna responsabilità per eventuali danni.
●Se si desidera eliminare la lampada definitiva-
mente, consegnarla per lo smaltimento ad un’isti-
tuzione locale per il riciclaggio.
3 Messa in funzione
1) Collocare la lampada liberamente oppure avvi-
tarla sul posto desiderato servendosi delle due
staffe di montaggio.
2) Per la messa in funzione, inserire la spina di rete
in una presa (230V~/50Hz). La lampada è così
accesa: il riflettore gira intorno alla lampadina ac-
cesa. Per maggiore comodità conviene collegare
la lampada con una presa comandata da un
interruttore.
3) Per spegnere staccare il cavo oppure servirsi
dell’interruttore della presa.
4 Sostituzione della lampadina
1) Allentare le due viti che fissano le staffe di mon-
taggio sulla custodia.
2) Togliere la cupola.
3) Svitare la vecchia lampadina.
4) Avvitare la nuova lampadina nello zoccolo. Per
non sporcare la nuova lampada con i grassi della
mano è opportuno non toccarla con le dita bensì
con un panno morbido.
5) Rimettere la cupola, fissarla con le sfaffe di mon-
taggioe stringerebene levitiallentate dellestaffe
di montaggio.
5 Dati tecnici
Alimentazione: . . . . . . . 230V~/50Hz
Consumo: . . . . . . . . . . . 30VA
Lampadina adatta: . . . .220–240V/15W,
zoccolo E14
Dimensioni: . . . . . . . . . Ø 145mm,
altezza 180 mm
Dati forniti dal costruttore.
Con riserva di modifiche tecniche.
Importante!
Prima di sostituire al lampadina staccare la lam-
pada assolutamente dalla rete! Dato che la lam-
pada si riscalda moltissimo durante il funziona-
mento, farla raffreddarsi prima della sostituzione
(5 minuti minimo).
I
Copyright©by MONACOR®International GmbH & Co. KG, Bremen, Germany. All rights reserved. 10.01.01
®
SRL-526/BL
Best.-Nr. 04.1950
wwwwww..iimmggssttaaggeelliinnee..ccoomm
SRL-526/RT
Best.-Nr. 04.1960
D A CHF B CH

This manual suits for next models

3

Other IMG STAGE LINE Lighting Equipment manuals

IMG STAGE LINE LE-240 User manual

IMG STAGE LINE

IMG STAGE LINE LE-240 User manual

IMG STAGE LINE TRIPLE SCAN LED-300RGB User manual

IMG STAGE LINE

IMG STAGE LINE TRIPLE SCAN LED-300RGB User manual

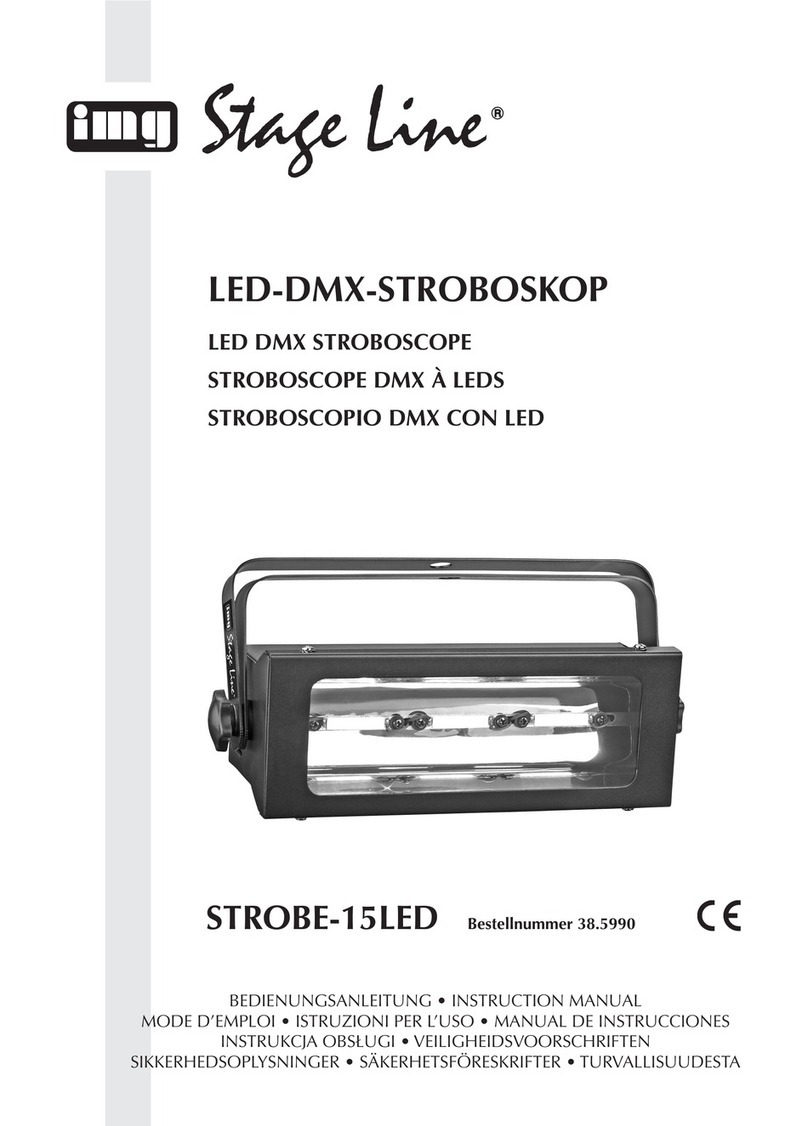
IMG STAGE LINE STROBE-15LED User manual

IMG STAGE LINE

IMG STAGE LINE STROBE-15LED User manual

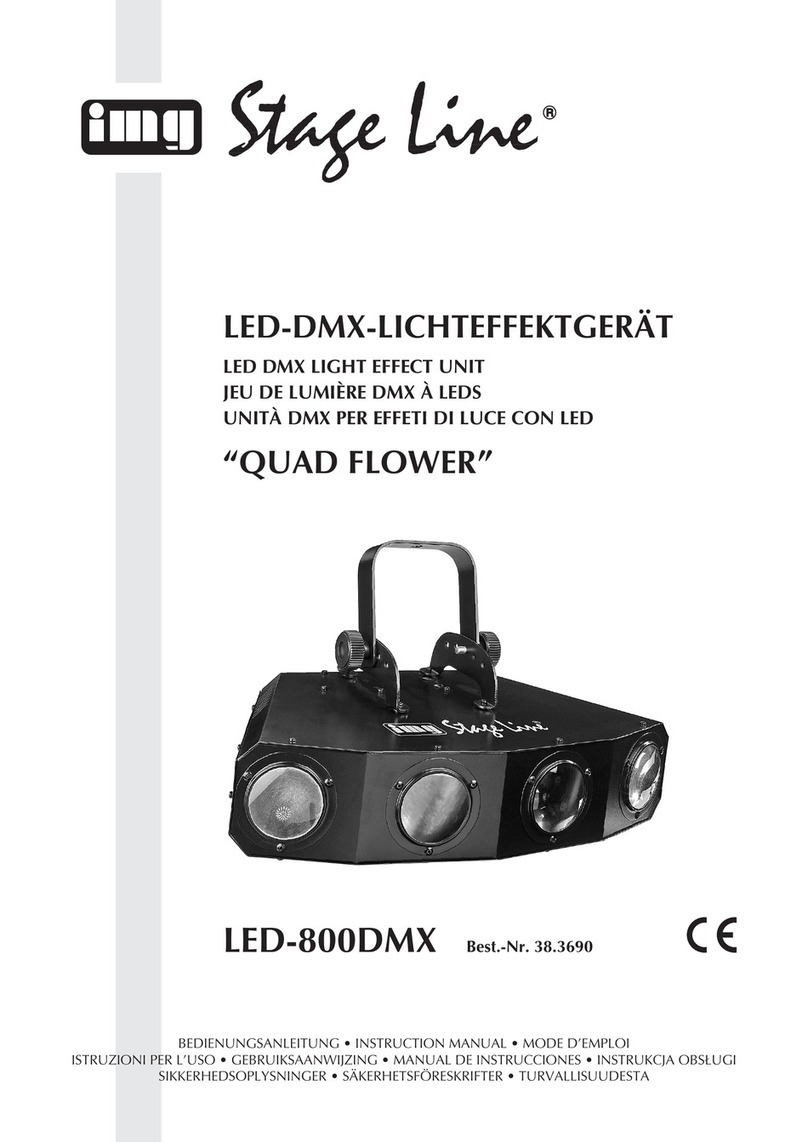
IMG STAGE LINE QUAD FLOWER LED-800DMX User manual

IMG STAGE LINE

IMG STAGE LINE QUAD FLOWER LED-800DMX User manual

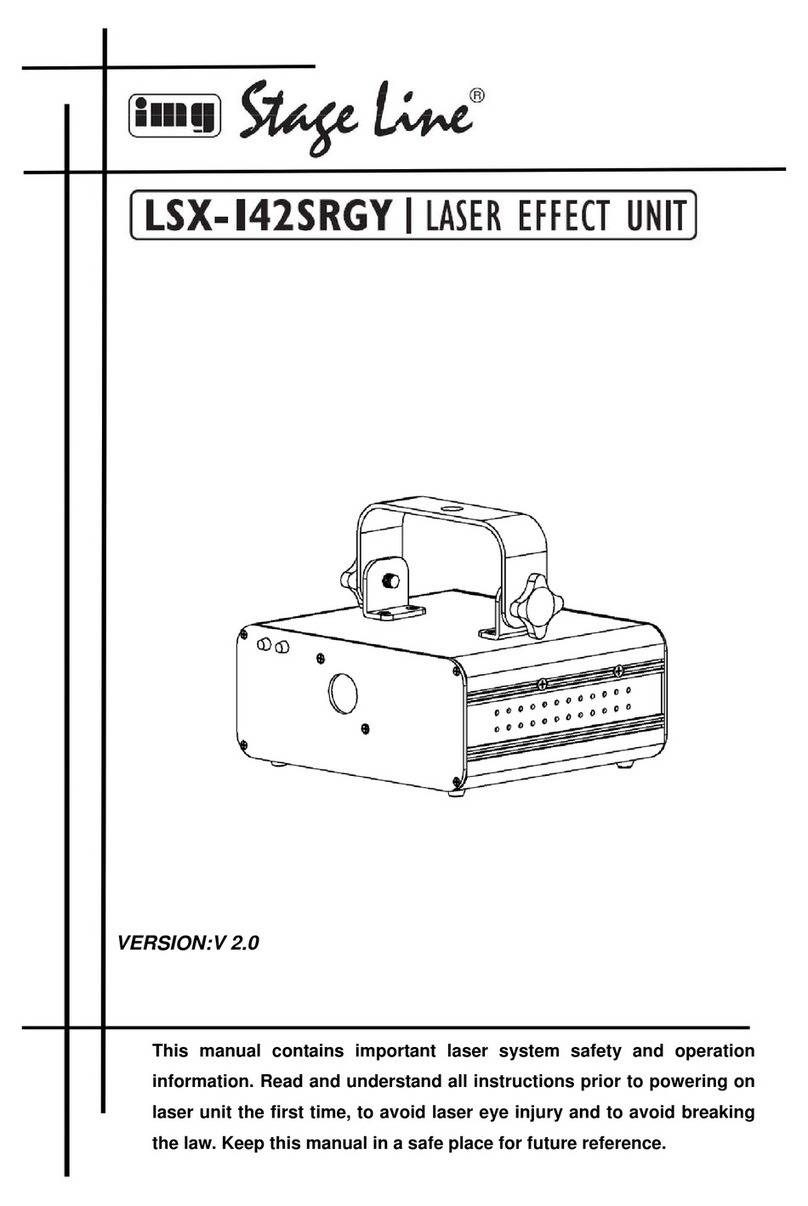
IMG STAGE LINE LSX-142SRGY StageLine User manual

IMG STAGE LINE

IMG STAGE LINE LSX-142SRGY StageLine User manual

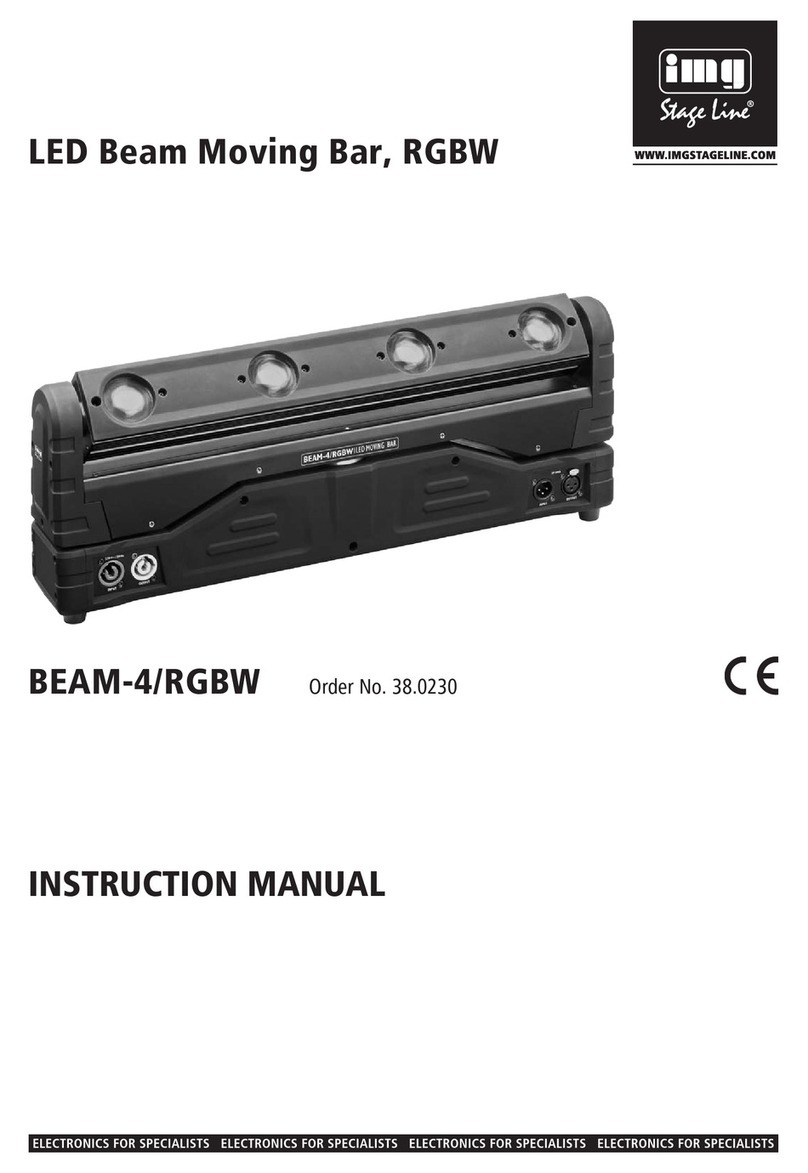
IMG STAGE LINE BEAM-4/RGBW User manual

IMG STAGE LINE

IMG STAGE LINE BEAM-4/RGBW User manual

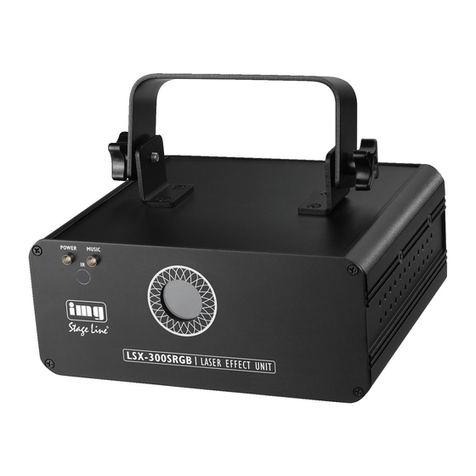
IMG STAGE LINE LSX-300SRGB User manual

IMG STAGE LINE

IMG STAGE LINE LSX-300SRGB User manual

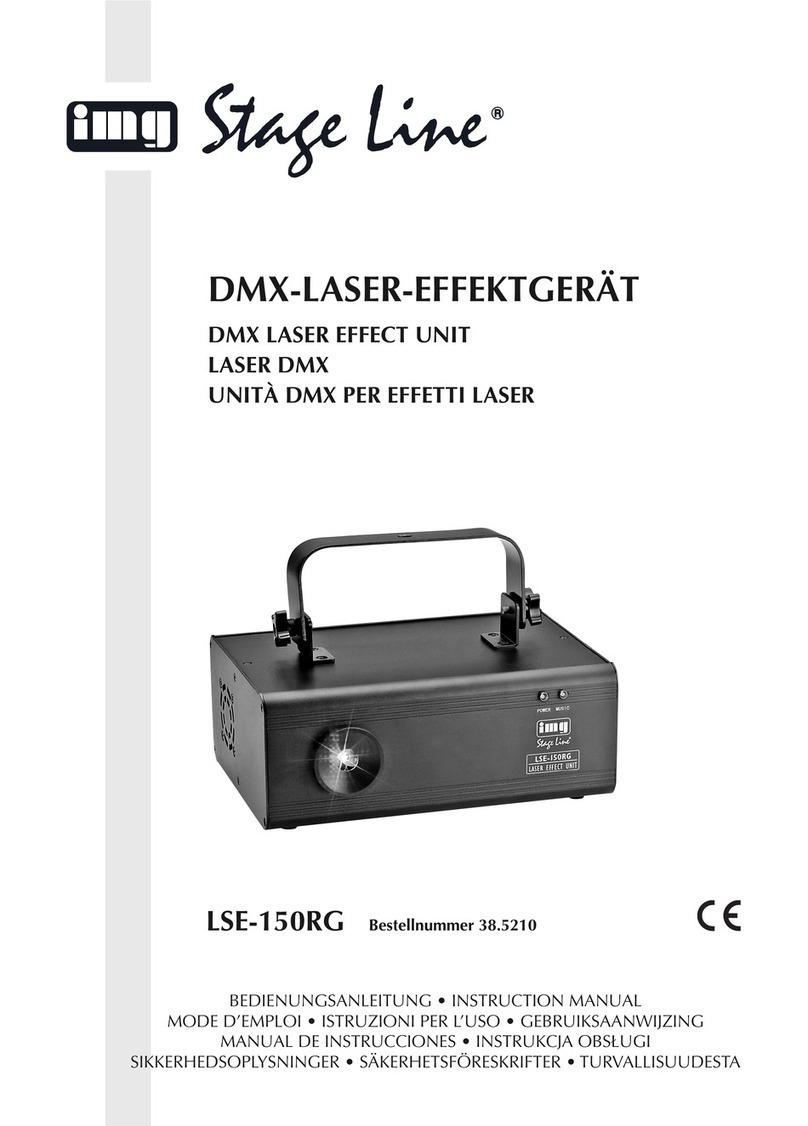
IMG STAGE LINE LSE-150RG User manual

IMG STAGE LINE

IMG STAGE LINE LSE-150RG User manual

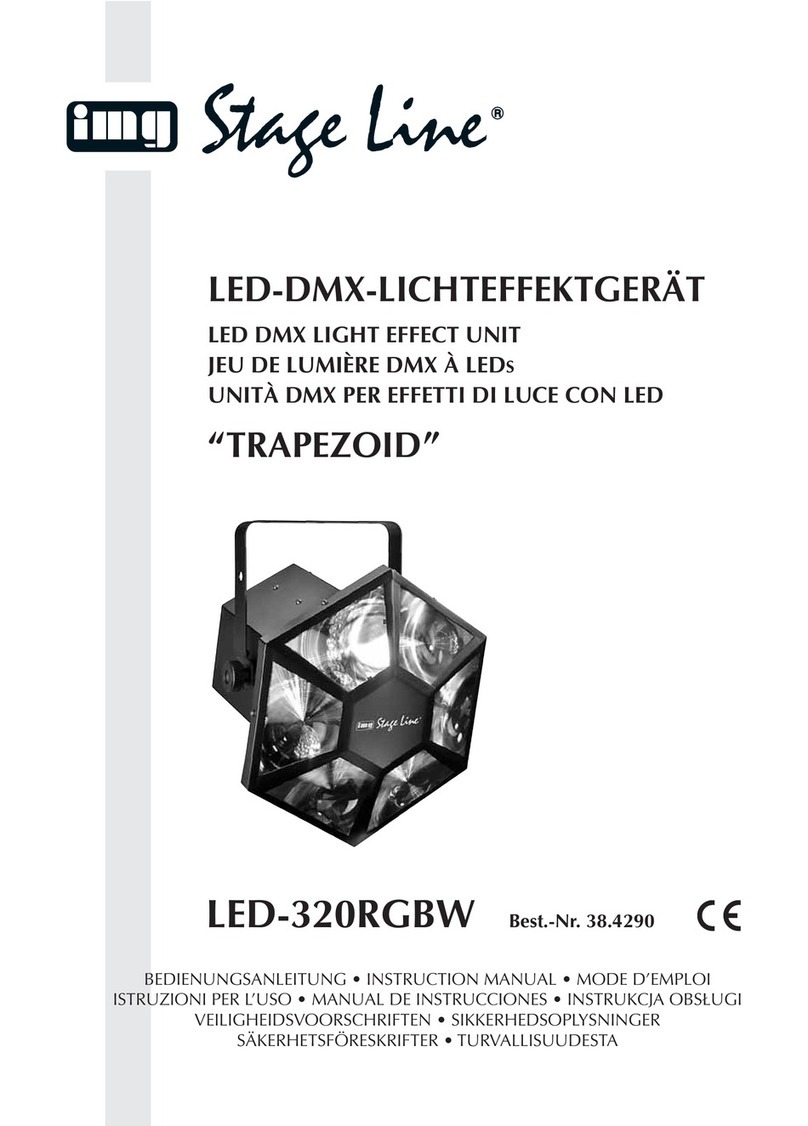
IMG STAGE LINE LED-320RGBW "TRAPEZOID" User manual

IMG STAGE LINE

IMG STAGE LINE LED-320RGBW "TRAPEZOID" User manual

IMG STAGE LINE LC-46COL User manual

IMG STAGE LINE

IMG STAGE LINE LC-46COL User manual

IMG STAGE LINE SCAN-25 User manual

IMG STAGE LINE

IMG STAGE LINE SCAN-25 User manual

IMG STAGE LINE LSE-10RG User manual

IMG STAGE LINE

IMG STAGE LINE LSE-10RG User manual

IMG STAGE LINE BEAM-20LED User manual

IMG STAGE LINE

IMG STAGE LINE BEAM-20LED User manual

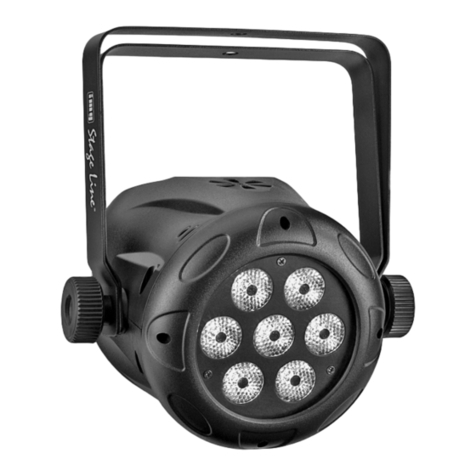
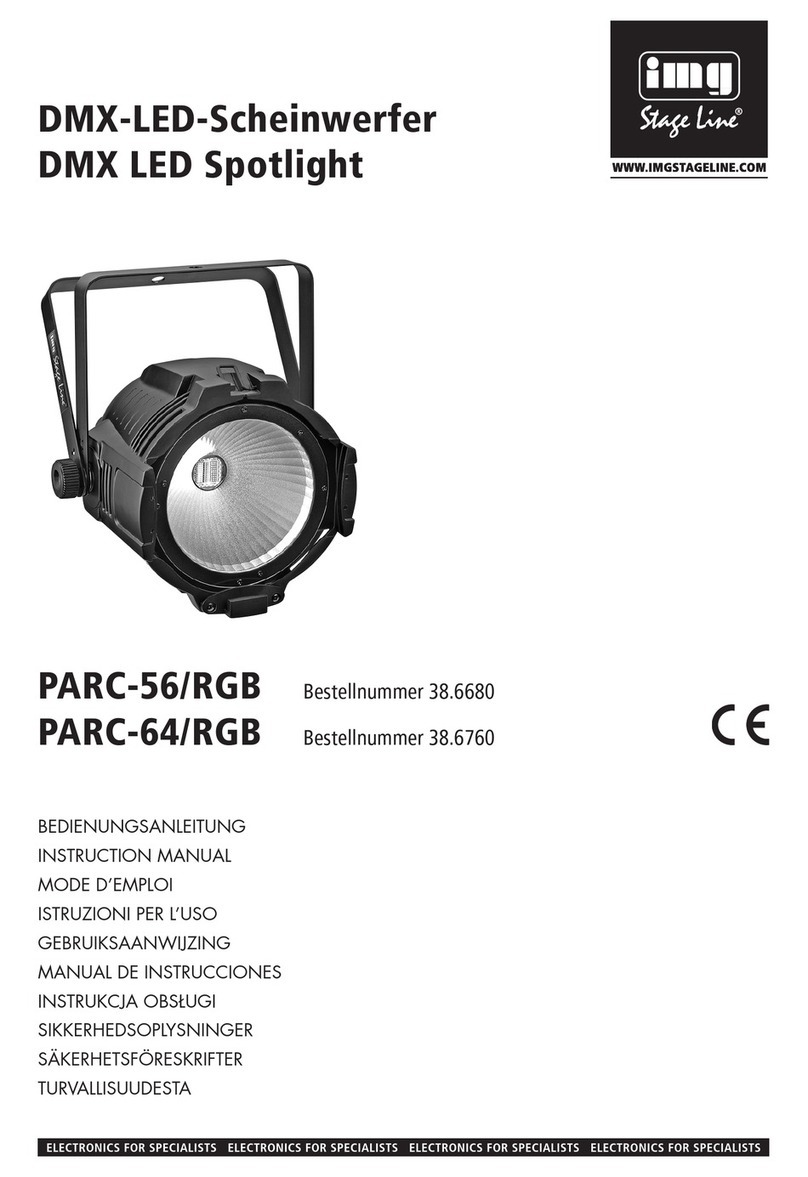
IMG STAGE LINE PARC-56/RGB User manual

IMG STAGE LINE

IMG STAGE LINE PARC-56/RGB User manual

IMG STAGE LINE PARL-73RGB User manual

IMG STAGE LINE

IMG STAGE LINE PARL-73RGB User manual

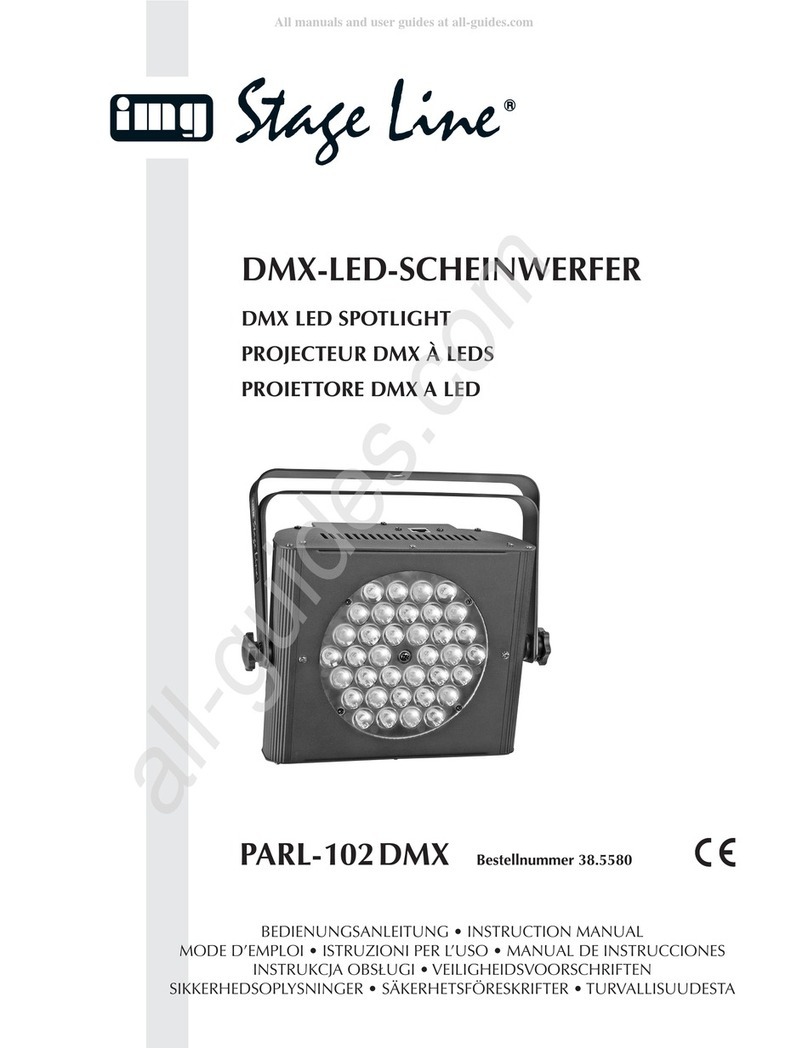
IMG STAGE LINE PARL-102 DMX User manual

IMG STAGE LINE

IMG STAGE LINE PARL-102 DMX User manual

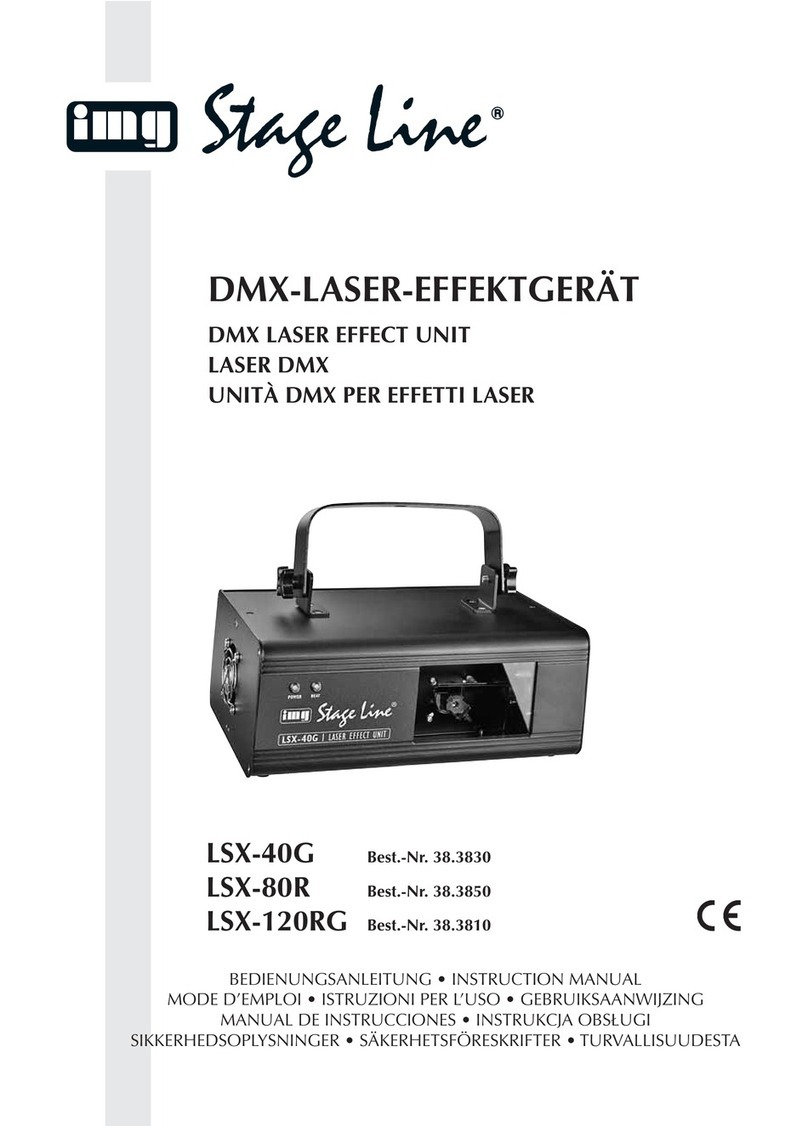
IMG STAGE LINE LSX-40G User manual

IMG STAGE LINE

IMG STAGE LINE LSX-40G User manual

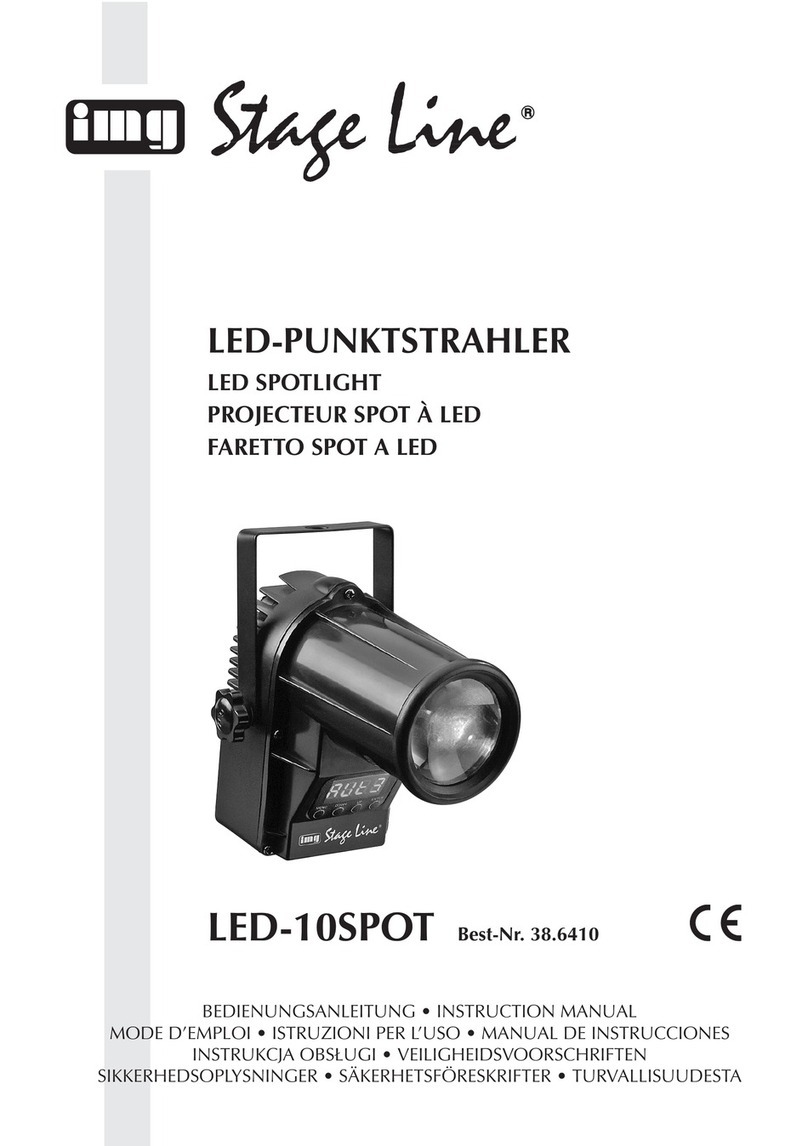
IMG STAGE LINE LED-10SPOT User manual

IMG STAGE LINE

IMG STAGE LINE LED-10SPOT User manual

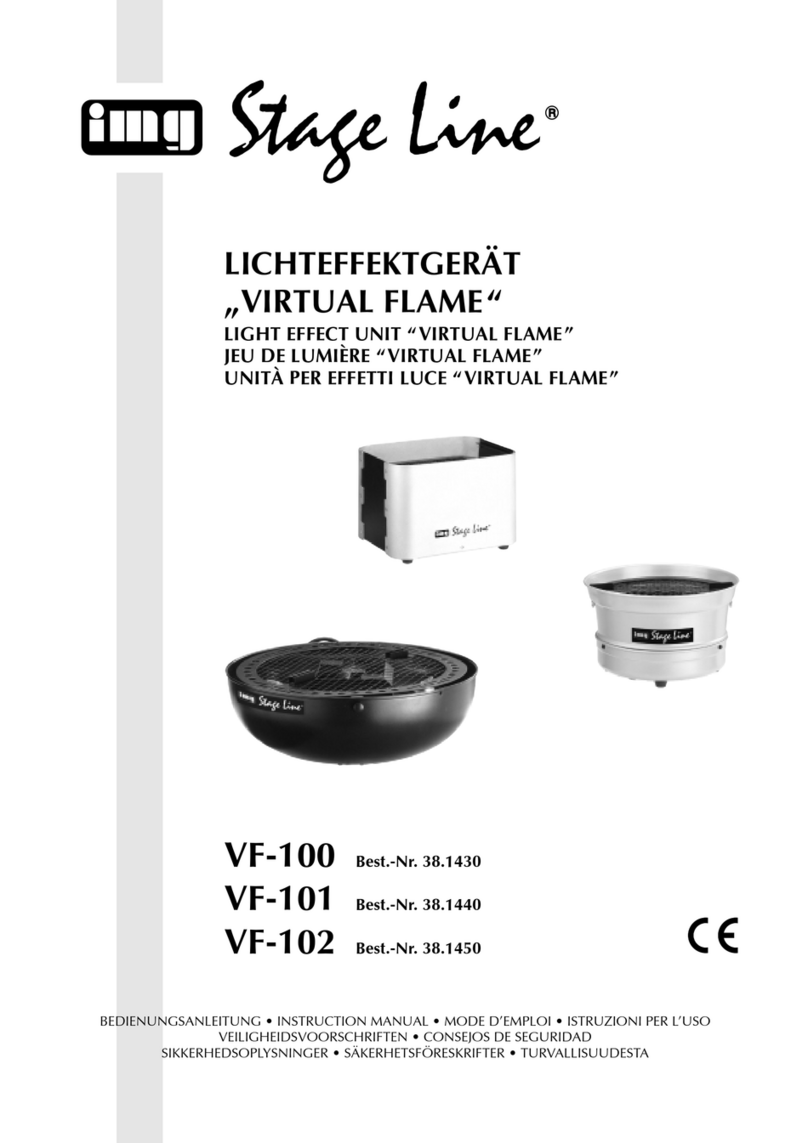
IMG STAGE LINE VF-100 User manual

IMG STAGE LINE

IMG STAGE LINE VF-100 User manual

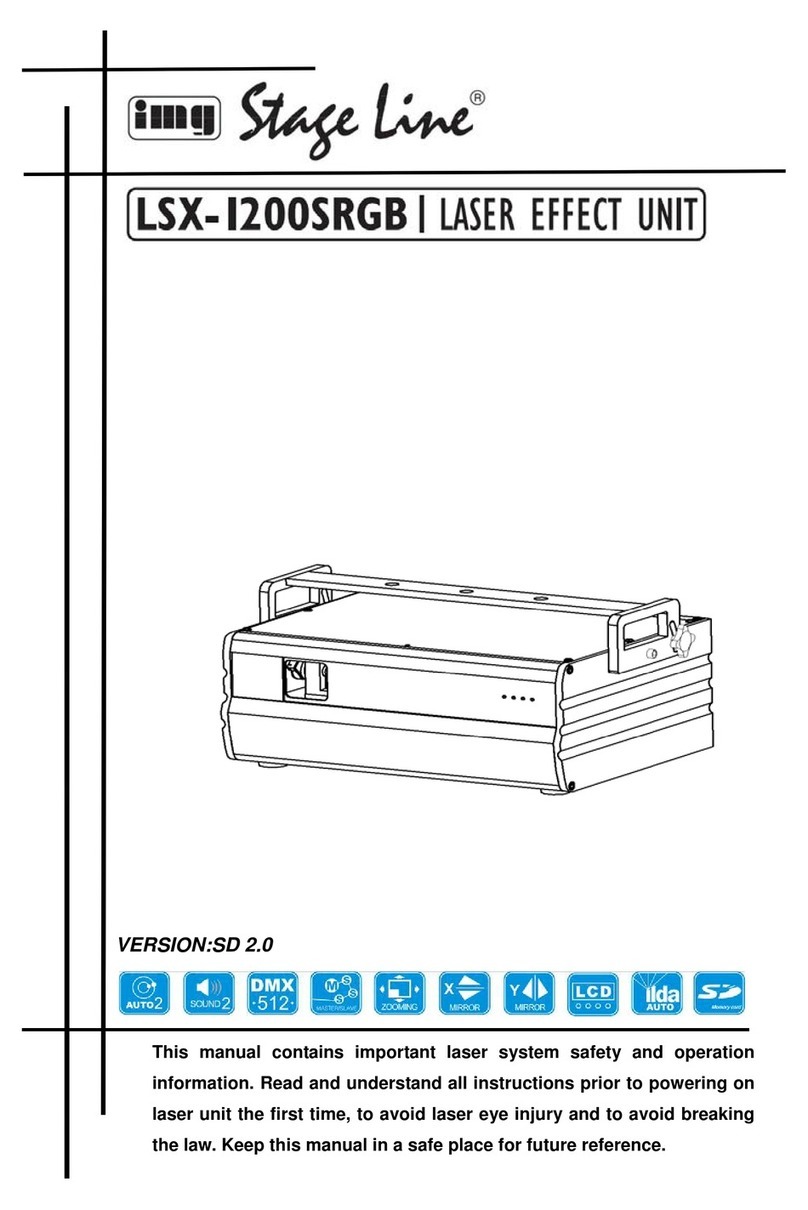
IMG STAGE LINE LSX-1200SRGB User manual

IMG STAGE LINE

IMG STAGE LINE LSX-1200SRGB User manual

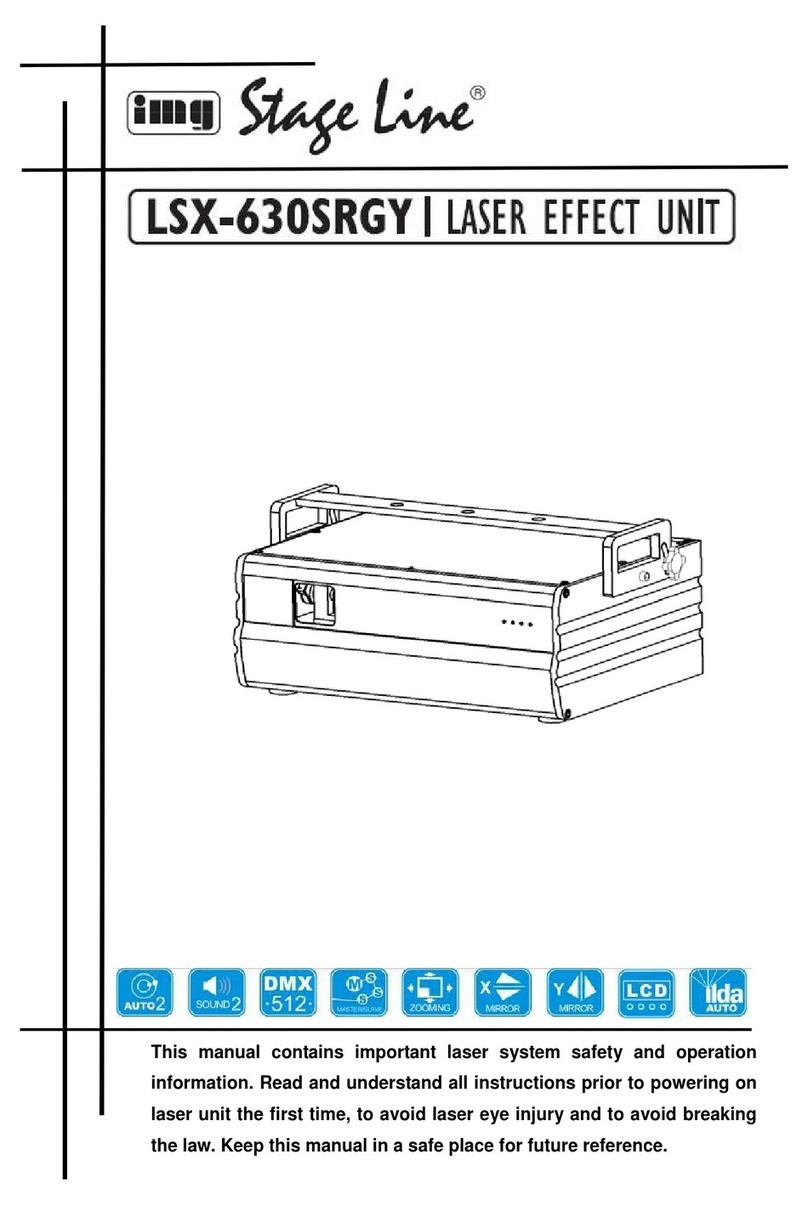
IMG STAGE LINE LSX-630SRGY User manual

IMG STAGE LINE

IMG STAGE LINE LSX-630SRGY User manual

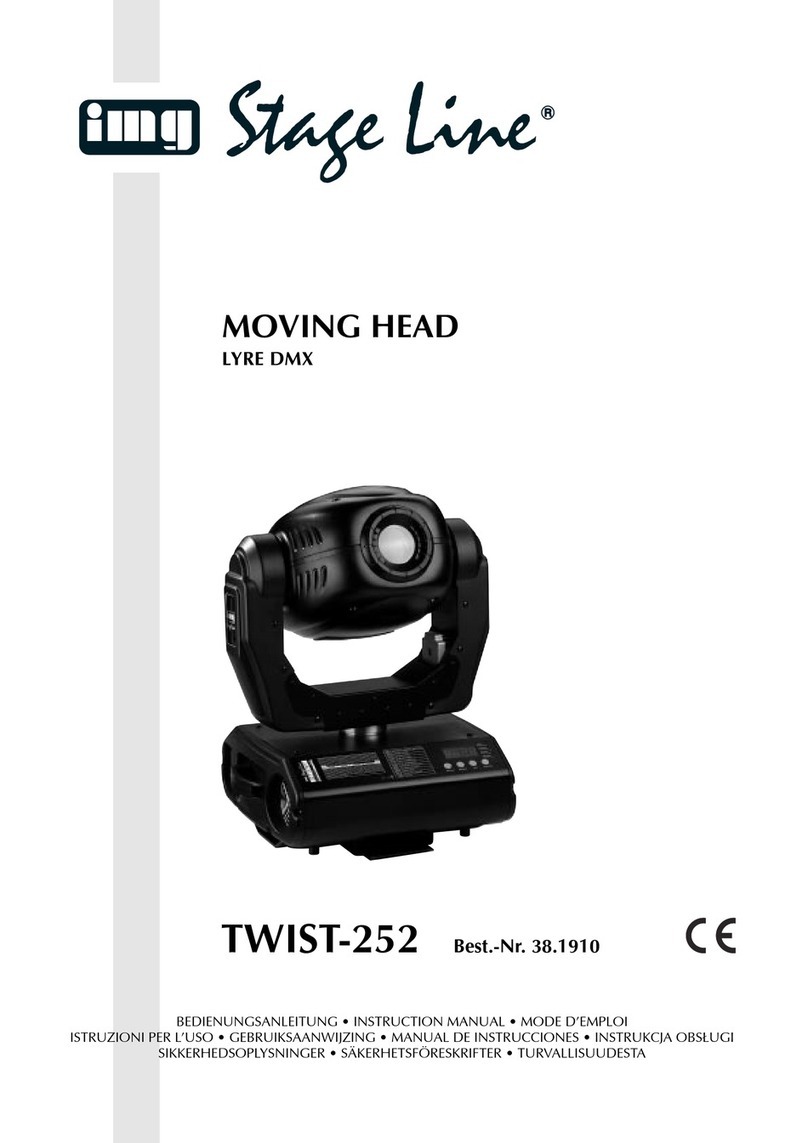
IMG STAGE LINE TWIST-252 User manual

IMG STAGE LINE

IMG STAGE LINE TWIST-252 User manual

Popular Lighting Equipment manuals by other brands

Chauvet Mega Trix Quick reference guide

Chauvet

Chauvet Mega Trix Quick reference guide

Ecco Reflex 5500 Series Installation and operation instructions

Ecco

Ecco Reflex 5500 Series Installation and operation instructions

XanLite PRSCAM250 manual

XanLite

XanLite PRSCAM250 manual

RELCO LED SIRIO manual

RELCO

RELCO LED SIRIO manual

Bresser BR-24B instruction manual

Bresser

Bresser BR-24B instruction manual

NANLITE DSA Series user manual

NANLITE

NANLITE DSA Series user manual

MPK 4750.1 quick start guide

MPK

MPK 4750.1 quick start guide

ETT Rolf Kern! Smart instruction manual

ETT

ETT Rolf Kern! Smart instruction manual

Ansell AFALED/3NM/ST/IP65 installation instructions

Ansell

Ansell AFALED/3NM/ST/IP65 installation instructions

Spotlight FresneLED 450 DMX user manual

Spotlight

Spotlight FresneLED 450 DMX user manual

Sunforce 84010 manual 

Sunforce

Sunforce 84010 manual 

Pahlen 12265 quick start guide

Pahlen

Pahlen 12265 quick start guide

Current GEPS24-180U installation guide

Current

Current GEPS24-180U installation guide

Energizer EZLSPB10 user guide

Energizer

Energizer EZLSPB10 user guide

Feniex L-22109 Installation and operational guide

Feniex

Feniex L-22109 Installation and operational guide

THORLABS LEDD3 Series Operation manual

THORLABS

THORLABS LEDD3 Series Operation manual

LIGMAN KIOS 6 installation manual

LIGMAN

LIGMAN KIOS 6 installation manual

American DJ Festive Light Pak User instruction

American DJ

American DJ Festive Light Pak User instruction

manuals.online logo
manuals.online logoBrands
  • About & Mission
  • Contact us
  • Privacy Policy
  • Terms and Conditions

Copyright 2025 Manuals.Online. All Rights Reserved.