manuals.online logo
Brands
  1. Home
  2. •
  3. Brands
  4. •
  5. INABA DENKO
  6. •
  7. Air Conditioner Accessories
  8. •
  9. INABA DENKO TKL-3K User manual

INABA DENKO TKL-3K User manual

●For mounting work, always contact a professional contractor.
●Keep this instruction manual in a safe place.
●For inquiries, contact one of the offices listed at the end of the
document.
Read this first (for proper and safe use)
This product is only for air conditioning piping. Do not use this for refrigerating or freezing equipment piping.
■The following describes categories of possible risks and damages that may occur when the product is used improperly without
complying with the instruction.
To prevent risks to the user or other people and property damages, the following instructions must be followed.
■
■
Note 
※The product may not achieve its expected functions or performance if the following instructions
    are not observed.
Caution
Warning
Caution
Warning
Improper handling of the product may cause injury to the user.
Improper handling of the product may cause property damages.
●Always wear work gloves, helmets, etc. while at work.
Details of the unit, part names, specifications
Dimensions
󲄂A pipe support is required at each floor/level. Use a flexible piping band (model: HBR) for supporting the piping.
󲄂Apply ultraviolet shielding measures for outdoor use. Or, the insulation material may deteriorate.
■
Detailsoftheunit
Symbols Names Quantity
SUS304
PC
PP
SUS
SUS
―
Material
A
B
ー
Mainbody(PipeSupportTKL)
HexboltM8x23L
InstructionManual
1
3
1
A-1:Fixationbandx1
A-2:Spacersx2
A-3:
Temporarynutfixationplatex1
A-4:HexnutM8x3
TKL-3K
TKL-4K
TKL-5K
TKL-6K
TKL-7K
TKL-8K
TKL-9K
TKL-10K
TKL-11K
TKL-12K
TKL-13K
TKL-14K
Models
φ9.52
φ12.70
φ15.88
φ19.05
φ22.22
φ25.40
φ28.58
φ31.75
φ34.92
φ38.10
φ41.28
φ44.45
Compatible pipe sizes
30
32
34
36
37
39
41
43
44
46
48
49
A B
59
61
63
65
66
68
70
72
73
75
77
78
Unit: mm
A
B
45
86
20230714
【4】 【1】
Mounting procedure
For dew proofing, mount a TKL insulation cover (our company’s model: TKL-SH, TKL-DH)
on the Pipe Support.
■Mounting an insulation cover (for dew proofing)
[Fig. 7] For TKL-B/TKL-K
[Fig. 8]
4
.1
 ※ A gap plug is included in the package of TKL insulation cover (TKL-6SH/6DH〜14SH/14DH).
  (This is not required for TKL-3K〜5K, and it is not included in the package of TKL-3SH/3DH〜5SH/5DH)
For TKL-U
②0〜10mm
①0〜10mm
①②5〜15mm
Insulation cover Insulation cover
Gap plug Gap plug
For TKL-U
Wrap the adhesive tape in
a vertical direction.
➡
●②●②
Insulation
cover joint
Adhesive tape
Instruction
Manual
For air conditioning
piping only
TKL-3K
φ
9.52
With reference to [Fig. 7], cut the end of the insulation cover (dimension (1)).
Insulation cover
Insulation material
Insulation joint
adhesive tape
(JTA)
Insulation
cover joint
Insulation cover Gap plug Insulation cover
Gap plug
.2 Place an insulation joint adhesive tape (our company’ s
model: JTA) around the joint between the insulation cover
and the insulation material of the piping, overlapping it at
least 10 mm on the circumference. [Fig. 8]
.3Place an adhesive tape (our company’ s model: HF, HV, HR) around the joint of the insulation cover
on the base bracket to prevent the joint from opening. [Fig. 9]
Clean and remove all dusts and stains from the surface where the insulation
joint adhesive tape is placed.
(Note)
When placing the insulation joint adhesive tape at the edge of the T-portion of
the insulation cover, use your hand to press the tape wrinkles and push the
tape into the embossed shape (concave and convex shapes) so that the tape
adheres tightly to the material.
(Note)
[Fig. 9]
For TKL-B/TKL-K
See the following website for more information;
(up-to-date & technical information, etc.)
https://www.inaba-denko.com/en/
INABA DENKO COMPANY
Place the adhesive tape at the top of
the joint, covering more than half of
its circumference.
Place the adhesive tape around
in a horizontal direction.
Pipe Support TKL (without brazing)
Compatible copper tube size
For customers
●Be sure to read this instruction manual carefully and then install
the product properly.
●Be sure to hand this instruction manual to the customer.
●This instruction manual is valid only in Japan.
For installation contractors
●If there is a possibility of damage to the elbow at the uptake or downtake part of vertical piping, use an
expansion elbow (expansion loop, expansion offset, etc.) to absorb thermal expansion and contraction of
the copper tube.
●Make sure that the fixation band size matches the copper tube size before use.
●Fixation bands cannot be reused as they are deformed when opened after they are closed once.
●Do not use strap bolts as these are not strong enough.
●Always use a dedicated TKL base bracket for installation.
A-1
A-3
A-4
A-2
Fixation
band
【2】 【3】
Mounting procedure
(Note)Use commercially available M10 bolts, nuts and washers. (Use a washer also for protecting the paint)
(Note)The mounting frame, on which the base bracket is mounted (model: TKL-B, TKL-U), must be designed carefully for the weight
     of the vertical piping.
(Note)For mounting a wall-mounting base bracket (model: TLK-K), the wall must have sufficient strength.
Determining the mounting position of the Pipe Support at the center of the vertical piping length.
■Determining the mounting position
Mount a specific TKL base bracket (our company’s model: TKL-B, TKL-K, TKL-U) on the mounting
frame or the wall.
■Mounting the base bracket
1. Check before mounting
■Mounting the main body (Pipe Support TKL)
Specifications
▶▶ ▶ QR
1
2
3
Examples of
mounting work
2. Temporary fixation of the fixation band
1
2
3
3. Tightening the bolts
Mounting from the left side Mounting from the right side
Tool
➡
For TKL-U (top mounting)
TKL-U
Onepointadvice
○×
Make sure that the copper tube is not pinched by the
corners of the fixation band.
Mounting frame
Washer (commercial product)
Washer
(commercial product)
TKL-U
TKL-B
➡ ➡
Hex bolt
Make sure the upper and lower tabs are
over the other side.
①
●②
●②
Upper tab of
the temporary
nut fixation
plate
Lower tab on
the temporary
nut fixation plate
Warning
If there is a possibility of damage to the elbow at the uptake or downtake part of vertical piping, use an expansion
elbow (expansion loop, expansion offset, etc.) to absorb thermal expansion and contraction of the copper tube.
Warning
Always use a specific TKL base bracket for installation.
Do not use strap bolts as these are not strong enough.
Warning
Fixation bands cannot be reused as they are deformed and not capable of supporting the piping when
opened after they are closed once.
Make sure that the fixation band size matches the copper tube size before use.
[Fig. 1]
[Fig. 2]
[Fig. 3]
Base bracket
M10 bolt
(commercial product)
Nut
(commercial product)
Nut
(commercial product)
Base bracket
M10 bolt
(commercial product)
Mounting frame
For selecting a specific TKL base bracket (our company’s models: TKL-B, TKL-K,
TKL-U), see "Distance L (mm) between the center of copper tube and the mounting
frame (wall)" described in the Specifications (separate document).
※
Make sure that the hole of the
fixation band and the hole of the
base bracket are aligned before
starting to work. [Fig. 2]
(1)
If other pipes are located closely,
consider the tool size and determine
the work sequence.
(Tools may interfere with each other
depending on the sequence)
[Fig. 3]
(2)
Place one side of the fixation
band on the copper tube and
the base bracket, and check if
the holes are aligned correctly.
Base bracket
Interference
Press the side of the fixation band, which has a cutout, against the copper tube and close
the fixation band. When closing the band, make sure that the tabs located at the top and
bottom of the spacer go over the opposite spacer to secure them temporarily. [Fig. 4]
Tighten the hex bolts, included in the
package, starting from the center position
①. [Tightening torque: 12.5 N-m or more]
Tighten the upper and lower hex bolts ②alternately little by little until the upper and lower
tabs on the temporary nut fixation plate go over the other side. (When the tabs go over the
other side, tightening is completed) [Fig. 6]
[Fig. 4]
[Fig. 6]
Fixation band
with a cutout
Spacer
top tab Spacer
bottom tab
Bottom
tab position
Put the bottom tab through the
elongated hole at the center.
(Note)When closing this, be careful not to pinch the coppe
    tube with the corners of the fixation band.
   (In particular, be careful when using a small-diameter
copper tube) [Fig. 5]
[Fig. 5]
For tightening the bolt and nut, if you turn the bolt, tightening can be completed at
a lower torque than turning the nut.

This manual suits for next models

11

Other INABA DENKO Air Conditioner Accessories manuals

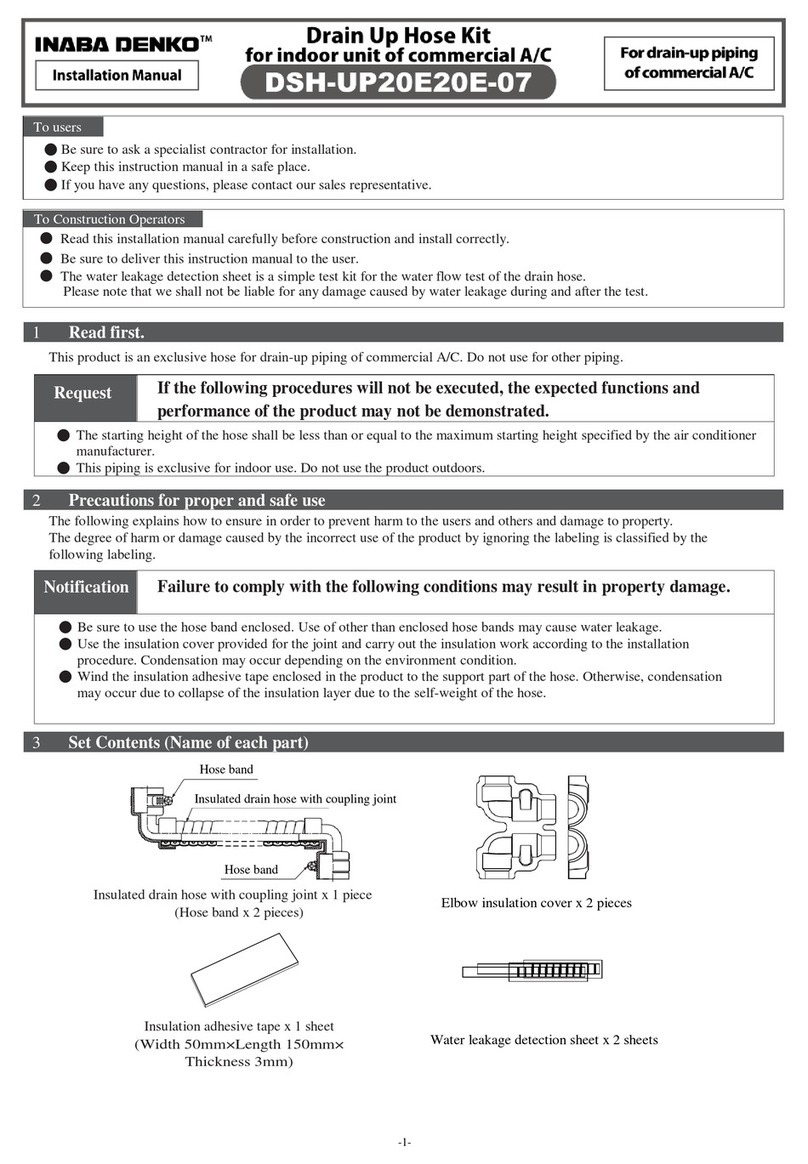
INABA DENKO DSH-UP20E20E-07 User manual

INABA DENKO

INABA DENKO DSH-UP20E20E-07 User manual

INABA DENKO TK Series User manual

INABA DENKO

INABA DENKO TK Series User manual

Popular Air Conditioner Accessories manuals by other brands

Mitsubishi Electric PAC-SNH11HS-E installation manual

Mitsubishi Electric

Mitsubishi Electric PAC-SNH11HS-E installation manual

Unitary products group 2CE Series installation instructions

Unitary products group

Unitary products group 2CE Series installation instructions

Qlima EU-ODZ104 user manual

Qlima

Qlima EU-ODZ104 user manual

Tecnosystemi smart clima SCD500163 user manual

Tecnosystemi

Tecnosystemi smart clima SCD500163 user manual

Waeco AirCon Service Center ASC 5300 G operating manual

Waeco

Waeco AirCon Service Center ASC 5300 G operating manual

American Standard BAYSQRD001AA Installer's guide

American Standard

American Standard BAYSQRD001AA Installer's guide

Bimar AP11 Instruction booklet

Bimar

Bimar AP11 Instruction booklet

Mitsubishi PAC-SJ41TM-E installation manual

Mitsubishi

Mitsubishi PAC-SJ41TM-E installation manual

Tecnosystemi Smart Clima SCD500084 user manual

Tecnosystemi

Tecnosystemi Smart Clima SCD500084 user manual

Samsung MIM-H04U User & installation manual

Samsung

Samsung MIM-H04U User & installation manual

Waeco AirConServiceCenter ASC 3500 G LE operating manual

Waeco

Waeco AirConServiceCenter ASC 3500 G LE operating manual

Fujitsu UTZ-KXGC installation manual

Fujitsu

Fujitsu UTZ-KXGC installation manual

Hitachi E-52XN installation manual

Hitachi

Hitachi E-52XN installation manual

ActronAir LR7-1W Operation manual

ActronAir

ActronAir LR7-1W Operation manual

EMI 550000565 installation instructions

EMI

EMI 550000565 installation instructions

Tecnosystemi ARIA 2 ELEGANCE CR user manual

Tecnosystemi

Tecnosystemi ARIA 2 ELEGANCE CR user manual

GE RAB71B Standard installation instructions

GE

GE RAB71B Standard installation instructions

RRS Jade XRD-01RDHAM3 Series Installation instruction

RRS

RRS Jade XRD-01RDHAM3 Series Installation instruction

manuals.online logo
manuals.online logoBrands
  • About & Mission
  • Contact us
  • Privacy Policy
  • Terms and Conditions

Copyright 2025 Manuals.Online. All Rights Reserved.