manuals.online logo
Brands
  1. Home
  2. •
  3. Brands
  4. •
  5. Inax
  6. •
  7. Toilet
  8. •
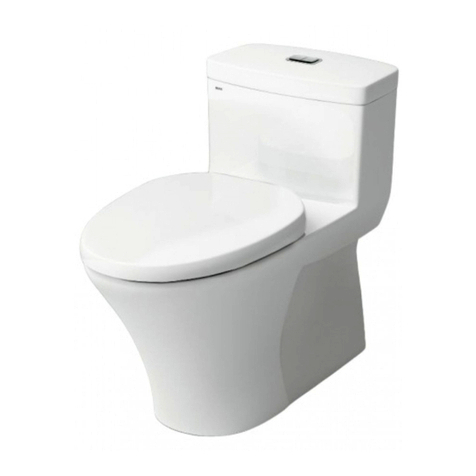
  9. Inax AC-1008VRN User manual

Inax AC-1008VRN User manual

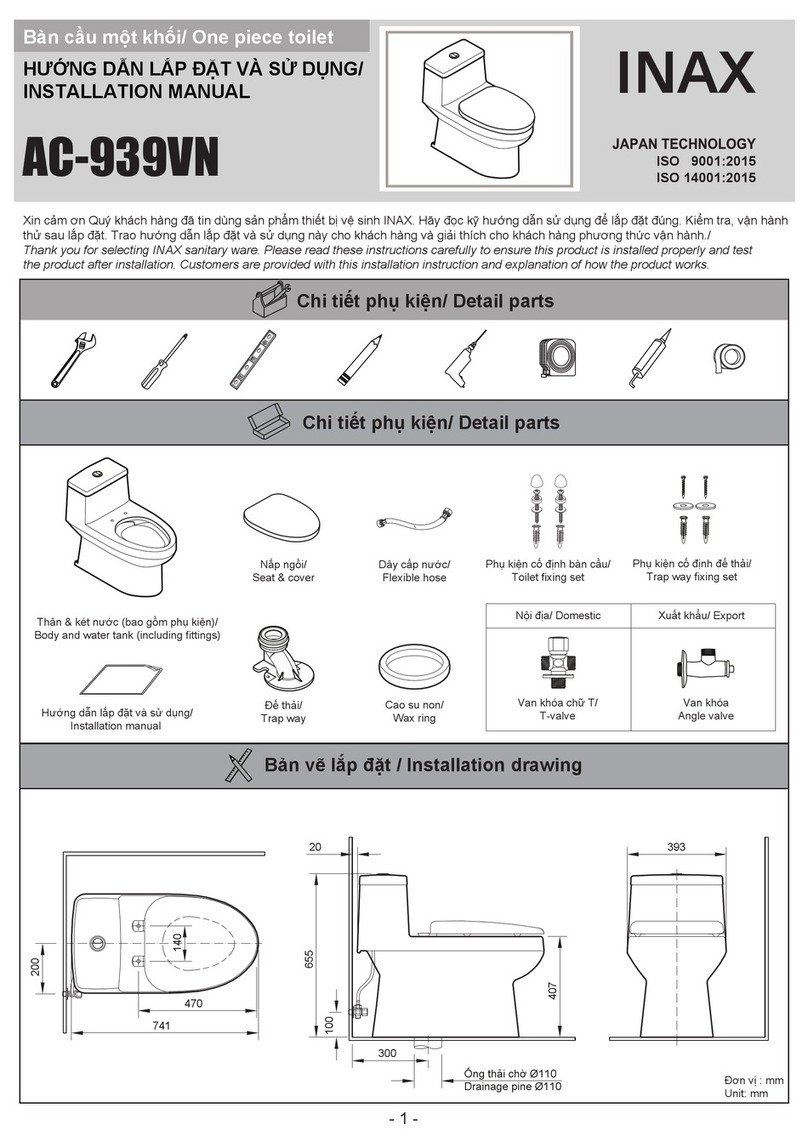
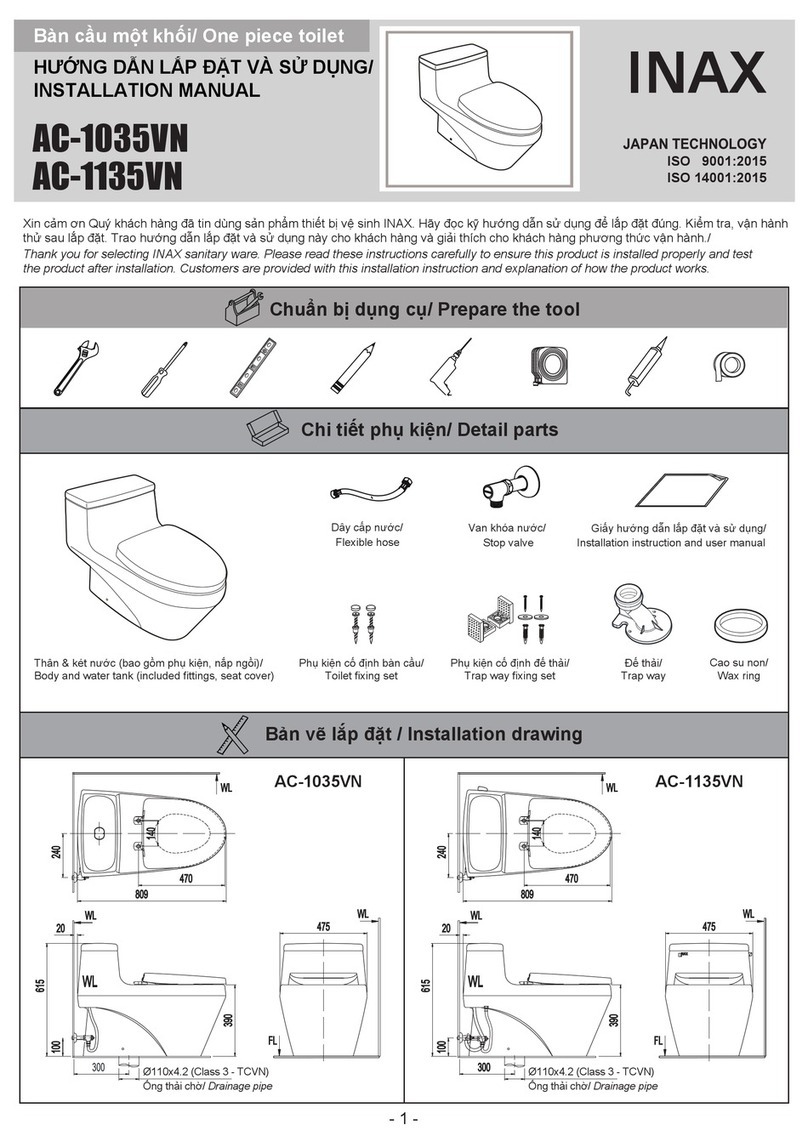
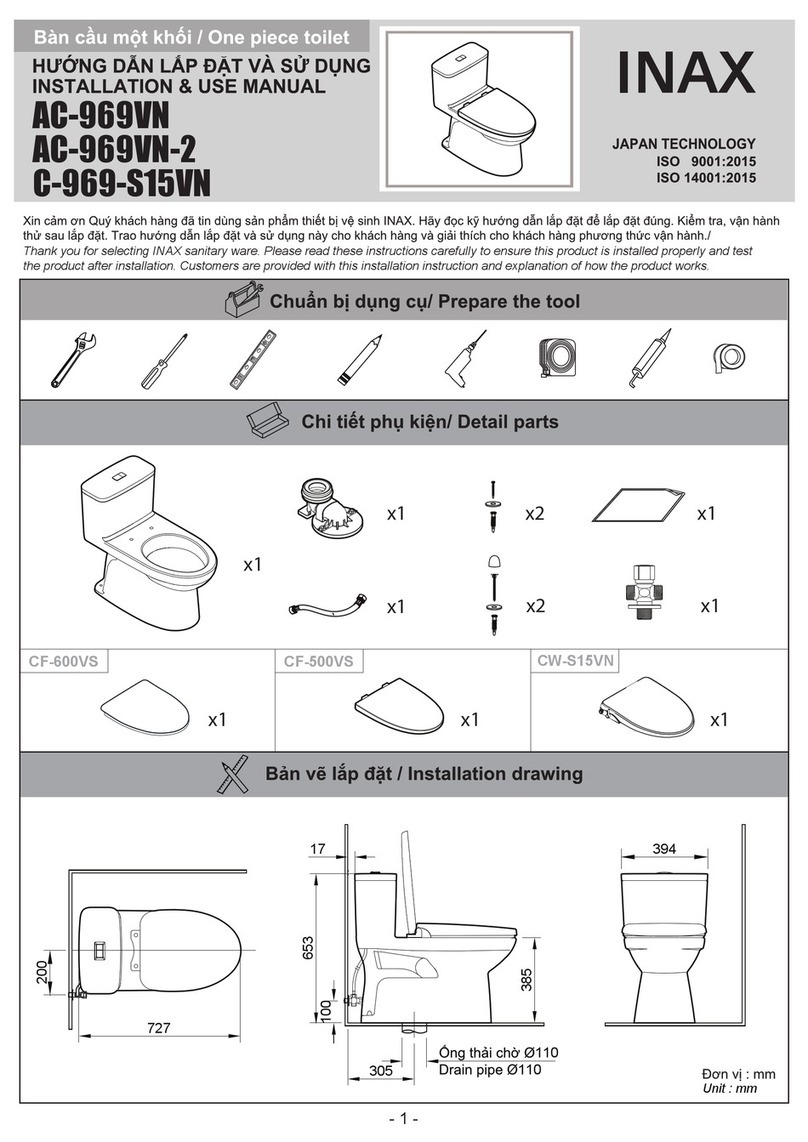
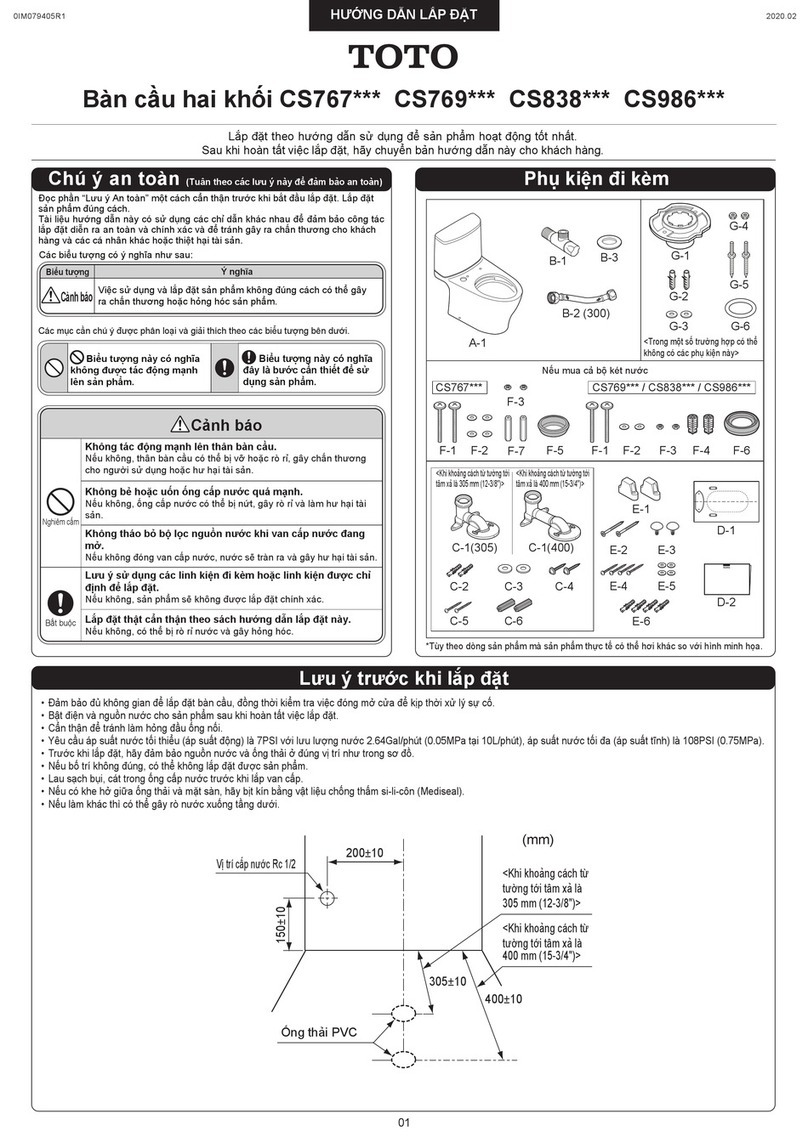
Chi tiết phụ kiện/ Detail parts
- 1 -
Xin cảm ơn Quý khách hàng đã tin dùng sản phẩm thiết bị vệ sinh INAX. Hãy đọc kỹ hướng dẫn sử dụng để lắp đặt đúng. Kiểm tra, vận hành
thử sau lắp đặt. Trao hướng dẫn lắp đặt và sử dụng này cho khách hàng và giải thích cho khách hàng phương thức vận hành./
Thank you for selecting INAX sanitary ware. Please read these instructions carefully to ensure this product is installed properly and test
the product after installation. Customers are provided with this installation instruction and explanation of how the product works.
AC-1008VRN
AC-1017VRN
Giấy hướng dẫn lắp đặt và sử dụng/
Installation instruction and user manual
Bản vẽ lắp đặt / Installation drawing
Chuẩn bị dụng cụ/ Prepare the tool
Dây cấp nước/
Flexible hose
AC-1008VRN
20
588
400
380
100
300
Ø110x4.2 (Class 3 - TCVN)
Ống thải chờ/ Drainage pipe
200
140
470
805
AC-1017VRN
20
588
400
380
200
140
470
805
100
300
Ø110x4.2 (Class 3 - TCVN)
Ống thải chờ/ Drainage pipe
Van khóa nước/
Stop valve
Phụ kiện cố định bàn cầu/
Toilet fixing set
Đế thải/
Trap way
Cao su non/
Wax ring
Phụ kiện cố định đế thải/
Trap way fixing set
Thân & két nước (bao gồm phụ kiện, nắp ngồi)/
Body and water tank (included fittings, seat cover)
ISO 9001:2015
ISO 14001:2015
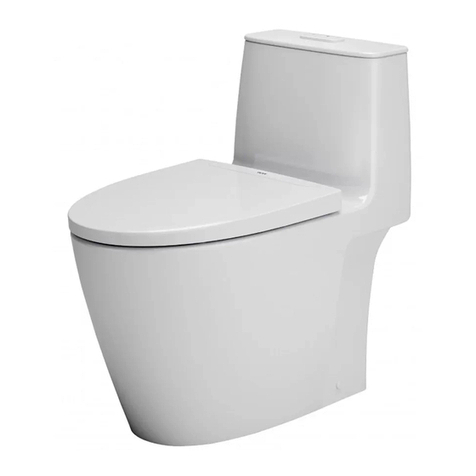
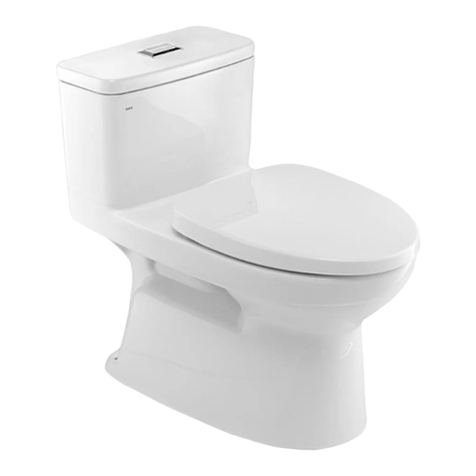
Bàn cầu một khối/ One piece toilet
HƯỚNG DẪN LẮP ĐẶT VÀ SỬ DỤNG/
INSTALLATION MANUAL
- 2 -
Hướng dẫn lắp đặt / Installation manual
1
2Sàn đã hoàn thiện
Finished floor
Ø110
Cao su non
Wax ring
Ống thải chờ
Drainage pipe
34
KHOAN LỖ BẮT ĐẾ THẢI VÀ ĐÓNG NỞ NHỰA
DRILL TRAP WAY HOLES AND FIX PLASTIC PILL
LẮP ĐẶT CAO SU NON
INSTALL THE WAX RING
56
LẮP ĐẾ THẢI VÀO ỐNG THẢI CHỜ
INSTALL S-TRAP ON DRAIN PIPE
LẮP ĐẶT BÀN CẦU VÀO ĐẾ THẢI/
INSTALL TOILET ON TRAP WAY
7
LẮP VÍT CỐ ĐỊNH VÀ BÔI SILICONE HOẶC XI MĂNG TRẮNG
TIGHTEN SCREWS AND APPLY WHITE CEMENT OR SILICONE
1. Nhấc đế thải ra ngoài, dùng mũi khoan Ø8 khoan 2 lỗ xuống sàn vị trí đánh dấu.
Move the trap way out, use drill Ø 8 to drill 2 holes as marked.
2. Đóng nở nhựa./ Fix the plastic pin.
Vít
Screw
Nắp trang trí/
Cap of fixing screw
Vòng đệm/
O-ring
1CHUẨN BỊ ỐNG CHỜ CẤP NƯỚC VÀ ỐNG THẢI
PREPARE WATER SUPPLEMENT PIPE AND DRAINAGE PIPE
- Đầu ống cấp nước chờ trên tường, ren trong (R1/2” - Ren 21)
Supply pipe (R1/2” - Ren 21)
- Đầu chờ ống thoát xí u.PVC Ø110 nhô lên mặt sàn 5 - 7 mm
WC drain pipe u.PVC
Ø110,
higher than finished floor from
5
÷ 7 mm
Tường
300
200
100
2VẼ BIÊN DẠNG ĐẾ THẢI VÀ XÁC ĐỊNH VỊ TRÍ KHOAN
MARK TRAP WAY OUTLINE AND DRILLING POSITION
- Đặt đế thải vào vị trí ống thải chờ, vẽ biên dạng và xác định vị trí khoan/
Put the trap way in the drainpipe position, draw the outline and drill positions.
9
KẾT NỐI DÂY CẤP NƯỚC
CONECTING THE FLEXIBLE HOSE
Chú ý:
- Lực siết đai ốc dây cấp nước phải nhỏ
hơn 25 N để tránh bị vỡ đai ốc
Note:
Tightening torque should be less than
25N to avoid breaking the nuts.
8LẮP ĐẶT VAN KHÓA CHỮ T
INSTALL THE T-VALVE
Hướng dẫn sản phẩm gia công Aquaceramic /
Instruction when using Aquaceramic Processed products
- 3 -
HƯỚNG DẪN XỬ LÝ SỰ CỐ/ TROUBLE SHOOTING GUIDE
Nguyên nhân xảy ra sự cốSự cố
Xả không
đạt
Nước không
ngừng chảy
Rò rỉ ống
cấp nước
Khắc phục
Sử dụng hướng dẫn này tham khảo các hướng dẫn kèm theo sẽ giúp bạn khắc phục được các vấn đề phổ biến hay gặp phải.
a. Lượng nước trong két dưới mức định sẵn.
b. Cơ chế hoạt động van xả trong két không mở hoặc đóng quá nhanh.
c. Cần thay thế cần gạt hoặc nút xả.
d. Áp lực nước quá thấp.
e. Ống dẫn xả hoặc ống thoát nước bị
tắc cục bộ.
f. Chất làm sạch trong két bị lắng đọng.
g. Không có ống thoát hơi.
a. Mực nước trong két cao hơn ống chảy.
b. Khóa nước cấp vào nếu nước vẫn chảy vào ,lòng bầu có thể do đệm
bít cao su hoặc/và đệm van bị mòn hoặc biến dạng.
c. Khóa van cấp nước, nếu nước vẫn chảy vào lòng bầu tới khi mực
nước rơi vào dưới mức của ống chảy, có thể ro vụn rác hoặc cát nằm
trong hệ thống kiểm soát nước.
d. Dây van xả quá chặt, làm cho van xả bị giữ mở.
e. Nút cần thay thế.
a. Lắp đặt không đúng.
b. Áp lực nước quá lớn.
a. Thiết định đúng mực nước.
b. Kiểm tra không được có vật liệu dính vào bộ phận thoát xả.
c. Thay thế.
d. Áp lực cấp nước thường ít nhất phải là 20 psi.
e. Sử dụng cây hoặc dây thông bồn cầu để thông tắc.
f. Làm sạch két và ngưng sử dụng chất làm sạch.
g. Lắp ống thoát hơi theo hướng dẫn.
a. Chỉnh xi lanh để giữ đúng mực nước.
b. Thay thế đệm, đệm bít cao su hoặc hoàn thành các lắp ráp cần thiết.
c. Khóa van cấp nước. Nhấc nắp kiểm soát lượng nước ra để làm sạch và lắp
ráp lại hoặc thay thế piston.
d. Thay thế bộ van xả.
e. Thay thế nút.
a. Lắp đặt đúng theo hướng dẫn.
b. Áp lực nước không vượt quá 80 psi.
Please use neutral detergents or normal-use detergents for families which is acidic or alkaline. But in order to remain long-lasting effect
of AQUACERAMIC, please DO NOT use the following detergents for ceramic because it will scratch the surface, glaze will be decayed.
- Detergent with polishing powder.
- Strong alkaline detergent with pH≥11.
- Rubbing brushes with abrasion.
DO NOT use strong acidic detergents (pH≤2.) because it may damage to the parts .
Lưu ý: Không để chất tẩy rửa bắn lên các khu vực, đặc biệt là các bộ phận kim loại như bộ cố định nắp bàn cầu, nút nhấn, tay gạt,
van khóa nước, dây cấp nước,…vì có thể gây rỉ hoặc hư hỏng.
- Chất tẩy rửa có tính kiềm mạnh với pH≥11.
- Chất tẩy rửa có bột mài.
- Chổi cọ rửa có gắn vật liệu có tính mài mòn.
KHÔNG sử dụng chất tẩy rửa có tính axit mạnh (pH≤2) vì có thể làm hỏng các phụ kiện đi kèm.
Sử dụng chất tẩy rửa trung tính (xà phòng, nước rửa tay, nước rửa bát,...) hoặc chất tẩy rửa có tính axit hoặc kiềm để làm sạch và bảo
dưỡng sản phẩm này.. Tuy nhiên, để phát huy được hiệu quả lâu dài của AQUACERAMIC, xin vui lòng KHÔNG sử dụng các chất tẩy
rửa sau đây cho sản phẩm sứ vì nó sẽ làm xước bề mặt, làm hư hại bề mặt men.
Note: Do not let the detergent splash over areas, especially metal parts such as fixed set for S&C/toilet, stop valve, flexible hose hand
lever, button, etc… because it may cause of rust or damage.
Detergents Industry
Possible CauseProblem
Poor flushing
action
Water won’t
stop running
Water supply
hose leaks
To Correct
Using this guide and referring to the accompanying instructions should help you solve most common problems encountered.
a. Water level in tank is below prescribe level.
b. Flush valve mechanism in tank closes too quickly or does not open.
c. Flush handle or button needs replacing.
d. Water pressure is too low.
e. Partially clogged trap way
and / or drainpipe.
f. Cleanser used in tank deposits residue.
g. No air vent.
a. Water level in tank is higher than overflow pipe.
b. Turn off the water supply if water continues to flow into the bowl until
the flush valve seat and / or rubber seal disk are worn or deformed.
c. Turn off the water supply valve if water continues to flow into the bowl
until the water level falls to the level of the overflow pipe, sand or debris
may be clogged in the water control mechanism.
d. Flush valve string is too tight, holding the flush valve open.
e. Button needs replacing
a. Improper installation.
b. Water pressure is too high.
a. Set to prescribed level.
b. Make sure there are no any material stuck to outlet components.
c. Replace.
d. Nomal water supply pressure must at least 20 psi.
e. Use a plunger or toilet augur to unclog.
f. Clean out tank and cease using the cleaser.
g. Install air vent per instructions.
a. Adjust the cylinder to maintain the water at the prescribed level.
b. Replace seat, rubber seal disk, or complete assembly, as needed.
c. Shut off water supply valve. Remove top cap of water control. Clean and
reassemble, or replace plunger.
d. Replace fulsh valve unit.
e. Replace button.
a. Reinstall, according to instructions.
b. Water pressure must not exceed 80 psi.
Polishing
Powder
Strong
alkaline
Strong
Acidic
Chất tẩy rửa gia đình
AlkalineAcidic
Neutral
Chất tẩy trung tính,
dụng cụ cọ rửa mềm.
Neutral detergents,
Soft brushes
Chất tẩy rửa
có bột mài, có tính axit mạnh,
brushes with abrasion
có tính kiềm mạnh,
chổi cọ rửa
có tính mài mòn.
Detergent with
polishing powder,
strong alkaline
& acidic,
Detergents for famillies
Chất tẩy rửa công nghiệp
- 4 -
- Hãy đọc kĩ hướng dẫn trước khi lắp đặt.
- Các chú ý được trình bày dưới đây tùy trường hợp mà có thể gây ra sự cố nghiêm trọng.
Các vấn đề nêu ra đều có nội dung liên quan đến an toàn nên nhất thiết phải tuân thủ.
- Sau khi hoàn tất việc lắp đặt, xác nhận xem thiết bị có hoạt động bình thường không.
Yêu cầu quý khách hàng lưu giữ bản hướng dẫn lắp đặt và sử dụng để tham khảo
trong suốt quá trình sử dụng.
CẢNH BÁO AN TOÀN
CONDITION OF USE
1. Minimum pressure: 0.07 Mpa or above (Flowing)
2. Maximum pressure: 0.75 Mpa or below (static).
Note: If the water pressure is under minimum requirement, the water flow is not
strong enough, which will affect the flushing function.
- Read the instructions carefully before beginning.
- Cautions and notes below if not complied may lead to serious damange.
Therefore, please follow strictly.
- After finishing installation, check out whether the facility operates properly or not.
- If possible, customer should to keep this instruction as reference in the future.
* Before installation, please check the product
again for cracks or breaks during delivery
* Be sure to test operation and check for any
breaks, cracks after installation has been
completed.
* Any cracks may cause injury, damage,
leakage or dirty the floor.
- Do not overtighten bolts.
Porcelain is subject to cracking, which may
cause injury to installing person or users.
ATTENTION
SAFETY PRECAUTIONS
* Trước khi lắp đặt phải kiểm tra xem có bị vỡ,
nứt trong quá trình vận chuyển không?
* Sau khi lắp đặt xác nhận lại xem có bị nứt, vỡ
do lắp đặt không?
* Chỗ nứt vỡ có thể gây thương tật, rò nước,
hỏng hóc, bẩn sàn nhà.
Không siết quá chặt các ren vặn.
*Sứ là đồ dễ vỡ, nứt sẽ gây nguy hiểm cho
người lắp đặt hoặc sử dụng.
ĐIỀU KIỆN SỬ DỤNG
1.Áp suất tối thiểu: Trên 0,07 Mpa (áp suất động).
2.Áp suất tối đa: Nhỏ hơn 0,75 Mpa (áp suất tĩnh).
Chú ý: Nếu thấp hơn áp suất nước tối thiểu, dòng nước sẽ không đủ mạnh để rửa
sạch hết lòng bầu.
LIXIL VIET NAM CORPORATION
Address: Yen Binh, Duong Xa, Gia Lam,
Ha Noi, Viet Nam
Website: www.inax.com.vn
CÔNG TY TNHH LIXIL VIET NAM
Địa chỉ: Yên Bình, Dương Xá, Gia Lâm,
Hà Nội, Việt Nam
Dịch vụ khách hàng: 1800 6633 (miễn phí)
Website: www.inax.com.vn
Tầng 2 số 97, Nguyễn Văn Trỗi, Quận Phú Nhuận, TP.HCM,
Việt Nam / 2nd Floor, 97 Nguyen Van Troi street, Phu Nhuan
district, Ho Chi Minh city, Vietnam.
Tel: +84-83847-8005, Fax : +84-8-3847-8001
Tầng 2 số 189, Điện Biên Phủ, Quận Thanh Khuê, Tp Đà
Nẵng, Việt Nam / 2nd Floor, 189 Dien Bien Phu Street, Thanh
Khue District, Da Nang city, Vietnam.
Tel: +84-511-2249-049, Fax : +84-511-3649-828
Tầng 3, số 46 Bích Câu, Phường Quốc Tử Giám, Quận
Đống Đa, Hà Nội / 3rd Floor, 46 Bich Cau, Quoc Tu Giam
Ward, Dong Da District, Ha Noi, Viet Nam
Tel: (84)24 3556 6639/40, Fax: (84)24 3556 6031
Ho Chi Minh office :
Da Nang Office :
Ha Noi Office :
THỜI GIAN BẢO HÀNH
( Ngoại trừ sản phẩm bị gián đoạn)
SẢN PHẨM : Bàn cầu / Thời gian : 10 năm
SẢN PHẨM : Bộ xả / Thời gian : 2 năm
SẢN PHẨM : Nắp bàn cầu / Thời gian : 2 năm
LIXIL VIETNAM CORPORATION
Nếu kiểm tra sản phẩm này, trong thời gian bảo hành sau khi mua, công ty xác nhận rằng theo điều kiện sử dụng
bình thường của vật liệu hay do lắp đặt. Chúng tôi sẽ sửa chữa, hoặc thay thế sản phẩm khác cùng loại.
Thời gian bảo hành: 10 năm đối với phần sứ và 2 năm đối với phụ kiện sản phẩm.
Công ty không chịu trách nhiệm bảo hành đối với trường hợp sau:
1.Không chứng minh được sản phẩm còn trong thời gian bảo hành như là hoá đơn, thẻ bảo hành, ….
2.Sản phẩm bị hư do bất cẩn hoặc bị phá huỷ do tai nạn
3.Những hư hỏng hoặc phá huỷ gây ra do vận chuyển, lắp đặt, biến dạng, tai nạn ,sai sót, hoặc thiếu sự bảo trì định kì
4.Cước phí hoặc phí vận chuyển phát sinh với những sản phẩm trả về để sữa chữa hoặc thay thế ngoài những
quy định bảo hành trên.
5.Sản phẩm không còn nguyên vẹn.
e
CARE AND MAINTERNANCE
Do not use haesh abrasives or caustic clean fixture surface. A mild detergent, warm
water, and a soft cloth will remove normal dirt and soap accumulations from fitting and
surfaces.Rinse thoroughly after cleaning and polish with a soft dry cloth to restor
original luster of material
Notice:
Do not use cleaners in tanks. Products containing chlorine (calcium hypochlorite)
can seriously damage fitting in the tank. This damage can cause leakage and
poperty damage.
LIXIL ( VIETNAM) Public Company Limited
shall not be responsible or liable
for any tank fitting damage caused by the use of cleaners containing chlorine
(calcium hypochlorite)
Không dùng vật chà rửa mạnh bộ xả và mặt men.Những hóa chất có chứa thành phần
Clo (Calcium hypochlorite-CaCl2). bên trong có thể phá hủy nghiêm trọng bộ xả trong
thùng nước. Sự phá hủy này có thể làm rò rỉ nước và làm mất đặc tính của sản phẩm.
Công ty sẽ không chịu trách nhiệm bảo hành đối với việc sử dụng hóa chất có
chứa thành phần Clo ( Calcium hypochlorite-CaCl2).
VỆ SINH VÀ BẢO DƯỠNG
Không dùng dụng cụ vệ sinh sần sùi hoặc hóa chất chà,vệ sinh bề mặt sứ. Dùng chất
tẩy nhẹ, nước ấm, và một miếng vải mềm để lau sạch bề mặt men và bộ xả. Dùng
nước sạch sau khi vệ sinh xong và dùng vải mềm lau chùi sạch sẽ để bào vệ tính
chất ban đầu của vật liệu
Chú ý:
1. None any documentary evidences to show the period of warranty such as receipt, warranty card.
2. Consequential or incidental damages.
3. Defects or damages arising from shipping, installation, alternation, accidents, misuse or lack of
proper maintenance.
4. Postage or shipping costs incurred in returning products for repair or replacement under this
warranty and any labor or other costs of removal or installation of products under this warranty.
5. Discontinuous products.
The warranty does not cover the following:
If inspection of this product, within time warranty after purchasing, confirms that it's defective under
normal use in material or workmanship. We will repair or, at its options exchange the product of a
similar model.

This manual suits for next models

1

Other Inax Toilet manuals

Inax RS Series Guide

Inax

Inax RS Series Guide

Inax SpaLet Series Instruction Manual

Inax

Inax SpaLet Series Instruction Manual

Inax DV300G User manual

Inax

Inax DV300G User manual

Inax ACT-602VN User manual

Inax

Inax ACT-602VN User manual

Inax AC-1035VN User manual

Inax

Inax AC-1035VN User manual

Inax AC-602VN User manual

Inax

Inax AC-602VN User manual

Inax AC-22PVN User manual

Inax

Inax AC-22PVN User manual

Inax AC-902VN User manual

Inax

Inax AC-902VN User manual

Inax Shower Toilet User manual

Inax

Inax Shower Toilet User manual

Inax CW-RS3-WJ User manual

Inax

Inax CW-RS3-WJ User manual

Inax AC-900VRN Instructions for use

Inax

Inax AC-900VRN Instructions for use

Inax ACT-902VN User manual

Inax

Inax ACT-902VN User manual

Inax AC-1052VN Instructions for use

Inax

Inax AC-1052VN Instructions for use

Inax SATIS Series User manual

Inax

Inax SATIS Series User manual

Inax AC-969VN User manual

Inax

Inax AC-969VN User manual

Inax Regio DV-R115-VL-US User manual

Inax

Inax Regio DV-R115-VL-US User manual

Inax U Series Operating instructions

Inax

Inax U Series Operating instructions

Inax AC-969VN-2 Instructions for use

Inax

Inax AC-969VN-2 Instructions for use

Inax AC-939VN User manual

Inax

Inax AC-939VN User manual

Inax AC-959VAN User manual

Inax

Inax AC-959VAN User manual

Popular Toilet manuals by other brands

noken URBAN C quick start guide

noken

noken URBAN C quick start guide

Toto MH Series installation guide

Toto

Toto MH Series installation guide

Porcelanosa N3301512843 manual

Porcelanosa

Porcelanosa N3301512843 manual

Sanela SLWN 14 Mounting instructions

Sanela

Sanela SLWN 14 Mounting instructions

OVE TUVA installation manual

OVE

OVE TUVA installation manual

Homtone DS-0987 user manual

Homtone

Homtone DS-0987 user manual

Kohler K-3323 installation guide

Kohler

Kohler K-3323 installation guide

JABSCO 37245-3092 manual

JABSCO

JABSCO 37245-3092 manual

Craft+Main TL-7249CE-WL Installation and user guide

Craft+Main

Craft+Main TL-7249CE-WL Installation and user guide

Timago KING-15-20 user manual

Timago

Timago KING-15-20 user manual

noken ESSENCE C 100168170 N365850109 quick start guide

noken

noken ESSENCE C 100168170 N365850109 quick start guide

Toto CST748 instruction manual

Toto

Toto CST748 instruction manual

Kallista Persephone installation instructions

Kallista

Kallista Persephone installation instructions

brondell SE400 owner's manual

brondell

brondell SE400 owner's manual

Siamp VERSO BCM 800 Assembly and maintenance manual

Siamp

Siamp VERSO BCM 800 Assembly and maintenance manual

American Standard Portsmouth Champion PRO 213AA Series INSTALLATION INSTRUCTIONS CARE AND MAINTENANCE

American Standard

American Standard Portsmouth Champion PRO 213AA Series INSTALLATION INSTRUCTIONS CARE AND MAINTENANCE

Franke HDTX0020 Installation and operating instructions

Franke

Franke HDTX0020 Installation and operating instructions

Victorian Plumbing ME90103 Installation and Utilization Instructions

Victorian Plumbing

Victorian Plumbing ME90103 Installation and Utilization Instructions

manuals.online logo
manuals.online logoBrands
  • About & Mission
  • Contact us
  • Privacy Policy
  • Terms and Conditions

Copyright 2025 Manuals.Online. All Rights Reserved.