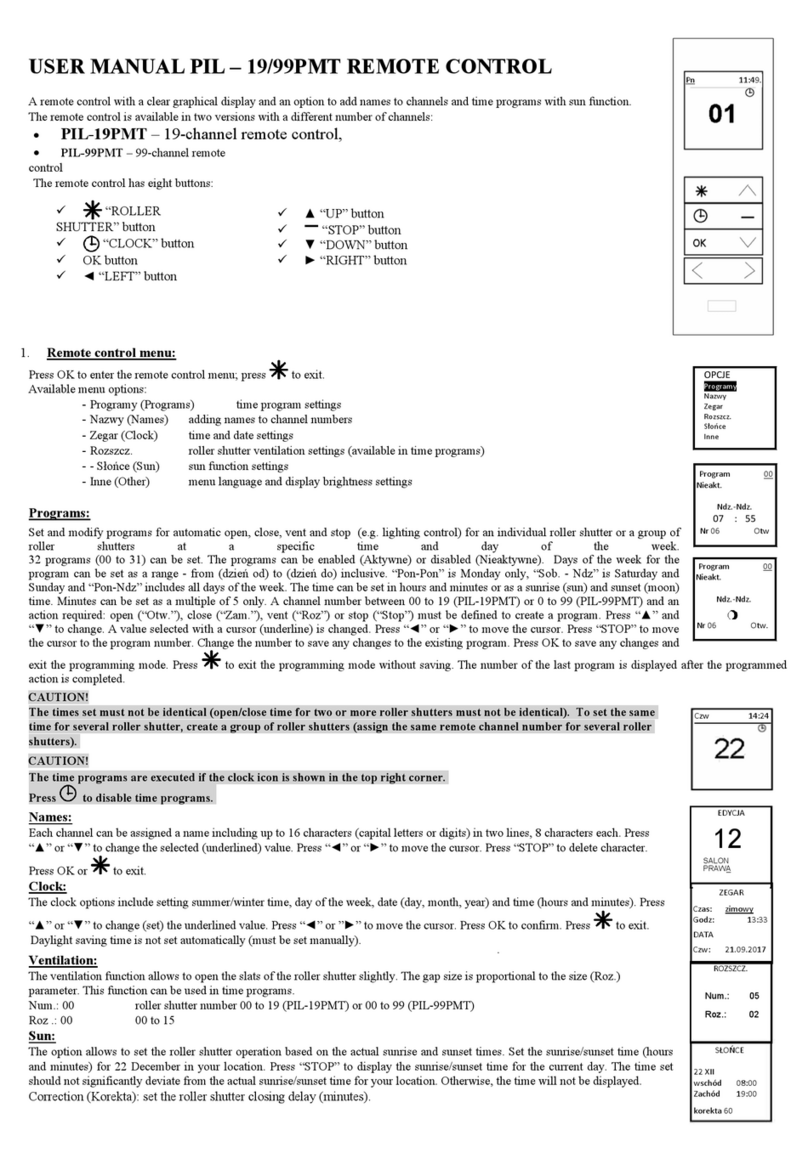
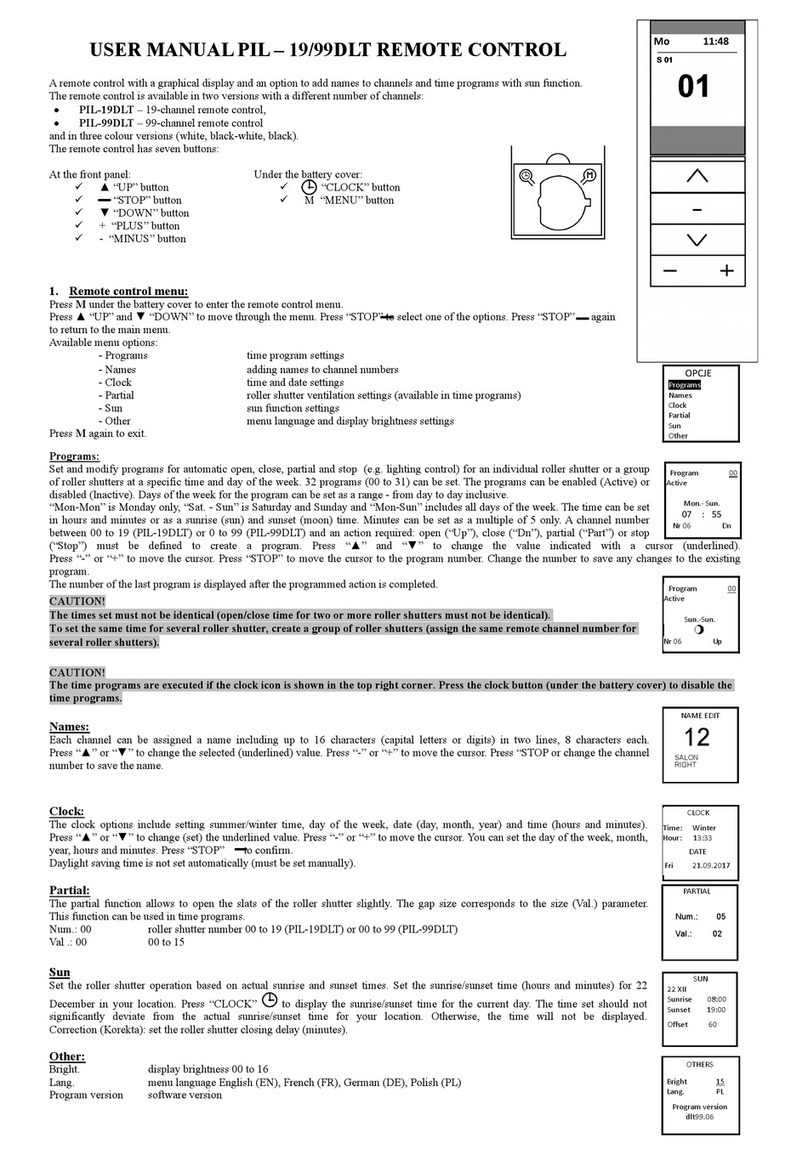
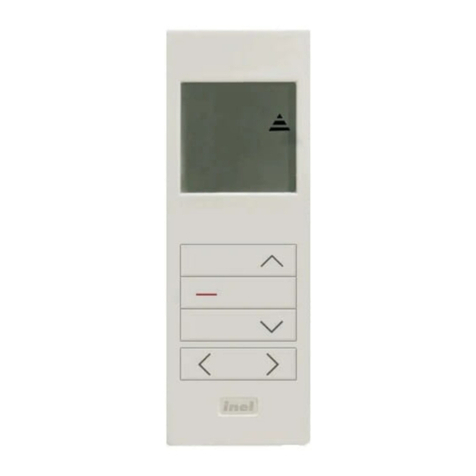
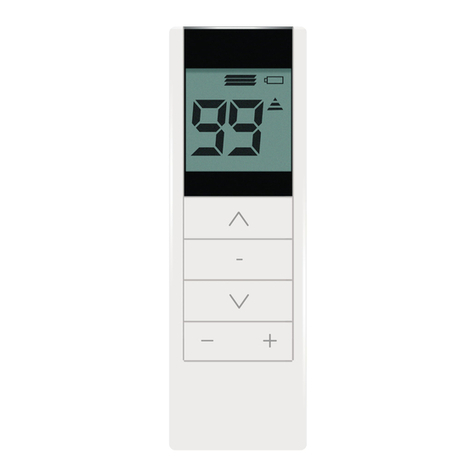
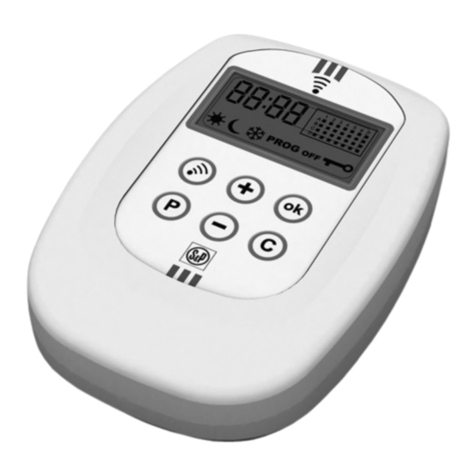
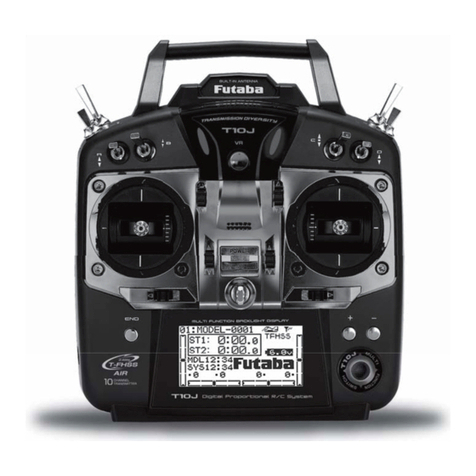
Inel PIL–19DLT User manual

OPERATING INSTRUCTIONS - PIL–19DLT/PIL-99DLT multi-channel remote control
1
|
P. I. E. INEL Sp. z o. o., ul. Mostowa 1, 80-778 Gdańsk,
inel@inel.gda.pl
www.inel.gda
.pl
"up" button
"stop" button
"down" button
"plus" button
"minus" button
"clock" button
"menu" button
1. STARTING ROLLER BLINDS
To start the given drive, press the "up" button (to open)
or the "down" button (to close). You can stop the drive
by pressing the "stop" button at any time. After
approximately 15 seconds of inactivity (no button pressed)
the remote will switch into "standby" mode (low battery
power consumption). The remote is in "standby" mode as
standard. Pressing any directional button will wake it and
prepare it to work (it will display channel number, but no
other operation will be performed). The command will only
be executed after pressing the button the second time.
2.2.3.
If no digit is currently being modified, then the
, and STOP buttons will send the
command to open, close or stop to a single
controller or group.
2.2.4.
In order to turn the limited mode on/off in the
PIL-99DLT remote you must change the
operation mode in the remote menu. "S" will be
displayed, followed by the highest used channel
number.
Channel 00 in the PIL-19DLT and PIL-99DLT remotes
controls all roller blinds at the same time (no need to
register, after registering an individual channel).
2. SELECTING CHANNEL
2.1.
In the PIL-19DLT remote channel is selected by short
pressing the "minus" button (decrease channel
number) or the "plus" button (increase channel
number).
2.2.
In the PIL-19DLT remote you may select the number
of an individual channel (01-99). Proceed as follows:
2.2.1.
Short pressing the
"minus" button will enter the
modification of the left digit (tens) -
the "up-down" arrow will be
displayed next to the digit. Modify the
digit by pressing the "up" or
"down" buttons. Pressing the
"minus" button the second time will
end digit modification.
2.3.
Short pressing the + "plus" button will enter the
modification of the right digit (units) - the "up-
down" arrow will be displayed next to the digit. Modify
the digit by pressing the "up" or "down"
buttons. Pressing the "plus" button the second
time will end digit modification.
3. STARTING THE SHUTTER MODE
To switch into the shutter mode (positioning fins) press
and hold the "plus" button or the "minus" button for
approx. 3 seconds. Three horizontal lines will be displayed
next to the channel number. To turn fins press the "up"
or "down" button. Returning to normal operation mode
is done similarly - press and hold the "plus" or
"minus" button.
WARNING: In order to set the shutter fins, the shutter
must be stopped. If the fins cannot be set from the remote,
press the "STOP" button and try again.
Number of selected channel
Active timed programmes
Active blind mode
Executed command
Date and time
Back of the
remote, under
45
mm
99
18.09.16 13.27
130 mm

OPERATING INSTRUCTIONS - PIL–19DLT/PIL-99DLT multi-channel remote control
2
|
P. I. E. INEL Sp. z o. o., ul. Mostowa 1, 80-778 Gdańsk,
inel@inel.gda.pl
www.inel.gda
.pl
OK
OPTION
S
Mode
Names
Clock
Unsealing
Sun Other
4.1
Connect the
drive/controller to a 230
VAC power supply.
4.2
Within 10 seconds short
press the "up" and
"down" buttons on
the remote at the same
time.
4.3
The drive will move up
and down.
4.4
Within 5 seconds short
press the "up"
button on the remote.
When you already have a registered remote control, the
subsequent
remote controls are registered without turning the power off.
Switch the drive/controller into the programming mode with
a previously registered remote control.
6.1
Select channel number
you wish to program on
the new remote. Short
press the "up" and
"down" buttons on
the previously
registered remote at the
same time.
6.2
The drive will move up
and down and then make
a series of short up
and down movements (in
the number equal to the
number of registered
remote controls).
4.5
The registration
will be confirmed
by a short
up-down movement.
WARNING: The procedure will erase all previously
registered remote controls from the memory of the
drive/controller.
5. FIRST REGISTRATION WITH THE ST-01R
CONTROLLER
5.1
Select channel number
on the remote. Short
press the S1
programming button.
Wait until the D7 diode
lights up green.
5.2
Within 5 seconds short
press the "up"
button on the remote.
5.3
The controller will
confirm the
registration of the
remote by flashing the
D7 diode red and
green.
6.3
Within 5 seconds short
press the "up" button
on the new remote.
6.4
The drive will make a
series of short up and
down movements
confirming the
registration of the new
channel.
7. REMOTE CONTROL MENU
To enter the remote menu, press the button which is
located in the back of the remote, under the battery
cover.
The menu consists of the following options:
change operation mode:
full/limited naming channel
numbers setting date and time
setting roller blind unsealing
setting sun clock
setting language and display brightness
Options are entered by pressing the STOP
button. To leave menu, press the button again.
6. ADDING SUBSEQUENT REMOTES TO
THE RADIO-CONTROLLED DRIVE/ST-
01R CONTROLLER/ST-01RL
CONTROLLER
4. FIRST REGISTRATION WITH THE ST-
01RL CONTROLLER/RADIO-
CONTROLLED DRIVE
< 5 sec.
< 10 sec.
< 5 sec.
O
K
D7
230V
< 10 sec.
< 5 sec.

OPERATING INSTRUCTIONS - PIL–19DLT/PIL-99DLT multi-channel remote control
3 |
P. I. E. INEL Sp. z o. o., ul. Mostowa 1, 80-778 Gdańsk,
inel@inel.gda.pl
www.inel.gda
.pl
8. MODE
Changing the mode from full to short, selecting the
maximum channel number. By setting the number of used
channels you lose the access to higher channel numbers.
You can change the maximum channel number or return to
the full mode at any time.
9. NAMES
In the "Names" option you can
assign a text (capital letters and
digits) to every channel number.
It can consist of max. 16
characters in two lines 8
characters each. The underscore
(cursor) indicates the location
which can be altered with the
and buttons. Cursor position
is changed with the "plus"
and "minus" buttons.
Pressing the "stop" button will delete the character
under current position. The name is saved after changing
channel number.
10. CLOCK
The "Clock" option displays
programme name, day of the
week, date (day, month, year)
and time (hours and minutes).
Press or to change (set)
the value indicated by the cursor
(underscore). Cursor position is
changed with the "plus" and
"minus" buttons.
You can set day of the week, day of the month, month,
year, hours and minutes. Confirm changes by pressing
"STOP".
12. SUN
This option allows the automatic
operation of roller blinds in
accordance with sunrise and
sunset times. You must enter time
(hours and minutes) of sunset
and sunrise on December 22 in
the given location. After pressing
STOP, the time of sunrise
and sunset for the current day will
be displayed.
Brightness: setting display
brightness from 00 to 16
Language
Available: Polish (PL)
English (EN)
French (FR)
German (DE)
11. UNSEALING
Unsealing is a function allowing for
partially opening the roller blind. It is
used for timed programmes.
NO.: 00 roller blind
number 00 - 19 (PIL-
19DLT)
or 00 - 99 (PIL-99DLT)
DEGREE: 00 roller operation
time 00s - 15s
You can reset the value for the given channel with the
STOP button.
13.
OTHER
UNSEALI
NG
No.:
0
6
OTHER
OPTIONS
Brightness.
Lang
uage
P
L
SUN 22
XII
Sunrise 08: 00
Sunset 18: 04
EDIT
12
LIVING
ROOM
RIGHT
xp99gr100
Sun.
18.09.1
5
13:46

OPERATING INSTRUCTIONS - PIL–19DLT/PIL-99DLT multi-channel remote control
4 |
P. I. E. INEL Sp. z o. o., ul. Mostowa 1, 80-778 Gdańsk,
inel@inel.gda.pl
www.inel.gda
.pl
14. TIMED PROGRAMMES
In order to enter the option of setting timed programmes,
press the "minus" and "plus" buttons at the same
time. In the "Programmes" option you can set and modify
the programmes of automatically opening, closing,
unsealing and stopping specific roller blinds or groups of
roller blinds at specific times and days of the week. Thirty
two programmes are available, numbered 00-31.
Programmes can be set as "Active" or "Inactive". Channel
00 controls all channels at the same time.
Programme number
Programme status
active/inactive Day of the week
or period Time or sunrise and
sunset
Channel number / Command
To set days of the week during which the programme will
be active, enter "from" and "to" (inclusive). For example:
"Mon - Mon" means only Monday, "Sat - Sun" means
Saturday and Sunday, and "Mon - Sun" means all days of
the week. The time for the given programme to activate is
set by entering hours and minutes or sun (rise) and moon
(sunset). Minutes can be set only in multiplies of 5. To fully
define a programme, you must finally provide the channel
number from 00 to 19 (PIL-19DLT) or 99.
For this use the and buttons. The value changed is
the one indicated by the cursor (underscore).
•
Cursor position is changed with the and
buttons.
•
Pressing the "stop" button will move the cursor to the
programme number.
•
Changing programme number saves changes made to
the previous programme.
14.1. Setting a timed programme:
•
Select the number of the timed programme you wish to
set.
•
Activate the programme.
•
Set the period for the programme to operate
•
Mon – Sun means the whole week.
•
Tue – Tue means just Tuesday.
•
Time of activation with the accuracy up to 5 minutes.
•
Sun means sunrise, moon means sunset.
•
Channel number for the command to be sent.
•
Select command to be executed.
WARNING:
Times for the set programmes cannot be identical
(opening/closing times of two or more roller blinds cannot
be the same). If you want to set the same time for several
roller blinds, you must create a group by assigning it the
next free number.
WARNING:
Timed programmes will be executed only when a clock
icon is visible in the upper right corner of the display .
To turn on and off the timed programmes short press the
"clock" button.
15. REPLACING BATTERY
The remote is powered by a
CR 2450 3V battery.
To replace it, remove the cover
from the back of the remote.
The battery should be placed with "plus" upwards (towards
you).
16. DELETING
This information is available in the motor user manual or at
http://www.inel.gda.pl
Select your motor from the "user manuals" tab. The deletion
procedure is described in detail in the manual for the radio
controlled drive and controller.
You can download the document at www.inel.gda.pl
Progra
mme
Inactive
0
0
Sun - Sun
07: 55
No. 06
This manual suits for next models
1
Other Inel Remote Control manuals
