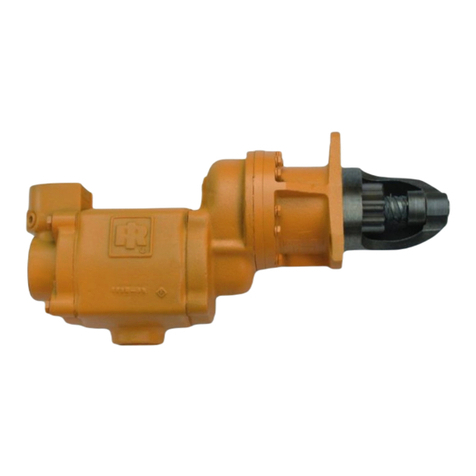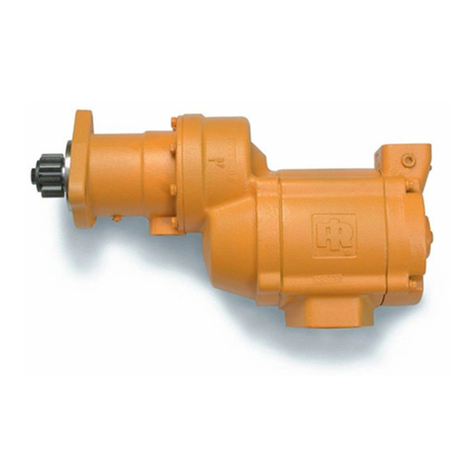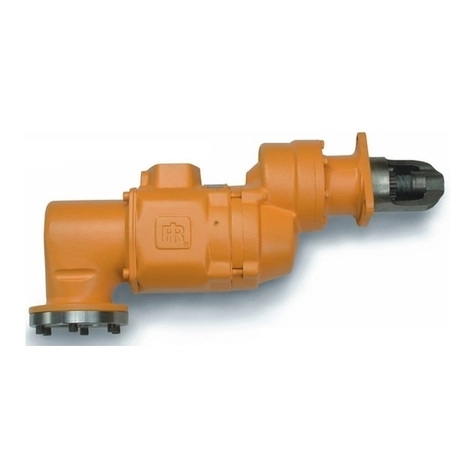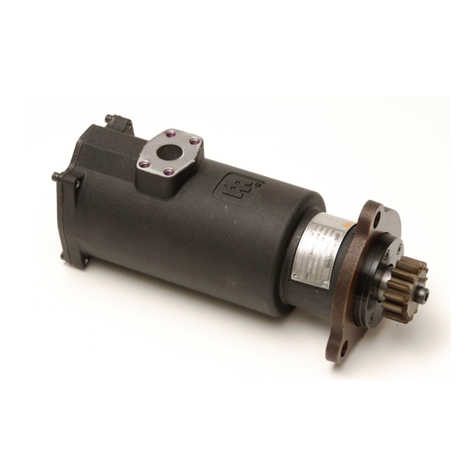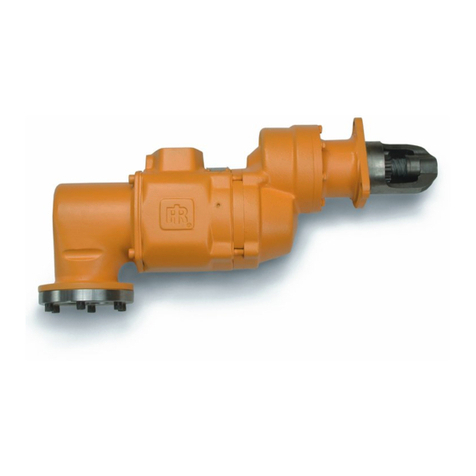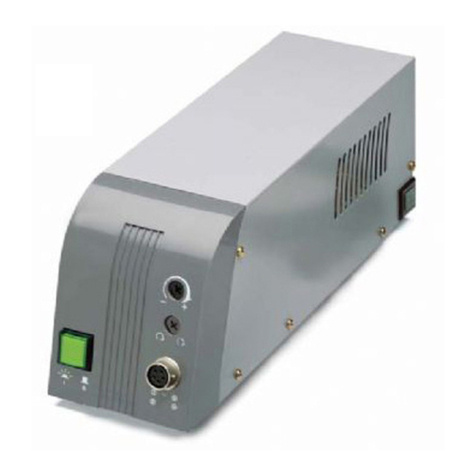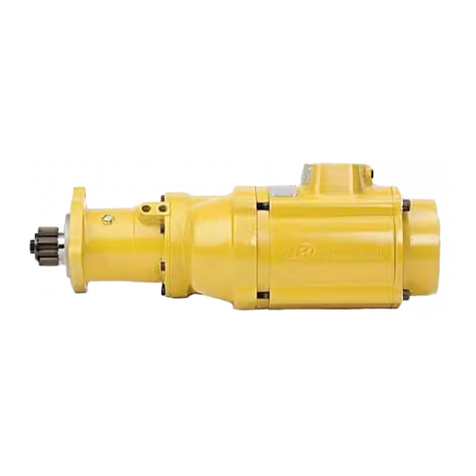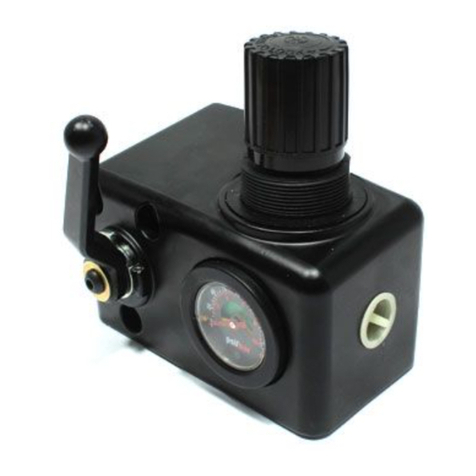
The Ingersoll Rand Starter is a precision piece of equipment
intended to give ecient, economical performance over a long
period of time. However, as with any product, performance, economy
and durability are determined for the most part by a few simple
common sense procedures that can be recommended only by the
manufacturer and adhered to only by the customer.
The recommendations outlined in this manual are based on over
30 years of experience in the air and gas starter eld. Study these
recommendations and follow them. They can save you considerable
time and expense. This manual should be led in a permanently
available location.
General Information
1. Always make certain your Air Starter is properly installed. A
little extra time and eort spent in doing a top quality job will
contribute considerably toward a reliable starting system that does
a superior job of starting your engine quickly under all conditions.
2. We strongly recommend that on all vehicular installations, and
on stationary engines subject to vibration, you use hoses of the
specied diameter instead of rigid pipe connections. Vehicle and
engine vibration will soon loosen rigid pipe connections, whereas
hoses will absorb the vibration, and connections will remain tight.
3. In the actual mounting of an Air Starter, it is best to have the hose
connections already made at the receiver, and to have the Starter
end of the hose handy for attaching to the Starter. Wherever
possible-and many times it is necessary attach the air hoses to
the Starter before mounting the Starter on the ywheel housing.
The reason for following this procedure is twofold:
After mounting the Starter, it is often impossible to make hose
connections due to space limitations.
Once the hoses are attached, they carry some of the weight of
the Starter and make it easier to complete the mounting.
4. The eciency of an Air Starter can be greatly impaired by an
improper hook-up. Hoses smaller than those recommended will
reduce the volume of air to the motor, and the use of reducers in
the exhaust port will restrict the exhaust and choke the motor.
The number of tees and elbows, and the length of the supply
line should be kept to a minimum, For SS175, use 1”hose or pipe
for supply lines up to 30 feet long; use 1-1/4”hose or pipe if the
supply line is over 30 feet long. For SS350, use 1 -1/4”hose or pipe
for supply lines up to 30 feet long; use 1 -1/2”hose or pipe if the
supply line is over 30 feet long.
5. A leak in any of the connections means that the system will drain
overnight and will have to be repressurized the next morning
by use of another vehicle or compressor. Make your connections
right the rst time to avoid unnecessary costs and delays. On all
threaded connections throughout the system, use Ingersoll Rand
No. SMB-441 Sealant, non-hardening No. 2 Permatex or Loctite® *
Pipe Sealant. Teon tape is not recommended. Always run your air
supply line from the side or top of the receiver-never at or near the
bottom. Moisture in the air collects at the bottom of the receiver
and could cause corrosion in the starter motor or, worse yet, freeze
solid in cold weather so that the Starter would be inoperative.
After all connections have been made, check each joint with a soap
bubble test. There must be no leaks. The slightest leak will cause
the system to lose pressure overnight.
a.
b.
6. We recommend installation of a “glad hand” for emergency
repressurizing of the system, To keep the “glad hand”clean and
free of dirt, and to protect it from distortion, a second “glad hand”
closed by a pipe plug can be mated to it, or a glad hand protector
bracket can be used.
7. Always mount the Air Starter so that the exhaust port is
downward. This will help prevent any accumulation of water in
the starter motor.
Orientation of the Air Starter
If the factory orientation will not t your engine due to radial location
of the drive housing, or location of the inlet and/ or exhaust ports,
reorient the Starter as follows:
1. Look at the proper outline drawing on Page 4 or 5 and note
that the drive housing can be located in any one of eight radial
positions relative to the exhaust. The air inlet (motor housing
cover) can be located in any one of four radial positions relative
to the exhaust port.
2. Study the engine mounting requirements, and determine the
required orientation of the drive housing relative to the exhaust
port. The exhaust port should be aimed downward when
installed on the engine. If the drive housing has to be reoriented,
remove the four drive housing cap screws and rotate the drive
housing to the required position.
Do not separate the drive housing from the gear case.
Reinstall the drive housing cap screws and alternately tighten
them to 20 ft-lb (27 Nm) of torque.
3. Now that you have the drive housing properly oriented relative
to the exhaust port, notice whether or not the inlet port will be
favourably located for hose installation. If this must be reoriented,
remove the four motor housing cover cap screws, and rotate the
motor housing cover to its desired position. Reinstall the motor
housing cover cap screws and alternately tighten them to 20 ft-lb
(27 Nm) of torque.
There are eight holes through the motor housing cover, four of
which are not used and are plugged. If the orientation requires
that the plugged holes be used to accommodate the housing
cover cap screws, use a atend drift to carefully drive the plugs
inward. Then reinstall them in the other four holes.
Product Safety Information
Intended Use:
These air starters are intended for use in starting reciprocating internal combustion engines. These starters are designed to be
operated from a remote location after proper installation on the engine requiring starting.
For additional information refer to Air Starters for Internal Combustion Engines Product Safety Information Manual Form 45558624.
Manuals can be downloaded from ingersollrandproducts.com
Lubrication
Do not lubricate starters with ammable or volatile liquids such
as kerosene or jet fuel.
For temperatures above 32° F (0° C), use a good quality SAE 10 non
detergent motor oil.
For temperatures below 32° F (0° C), use diesel fuel. We cannot too
strongly emphasize the importance of proper lubrication of the Starter.
It is the prime requisite for top performance and maximum durability,
yet requires so little time there is really no excuse for disregarding it.
Either one of two lubrication systems is recommended. For typical
Starter installations where the cranking cycle is less than 10 seconds,
we recommend an Ingersoll Rand No. HDL2 Lubricator installed as
shown on Page 3. Use either diesel fuel or 10W non detergent motor
oil for lubricant. If the cranking cycle is more than 10 seconds, we
recommend the Ingersoll Rand Lubricator No. NL-24-8 installed in
the main air supply line. Use a good quality 10W non detergent oil
and adjust the Lubricator to ow 1 to 2 drops per second.
Installation
