Installation
Always make certain your Air Starter is properly installed. For
maximum performance, read this manual prior to the installation or
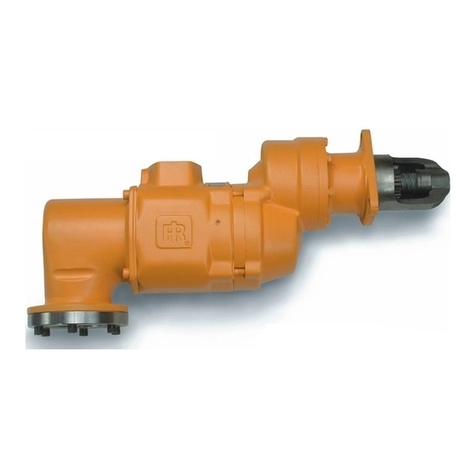
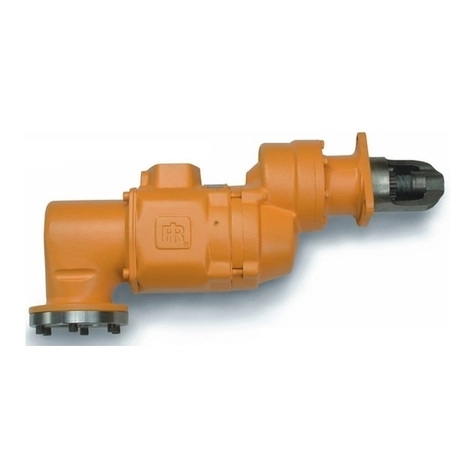
operation of Series 150T Turbine-Powered Starters.
General Information
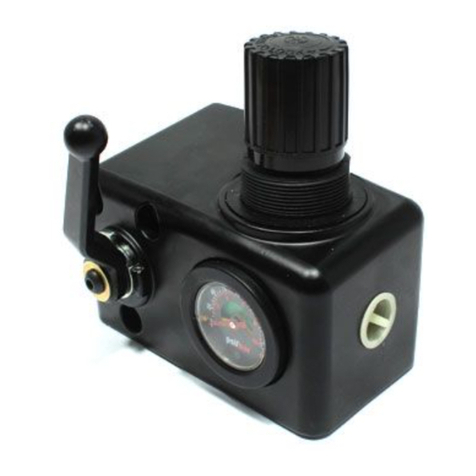
1. It is strongly recommended that on all vehicular installations,
and on stationary engines subject to vibration, that hoses of the
specified diameter be used instead of rigid pipe connections to
the starter. Vehicle and engine vibration will soon loosen rigid
pipe connections, whereas hoses will absorb the vibration, and
connections will remain tight.
2. The starter is designed for either flange, or threaded pipe,
mounting at the inlet. The optional Flange Mounting Kit is
required for installation. All piping, hoses and valving must be
clean prior to installation. Make sure that the starter inlet remains
free of dirt and foreign material during installation.
3. In the actual mounting of a starter, it may be best to have the
starter end of the hose handy for attaching to the starter.
4. Engine design often demands that the starter be mounted
underneath in extremely close quarters, and even though two of
the mounting bolt holes are easy to reach, the third one is often
less accessible. To install a starter, the following tools are required:
regular ratchet wrench, sockets, universal joint, socket extension
and a single or double-end box wrench.
5. The efficiency of an Air Starter can be greatly impaired by an
improper hook-up. Hoses smaller than those recommended will
reduce the volume of air to the motor and the use of reducers
for piped away applications in the exhaust port will restrict the
exhaust causing back pressure to the motor resulting in reduced
performance. The number of tees, elbows, and the length of the
supply line, should be kept to a minimum. Use 1-1/4”hose or pipe
for supply lines up to 15 feet (4.6 m) long; uses 1-1/2”hose or pipe
if the supply line is over 15 feet (4.6 m) long.
6. A leak in any of the connections in live air lines means that the
system will drain overnight and will have to be repressurized the
next morning by use of another vehicle or compressor. Make
your connections bubble tight to avoid unnecessary costs
and delays. On all threaded connections throughout the system,
use Ingersoll Rand No. SMB-441 Sealant, non-hardening No. 2
Permatex or Loctite®‚ Pipe Sealant. After all connections have
been made, check each joint with a soap bubble test. There
must be no leaks in live air lines. The slightest leak will cause the
system to lose pressure overnight. Always run the air supply line
from the side or top of the receiver, never at or near the bottom.
Moisture in the air collects at the bottom of the receiver resulting
in damage, which could cause the valves to become inoperative.
Periodically open the petcock at the bottom of the tank to drain
the water.
7.
Whenever a hazardous gas is being used to operate the starter,
there must be no leaks in inlet or exhaust piping or from any
other starter joints. All discharges should be piped away to a
safe area.
8. Whenever possible, always mount the air starter so that the
exhaust port is pointed downward. This will help prevent any
accumulation of water in the starter motor.
9. We recommend installation of a “glad hand” for emergency
re-pressurizing of the system. To keep the“glad hand” clean
and free of dirt and to protect it from damage, a second“glad
hand” closed by a pipe plug can be mated to it, or a “glad hand”
protector bracket can be used.
10.
It is recommended that a strainer be installed in the inlet line
for each starter. Ingersoll Rand offers 5 strainers: ST900-267-24
for 1-1/2”lines, ST900-267- 32 and ST900-267-32F for 2”lines,
ST900-267-48 for 3”lines and ST900-267-64 for 4”lines. These 300
mesh strainers provide 50-micron filtration and offer significant
protection against supply line contaminates which could damage
the turbine components. Replacement elements are ST900-266- 24
for 1-1/2”, ST900-266-32 for 2”pipe, ST-266-32F for 2”flange,
ST900-266-48 for 3”flange, and ST900-266-64 for 4”lines.
Orientation of the Starter
It is recommended that starters be ordered in the proper orientation
for your specic mounting requirements. However, if the starter must
be reoriented for installation, proceed as follows:
1. Refer to the dimension illustration on pages 2 and 3 and note
that the Drive Housing can be located in any one of eighteen
radial positions relative to the Gear Case. The exhaust port (Motor
Housing) can be located in any one of four radial positions
relative to the Gear Case, and the air inlet (Motor Housing Cover)
can be located in any one of four radial positions relative to the
exhaust port.
2. Study the engine mounting requirements, and determine the
required orientation of the Drive Housing relative to the Gear
Case. If the Drive Housing has to be reoriented, remove the nine
Drive Housing Cap Screws and rotate the Drive Housing to its
required position. Separation of the Drive Housing from the Gear
Case is not required. Reinstall the Drive Housing Cap Screws and
tighten to 100 in-lb (13 Nm) torque.
3. After the Drive Housing is properly oriented relative to the Gear
Case, determine if the inlet port will be favorably located for
hose installation. If either or both of these members must be
reoriented, use a 9/16”wrench to remove the four Motor Housing
Cover Cap Screws, and rotate the Motor Housing and/or Motor
Housing cover to the desired position.
Do not separate the Motor Housing from the Intermediate Gear
Case, as gear lubrication oil will be lost.
Reinstall the Motor Housing Cover Cap Screws and alternately
tighten them to 25 ft-lb (34 Nm) torque in 10 ft-lb (14 Nm)
increments.
Mounting the Starter
1. Study the appropriate piping diagrams on pages 7 and 8 and
install as indicated.
2. The air receiver tank for a starter installation must have a working
pressure rating equal to or greater than the maximum pressure at
which the starter will be operated.
3. When connecting the starter to a receiver tank that is already in
service, bleed off the air pressure in the tank prior to installing the
starter.
Bleed o the air pressure through a valve or petcock. Do not
remove a plug from the tank while the tank is pressurized.
Drain off any water that may have accumulated in the bottom of
the tank.
4. Using a 1-1/4” short nipple, install the SRV125 Starter Relay Valve
on the end of the receiver tank as shown in the piping diagram.
Make certain the connectio n is made to the inlet side of the
Relay Valve indicated by the word“IN”; cast on the valve body.
5. For air installations, install the Starter Control Valve (SMB-618)
on the dash panel (for vehicular installations) or some other
appropriate panel (for stationary installations). An optional
control circuit, utilizing an electric solenoid control valve and
a panel mounted switch, is also available. Mount the 12V
Solenoid Valve (150BMP-1051B), or appropriate voltage solenoid,
securely and, preferably, in a vertical position away from any
concentration of heat, vibration or contamination. Connect the
leads to the operator’s starting switch, which should be located
on the dashboard or control panel.
6. Attach Starter Instruction Label (TA-STR-100) to control panel
adjacent to the Starter Control Valve.
